How to Crochet Adorable Baby Pumpkin Booties for Fall
Dress tiny feet for fall with these cozy crochet pumpkin booties, featuring ribbed texture, a gathered pumpkin-shaped toe, and a leafy green cuff. The construction is simple, seasonal, and easy to customize.
Crochet Cute Baby Pumpkin Booties
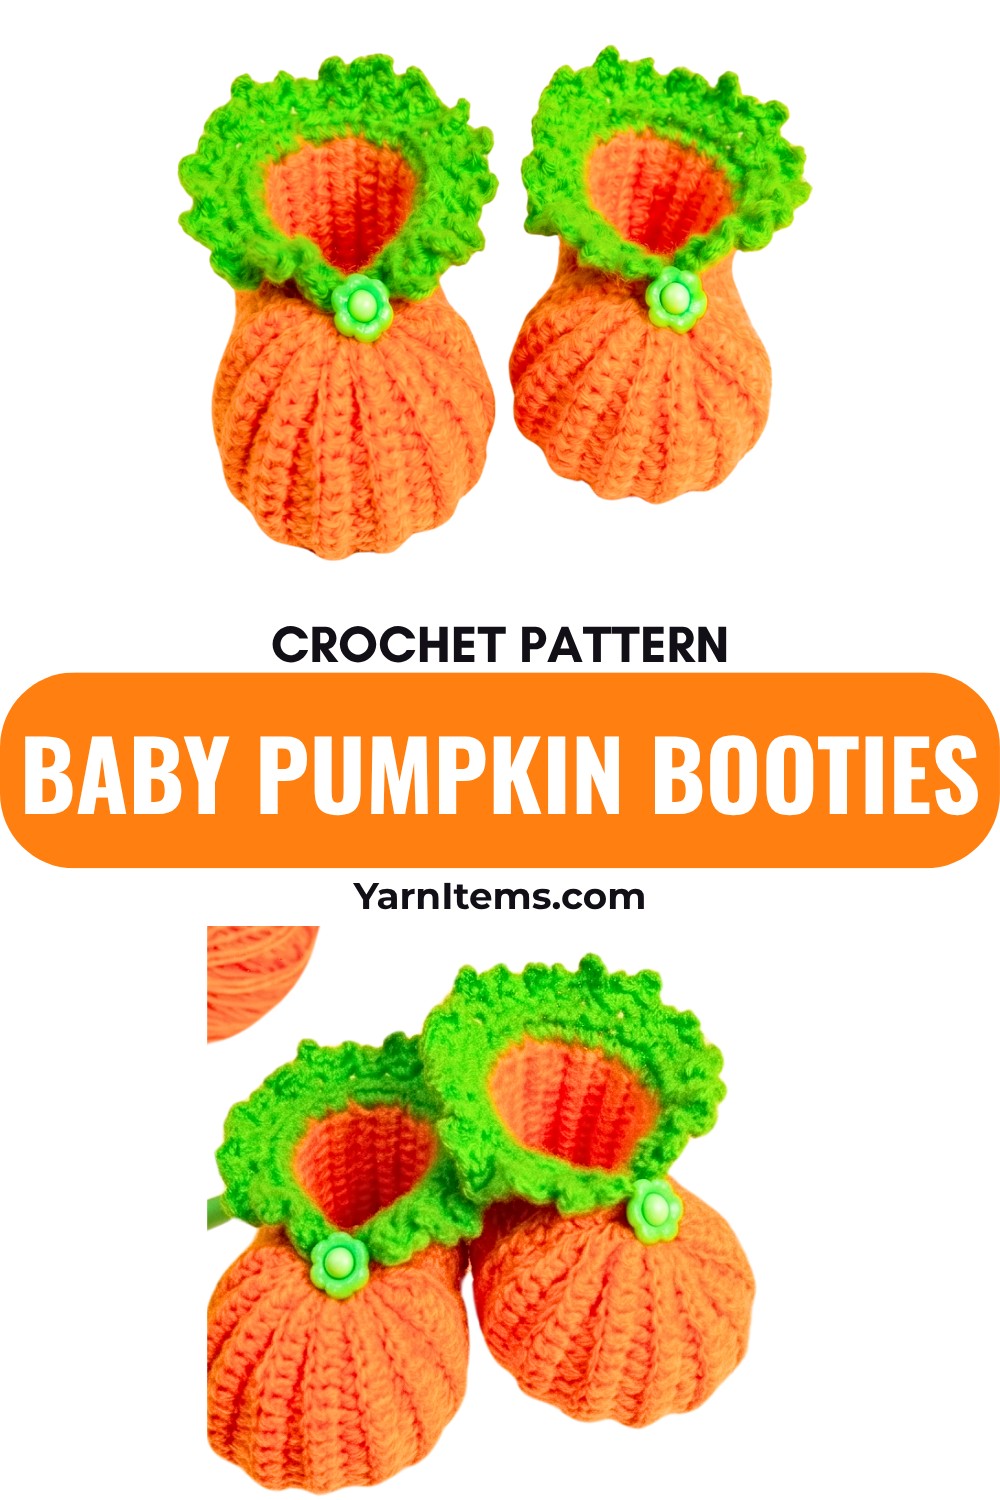
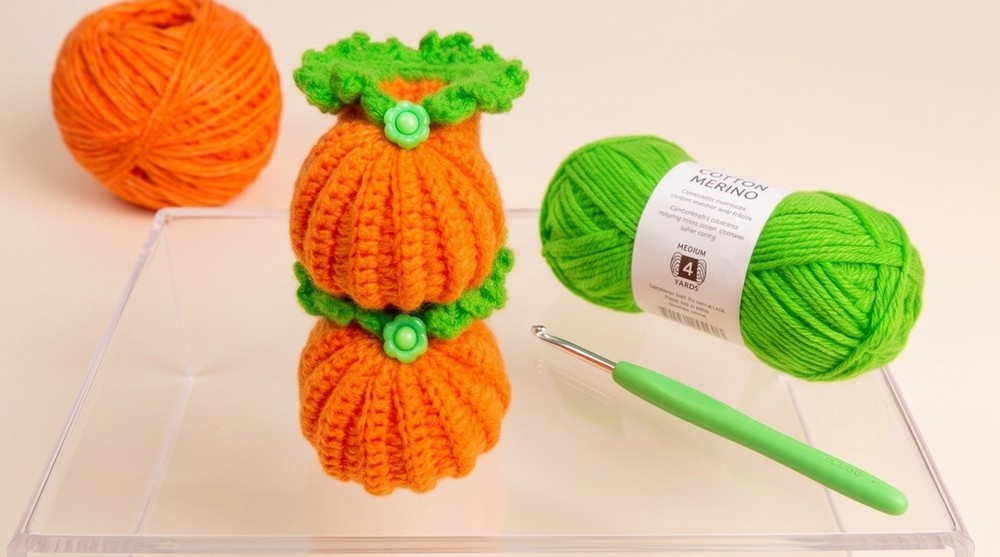
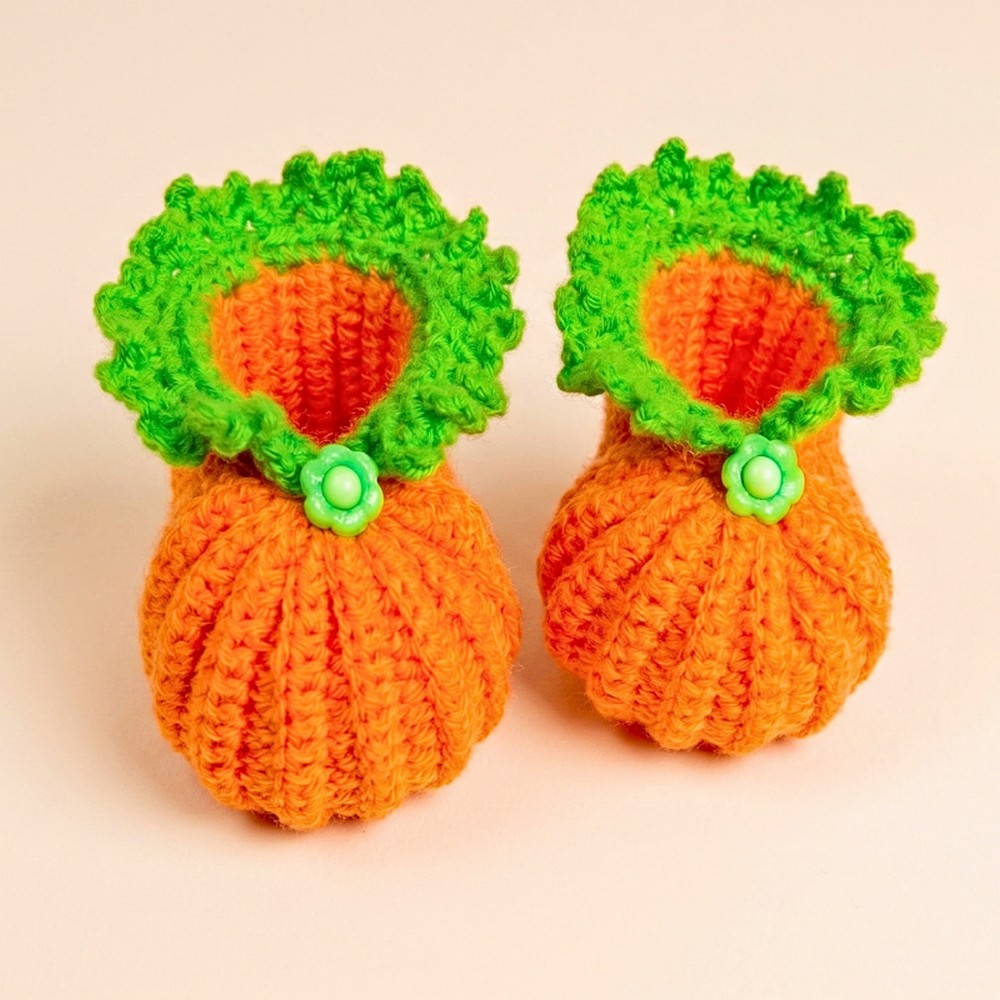
Tiny baby booties are already sweet, but shaping them like little pumpkins makes them especially charming for autumn. These booties combine soft orange ribbing with a green leafy border and a small flower or button at the center, creating a seasonal detail without making the basic construction overly complicated.
The bootie begins as a flat ribbed piece worked in half double crochet through the back loops, then expands for the pumpkin-shaped toe before narrowing again for the sole. The shaping becomes much easier to understand once you see that the increases and decreases are creating the wider middle section that will later be gathered into the rounded toe. Because these are baby crochet booties, checking the finished sole against the purposeful foot size is also important before making the second one.
Credit Chinki’z Knitting Knife
Materials & Tools Needed
- Yarn: Orange yarn for the pumpkin body
- Contrast Yarn: Green yarn for the leafy cuff
- Crochet Hook: 2.5 mm or 3.0 mm
- Tapestry/Darning Needle: For seaming, gathering, and weaving in ends
- Scissors
- Embellishments: 2 small decorative flowers or buttons for the gathered centers
Finished Size & Customization
The pattern is designed for approximately newborn to 0–3 months, with a sole length of about 3.5–4 inches.
Since baby feet vary, use the stated size as a guide rather than assuming every newborn will need exactly the same fit. If possible, compare the finished sole with the intended foot measurement before making the second bootie.
Ways to Customize
- Adjust the initial foundation chain to change the basic length of the piece.
- Add or remove ribbing rows to alter the height and circumference.
- Try yellow, cream, brown, or dark green for different autumn color combinations.
- Use a contrasting flower or button at the center of each pumpkin toe.
- Make the leafy cuff in a lighter or darker green for a different seasonal look.
Pattern Abbreviations & Terminology
US crochet terms are used throughout.
- ch: Chain
- st/sts: Stitch/Stitches
- sl st: Slip Stitch
- sc: Single Crochet
- hdc: Half Double Crochet
- BLO: Back Loop Only
- YO: Yarn Over
Crochet Baby Pumpkin Booties Pattern
The bootie is first crocheted as a flat ribbed rectangle. Increases create the wider pumpkin section, while the later decreases bring the piece back to the narrower ankle width. The piece is then seamed and gathered to form the toe.
Make two booties using the same instructions.
Crochet the Pumpkin Bootie Body
Foundation Chain: Ch 15. (15 ch)
The foundation chain establishes the starting width of the bootie. Keep your chains fairly even so the first row does not become tighter than the following rows.
Row 1: Starting in the 3rd ch from the hook, work 1 hdc in each remaining chain across. (13 hdc)
The beginning ch-2 creates the turning height for the row, so the finished row has the expected width for the ribbed section.
Rows 2–21: Ankle Ribbing
The raised texture comes from working each hdc through the back loop only.
Rows 2–21: Ch 2 and turn; work 1 hdc in the BLO of each stitch across. (14 hdc)
Repeat until you have completed 21 rows in total.
Ribbing Check
Turn your work occasionally and look at the raised ridges. The BLO technique should create visible vertical ribs when the fabric is viewed from the front.
Keep your tension consistent here because the ribbing needs enough stretch to form the ankle portion without becoming excessively loose.
Row 22: Widen the Pumpkin Section
This row increases the stitch count so the middle portion becomes wider than the ankle section.
Row 22: Ch 2 and turn; work 2 hdc in the first stitch, 1 hdc in the second stitch, 1 hdc in the third stitch, 2 hdc in the fourth stitch, and continue the established increase spacing across the row. (21 sts)
This row adds 7 stitches, increasing the section from 14 stitches to 21.
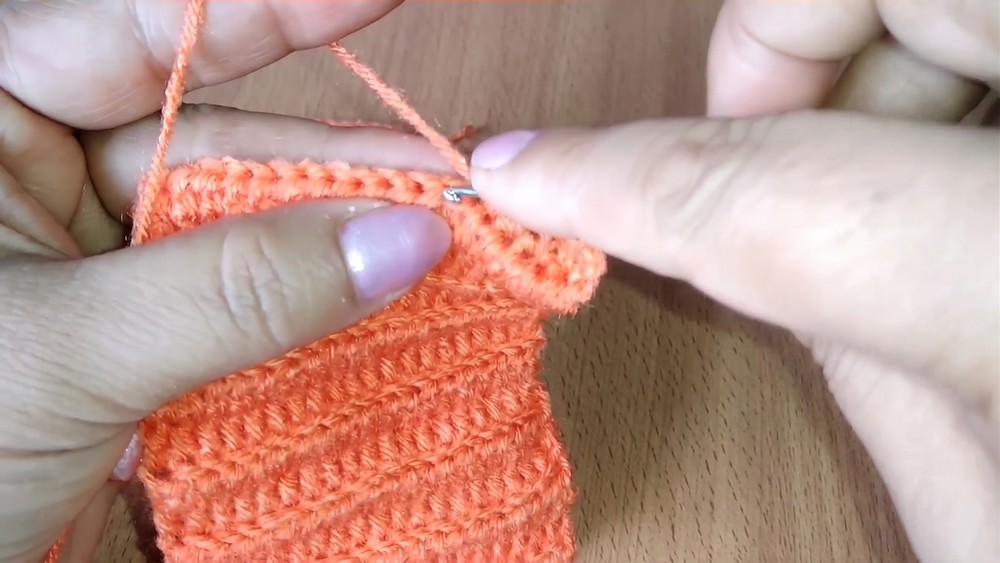
Shape Check
Do not worry if the piece suddenly looks wider after this row. That extra width is intentional.
The wider section will become the rounded pumpkin toe after the side is joined and the ribs are gathered. If you skip an increase here, the final toe will not have the same fullness.
Rows 23–39: Main Pumpkin Ribbing
Rows 23–39: Ch 2 and turn; work 1 hdc in the BLO of each stitch across. (21 sts)
Repeat for 17 rows.
The ribbed texture will create raised sections on the finished pumpkin toe. In the sample construction, this produces 9 raised ribs on one side and 8 on the other.
Keep the Ribs Consistent
As you work these rows, the piece may look more like a ribbed rectangle than a pumpkin. That is normal at this stage.
What matters is maintaining the same BLO placement and stitch count across every row. The pumpkin shape appears during assembly, when these ribs are gathered together.
Row 40: Reduce Back to the Ankle Width
The final row narrows the piece again so that the opposite end matches the original ankle section.
Row 40: Ch 2 and turn; decrease 7 stitches across the row by working the specified hdc increases and skipped stitches in sequence to reduce the total back to the ankle width. (14 sts)
The finished piece should now have a narrower section at both ends and a wider ribbed section in the middle.
Seam and Shape the Pumpkin Toe
Join the Side Edges
Fold the crocheted piece so that the foundation row lines up with the final row.
Side Seam: Join the last row to the foundation row with sl sts across. (Seam joined)
Fasten off, leaving a long yarn tail for the gathering and sewing steps.
Why the Long Tail Matters
Do not cut the yarn close to the work here.
The same tail will be used to gather the pumpkin toe, so leaving enough length makes the shaping much easier and avoids having to attach a new piece of yarn.
Gather the Pumpkin Toe
Thread the long yarn tail onto a tapestry needle.
Work a running stitch through the bottom edge of each raised rib section.
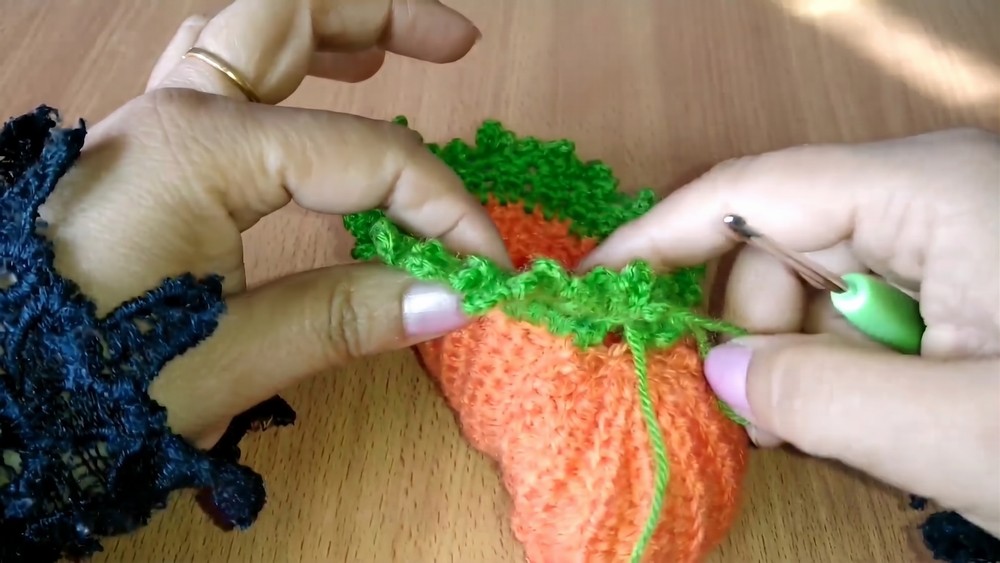
Gathering: Pass the needle through the bottom edge of the ribbed sections, then gently pull the yarn to draw the ribs together into a rounded pumpkin shape. (Toe gathered)
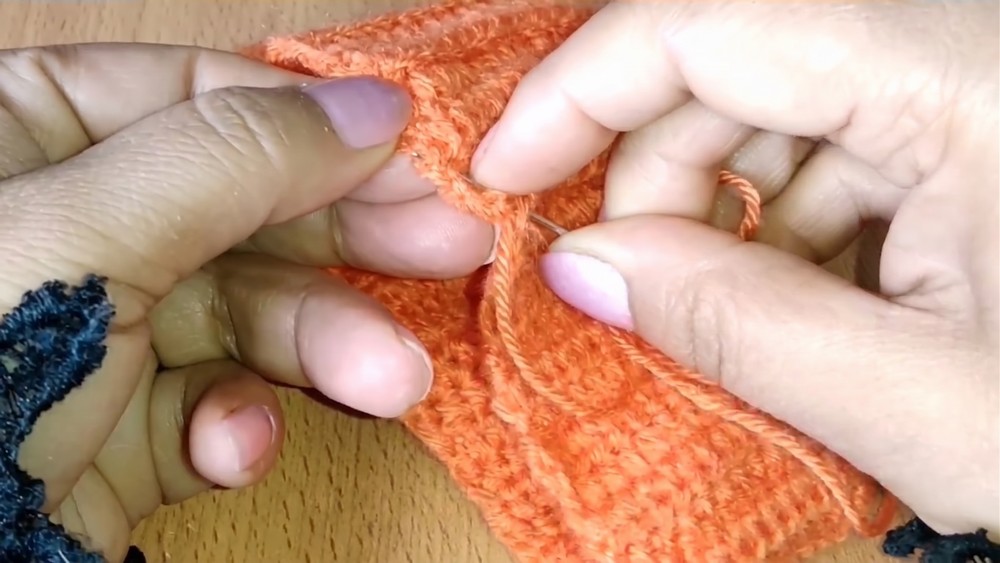
Shape the Gather Carefully
This is the most important shaping step in the bootie.
Do not pull the gathering thread sharply all at once. Draw the ribs together gradually and distribute the gathers evenly. If one side pulls tighter than the other, loosen the thread slightly and reposition the gathers before securing them.
Once the center is tightly gathered, secure it with 3–4 strong stitches.
The gathered area will become the front center of the pumpkin toe, so a secure center is important before continuing with the sole.
Sew the Sole and Back
Continue using the darning needle to sew along the bottom back edge of the bootie.
Secure the seam, fasten off, and weave in the ends. Turn the bootie right side out.
At this stage, the basic pumpkin-shaped bootie should be recognizable, with the gathered toe at the front and the ribbed texture running around the upper section.
Add the Leafy Green Cuff
The green border gives the bootie its pumpkin-and-vine appearance.
Attach green yarn at the seam along the top opening.
Row 1: Green Base
Row 1: Work 38 hdc evenly around the cuff opening. (38 hdc)
Try to distribute these stitches as evenly as possible around the opening. Uneven spacing can cause the leafy border to flare more on one side than the other.
Row 2: Create the Picot Edge
The next row creates small loops that will become the base for the leaf clusters.
Row 2: Ch 2 and turn; work 1 hdc in the first stitch, ch 3, insert the hook back into the same stitch and complete a sc to form a picot; work sc in each of the next 2 sts; repeat the picot sequence around the cuff, creating 18 picots in total. (18 picots)
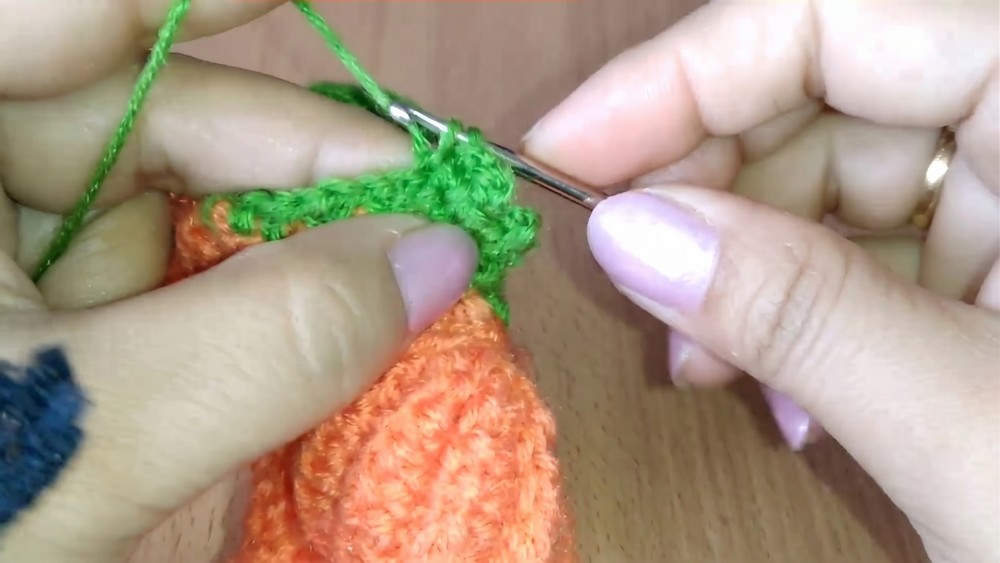
Picot Check
The picots should appear as small loops along the edge.
If the spacing starts looking uneven, check that you are keeping the same rhythm of stitches between each picot rather than adding or removing stitches unintentionally.
Row 3: Form the Leaf Clusters
The final green row turns each picot loop into a three-lobed leaf.
Row 3: Work directly into the first picot loop; ch 4, sl st into the same loop, ch 6, sl st into the same loop, ch 4, sl st into the same loop; sl st to the next picot loop and repeat the same three-lobed sequence around all 18 picot loops. (18 leaf clusters)
Fasten off the green yarn and weave in the ends.
Leaf Shape Tip
Keep the three loops of each leaf cluster loose enough to open visibly. If you make the chains too tight, the leaves can bunch together and lose their leafy shape.
Add the Pumpkin Center Detail
To finish the pumpkin toe, sew a small decorative flower or button directly over the gathered center.
Finishing Detail: Position the flower or button over the cinched center and sew it securely in place. (1 embellishment per bootie)
Repeat the complete pattern to make the second bootie.
Baby Bootie Fit Check
Before considering the pair finished, compare both booties side by side.
Check that:
- Both soles are approximately the same length.
- The gathered pumpkin toes are similar in fullness.
- The cuff openings have comparable stretch.
- The leafy borders sit evenly.
- The embellishments are positioned at similar heights.
For baby footwear, a small difference between the two pieces can become noticeable when worn, so checking the pair together is worthwhile.