Adorable & Easy Crochet Baby Booties Pattern Free
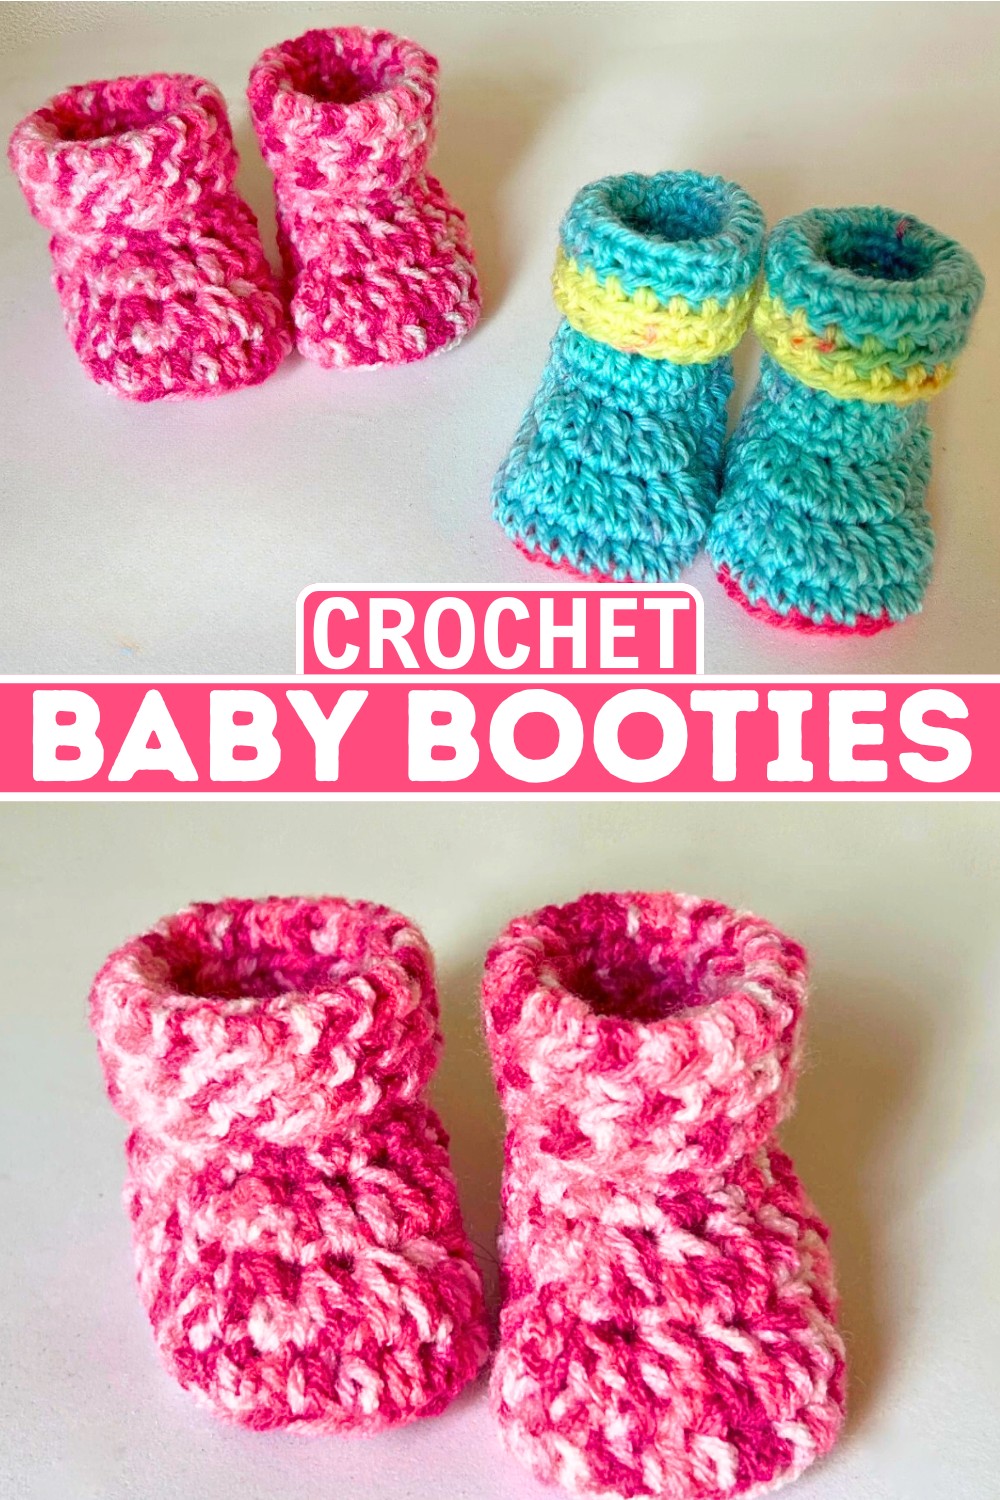
Every pair of crochet baby booties begins with a carefully shaped sole. This small base creates the structure for the whole design. As each round grows, the sides slowly rise around tiny feet. The upper section takes shape with simple crochet stitch patterns. A neat cuff adds the final detail and helps the booties stay in place. The most rewarding part is seeing a few small rounds become a complete pair with a cozy fit and handmade texture.
Crochet Baby Booties Pattern
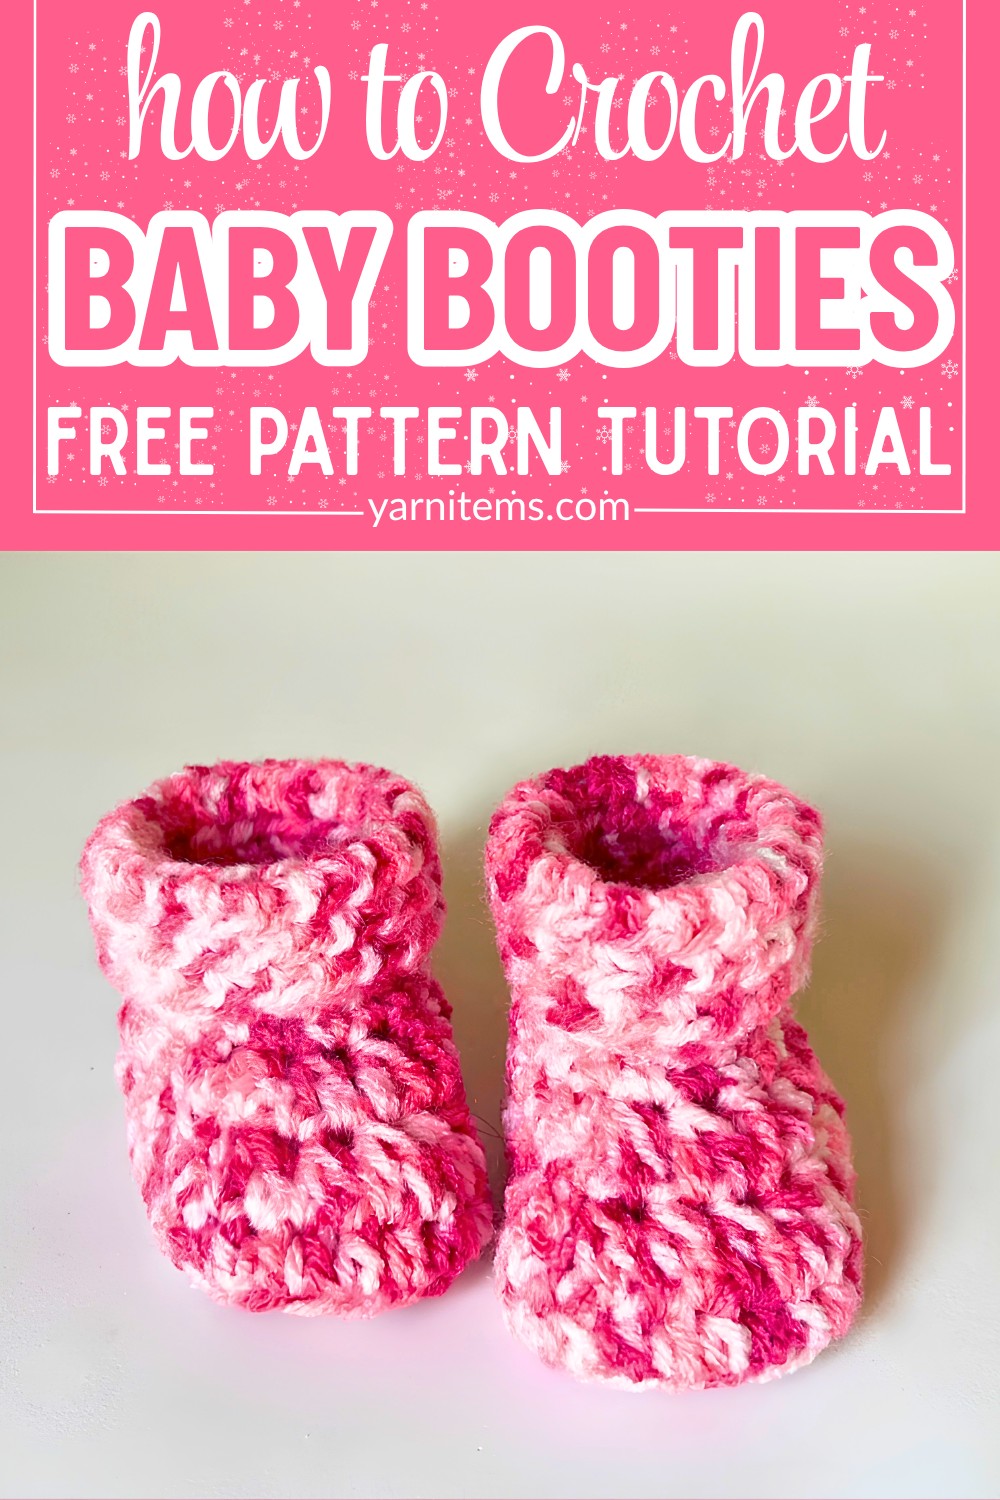
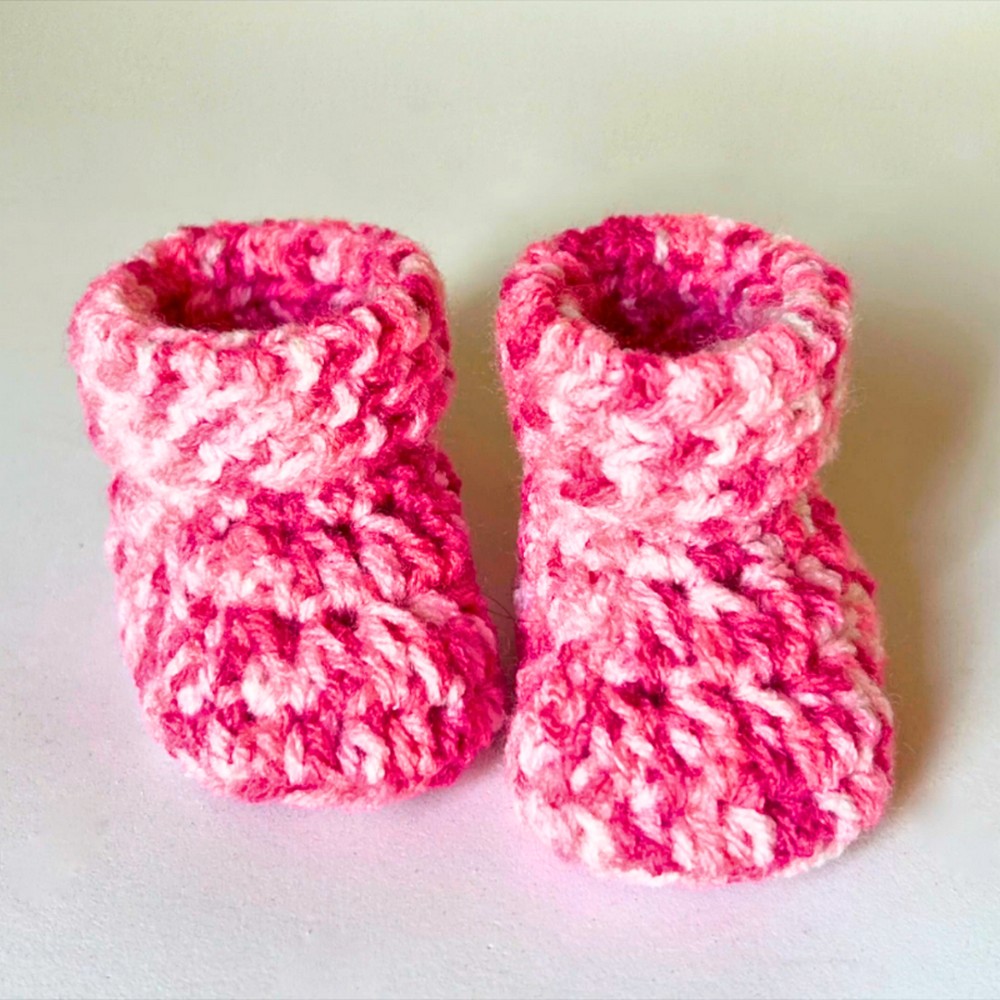
The yarn choice and stitch pattern help create soft and lightweight booties for babies. Small changes in hook size or yarn thickness can adjust the fit for different ages. The same crochet design can be modified for newborn and toddler sizes. Color choices and small details add a personal touch to each pair. Simple crochet techniques can turn basic stitches into a charming handmade design with unique texture and character.
Credit Hook & Loop Crochet Tutorials
Materials & Tools Needed
- Yarn: Pink mixed-color yarn or cupcake yarn (depending on your preference)
- Crochet Hooks:
- 3.5 mm hook (for smaller size)
- 4 mm hook (for larger size)
- Scissors
- Tapestry needle
Finished Size & Customization Ideas
- Size Variability: The size depends on the crochet hook and yarn weight:
- 3.5 mm hook: Smaller booties.
- 4 mm hook: Larger booties.
- Customization:
- Change colors to make multi-colored booties.
- Use different yarns for unique designs.
- Fold down the top cuff, and optionally make it a different color than the sole (change color for the last 4 rounds).
Pattern Abbreviations & Terminology
The pattern uses US crochet terminology. Below are the abbreviations:
- ch: Chain
- hdc: Half Double Crochet
- dc: Double Crochet
- dc2tog: Double Crochet 2 Together (decrease)
- sc: Single Crochet
- sl st: Slip Stitch
- st(s): Stitch(es)
- BL: Back Loop only
Step-by-Step Crochet Instructions
Below is the round-by-round breakdown:
Round 1: Forming the Sole
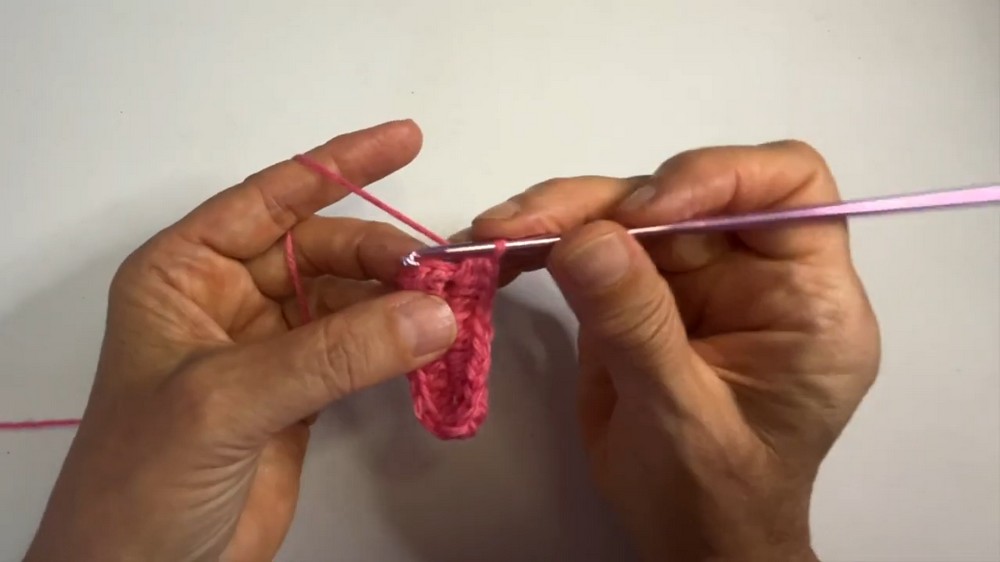
- Start: Make a slip knot, then chain (ch) 9.
- Work into chains:
- Make 2 hdc in the 3rd chain from the hook (the 2 chains preceding count as 1 hdc).
- 1 hdc in each of the next 5 chains.
- In the last chain, make 6 hdc.
- Continue on the other side of the chain:
- Work 1 hdc in each of the next 5 stitches.
- Make 3 hdc in the starting chain.
- Join: Slip stitch (sl st) into the top of chain 2.
- Total Stitches: 22.
Round 2: Expanding the Sole
- Chain (ch) 3.
- In the same stitch, make 1 dc.
- In the next 2 stitches, make:
- 2 dc in each stitch.
- In the next 5 stitches, work:
- 1 dc in each stitch.
- In the next 6 stitches:
- 2 dc in each stitch (total 12 dc here).
- In the next 5 stitches:
- 1 dc in each stitch.
- In the next 3 stitches:
- 2 dc in each stitch.
- Join: Slip stitch into the ch-3.
- Total Stitches: 34.
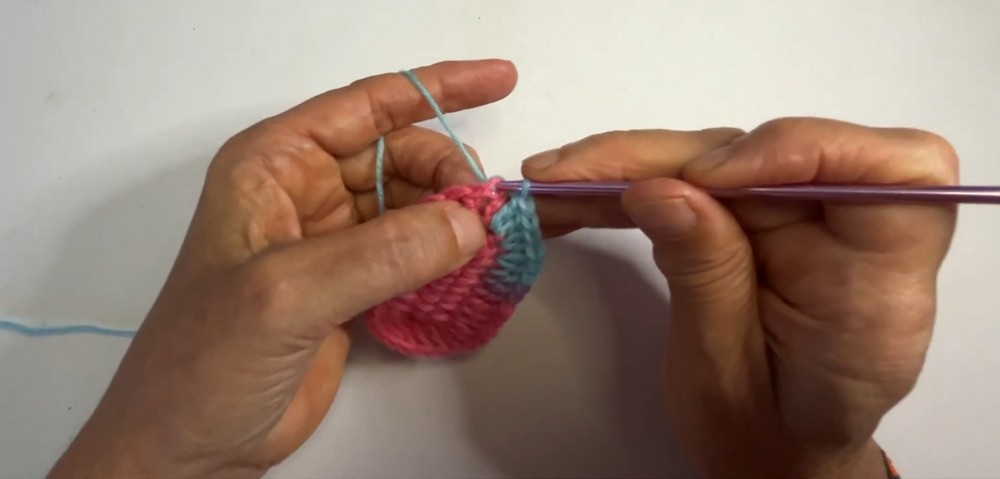
Round 3: Create the Base of the Bootie
- Chain (ch) 1.
- In the same stitch, work 1 hdc.
- Work 1 hdc in the back loop (BL) of each of the next 33 stitches.
- Join into the top of the first hdc, not the ch-1 from the beginning.
- Total Stitches: 34.
- (Optional): If you want to change colors, now is the time to do so.
Round 4: Begin Decreasing for the Toe
- Chain (ch) 1.
- In the same stitch, make 1 hdc.
- Work 1 hdc in the next 8 stitches (including the initial hdc, this makes 9 hdc total).
- Toe Decrease:
- Work 8 sets of dc2tog (double crochet 2 together).
- Work 1 hdc in the next 9 stitches.
- Join: Slip stitch into the top of the hdc.
- Total Stitches: 22.
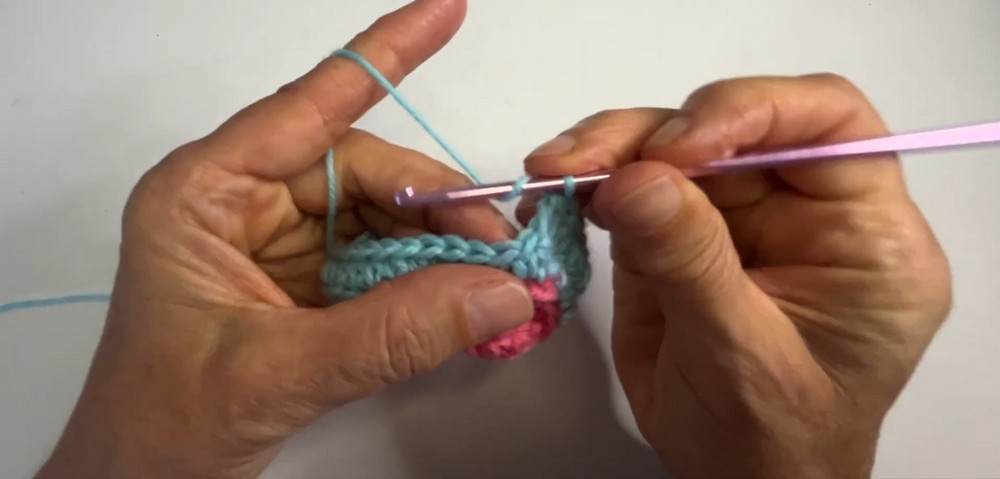
Round 5: Shaping the Toe
- Chain (ch) 1.
- In the same stitch, make 1 hdc.
- Work 1 hdc in the next 8 stitches (including the initial hdc; this makes 9 hdc total).
- Toe Decrease:
- Work 4 sets of dc2tog.
- Work 1 hdc in the next 9 stitches.
- Join: Slip stitch into the top of the hdc.
- Total Stitches: 22.
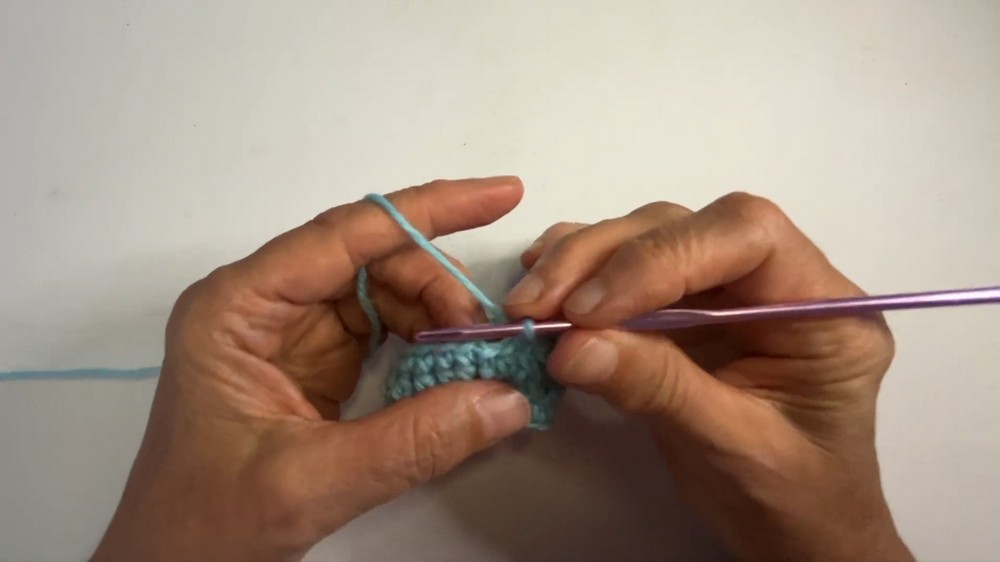
Round 6: Working the Top of the Bootie
- Chain (ch) 1.
- In the same stitch, make 1 sc.
- Work 1 sc in each of the next 21 stitches (including the initial sc, this makes 22 sc total).
- Join: Slip stitch into the top of the first sc.
- Total Stitches: 22.
Rounds 7–14: Building the Cuff
- Chain (ch) 1.
- In the same stitch, make 1 hdc.
- Work 1 hdc in each stitch around.
- Repeat this pattern for 7 additional rounds (a total of 8 rounds of 22 hdc).
- After completing the final round, ch 1, pull your yarn through, and cut it.
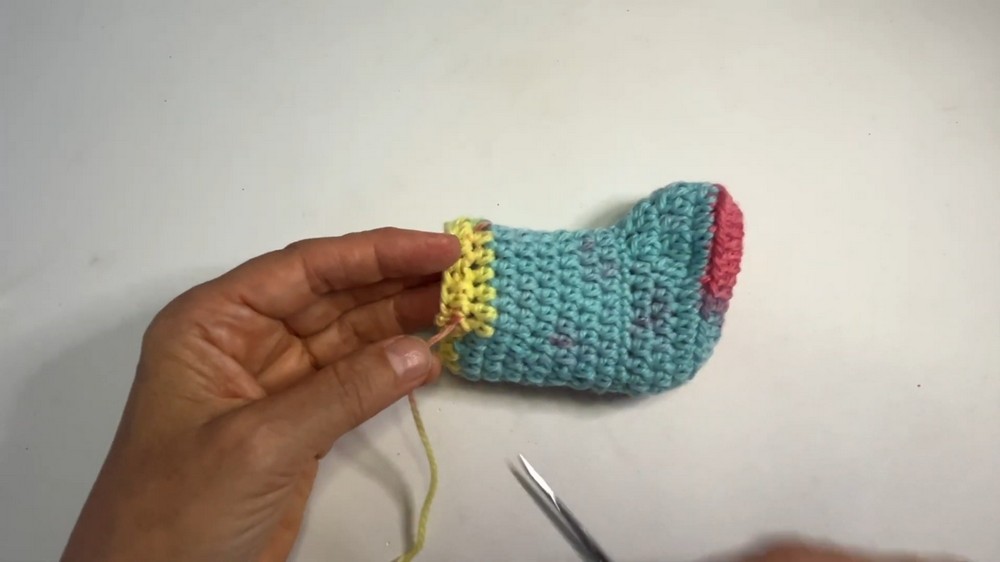
Finishing Touches
- Weave in the Tails: Use a tapestry needle to weave in and hide the yarn ends on the side where you’ve been working.
- Fold the Cuff: Fold down the top portion to form a cuff.
- If you’d like the cuff to be the same color as the sole, change to a matching yarn color for the last 4 rounds.
Additional Notes
- Customization: Feel free to mix and match colors for a playful look!
- Sizing: You can adjust the size by switching yarn weights and crochet hook sizes as described earlier. Use lighter weights of yarn for newborn sizes and heavier weights for bigger sizes.