Free Crochet Pumpkin Hat Pattern for All Sizes
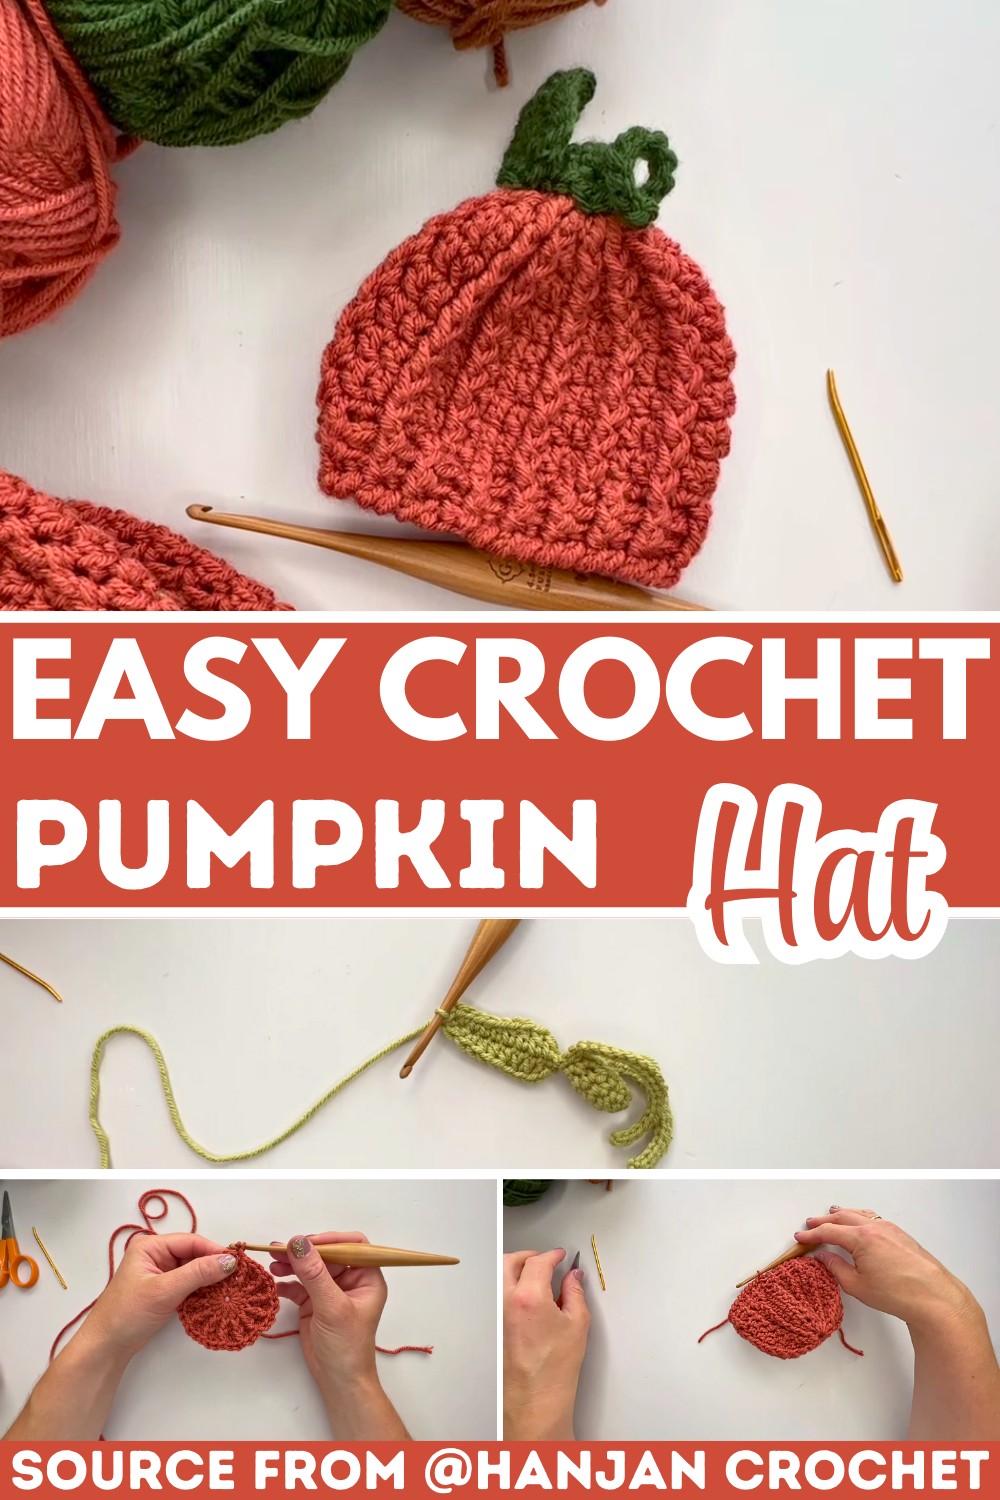
Nothing says fall quite like a pumpkin hat with a playful twist. This crochet pumpkin hat brings the season to life with a rounded pumpkin shape, a tiny stem, and a leafy top. And curly vines that make every finished piece feel full of character. Whether you’re making it for a baby, a child, or an adult, this pattern walks you through creating a cozy hat that’s as fun to crochet as it is to wear.
Crochet Pumpkin Hat Pattern
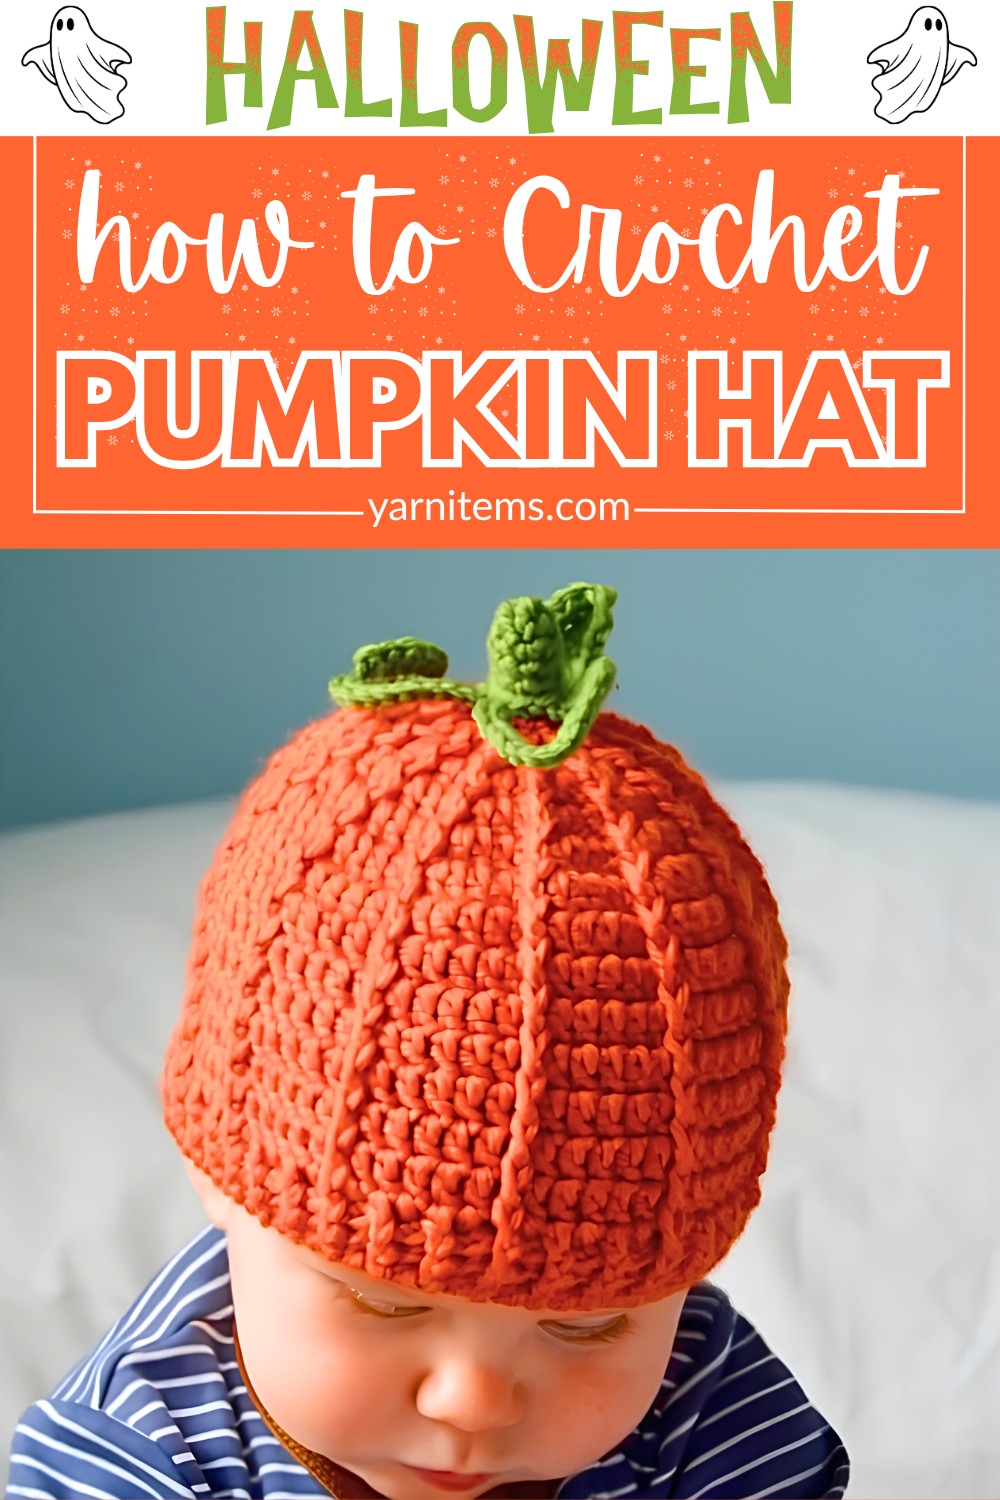
Adjust the size, switch up the colors, or add extra details for a one-of-a-kind finish. The step-by-step instructions keep the crochet process simple and approachable. Even if you’re still learning the basics. Keep reading to see how each section comes together and turn a few balls of yarn into a charming autumn crochet hat.
Credit HanJan Crochet
Materials & Tools Needed
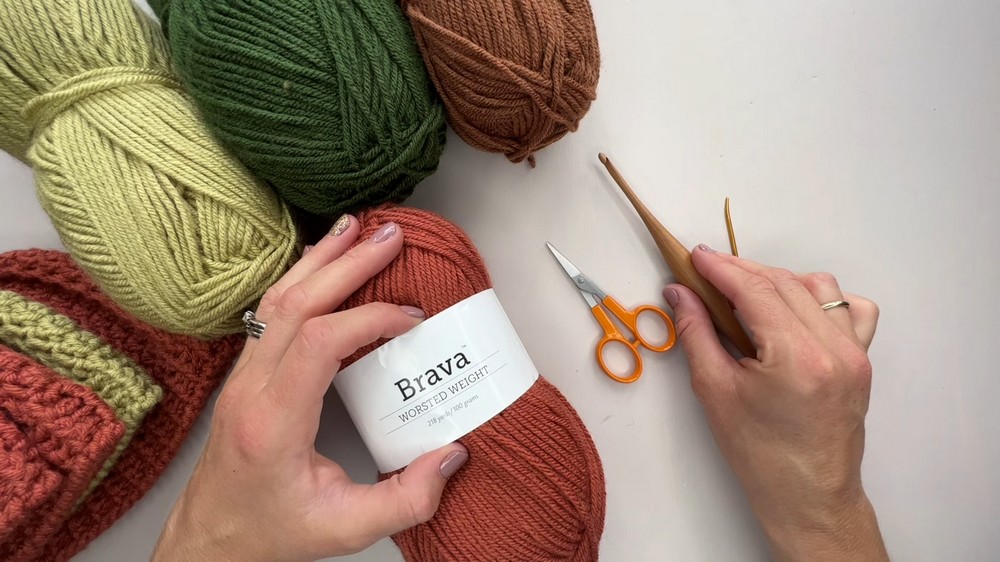
- Yarn: Bravo Worsted Weight Yarn (category 4 weight), 100% acrylic. This is ideal for accessories—soft and quick to work with. Choose orange for the main hat and green or brown for the stalk and leaf. Check the description for exact yardage for your chosen size.
- Crochet hook: 4.5 mm (G+).
- Tools: Yarn needle and scissors.
Finished Size & Customization Ideas
This pattern includes sizes for:
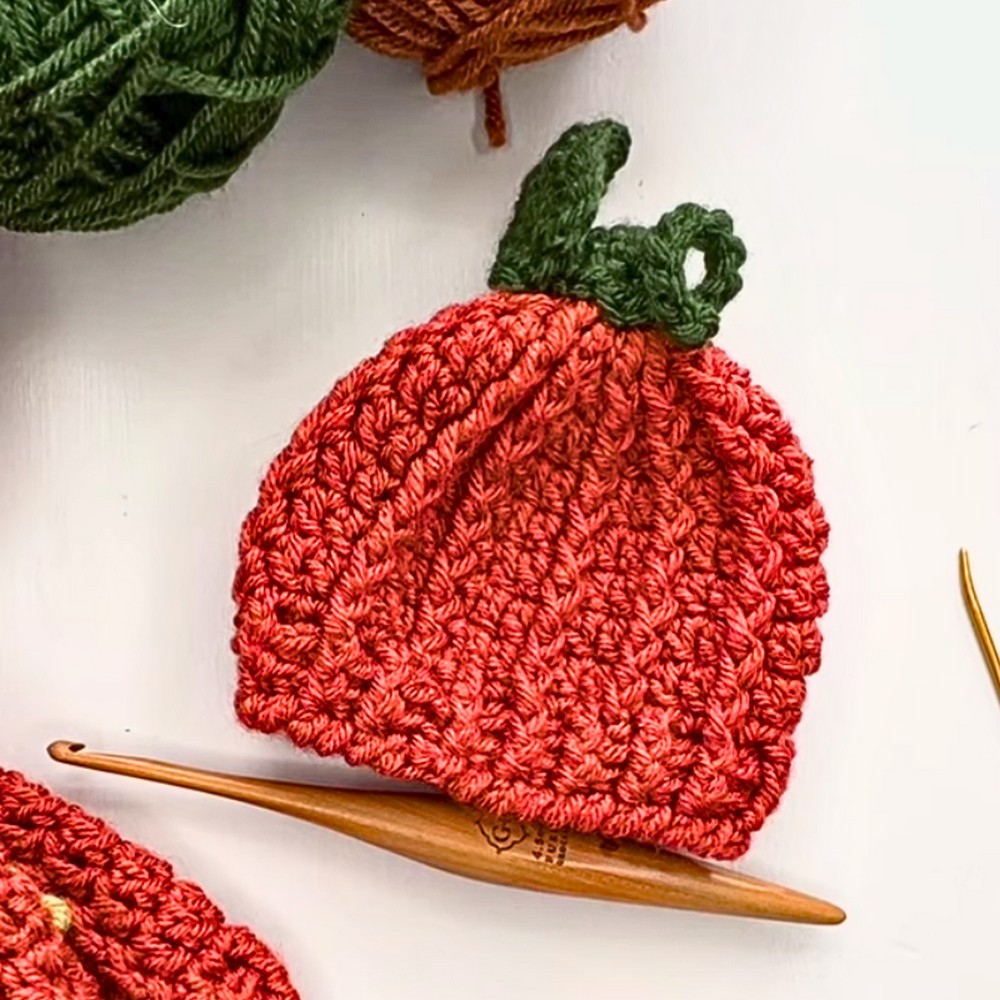
- Premature baby, baby, toddler, child, teen, and adult. You are making the premature baby size in the tutorial, but the instructions can be adapted for all other sizes.
You can customize the hat size by adjusting the number of rounds for the crown and body of the hat. You can also customize the number of rounds for the stalk, the curls, and the size or shape of the leaf.
Pattern Abbreviations & Terminology
This tutorial uses US crochet terminology:
- ch – Chain
- sc – Single Crochet
- sl st – Slip Stitch
- dc – Double Crochet
- hdc – Half Double Crochet
- fpdc – Front Post Double Crochet
- bp hdc – Back Post Half Double Crochet
- magic ring – Magic Circle/Ring
Step-by-Step Detailed Crochet Instructions
Hat Crown
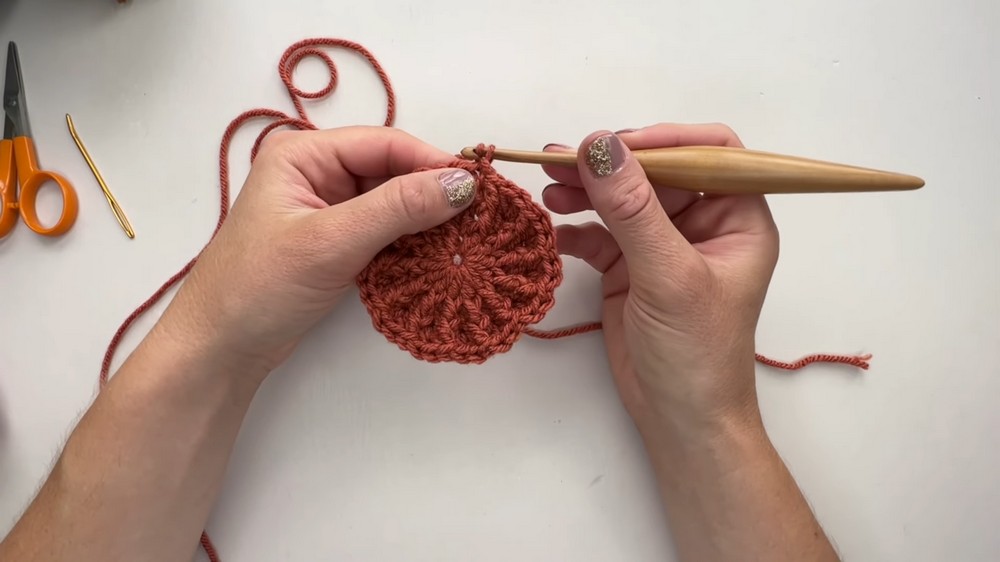
- Round 1:
- Create a magic ring (wrap yarn twice, scoop under to grab one loop, and pull through).
- Chain 1, then work 12 double crochet (dc) into the ring for the premature size (refer to the pattern for stitch adjustments for larger sizes, e.g., some will require 11 stitches).
- Pull the magic ring closed tightly.
- Slip stitch (sl st) into the first stitch to join the round. (Round 1 complete: 12 dc.)
- Round 2:
- Chain 1.
- In each stitch around, work the following:
- 1 dc into the stitch.
- 1 fpdc (front post double crochet) around the same stitch.
- Continue this pattern of “dc + fpdc” in each stitch [total: 24 stitches].
- Slip stitch (sl st) into the first stitch to join the round.
- Round 3:
- Chain 1.
- In the first stitch, work 2 dc.
- In the next stitch (a fpdc from the previous round), work 1 fpdc.
- Repeat: “2 dc in one stitch, 1 fpdc in the next stitch”.
- Slip stitch (sl st) into the first stitch to join the round.
- Larger sizes: Add additional increase rounds following the same principle (maintaining front post stitches in a “line”).
- Increase the stitch count according to your pattern instructions for your selected size.
Hat Body
- Body Rounds:
- Chain 1.
- Work 1 dc in each dc and 1 fpdc around each fpdc from the previous round.
- Continue this pattern for additional rounds.
- For larger sizes, ensure the stitch count and the number of repetitions match the pattern instructions.
- The height of the body can be customized—add or reduce rounds to suit your preferences or try it on for fit.
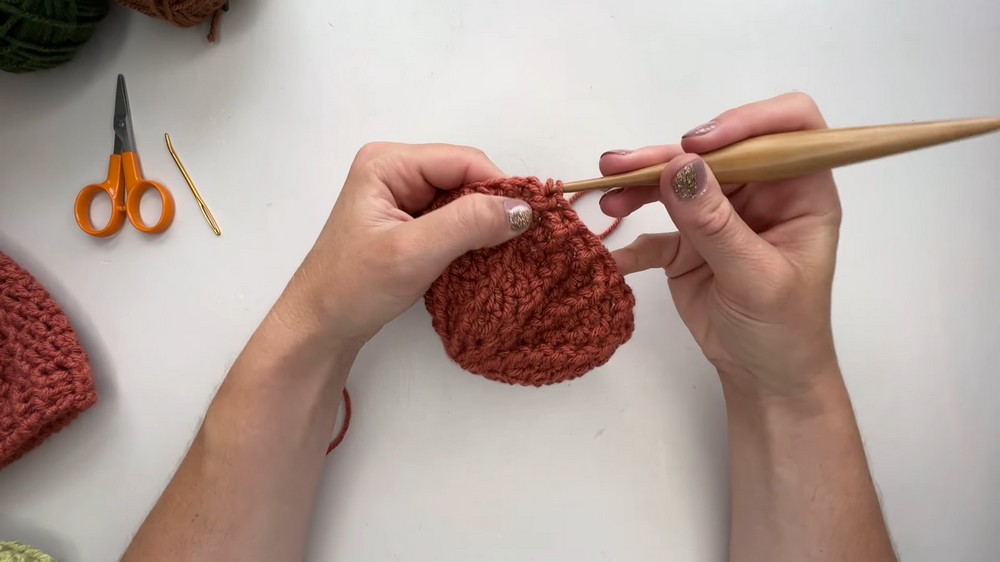
Hat Band (Ribbing Cuff)
- Round 1:
- Chain 1.
- Alternate between bp hdc (Back Post Half Double Crochet) and fp hdc (Front Post Half Double Crochet) around.
- Repeat until the round is complete.
- Slip stitch (sl st) into the first stitch to join.
- Round 2 (and additional rounds if needed):
- Chain 1.
- Repeat the ribbing procedure, working bp hdc over bp hdc and fp hdc over fp hdc from the previous round.
- Continue until the cuff reaches the desired height.
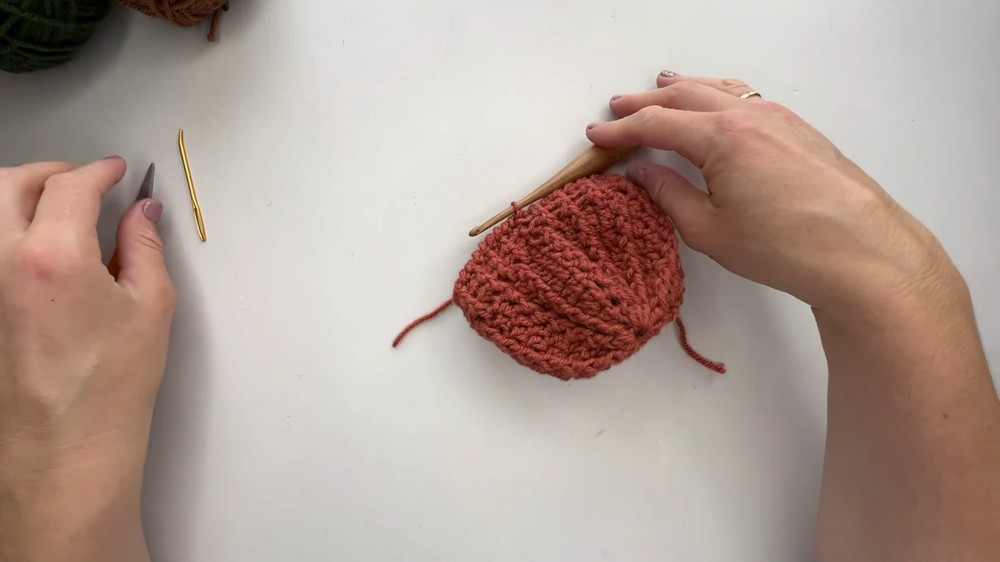
Final Edging
- Reverse Single Crochet (optional) for edging:
- Chain 1.
- Work reverse single crochet into each stitch around, moving counterclockwise instead of clockwise.
- Slip stitch (sl st) into the first stitch.
- Break yarn and weave in the end.
Stalk, Leaf & Twirls
Stalk
- Round 1:
- Create a magic ring, chain 1, and work 6 sc into the ring. Pull to tighten.
- Begin continuous rounds (do not slip stitch to join subsequent rounds).
- Rounds 2-5:
- Work 1 sc in each stitch.
- If you want a taller stalk, continue additional rounds of sc until it’s the desired height.
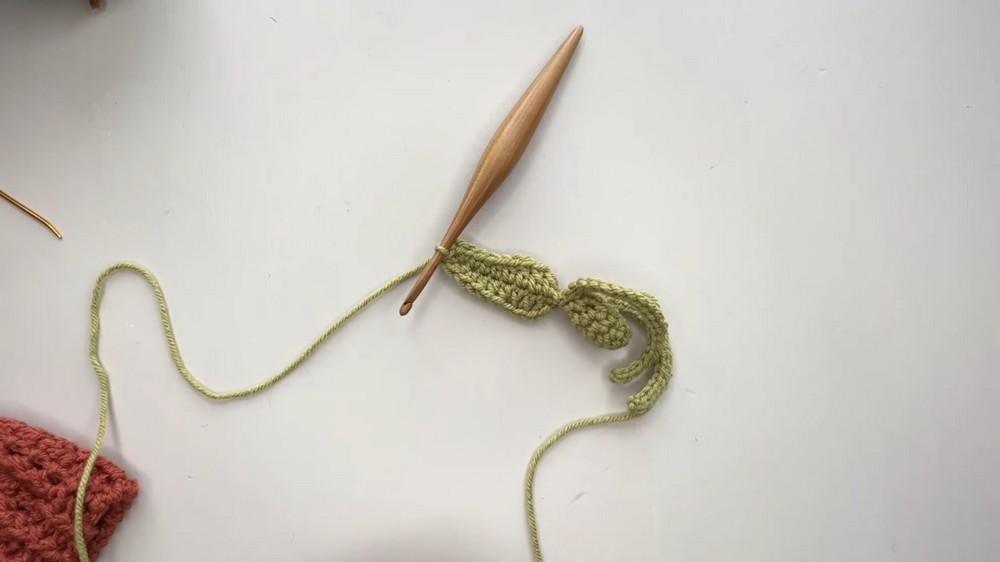
Twirls
- Chain 19 (or desired length).
- Work a sl st into the second chain from the hook and in each chain along.
- Tighten the slip stitches to create a curling effect.
- Once done, sl st into the next stitch at the base of the stalk.
- Repeat for a second twirl.
Leaf
- Chain 10.
- Work the following back along the chain:
- 1 sc in the second chain, 1 sc in each of the next two chains.
- 1 hdc in each of the next three chains.
- 1 dc in each of the next three chains.
- Mirror the pattern on the other side of the leaf:
- Slip stitch into the side of the last dc to return to the chain.
- Work 1 dc in three stitches, 1 hdc in three stitches, and 1 sc in three stitches.
- Slip stitch into the base of the stalk to secure the leaf.
Finishing
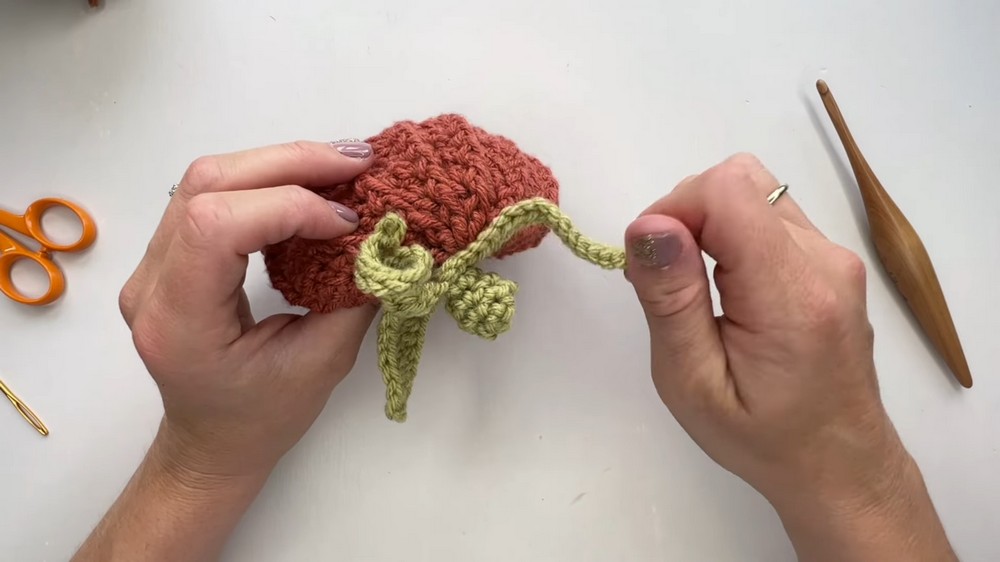
- Secure the stalk, leaf, and twirls to the top of the hat using the yarn tail from the stalk.
- Sew through the magic ring of the hat crown to attach securely.
- Adjust the twirls by wrapping them around your finger to create spirals.
- You can optionally use spray starch for stiffness.
- Weave in all ends and trim excess yarn.