Textured Yellow Crochet Hat Pattern – Water Ripple Beanie
Add cozy texture to your winter wardrobe with this yellow crochet hat tutorial, featuring rippled ridges, simple stitches, and a fluffy pom-pom finish.
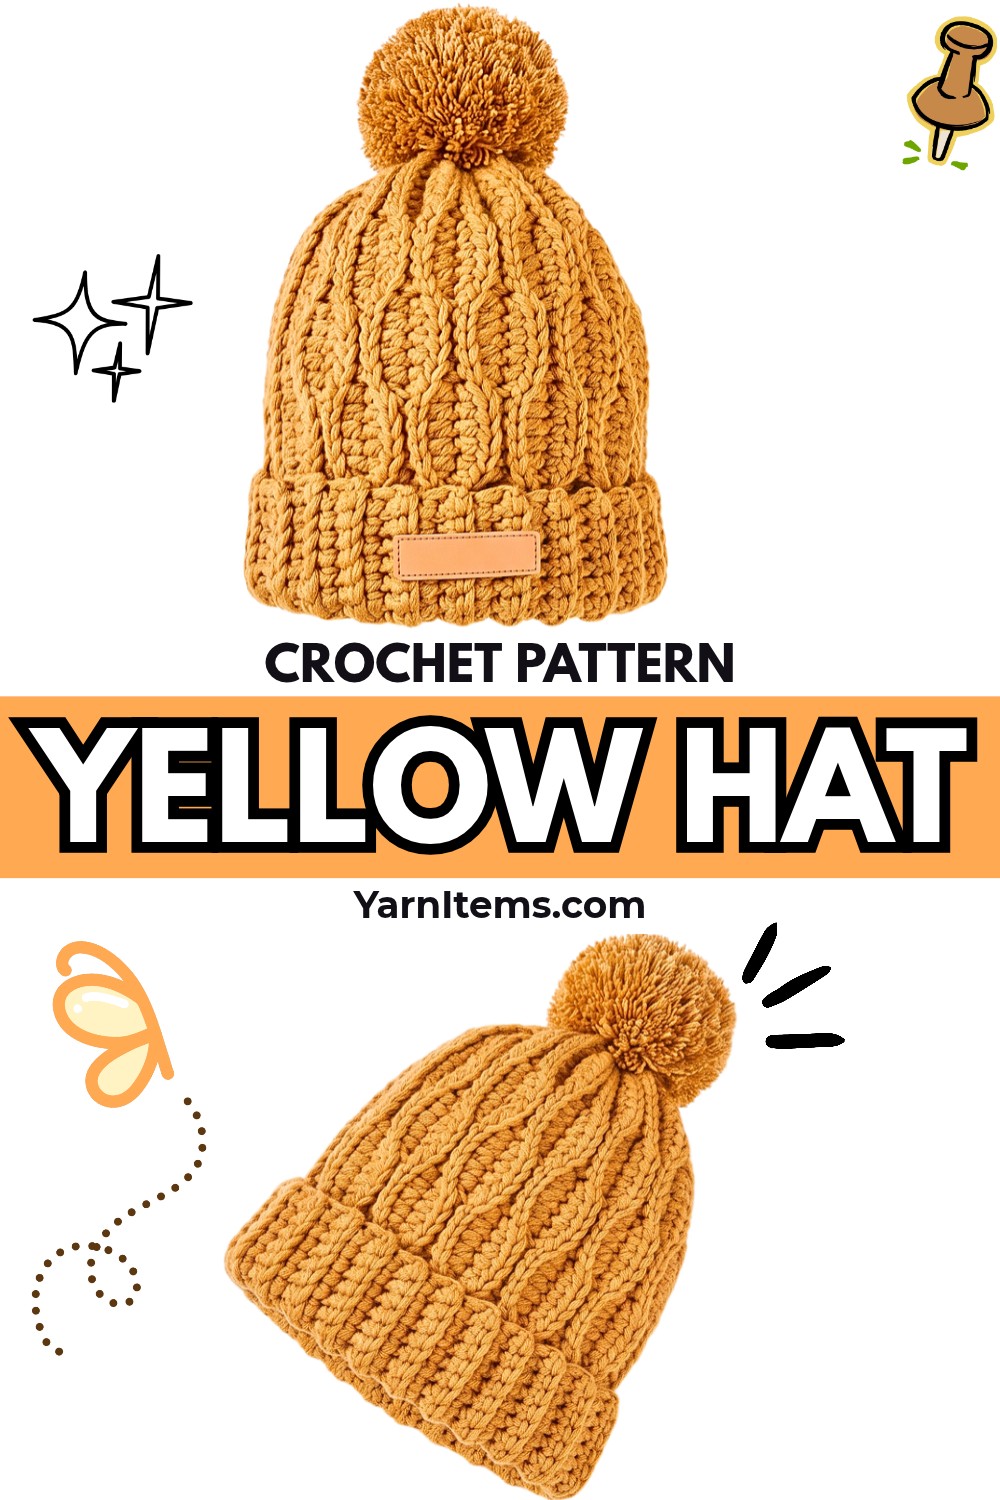
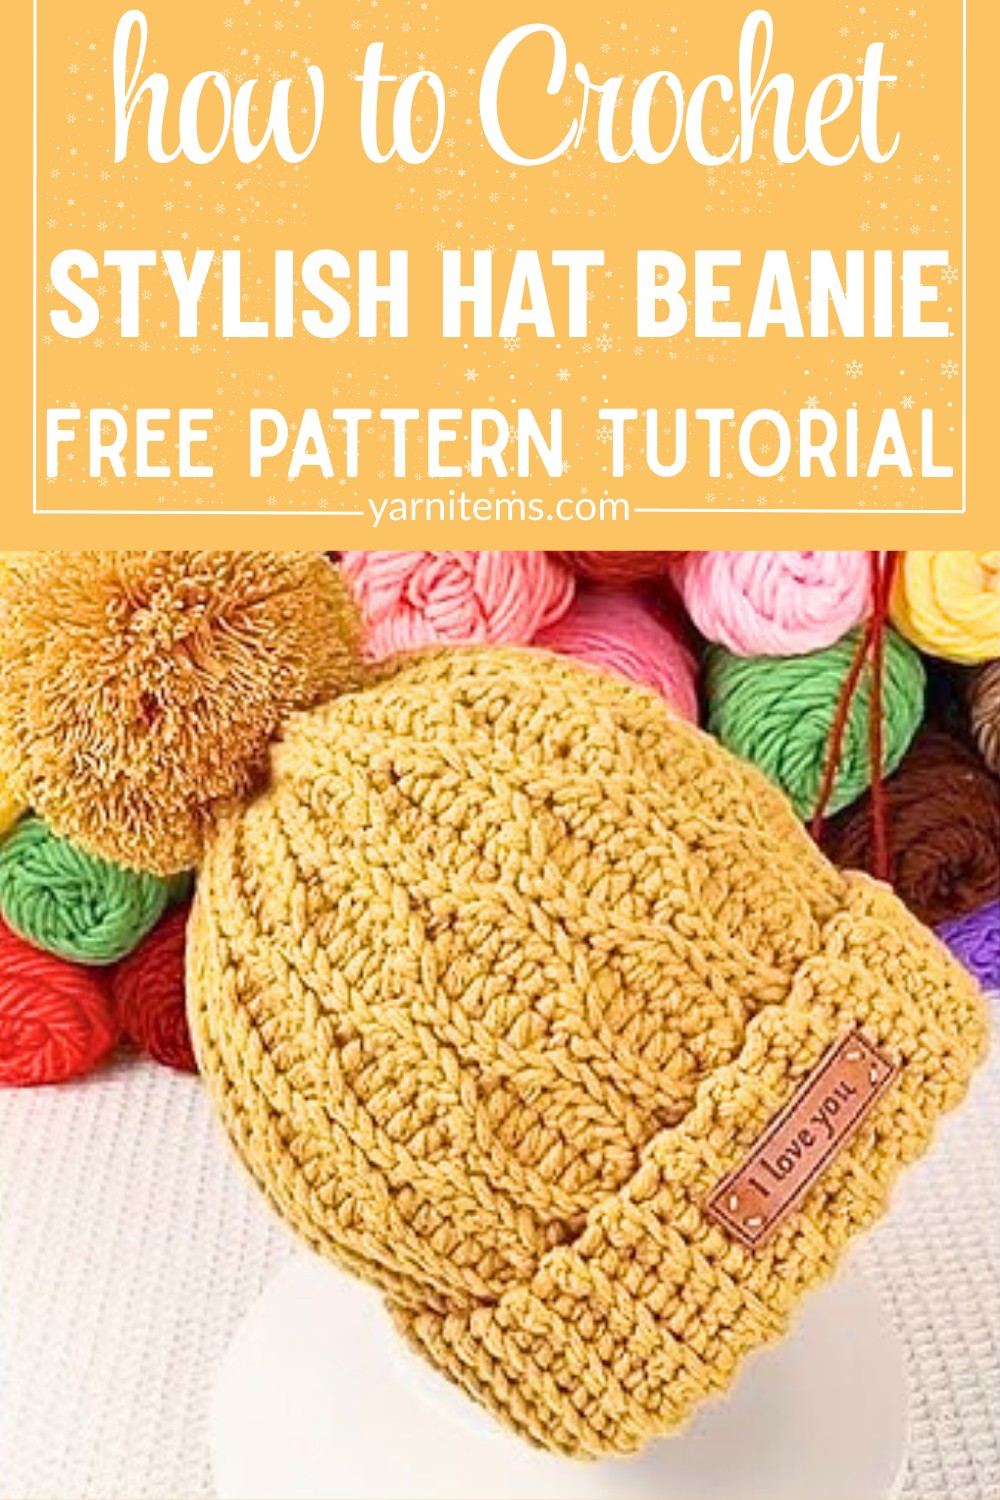
This textured yellow crochet hat combines simple stitches with raised ridges for a distinctive water-ripple effect. Its flat-panel construction makes crochet easier to follow, especially for makers who prefer working back and forth instead of shaping a hat in rounds.
In this crochet tutorial, you’ll learn how to build textured rows, choose a starting chain for your intended size, and turn a rectangular panel into a finished beanie. Clear assembly guidance covers seaming, closing the crown, and adding a fluffy pom-pom for a polished finish.
Credit: anxin_crochet
Materials & Tools Needed
- Yarn: Ginger 8-strand lover cotton yarn, as used in the tutorial.
- Crochet hook: 4.5 mm.
- Yarn needle: For joining the panel, closing the crown, and weaving in ends.
- Stitch markers: To mark important points and help track your progress.
- Pom-pom maker: A medium or large tool for creating a fluffy topper.
- Scissors: For cutting yarn and trimming the pom-pom.
- Optional leather label: An “I love you” tag or another decorative label for the folded brim.
Choose Your Starting Size
The hat is made as a flat rectangle, then folded and seamed into a beanie. According to the supplied tutorial notes, choose your foundation chain using this size guide.
Toddler (ages 1-3 years): Head circumference 47-49 cm. Start with a foundation chain of 40 stitches.
Child (ages 4-7 years): Head circumference 50-53 cm. Start with a foundation chain of 42 stitches.
Older child, teen, or adult: Head circumference 54-56 cm. Start with a foundation chain of 47 stitches.
The foundation chain determines the height of the hat panel, while the number of rows determines its length around the head. Measure your panel as you work and compare it with the intended wearer’s head circumference, allowing for the stretch of your yarn and fabric.
Important fit note: The foundation chain sets the panel’s height, while the number of rows determines its length around the head. Measure the panel as you work and compare it with the intended wearer’s measurements. Yarn thickness and personal tension can affect the final fit.
Crochet Abbreviations
- ch: Chain
- sc: Single crochet
- hdc: Half double crochet
- sl st: Slip stitch
- R: Row
The pattern uses US crochet terminology.

How to Crochet the Water Ripple Beanie
Step 1: Make the Foundation Chain
Begin with your 4.5 mm crochet hook and ginger cotton yarn. Make a slip knot, then work the starting chain for your chosen size:
- Toddler: ch 40
- Child: ch 42
- Older child, teen, or adult: ch 47
Keep your chains relaxed and consistent. A tight foundation chain can make one edge of your finished panel pull inward, so take care not to tighten each chain too much.
Pattern check: The supplied row instructions account for 25 stitches per row-10 sc, 5 sl st, 5 hdc, and 5 sl st-while the listed foundation chains contain 40, 42, or 47 chains. The remaining stitches are not explained in the supplied breakdown. Confirm the complete row placement against the original video before treating these instructions as a fully verified pattern.

Step 2: Work Row 1 – Brim to Crown
Turn your work and skip the turning chain as described in the tutorial. Work the stitch sections in sequence:
- Make 10 sc to form the brim section.
- Work 5 sl st.
- Work 5 hdc.
- Work 5 sl st to reach the crown side.
The different stitch heights create the beginning of the hat’s textured profile. Single crochet produces a shorter, firmer section, while half double crochet adds height and slip stitches create a lower ridge.
Check that your stitches sit evenly along the chain. If the fabric twists or one section looks noticeably tighter, adjust your tension before continuing.
Step 3: Work Row 2 – Crown to Brim
Turn your work and follow the reverse sequence supplied for this row:
- Work 5 sl st along the crown edge.
- Work 5 hdc.
- Work 10 sc along the brim edge.
This return row begins building the raised and recessed texture. Keep track of each stitch section so the lower brim edge stays consistent as the panel grows.
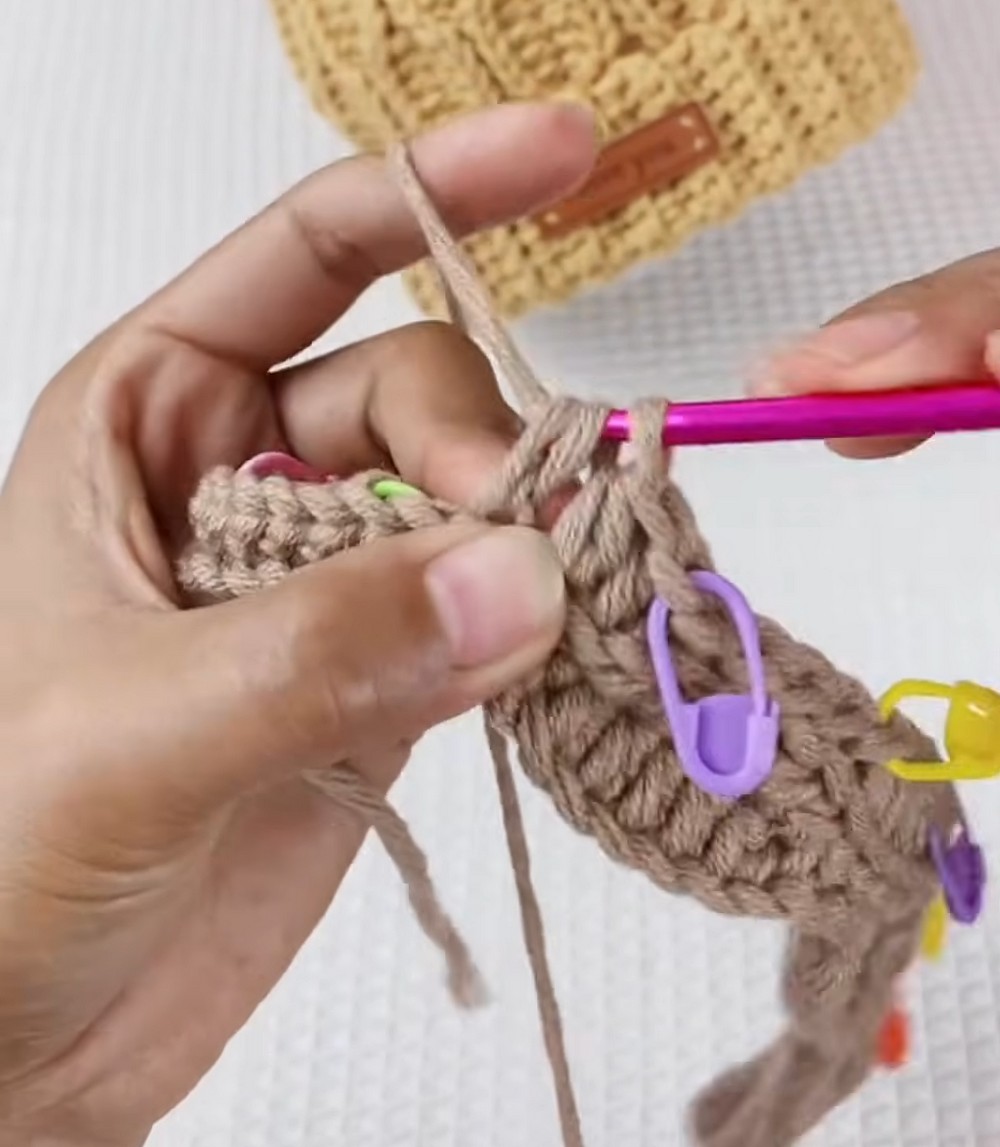
Step 4: Work Row 3
Turn your work. For Row 3, work from the brim toward the crown:
- Work 10 sc along the brim edge.
- Work 5 hdc.
- Work 5 sl st along the crown edge.
Maintain steady tension across each section. The contrast between the short stitches and taller hdc stitches is what gives this design its rippled appearance.
Step 5: Work Row 4
Turn your work and follow the reverse direction again:
- Work 5 sl st along the crown edge.
- Work 5 hdc.
- Work 10 sc along the brim edge.
Keep your stitch groups in their intended positions. Consistent placement helps the ridges line up and makes the finished fabric look more deliberate.
Step 6: Repeat Rows 1-4
Continue repeating Rows 1 through 4 in sequence, following the original tutorial’s stitch placement. These alternating rows build the water-ripple texture across the panel.
Every few rows, lay your work flat and check the shape. Look for even edges and clearly defined ridges. If the fabric begins to widen, narrow, or twist unexpectedly, review your stitch placement before adding more rows.
Continue until the panel’s long edge measures close to the desired hat circumference. Compare this measurement with the intended wearer’s head measurement, allowing for the stretch and fit of your yarn and fabric.
Before moving on: Confirm that the complete row instructions have been verified against the video, especially the difference between the foundation-chain counts and the 25 stitches described in each row.

Assemble the Hat
Step 7: Fold and Seam the Panel
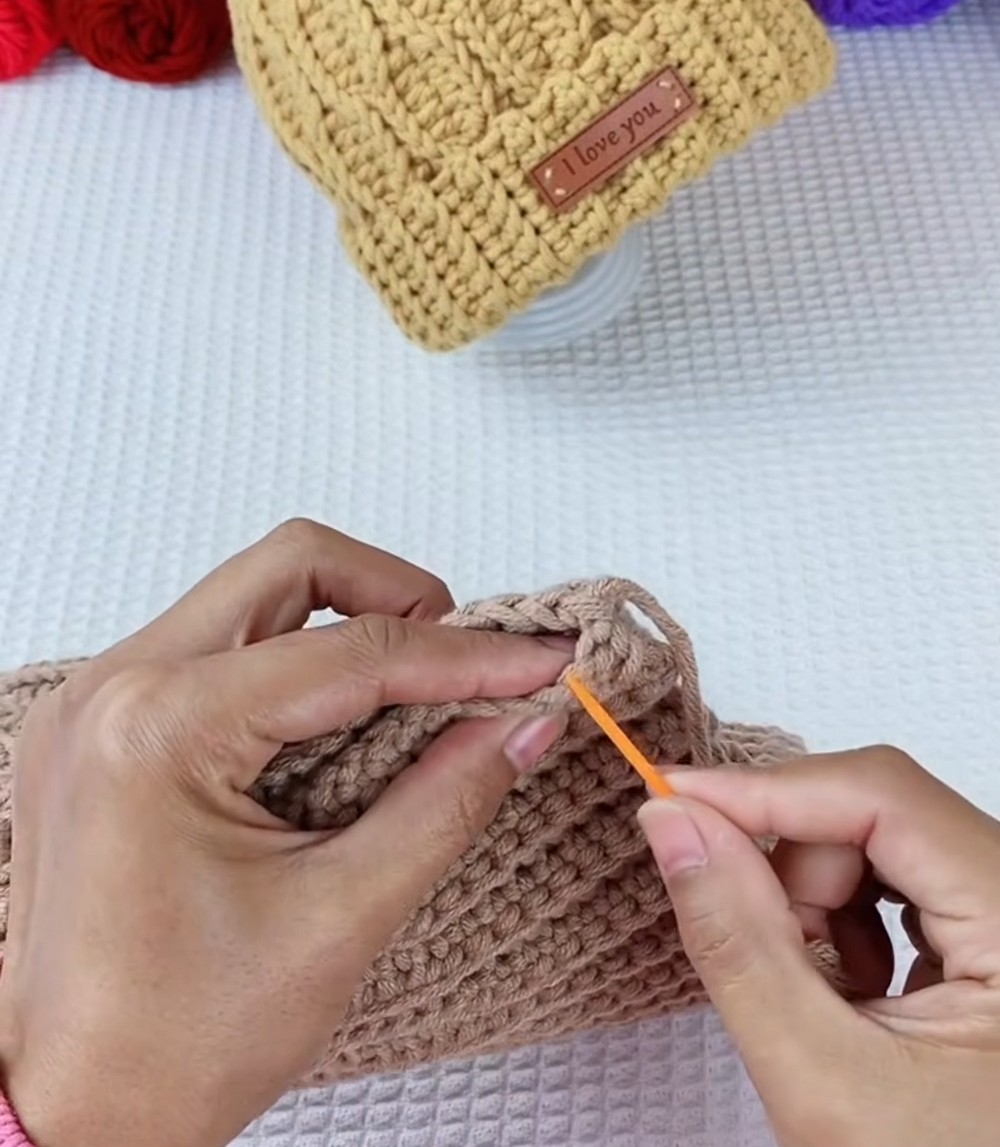
Once your rectangular panel reaches the desired length, fold it in half so the two side edges line up. Follow the orientation shown in the tutorial.
Thread your yarn needle with a double strand of yarn. Starting at the bottom brim, sew the side edges together toward the crown using either whip stitch or mattress stitch.
- Whip stitch: A straightforward option for joining two edges securely.
- Mattress stitch: A useful alternative when you prefer a less noticeable seam.
Keep the edges aligned as you sew. Avoid pulling the yarn so tightly that the seam puckers or the textured fabric loses its shape.
Step 8: Gather and Close the Crown
Thread your yarn needle with a length of yarn and pass it in and out through the loops along the open top edge of the hat. Continue around the entire opening.
Pull the yarn gradually to gather the fabric into a closed crown. Check that the opening closes evenly rather than forming one large fold on one side.
Once the crown is fully closed, secure the yarn with firm knots on the inside. Weave in the remaining end so it stays hidden and does not loosen during wear.
Make and Attach the Pom-Pom
Step 9: Wrap the Pom-Pom Maker
Open your medium or large pom-pom maker and wrap yarn evenly around both arches. Build up enough yarn for a full pom-pom, keeping the wrapping reasonably even so the finished shape looks balanced.
Close the tool securely. Using scissors, cut the wrapped yarn along the outer groove.
Step 10: Tie and Shape the Pom-Pom
Wrap a separate length of yarn tightly around the center channel between the plastic discs. Tie it securely to hold all the cut strands together before removing the pom-pom from its maker.
Carefully open and remove the tool. Fluff the yarn with your fingers or a comb, then trim uneven ends to create a rounded shape. Leave the two long center ties intact because you will use them to attach the pom-pom to the hat.

Step 11: Attach the Pom-Pom
Position the pom-pom over the closed crown. Thread its long ties through the top of the hat and secure them firmly on the inside.
Weave in the tails and check that the pom-pom sits upright. Give it a gentle tug to make sure the attachment is secure.
Add the Optional Leather Label
Step 12: Sew on the Decorative Tag
Fold the brim into your preferred position and decide where you want the leather label to sit. Use a double strand of matching yarn to sew it firmly onto the folded brim edge, following the tutorial’s placement.
Keep the stitches secure without pulling the label so tightly that the brim puckers. If you prefer a simpler finish, leave the tag off and let the yellow ripple texture stand out on its own.

Final Fit and Finishing Checks
Before wearing or gifting your beanie, check these details:
- The side seam lies flat without bulky folds.
- The crown is completely closed and securely knotted.
- The pom-pom is firmly attached.
- Loose yarn ends are woven in and trimmed.
- The brim sits comfortably without distorting the ripple pattern.
- The finished hat fits its intended wearer.