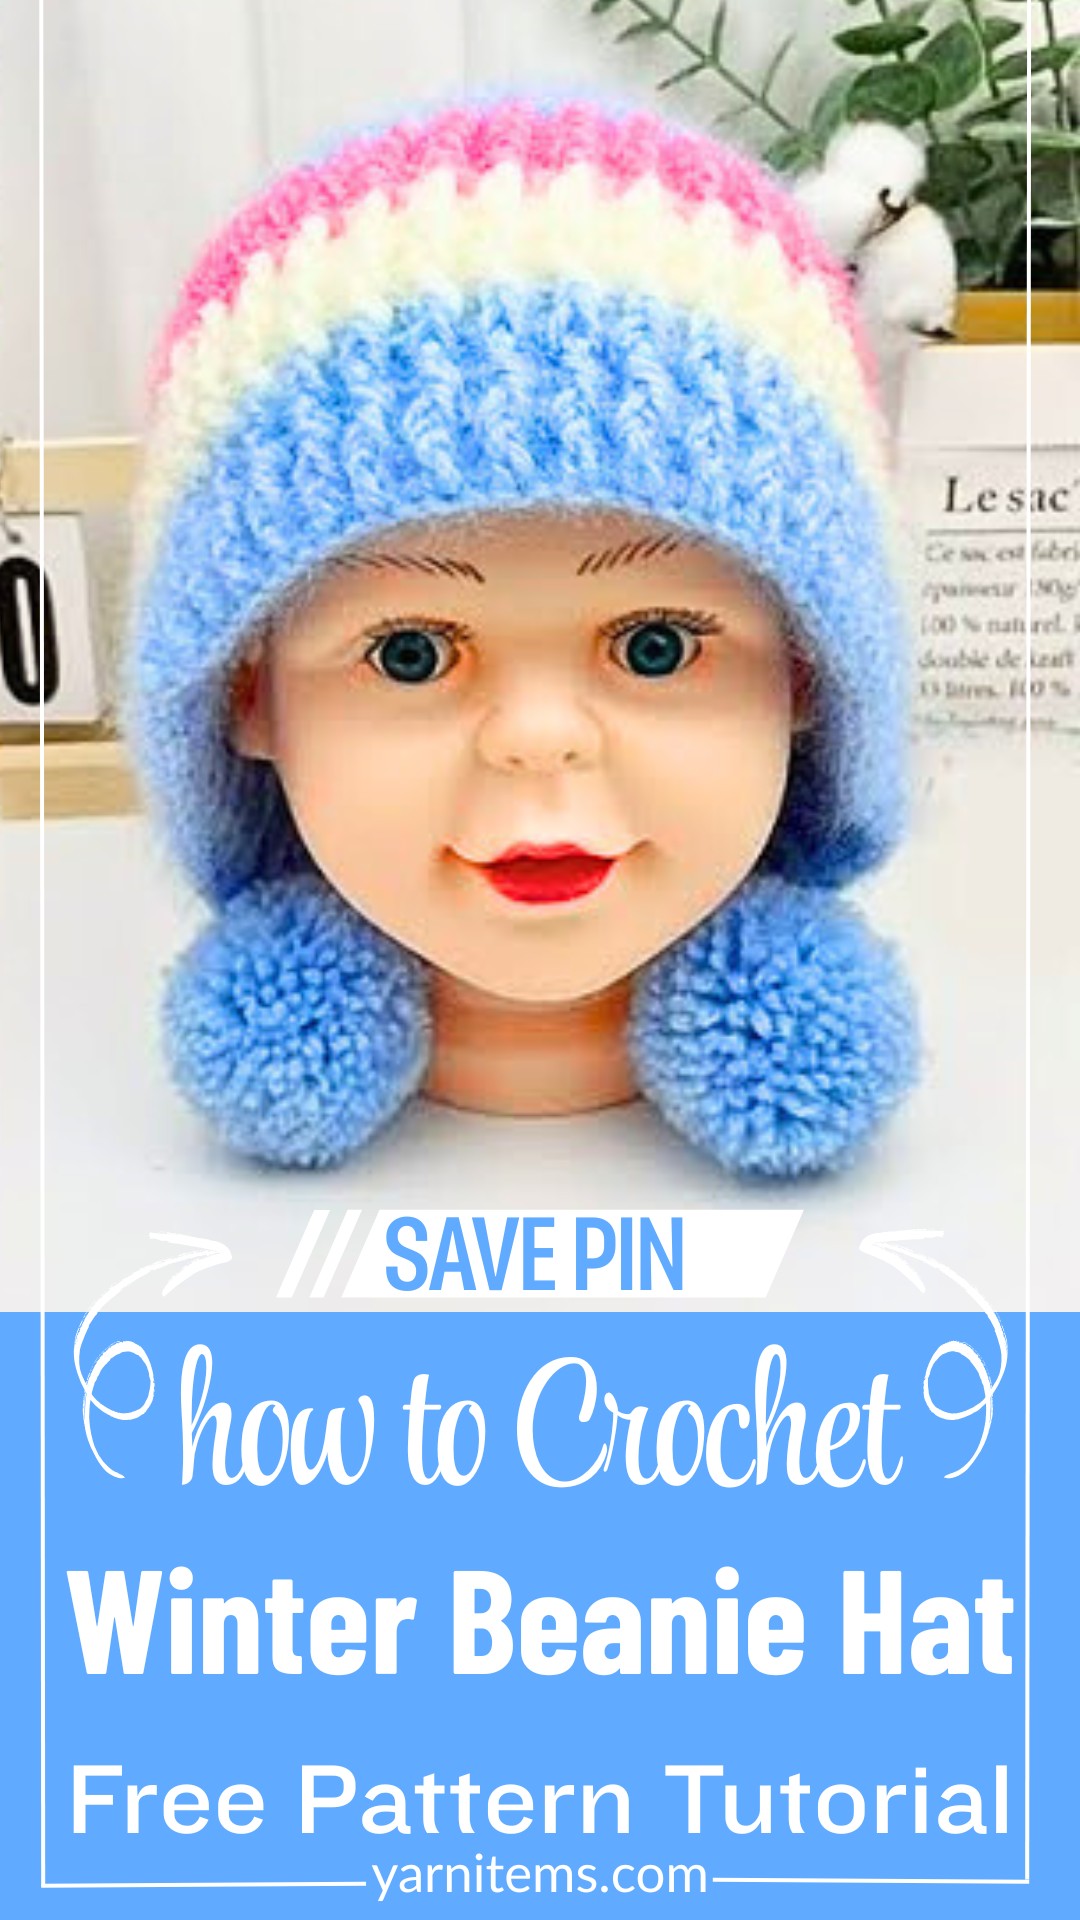
How to Crochet a Warm Winter Beanie Hat: Easy Pattern for Beginners
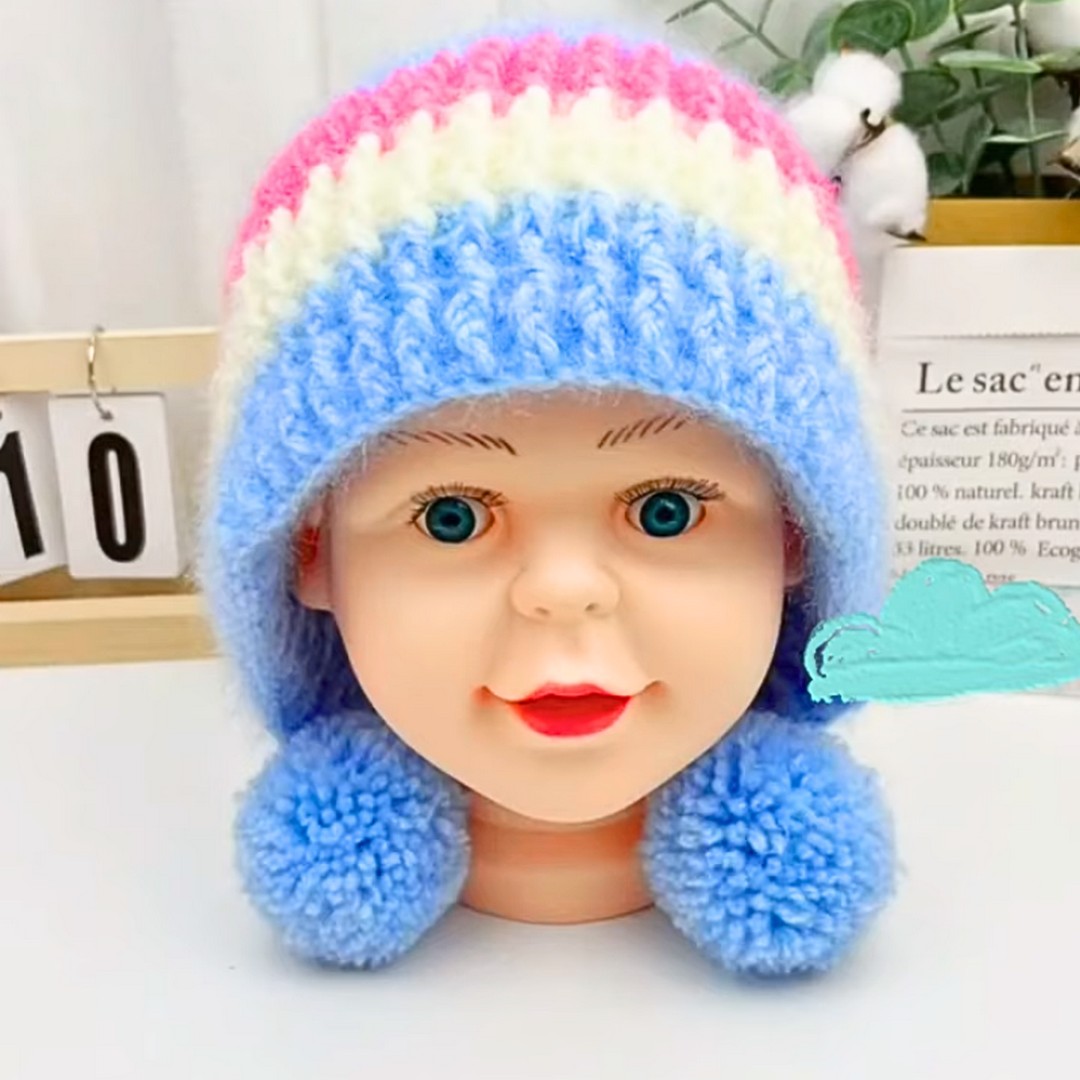
A single handmade crochet beanie can completely transform the way winter feels. This cozy crochet piece blends warmth, comfort, and timeless style into something you’ll enjoy wearing every chilly day.
Its soft texture and classic shape make it an easy match for casual outfits while adding a personal handmade touch. Creating this item is both enjoyable and rewarding, especially when you see it come together stitch by stitch.
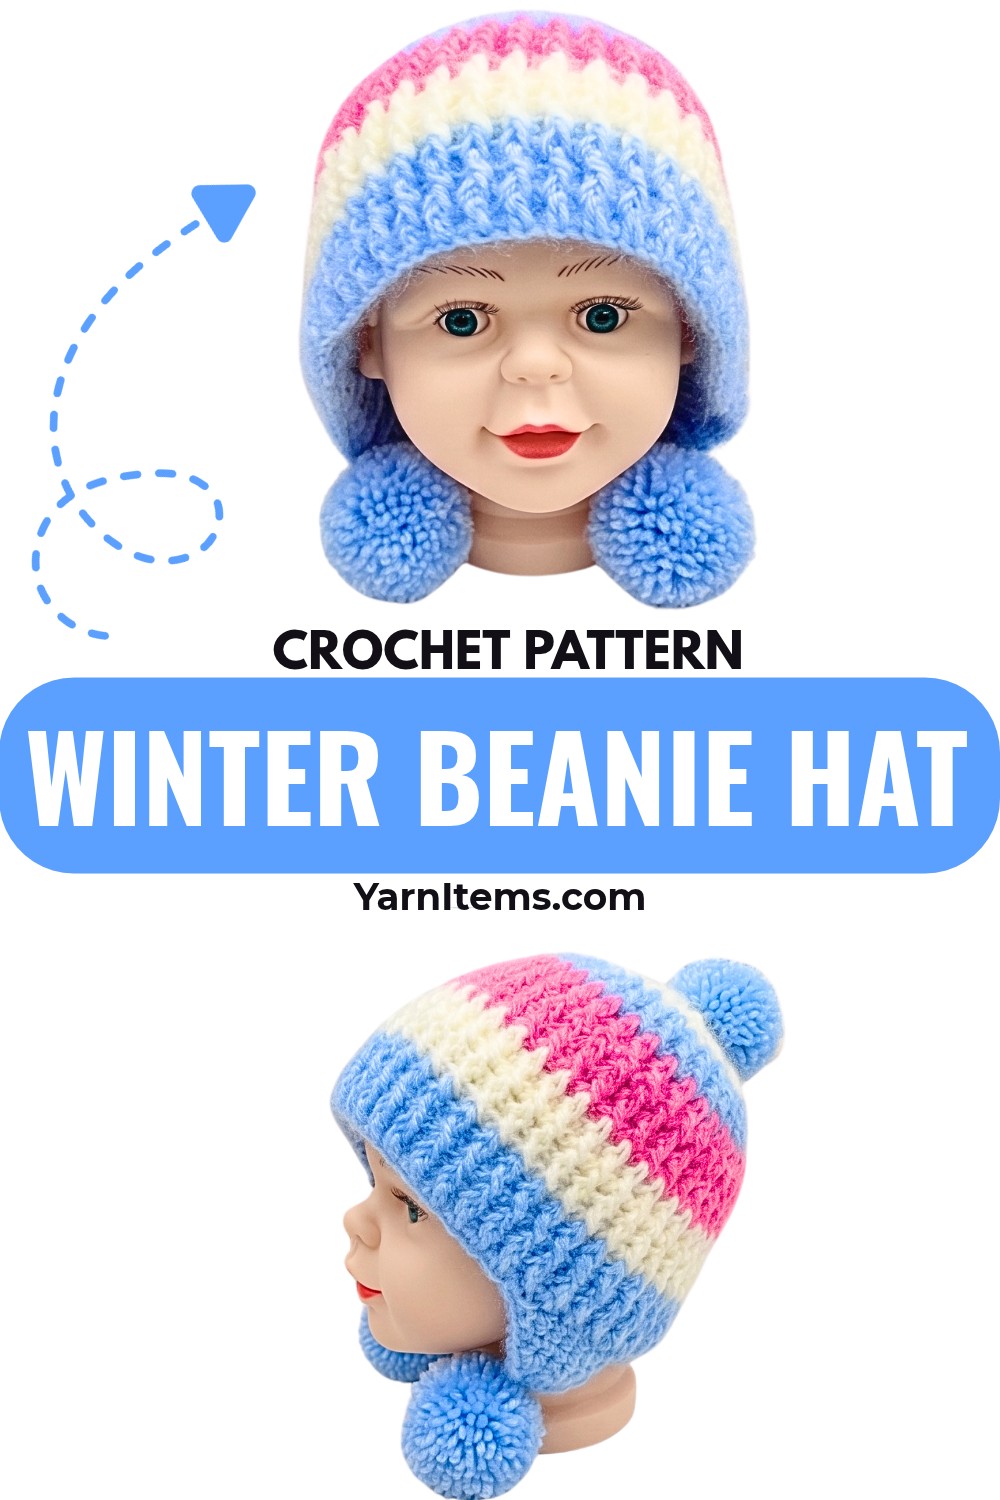
The best winter accessories are often the ones made with care and attention. This crochet beanie is lightweight enough for everyday wear while providing the warmth needed on colder days. It also makes a thoughtful handmade gift that friends and family will appreciate throughout the season. With simple construction and a polished finish, this crochet piece is a wonderful choice for anyone looking to create something practical and stylish.
Credit anxin_crochet
Materials & Tools Needed
- Yarn: Chunky or medium-weight acrylic/wool-blend yarn in 2 or more contrasting colors (e.g., Pink and Blue).
- Crochet Hook: Suitable for your chosen yarn weight (typically 4.5 mm – 5.5 mm for winter beanies).
- Stitch Marker/Buckle: Helps mark the top of the turning chain (especially useful for beginners).
- Yarn Needle & Scissors: For weaving in the ends and closing the crown.
Finished Size & Customization Ideas
1. Sizing Options
- Instructions are provided for Child and Adult sizes.
2. Starting Chain Reference Table
- Child Size: Begin with 68, 72, 74, or 76 chain stitches.
- Adult Size: Begin with 82, 84, or 88 chain stitches.
3. Customization Ideas
- Create a matching Parent-Child set.
- Add stripes by changing yarn colors:
- For the bottom section, switch colors every 4 rows.
- For the top section, switch colors every 3 rounds.
Pattern Notes
Stitch Requirement
- Starting Chain Count: Always ensure the starting chain count is an even number.
Sizing Rule of Thumb
- Fit Adjustment: Wrap your initial chain loosely around the head to verify the fit before starting Row 1.
Construction of the Hat
- Begin with a Flat Ribbed Band: Create a flat ribbed band first.
- Join into a Circle Mid-Way: After finishing the band, join it into a circle.
- Work Continuously from Crown to Decreases: Proceed in continuous rounds for the rest of the hat, through the crown decreases.
Standing Chains
- Standing chains at the start of joined rounds do not count as active stitches.
Pattern Abbreviations & Terminology
- ch: Chain Stitch
- sl st: Slip Stitch
- fpdc: Front Post Double Crochet (Outer Hook Double Crochet)
- bpdc: Back Post Double Crochet (Inner Hook Double Crochet)
- fpdc2tog / Decrease: Front Post Double Crochet 2 Together (Combining FPDC and BPDC into 1 Stitch)
- st(s): Stitch(es)
Tips Before You Start Crocheting
- Keep Chains Loose
- Avoid pulling your chain stitches too tight.
- Maintain relaxed tension while chaining to make it easier to work into the chain on subsequent rows.
- Work Into the Back Bump / Inner Ridge
- When working your first row of double crochets, insert your hook into the raised bump (the back of the chain stitch) instead of the front loops.
- This gives your piece a cleaner, more polished bottom edge.
- Mark Turning Chains
- Place a stitch marker in the 3rd chain of the turning chain.
- This makes it easy to identify edge stitches and avoid skipping or adding extras at the end of each row.
Step-by-Step Detailed Crochet Instructions
Phase A: Flat Ribbed Section
Starting Chain
- Slip Knot & Chain: Create a slip knot. Chain your size: (Child: 68–76 ch; Adult: 82–88 ch).
- Extra Chains: Chain an additional 3 chains. (These count as the first Double Crochet, DC).
Row 1: Foundation Row
- Prepare Yarn Over: Yarn over, locate the back ridge of the 4th chain from the hook.
- Insert Hook & Crochet: Insert your hook and complete a normal double crochet.
- Repeat Across: Continue working a DC into each chain’s back ridge to the end.
- Turn: Chain 3 and turn your work.
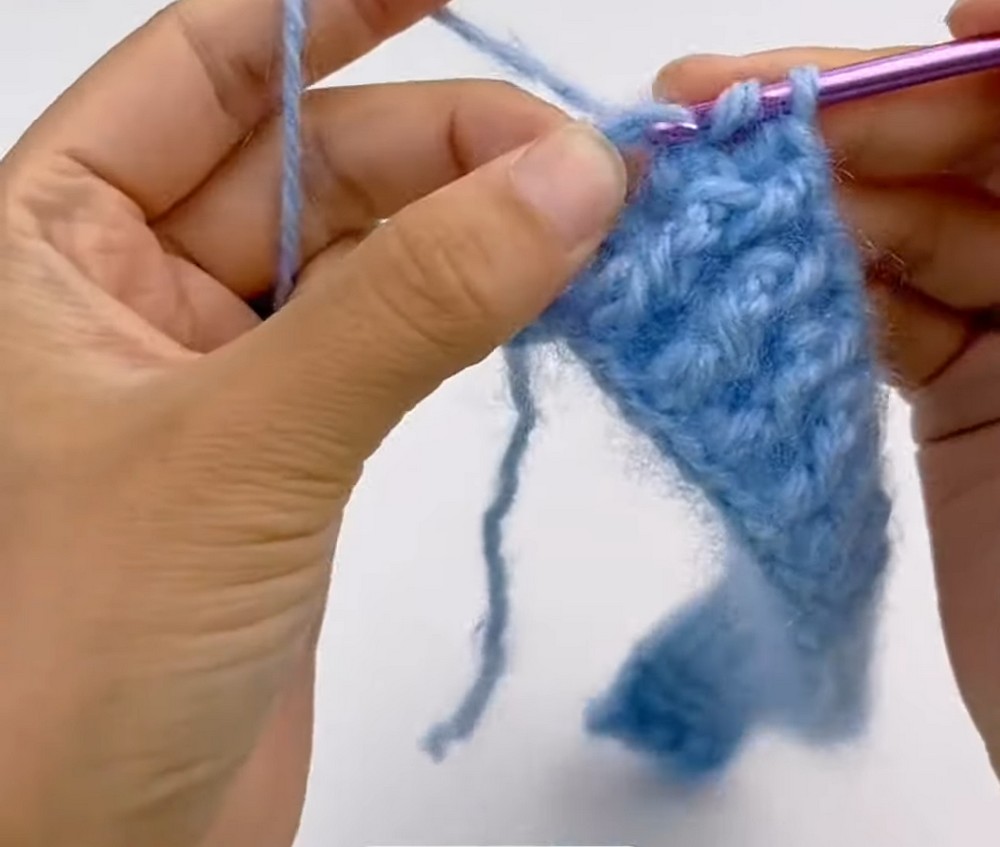
Row 2: Establishing 1×1 Post Ribbing
- Front Post DC (FPDC): Yarn over, insert the hook from front to back to front around the first DC post.
- Back Post DC (BPDC): Yarn over, insert the hook from back to front to back around the next DC post.
- Alternate Stitches: Continue the 1 FPDC and 1 BPDC pattern across the row.
- Edge Stitch: End with a regular DC into the 3rd chain of the turning chain.
- Turn: Chain 3 and turn.
Rows 3 & 4: Continuing Rib Pattern
- Maintain Texture: Work FPDC over FPDC and BPDC over BPDC.
- Row Edges: End with a DC in the turning chain. Chain 3 and turn.
Color Change & Extension
- Color Change: At the last DC in Row 4, change yarn color.
- Chain & Turn: Chain 3 with new color and turn.
- Row Count:
- Child Size: Complete a total of 10 rows.
- Adult Size: Complete a total of 12 rows.
- Color Changes: Change color every 4 rows.
Phase B: Joining the Band into a Round
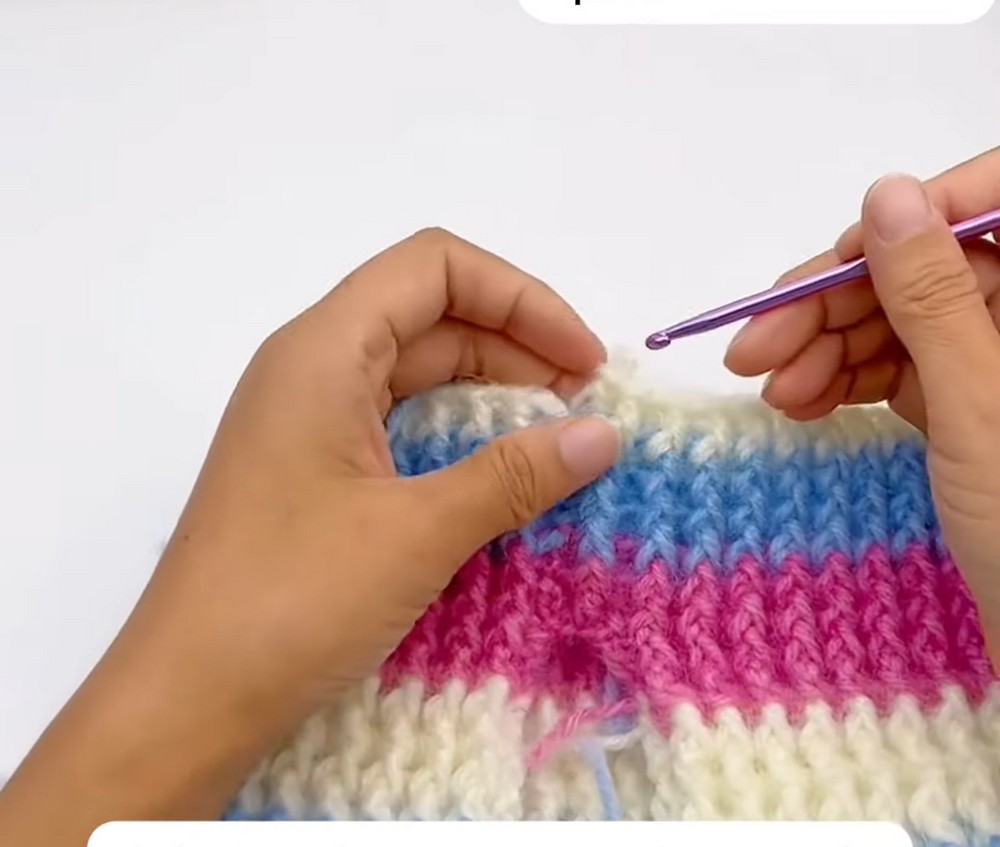
- Align Edges: Bring the two short edges together.
- Chain Bridge: Chain 2 (Child) or 4 (Adult) for join bridge.
- Join: Slip stitch into the corner on the opposite edge to form a circle.
Phase C: Main Crown Body
Round 1
- Chain 3 (Standing Stitch): Begin the round.
- Repeat Post Stitches: Work FPDC over FPDC and BPDC over BPDC.
- Chain Bridge Seam:
- 1 DC at Side Edge Stitch.
- Work 1 DC into each bridge chain.
- Join Round: Slip stitch into the first FPDC.
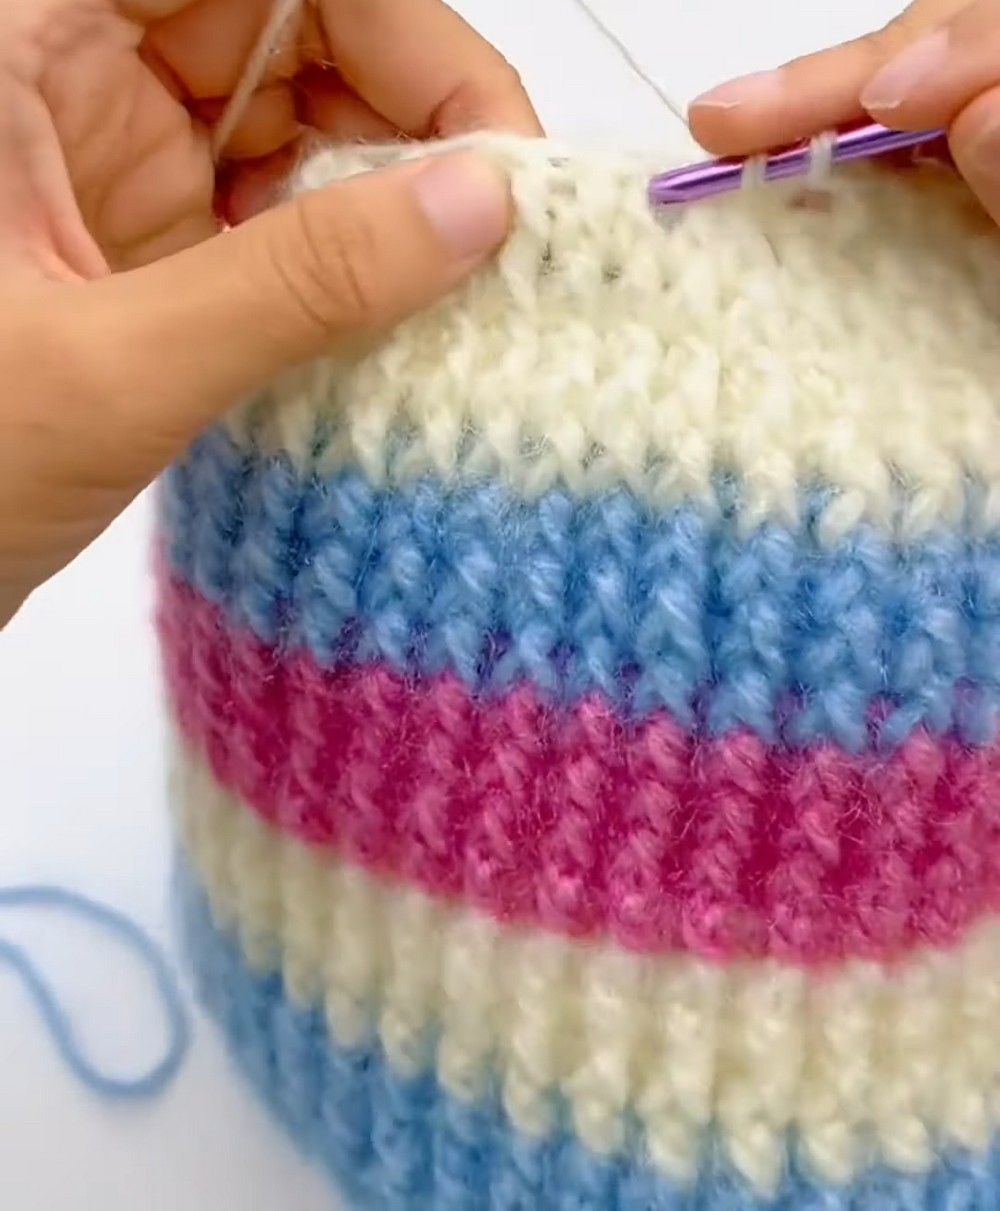
Rounds 2-Onward
- Chain 2 (Standing Stitch): Start each round.
- Continue Post Pattern: Maintain FPDC and BPDC sequences.
- Color Changes: Change colors every 3 rounds.
- Round Count:
- Child Size: 5 to 6 rounds.
- Adult Size: 6 to 8 (or up to 9 for larger heads).
Phase D: Crown Decrease Rounds
Decrease Round 1
- Chain 2 (Standing Stitch): Begin the round.
- Merge Stitches:
- Start an incomplete FPDC and then BPDC, pull through all loops to merge.
- Repeat: Complete around the crown.
- Join Round: Slip stitch to the initial Ch 2.
Decrease Round 2
- Continue with FPDC: Over each merged stitch.
- Complete Round: Slip stitch to the top of Ch 2.
Final Assembly & Finishing
- Fasten Off: Leave an 8–10 inch tail.
- Cinch the Crown: Thread the tail and weave it through the top stitches.
- Secure: Pull tight and knot inside. Weave in all ends.
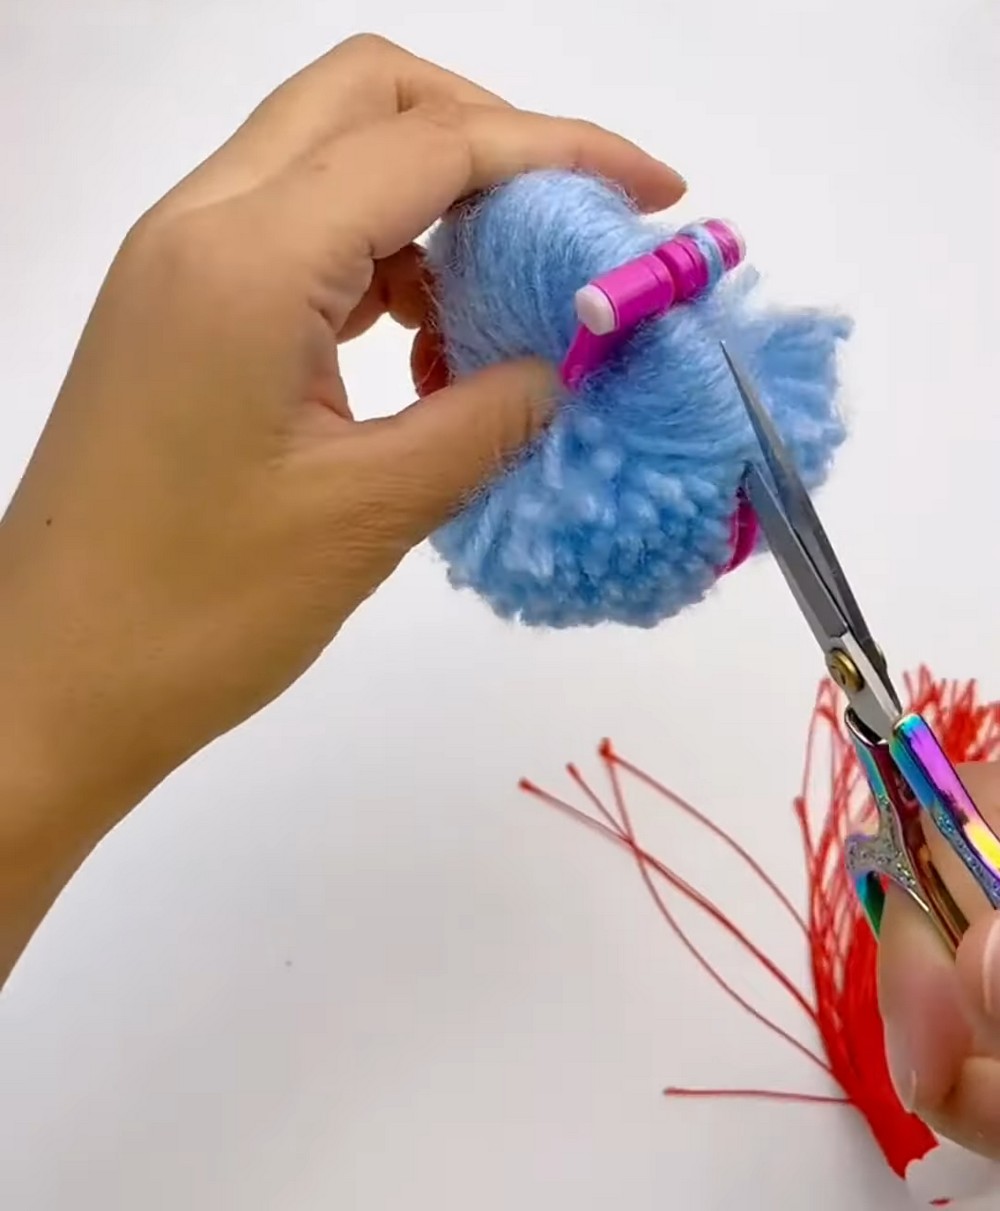
- Optional Pom-Pom: Attach if desired.
Conclusion
By following these steps, you can create a thick, warm, and stretchy winter beanie featuring clean post-stitch vertical ridges. This method is highly versatile and can easily be adapted to fit any head size—simply adjust your initial even-numbered chain count and row totals!
Happy crafting!