How to Crochet a Two-Color Checkered Beanie Hat for Beginners
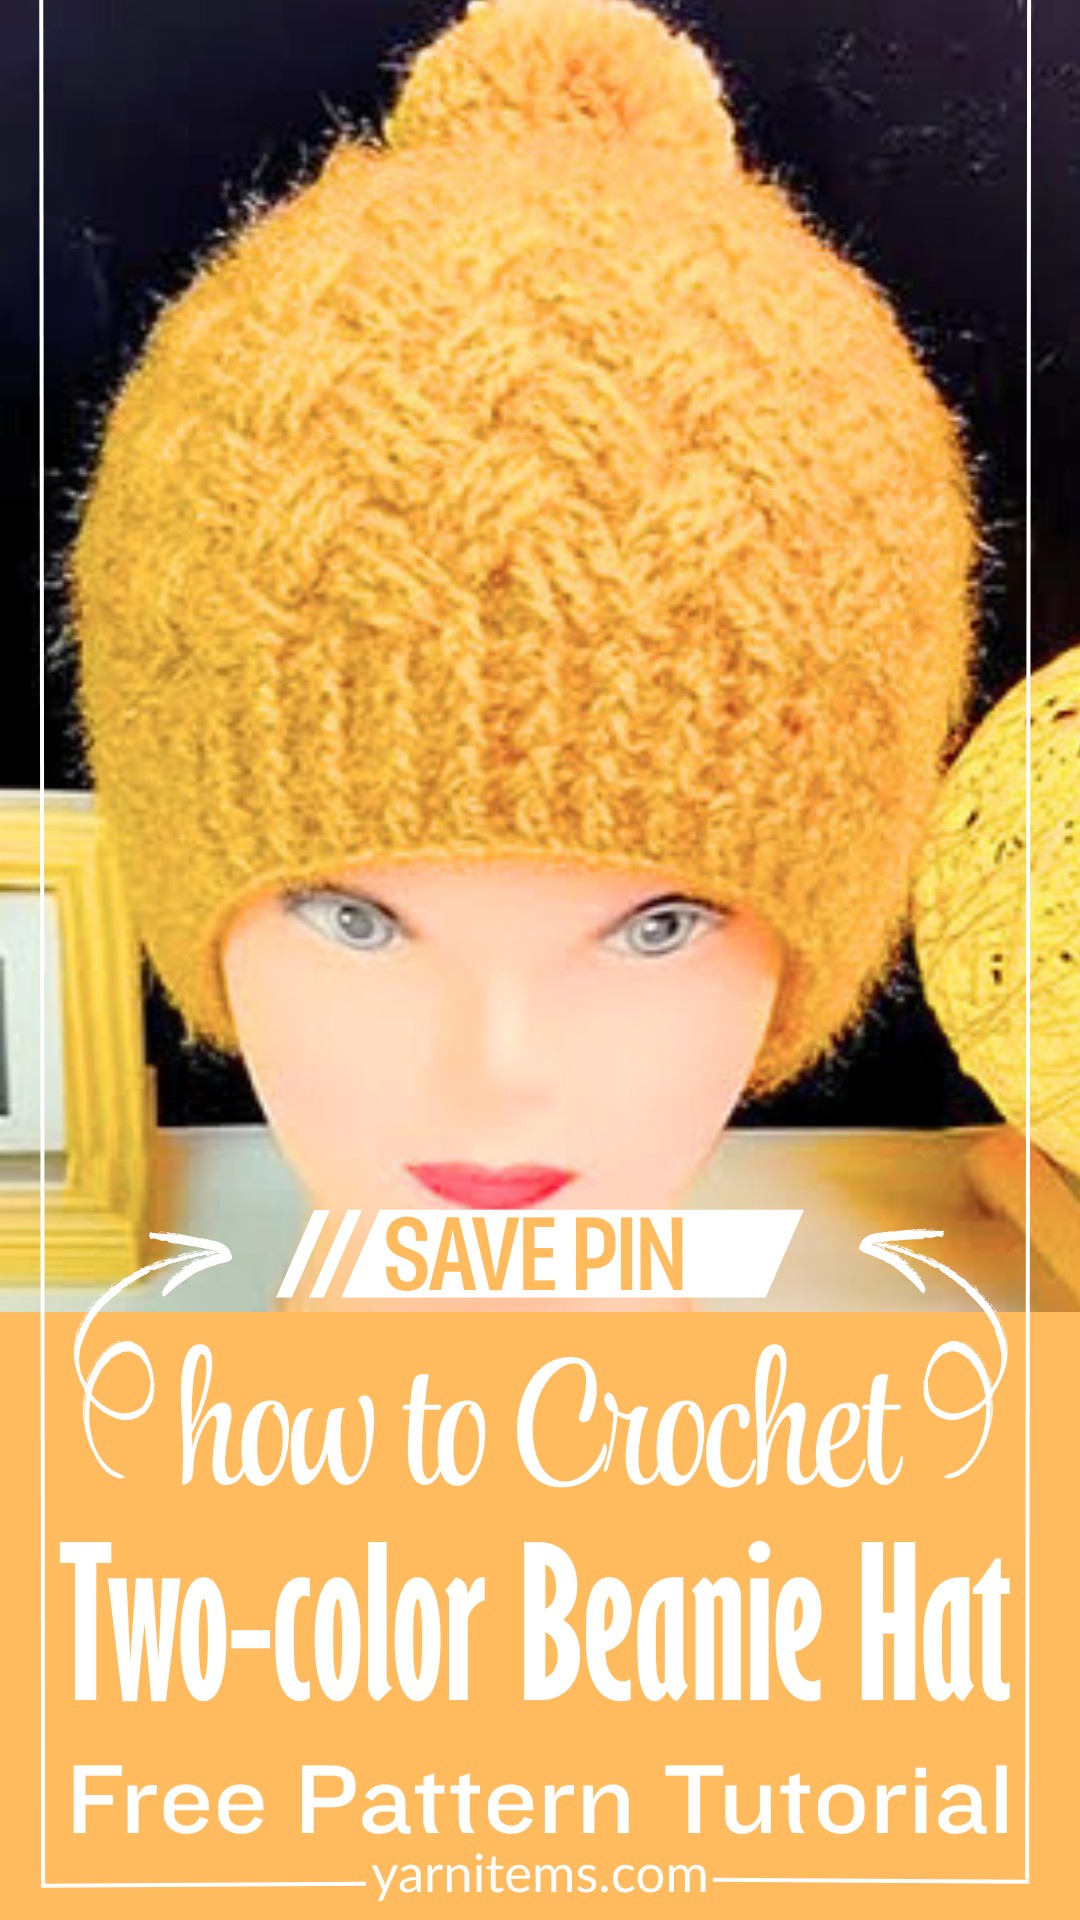
A striking color combination instantly transforms an ordinary crochet beanie into a standout winter piece. This two-color checkered beanie blends bold shades into a clean geometric design that feels both modern and timeless.
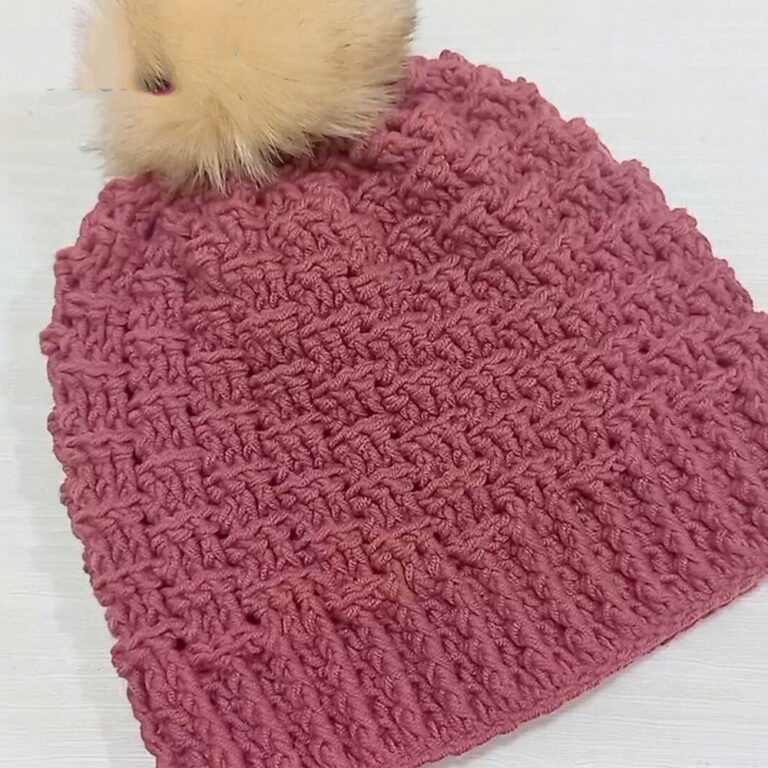
The textured crochet pattern adds extra charm while keeping the overall look neat and comfortable. It is a wonderful handmade item for everyday wear or for sharing as a thoughtful gift during the colder months.
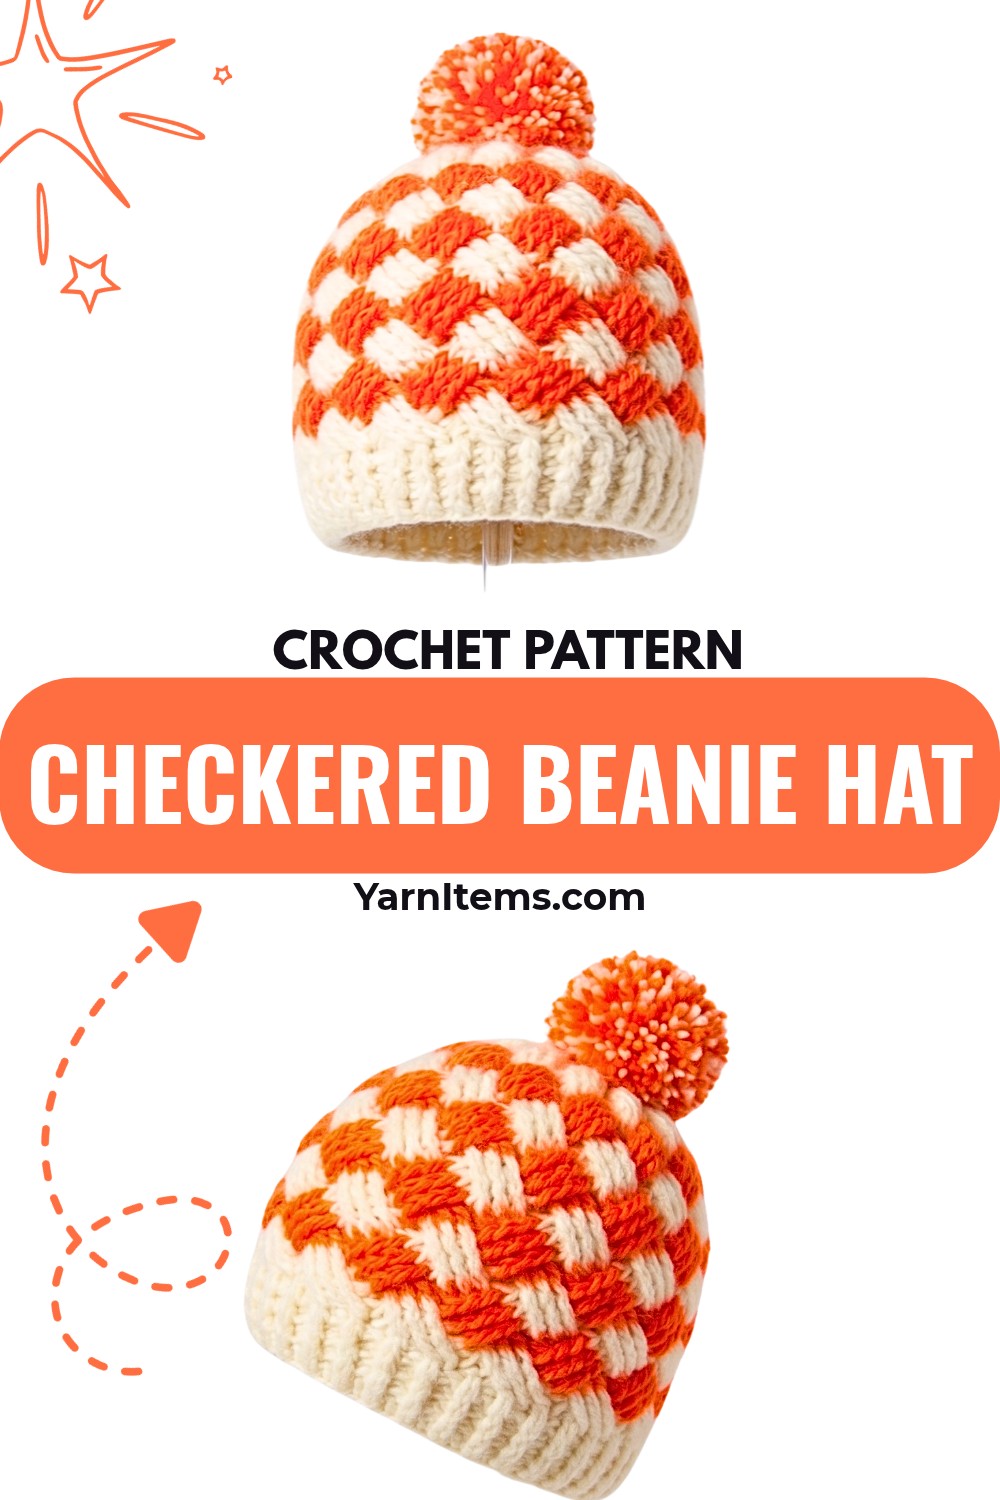
Fresh color contrasts give this crochet piece a unique personality without making it difficult to create. The checkered design offers a balanced mix of warmth, softness, and visual appeal that suits many styles. You can choose subtle tones for a classic finish or brighter shades for a bold statement. This tutorial includes everything needed to recreate a cozy beanie that is practical, eye-catching, and enjoyable to make.
Credit anxin_crochet
Materials & Tools Needed
- Yarn:
- Color A (Primary Color) – Approx. 100g of medium-weight yarn.
- Color B (Secondary Color) – Approx. 50g of medium-weight yarn.
- Crochet Hook: Size recommended according to your yarn (commonly 5mm or 6mm).
- Scissors.
- Stitch marker (optional, to keep track of rounds).
- Yarn needle (for weaving loose ends).
Smart Yarn-Saving Tricks Every Crocheter Should Know
- Use small leftover skeins for Color B accents to minimize waste.
- Work your stitches closely together to avoid gaps and ensure better color transitions without wasting yarn.
Finished Size & Customization Ideas
- Standard Size: One-size-fits-most (Adult head: approx. 21–23 inches in circumference).
- Customization Ideas:
- Use a fun checkered or striped pattern for Color B.
- Add a pom-pom in one of the colors for flair.
- Adjust the height by adding or reducing the number of rounds.
Read These Pattern Notes Before Your First Stitch
- This pattern uses US terminology.
- The beanie is worked in rounds from the top down using a mix of single crochet (sc) and double crochet (dc).
- Alternate between Color A and Color B as instructed.
- Always join rounds with a slip stitch.
- Maintain consistent tension for a neat look.
Pattern Abbreviations & Terminology
- ch: chain
- sc: single crochet
- dc: double crochet
- sl st: slip stitch
- R: round
- [ ]: Repeat the instructions inside the brackets.
Simple Ways to Make This Pattern Uniquely Yours
Here are even more ways to personalize your pattern and make it uniquely yours:
- Change the yarn weight
Experiment with lighter or bulkier yarns to achieve a delicate or cozy look. Just adjust your hook size accordingly. - Mix in novelty yarns
Add a touch of flair by incorporating pom-pom yarn, velvet, or eyelash yarn into the pattern. - Vary the brim style
Try a fold-over brim, a scalloped edge, or even a twisted front for a trendy touch. - Add embellishments
Sew on buttons, beads, or appliqué designs, or use surface crocheting to create patterns and textures. - Incorporate a third color
For an eye-catching effect, add a pop of a contrasting third color, either in a single stripe, as an accent, or in alternating rows. - Adjust the length
Make the pattern longer for a slouchy fit or shorter for a snug beanie style. - Experiment with stitches
Replace certain rows with textured stitches like puff, cluster, or popcorn stitches to give your piece extra dimension. - Add a pom-pom or tassel
Top off your creation with a matching or contrasting pom-pom or tassel to give it character. - Custom-fit the size
Modify the number of stitches or rows to perfectly suit the recipient, whether it’s a baby, child, or adult. - Play with color placement
Work a gradient from Color A to Color B, create random color-blocked sections, or follow a planned pattern for a dramatic visual effect. - Embroider details
Use a tapestry needle and yarn to add simple embroidered designs like flowers, stars, initials, or geometric patterns. - Line the inside for extra warmth
Sew in a fleece or soft fabric lining to make it cozier while adding a unique touch.
Step-by-Step Detailed Crochet Instructions
Part I: Top of the Beanie
- Create a Magic Ring with Color A.
- R1: ch 2 (does not count as a stitch). Work 12 dc into the ring. Join with sl st to the first dc. (12 stitches)
- Increase Rounds:
- R2: ch 2. Place 2 dc in each st around. Join with sl st. (24 sts)
- R3: ch 2. [1 dc in next st, 2 dc in the next st] around. Join with sl st. (36 sts)
- R4: ch 2. [1 dc in the next 2 sts, 2 dc in the next st] around. Join with sl st. (48 sts)
- Repeat the increase pattern until the diameter fits your desired head circumference (roughly 5–6 inches in diameter for an adult hat).
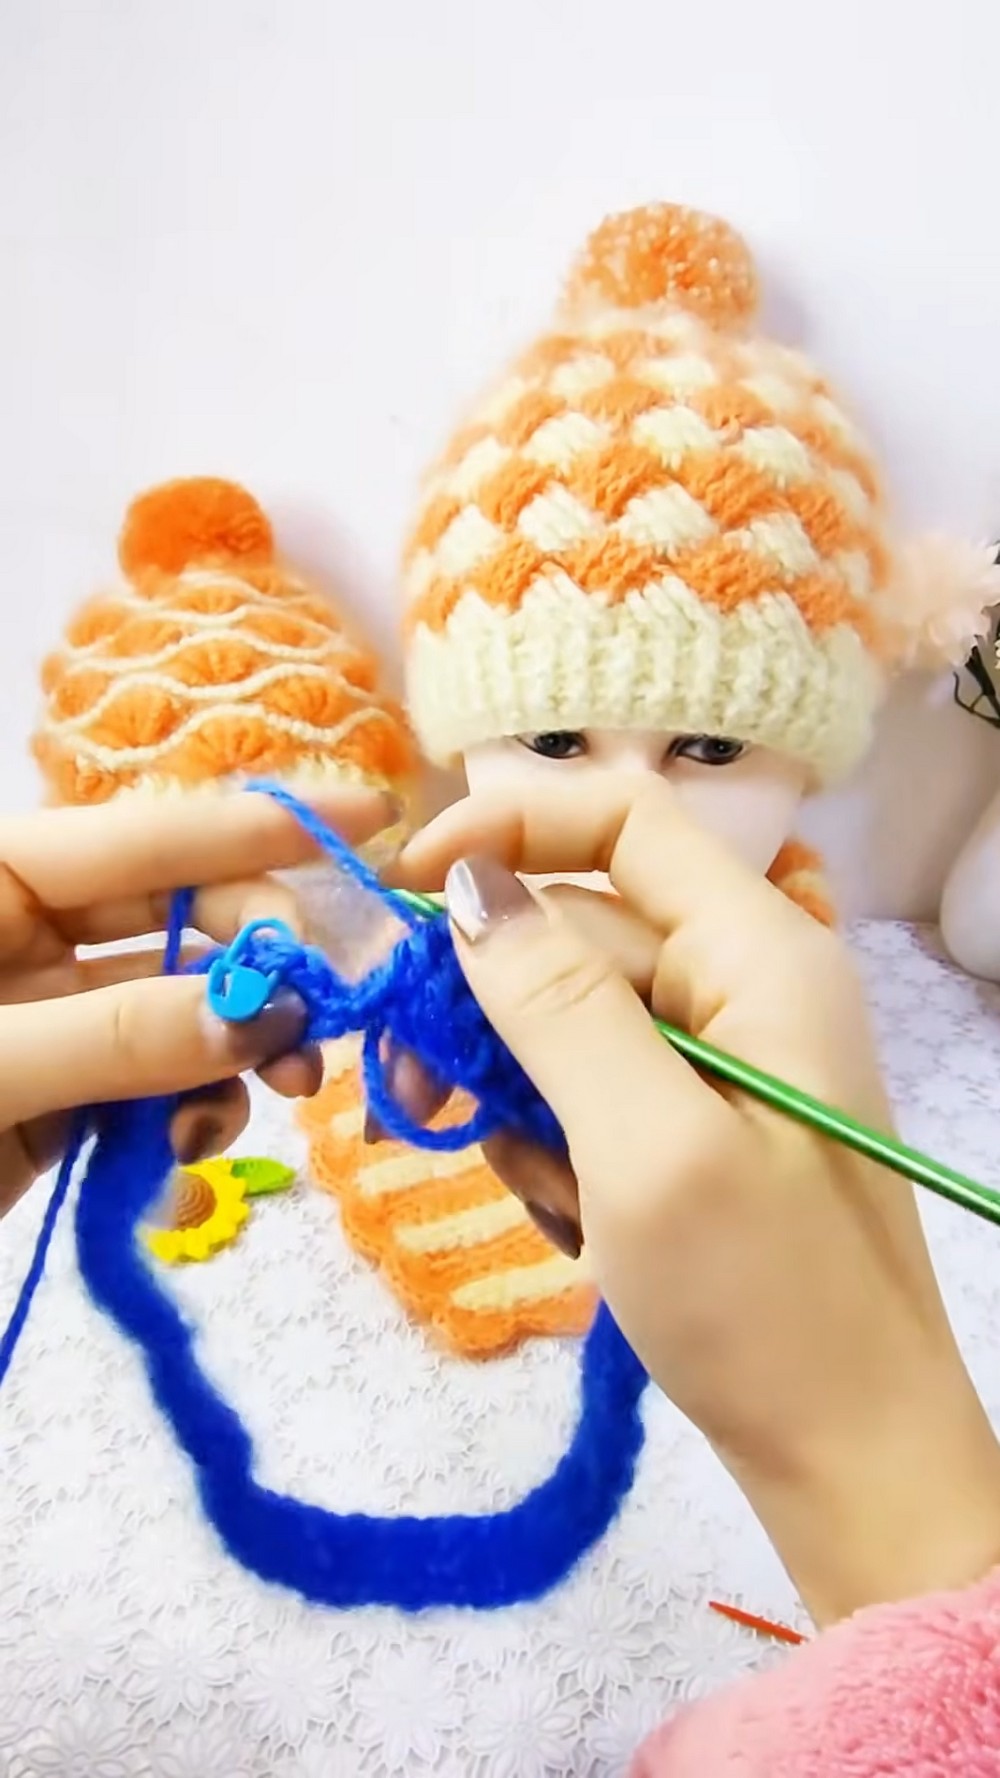
Part II: Body of the Beanie
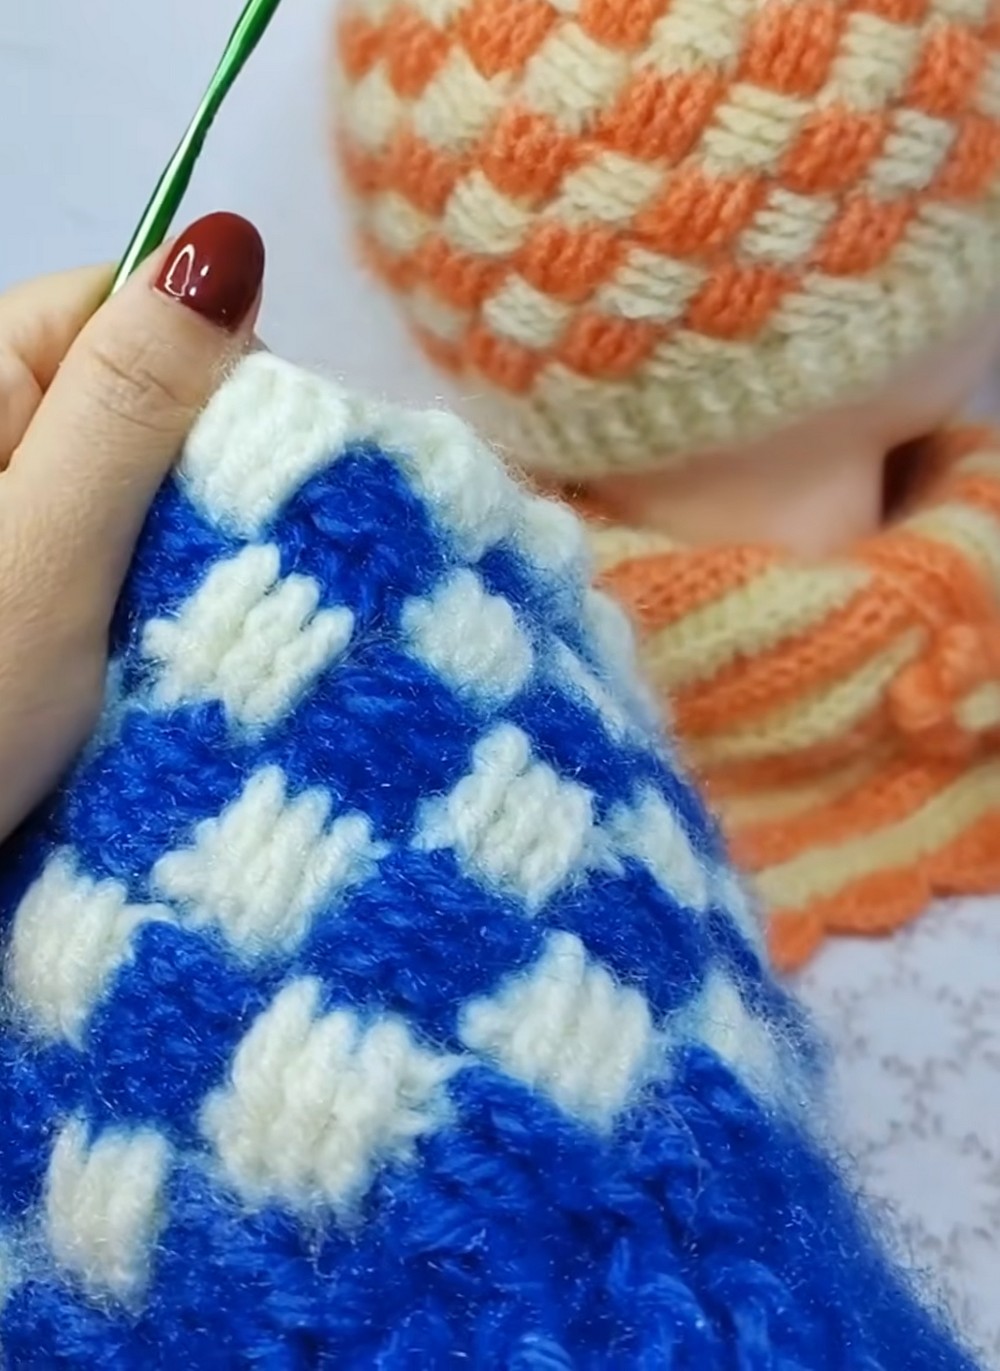
- After completing increases, switch to Color B:
- R5: With Color B, sc in each stitch around. Join with sl st. (Use stitch markers to track the start of the round if needed.)
- Alternate Color Changes:
- R6: Switch back to Color A and work dc in each stitch around. Join with sl st.
- R7: Continue alternating Color A (dc round) and Color B (sc round) for 6–8 rounds, depending on the desired height of the beanie.
Part III: Brim
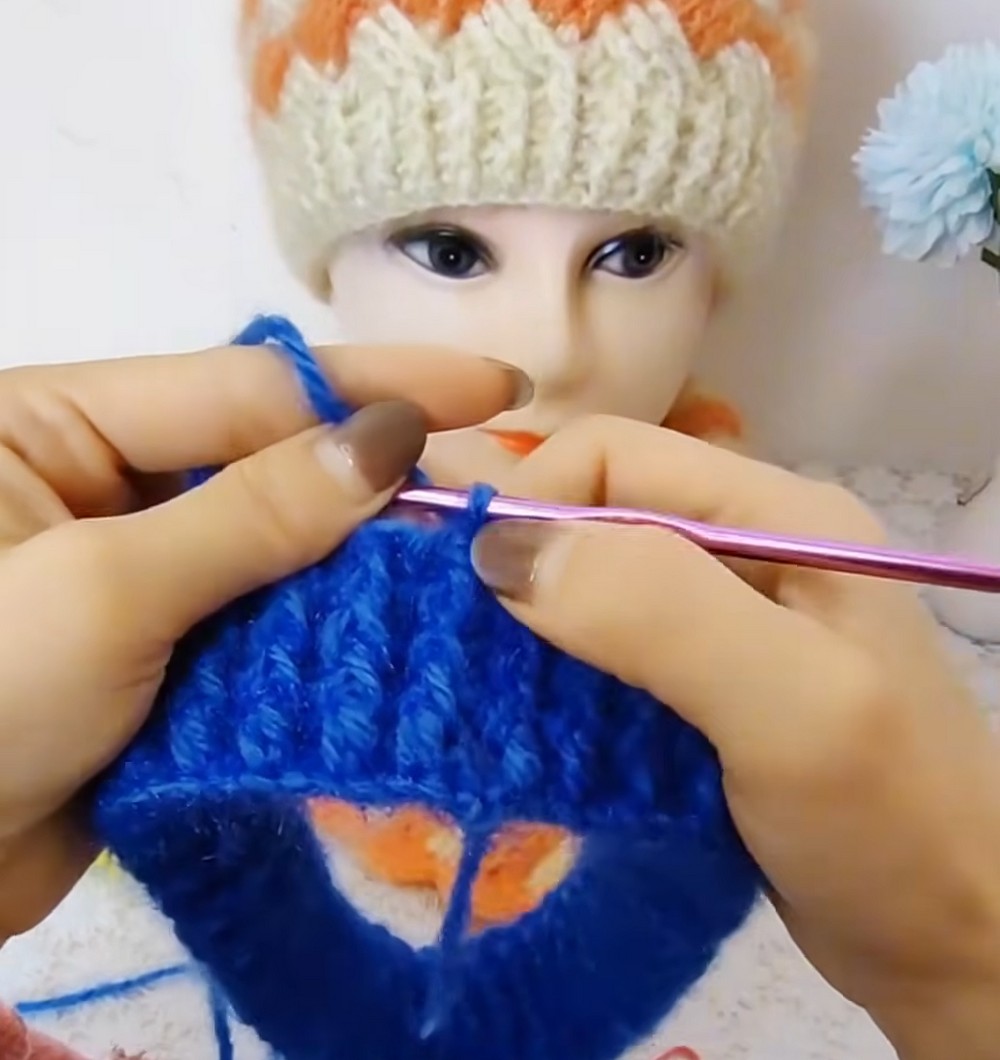
- Switch back to Color A:
- Work 4–6 rounds of sc in the back loops only. This creates a stretchy brim that holds the beanie in place.
Final Assembly
- Weave in Ends:
- With a yarn needle, weave in all loose yarn ends neatly.
- Optional Additions:
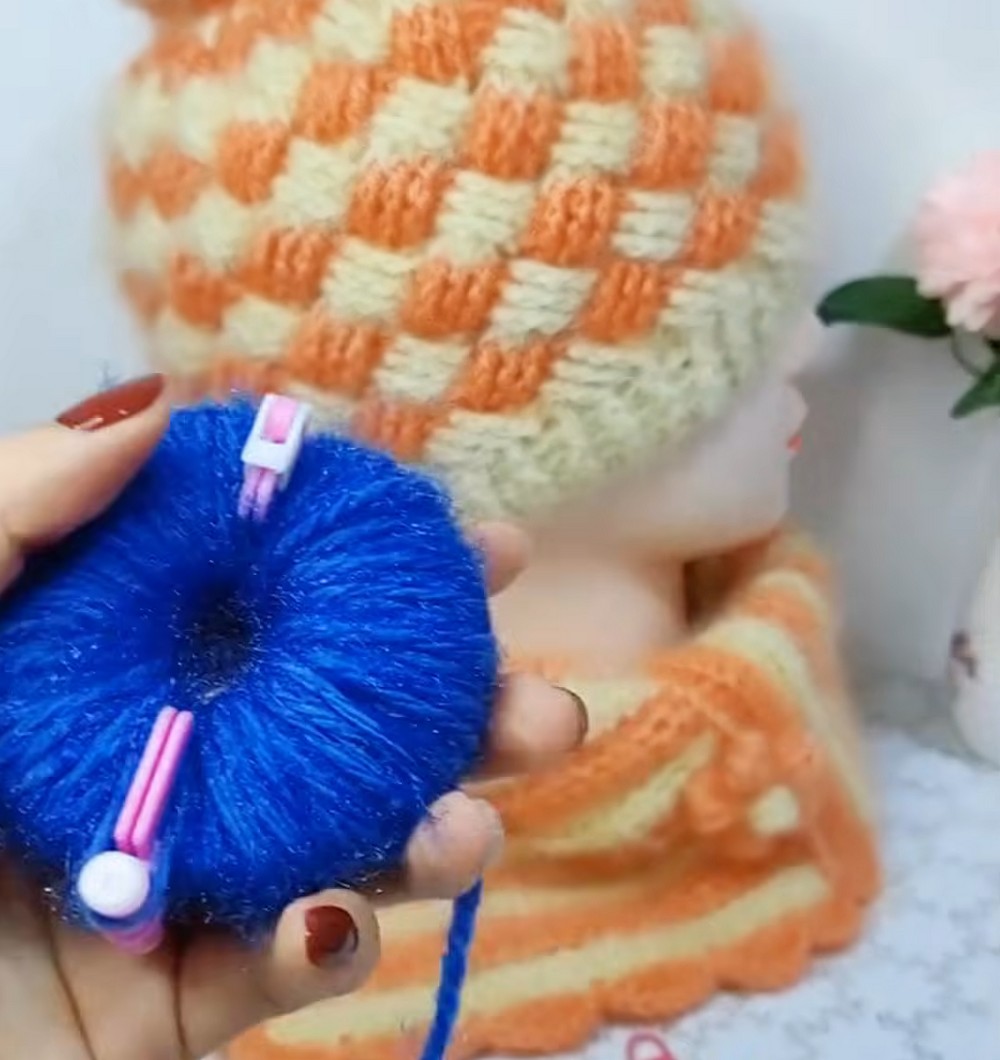
- Attach a pom-pom to the top of the hat in either color.
- Add embellishments like crochet flowers or buttons.
Smart Storage Tips Every Crocheter Should Know
Here are more smart storage tips you can add to that list:
- Sort by size and season
Keep baby, child, and adult beanies in separate containers. You can also divide them into “winter” (wool, thick) and “transition weather” (cotton, lighter weight). - Use clear, breathable containers
Clear bins or boxes let you see what’s inside at a glance. Make sure they’re ventilated or add a few small air holes so fibers can breathe and stay fresh. - Avoid hanging crochet long-term
Hanging beanies or garments can stretch them out. Fold them instead, stacking with the heaviest on the bottom. - Keep away from direct sunlight and damp areas
Sunlight can fade yarn colors; moisture can cause mildew. Store projects in a cool, dry place, ideally off the floor. - Line bins with cotton fabric
A simple cotton lining helps reduce snagging on rough plastic and adds a layer of protection from dust. - Add cedar blocks or lavender sachets
As you said, lavender keeps moths away and smells lovely. Cedar blocks or chips are another natural option; just avoid direct contact with delicate fibers and refresh them periodically. - Label with fiber content and care instructions
Note “wool,” “acrylic,” “cotton,” etc., plus washing instructions on each bin. This makes gifting, selling, or washing later much easier. - Store WIPs (works in progress) separately
Keep ongoing projects in project bags with the pattern, hook size, and extra yarn. That prevents tangling and makes it easy to pick up where you left off. - Use zip pouches for small items
Hooks, stitch markers, tapestry needles, and small tools stay organized in zipper pouches or divided boxes instead of loose in your bins. - Rotate and air out periodically
Every few months, open bins and gently fluff stacks of beanies. This helps prevent “compressed” fibers and keeps everything smelling fresh.
Conclusion
Making a two-color beanie is a fun and rewarding pattern. You now have a stylish, warm accessory with endless creative possibilities. Feel free to experiment with different colors, patterns, and accents to reflect your personality.