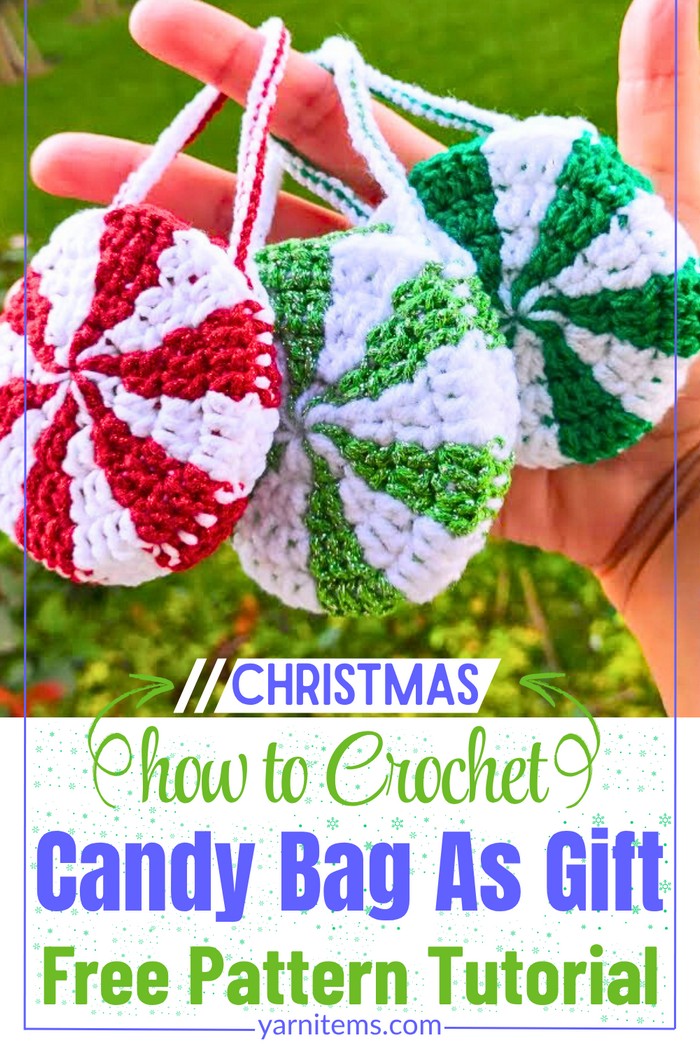
Make Crochet Peppermint Candy Bag As Festive Gift
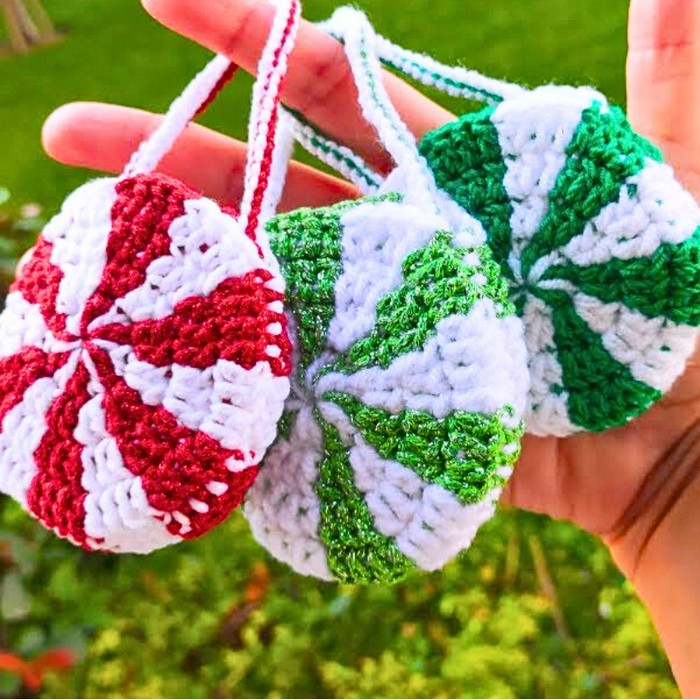
At first glance, this crochet peppermint candy looks like a classic Christmas decoration, but it opens into a clever little bag.
Fill it with chocolates, gift cards, or tiny surprises to make holiday gifting feel even more special. Hang it on the Christmas tree, attach it to a wrapped present, or carry it as a festive mini pouch. Keep scrolling to see how this charming crochet design comes together with an easy-to-follow pattern.
Crochet Peppermint Candy Bag Pattern
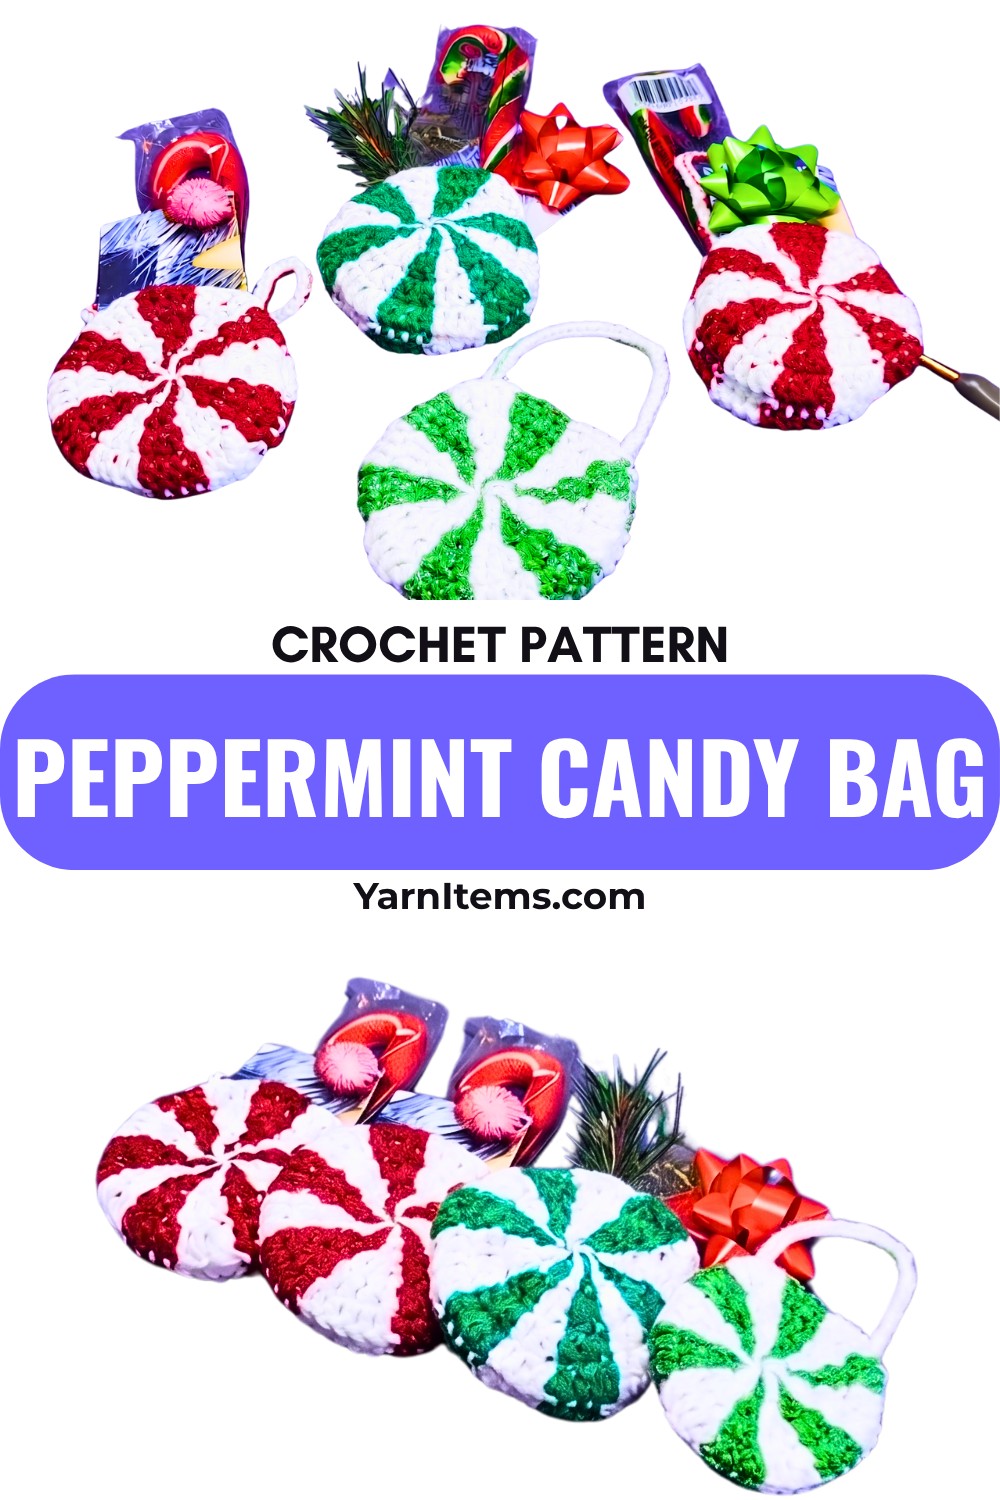
Made with bright red and white yarn, this crochet piece is worked as two peppermint circles that are joined to create a small pocket. A simple loop makes it easy to display, while an optional button turns it into a reusable coin purse or earbud holder long after the holidays are over. The step-by-step instructions make it easy to crochet your own and customize it with your favorite festive colors or sparkling yarn.
Credit Ravella Design
Materials & Tools Needed
- Yarn: Two colors of cotton yarn (e.g., red and white). You may opt for sparkling yarn or solid-colored yarn.
- Crochet Hook: 3.5 mm hook.
- Darning Needle: For weaving in ends and sewing the parts together.
- Scissors: For cutting yarn.
- Stitch Markers: Helpful for marking the space openings.
Finished Size & Customization Ideas
- Approximate Size:
- When completed, the peppermint candy bag should comfortably fit small gifts, candies, or gift cards.
- Customization Ideas:
- Swap the standard red and white yarn for green and white or other holiday-themed colors.
- Use metallic or sparkling yarn for added flair.
- Add embellishments such as buttons or beads after Christmas to turn it into a coin purse or bag charm.
Pattern Abbreviations & Terminology
- ch: Chain
- mc: Magic Circle
- dc: Double Crochet
- sl st: Slip Stitch
- st(s): Stitch(es)
- Color Change: Switching between active yarn colors during the stitch.
Step-by-Step Detailed Crochet Instructions
The piece consists of two peppermint-patterned round parts that are joined to form the candy bag. Below is the breakdown:
Round Part Instructions
1. Create the First Round Part:
- Start with white yarn:
- Create a magic ring (mc).
- Chain 2 (ch 2) inside the ring (this does not count as a stitch).
- Round 1:
- Work alternating dc stitches in white and red.
- Keep unused yarn wrapped around the ring to carry it forward.
- Total: 12 double crochets (6 in white, 6 in red).
- Pull the magic ring tightly closed.
- End the round with a sl st on top of the first dc you made (ignoring the initial ch-2).
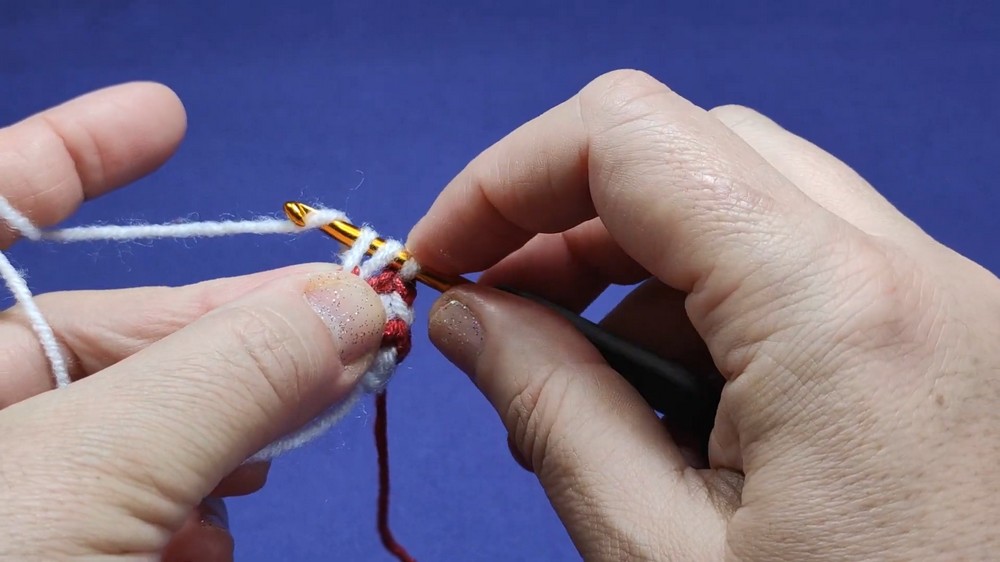
- Round 2:
- Begin with white yarn.
- Make ch 2 (does NOT count as a stitch).
- Work 2 dc into the same white stitch, then change to red yarn.
- Alternate 2 sets of dc in each stitch (keeping the unused yarn wrapped along the round).
- End the round with a sl st on the first stitch (ignore the first ch-2).
- Round 3:
- Increase: Work 1 dc in the first stitch, 2 dc in the next stitch.
- Alternate stitches in white and red yarn as described previously.
- Color changes are done before completing the second loop of each dc.
- Total stitches increase proportionally.
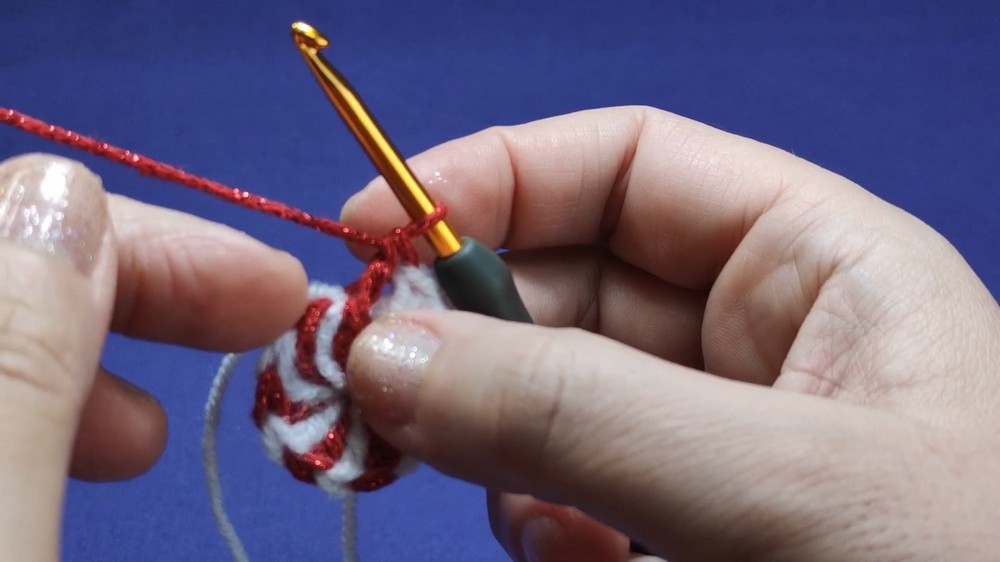
- Round 4:
- Final round: Work 1 dc into each of the next 2 stitches, 2 dc into the third stitch.
- Keep alternating colors as done previously.
- Finish the round with a sl st on top of the first dc.
- Cut both yarns, leaving tails for weaving.
- Weave in ends using a darning needle:
- Hide the white and red tails neatly in their respective color blocks to ensure no visibility on the front side.
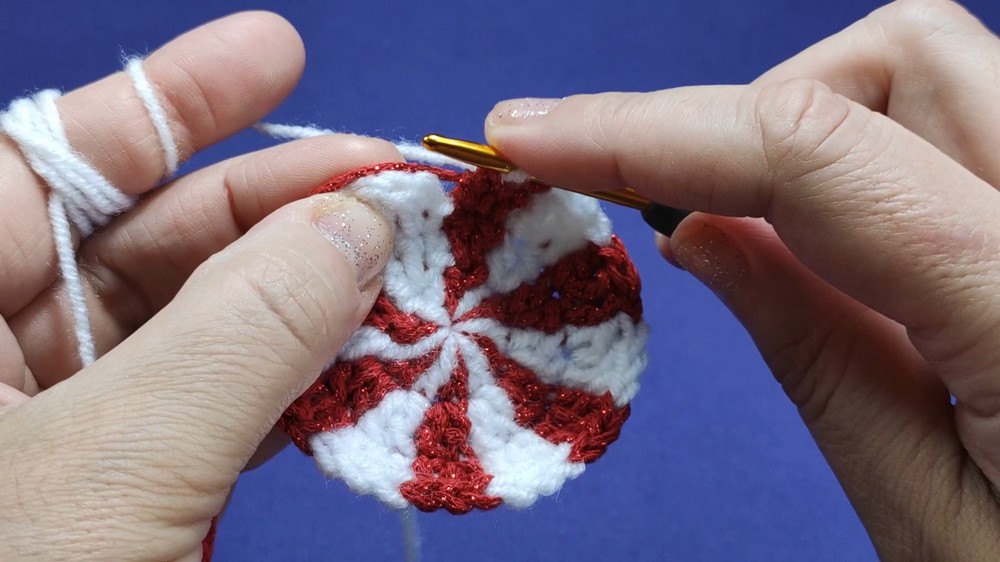
2. Repeat the Above Instructions to Create the Second Round Part:
- Follow the same steps to crochet the second peppermint-patterned circle.
Joining the Two Round Parts
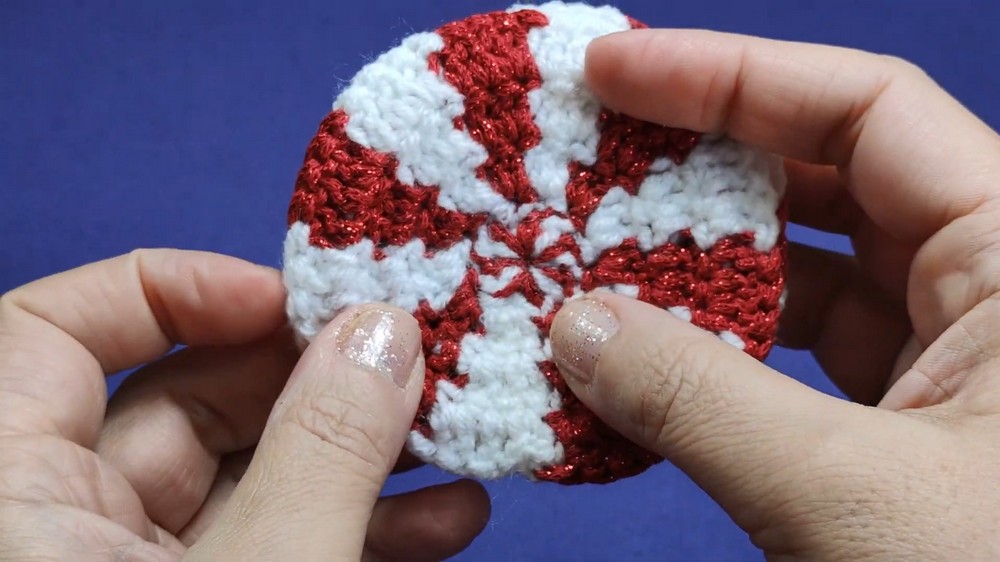
- Place the two crocheted round parts face-to-face (with front sides touching).
- Ensure that the matching red blocks align face-to-face.
- Leave an opening for space by separating three white/red blocks on one side of the circle.
- Use stitch markers to mark the edges of the opening.
- Join the parts:
- Attach white yarn at the starting point using a sl st.
- Work single crochet (sc) through the edges of both circles.
- Match stitch for stitch (e.g., red to red, white to white).
- Continue around until reaching the marked stitch opening.
Adding the Hanging Lace
- Use red yarn:
- Work chains until reaching a length of 16 cm (or desired size).
- Finish with one white chain, leaving a long white tail for sewing.
- Attach the lace:
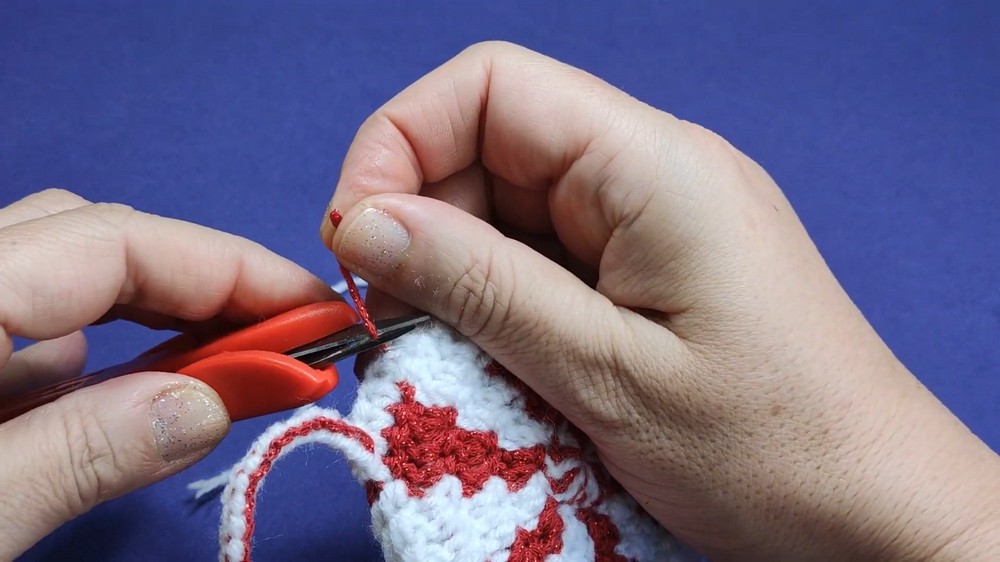
- Use the darning needle with the white tail to sew the lace securely to the top edge of the bag.
- Hide the red tail neatly and cut off excess yarn.
Finishing
- Turn the bag right-side out.
- Ensure the opening is shaped properly, and press lightly for neatness.
- Add candies, gift cards, or other small items inside. Hang the bag on a Christmas tree or gift it.