How to Crochet a Christmas Angel Ornament
Need a sweet Christmas angel crochet ornament with a tiny green dress, matching beanie, white wings, and a simple hanging loop for your tree or holiday display.
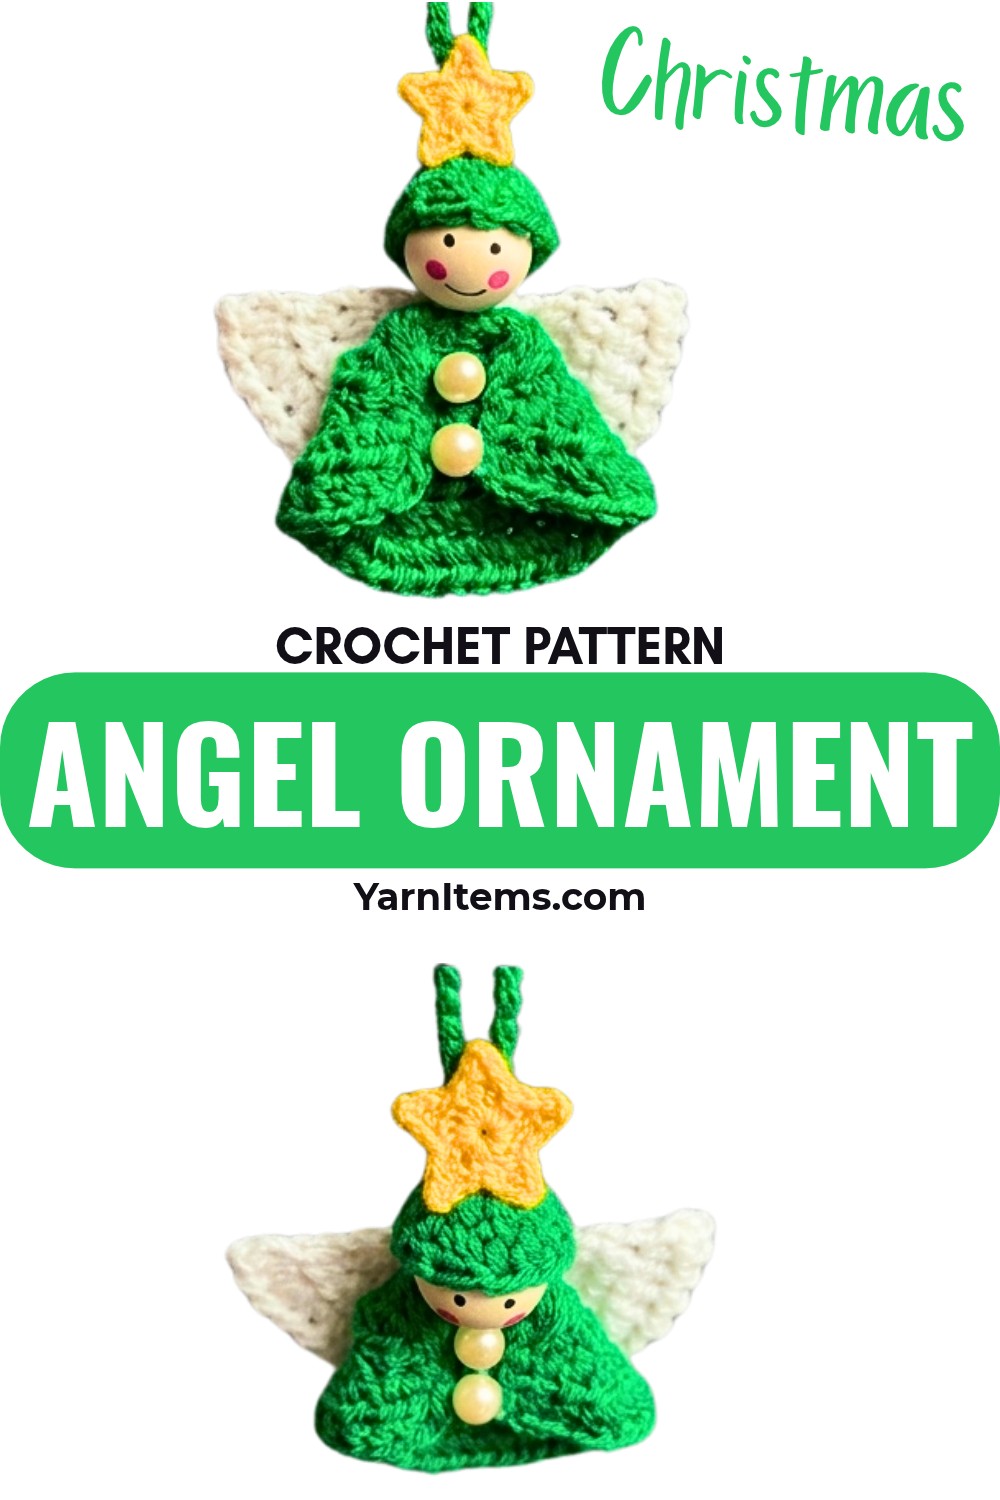
This little Christmas angel brings together several small crochet pieces with a wooden face bead to create a charming hanging decoration. The green dress and beanie give the angel a coordinated look, while the white wings and pearl buttons add delicate festive details.
The main crochet pieces are worked with simple half double crochet shaping, so the stitch counts are easy to follow as each section grows. The most important part comes during assembly: the dress needs to be folded into its cone shape, the wings centered on the back, and the hat and hanging loop positioned securely before the final details are added.
Credit Crochet Patterns Free
Materials & Tools Needed
- Yarn: 3-ply yarn in green for the dress and beanie, and white for the wings
- Crochet hook: 2.5 mm or 3 mm
- Wooden head bead: A wooden bead with a painted face
- Pearl beads: 2 small pearl beads for the dress
- Glue: Craft glue or hot glue
- Scissors
Pattern Abbreviations & Terminology
- ch: chain
- hdc: half double crochet
- inc: increase; work 2 hdc into the same stitch
- sl st: slip stitch
- st(s): stitch(es)
- rep: repeat
- sk: skip
- t: turn

Crochet Angel Ornament Pattern
Green Dress
The dress begins with a magic ring and grows outward through six rows of half double crochet. Pay particular attention to the stitch counts as the increases are introduced; these counts create the widening shape needed for the finished dress.
Foundation: Make a magic ring.
Row 1: 2 ch, work 3 hdc into the magic ring. (3 sts)
Row 2: 2 ch, t, 1 hdc in the first st, then work 2 hdc in each next st across. (6 sts)
Row 3: 2 ch, t, 1 hdc in the first st, then 1 hdc, hdc inc; rep across. (9 sts)
Row 4: 2 ch, t, 1 hdc in the first st, then inc, 2 hdc; rep across. (12 sts)
Row 5: 2 ch, t, 2 hdc in the first st, then inc, 3 hdc; rep across. (15 sts)
Row 6: Work 4 hdc, inc; rep across.

Finishing the Dress Edge
Finish the bottom curved edge by working a series of slip stitches evenly along the top flat edge. Fasten off.
At this point, the piece is still flat. The cone-like dress shape is created during finishing rather than through additional crochet rows.
Fold the side edges inward to form the cone-like dress shape and secure them with a small amount of glue. Take a moment to check that the front remains centered before allowing the glue to set.

Green Beanie
The beanie is worked in the round and remains small and compact. The center opening from the magic ring is also useful for positioning the hanging loop later.
Foundation: Make a magic ring.
Row 1: 2 ch, work 11 hdc into the ring, pull the ring tight to close, and join with a sl st. (11 sts)
Row 2: 2 ch, work 1 hdc in each st around, join with a sl st. (11 sts)
Row 3: 2 ch, work 1 hdc in each st around, join with a sl st. Fasten off. (11 sts)

White Wings
The wings are made separately in white yarn using a semicircular increasing shape that matches the expanding structure used for the dress base.
Foundation: Make a magic ring.
Rows 1-5: Follow the matching semicircular increasing structure in hdc, expanding across 5 rows total.
Edge: Work 1 ch, sl st repeatedly across the straight top edge. Fasten off.
Because the supplied tutorial does not give individual stitch counts for these five wing rows, keep the wing sequence consistent with the original tutorial rather than adding estimated counts.

Hanging Loop
The hanging loop is made separately with green yarn and is attached through the center opening of the beanie.
Hanging Loop: 15 ch, tie the ends securely into a knot to form a loop.
Before securing everything permanently, pull the loop through the center top hole of the beanie. Check that the loop sits centrally and that the knot is secure enough to support the finished angel when hung.

Assembly
Assembly determines how clearly the finished angel reads from the front, so it helps to position each piece before applying glue.
Attach the Head and Hat
Apply glue inside the green beanie and place it securely over the top of the wooden face bead.
Check the front of the painted face before the glue sets so the hat is sitting straight rather than angled to one side.
Secure the Hanging Loop
Make sure the 15-chain loop is anchored securely through the top center of the hat. The loop should emerge from the center rather than from the side of the beanie.
Add the Wings
Place the white wings on the back center of the folded green dress and glue them in position.
Before the glue sets, check the angel from the front and back. The wings should sit evenly behind the body rather than extending noticeably farther to one side.
Attach the Head and Body
Glue the prepared head and hat assembly onto the top center front of the dress.
Allow the pieces to settle in their intended position before moving the ornament.
Add the Pearl Buttons
Glue the two small pearl beads vertically down the front of the green dress.
Positioning them in a straight vertical line helps preserve the simple front detail of the angel.

Conclusion
A handmade Christmas angel adds a sweet personal touch to holiday decorating, and this small ornament comes together from just a few simple crocheted pieces. With its green dress and beanie, white wings, wooden face, and pearl details, it has plenty of charm without needing complicated stitches.
Once the final pieces are securely attached and the hanging loop is in place, your angel is ready for the Christmas tree, a festive display, or as a thoughtful handmade gift topper. Small details such as the centered wings and neatly positioned hat help give the finished ornament a polished appearance.