Crochet Peppermint Candy Christmas Tree Ornament Pattern
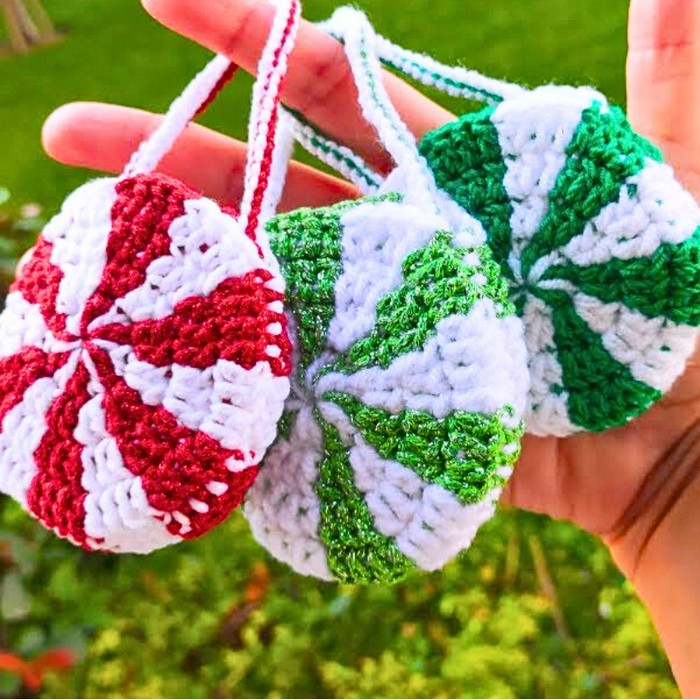
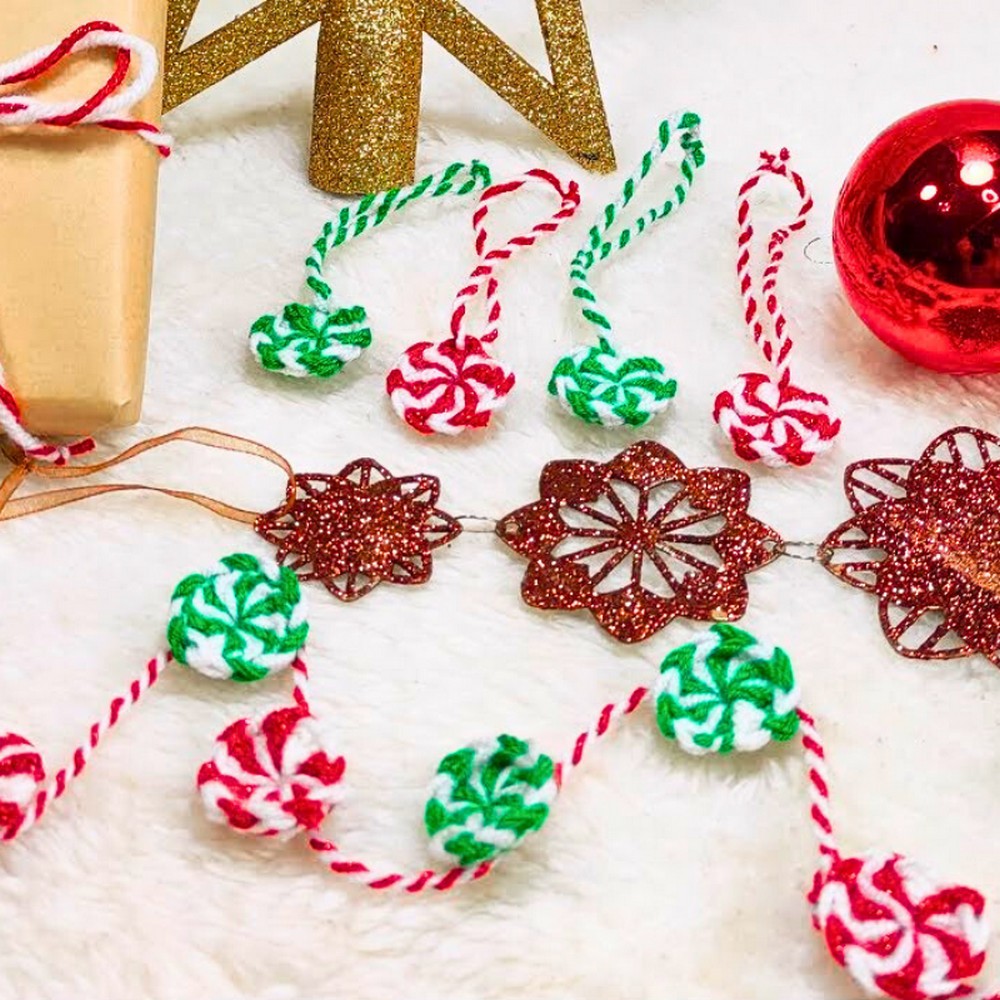
Crochet peppermint candy ornaments bring a playful Christmas touch without taking much time or yarn. Their bold red-and-white swirl stands out among lights and greenery, making every branch look a little brighter.
Whether you’re decorating a full-sized tree or a small tabletop display, these tiny ornaments add handmade character. The pattern below shows how to crochet your own with simple stitches and an easy-to-follow process.
Crochet Christmas Tree Ornament Pattern
These sweet ornaments are just as useful beyond the crochet Christmas tree. Tie them onto wrapped gifts, turn them into a festive garland, or add them to stockings, wreaths, and seasonal accessories for an extra holiday accent. Once you learn the design, it’s easy to make a whole batch in different sizes or yarn textures. Keep scrolling to follow the pattern and start filling your holiday décor with cheerful handmade crochet peppermint candies.
Credit Ravella Design
Materials & Tools Needed
- Yarn:
- Red glitter yarn (sparkling/red glitter yarn preferred)
- White acrylic yarn (or sparkling white yarn, if available)
- Crochet Hook: 3.5 mm (E-4)
- Darning needle
- Scissors

Finished Size & Customization Ideas
- Finished Size: The peppermint candy ornament is approximately the size of a small Christmas tree ornament (about 2–3 inches in diameter, depending on tension and yarn used).
- Customization Ideas:
- Use green glitter yarn instead of red for a variation.
- Add longer yarn strings to create a garland.
- Use as a standalone Christmas tree ornament, gift bag decoration, or as an applique for garments, blankets, or scarves.
- Create multiple ornaments to make a festive wall or door hanging.
Pattern Abbreviations & Terminology
- ch: Chain
- dc: Double crochet
- sl st: Slip stitch
- YO: Yarn over
Terminology: US crochet terms are used.
Step-by-Step Detailed Crochet Instructions
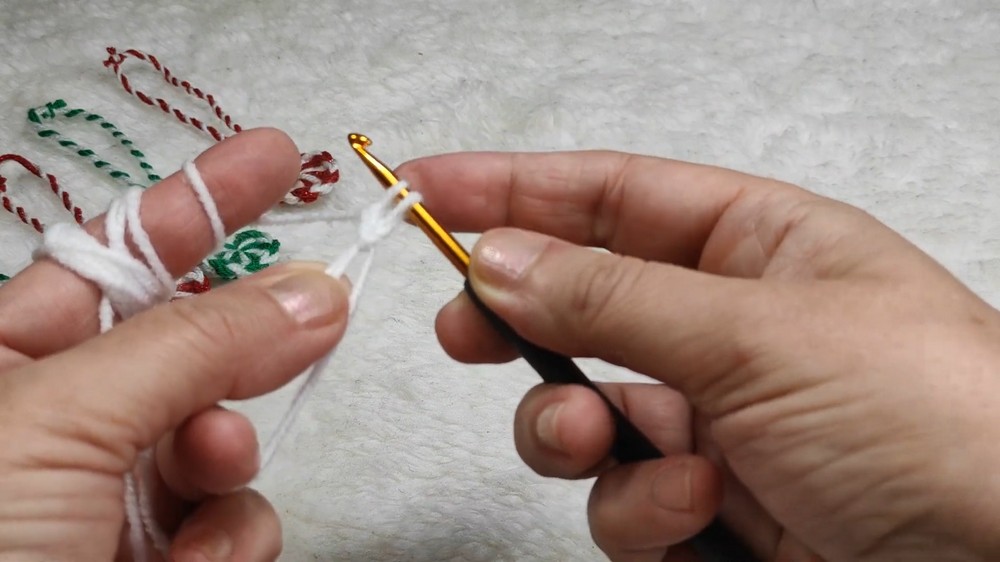
1. Create the Magic Ring
- Start with white yarn:
- Create a magic ring by looping the yarn over your fingers.
- Insert the hook into the loop, YO, and pull through to secure.
- Chain 2 (counts as the first dc).
2. First Double Crochet Stitch with Color Change
- Begin the first dc stitch:
- YO, insert the hook into the magic ring, pull through, YO, pull through two loops only (you’ll have one white loop left).
- Color Change:
- Drop the white yarn (leave it loose in the back), pick up the red yarn, YO with the red yarn, and pull through the remaining two loops on the hook.
- Keep the red and white yarn tails at the back and on top of the magic ring to crochet over them as you go.

3. Alternate Colors for the Double Crochets
- Continue alternating between white and red for the next stitches:
- Red yarn: YO, insert hook into the ring, pull through, YO, pull through two loops (two red loops on hook). Drop red, pick up white.
- White yarn: Complete the stitch with white YO and pull through two loops.
- Repeat this alternating color pattern.
- Always keep the non-working yarn at the back and slightly loose to avoid tension issues.

4. Complete the Circle
- Make 6 double crochets in white and 6 double crochets in red (12 stitches total).
- Pull the white yarn tail to tighten the magic ring and close the center tightly.

5. Finishing the Round
- Cut the yarns, leaving a tail for sewing.
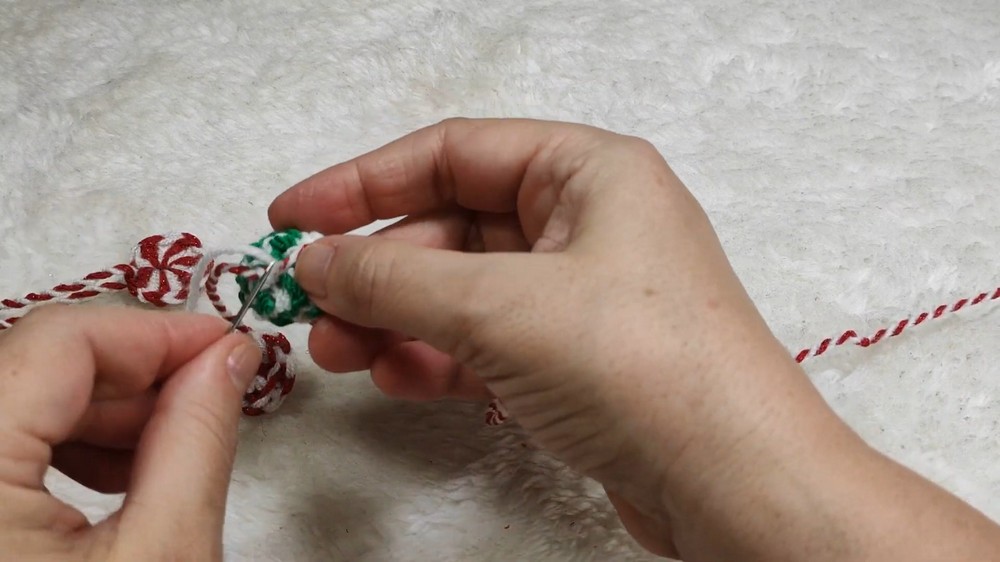
- Use the darning needle for a more seamless, neat finish:
- Thread the white tail.
- Insert the needle through both top loops of the first white dc stitch to create a smooth join.
- Then, work the needle through the back loop only of the same stitch to tighten.
- Pull to form a neat, continuous edge.
- Turn the ornament over, then weave in the ends on the back side to secure the tails. Trim any excess thread.

6. Optional: Ornament Hanger
- Cut two strands, one red and one white yarn, in equal length.
- (Length depends on how long you want the hanging loop or garland.)
- Fold the strands in half and tie a knot at the loose ends to create a loop.
- Twist the red and white strands together by securing one end and rotating the other end.
- Insert a small crochet hook or needle through the center back of the ornament and pull the twisted loop through.
- Tie the loop securely and trim excess ends.
Additional Notes
- Garlands or More Ornaments: Make multiple ornaments and attach them to a long piece of yarn or a rope to create a garland.
- Versatility: Use these for Christmas tree ornaments or gift decorations.
- Sew them onto crochet hats, scarves, or blankets for festive flair.