
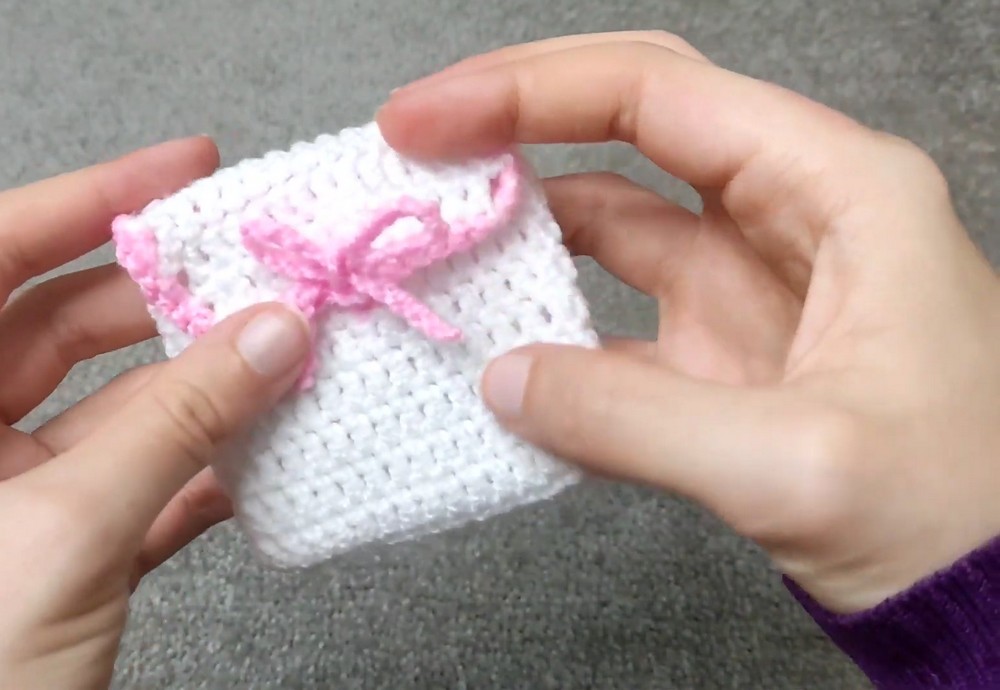
A stylish and functional crochet pouch wallet perfect for storing small treasures like jewelry, coins, or keepsakes, compact, elegant, and easy to make.
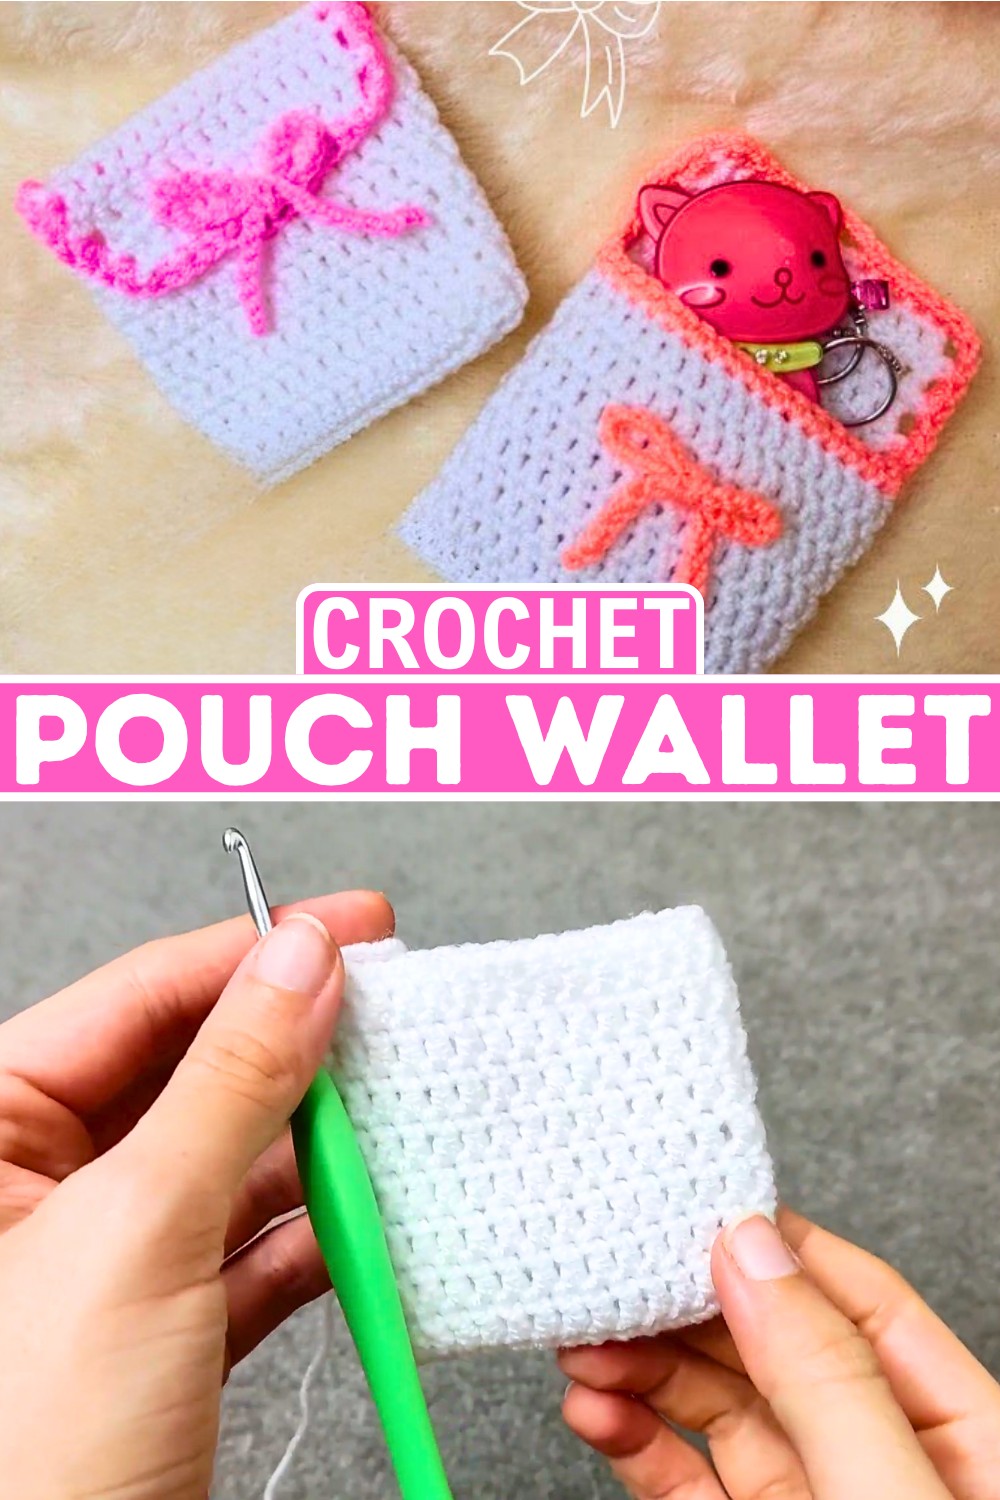
A crochet pouch wallet is a small, adorable bag that can hold jewelry, small accessories, or other little treasures. This charming pouch is not only functional but also stylish, perfect to carry around or as a cute gift for friends. The rounded shape, soft texture, and small bow detail make it a delightful item to create and use.
Easy Crochet Pouch Wallet with Bow
This crochet Pouch is perfect for beginners, starting with basic stitches and gradually forming into a durable yet stylish piece. It has a flap closure and is finished with a bow. Lightweight and easy to carry, the pouch is ideal for holding essentials like coins, earrings, or keys. With just a few simple crochet techniques, you can easily create this charming wallet in no time.
Credit Yarn Symphony
Crochet Pouch Wallet Overview
A compact and adorable pouch wallet, perfect for storing jewelry, small items, or anything you want to keep safe and stylish.
Construction Summary
- Foundation: Starts with a base worked in single crochet stitches in the round to create a sturdy oval base.
- Body: Built with double crochet rounds for height, transitioning later into rows for shaping the opening.
- Shaping: Rows add structure for functionality, with clean edges and a fold-over flap.
- Color Change & Detailing: A secondary color is added to create contrast, along with finishing touches like a decorative bow.
- Embellishments: Final touches include a cute bow and weaving techniques to make a closure that secures the pouch.
The pattern kicks off with a foundation oval base, combining clever use of single crochet stitches and increases at the edges. The base is worked in the round, offering both durability and versatility. This ingenious oval foundation ensures the bottom of your pouch is sturdy and can easily hold small treasures without losing shape. Beginners will appreciate how straightforward this part is.
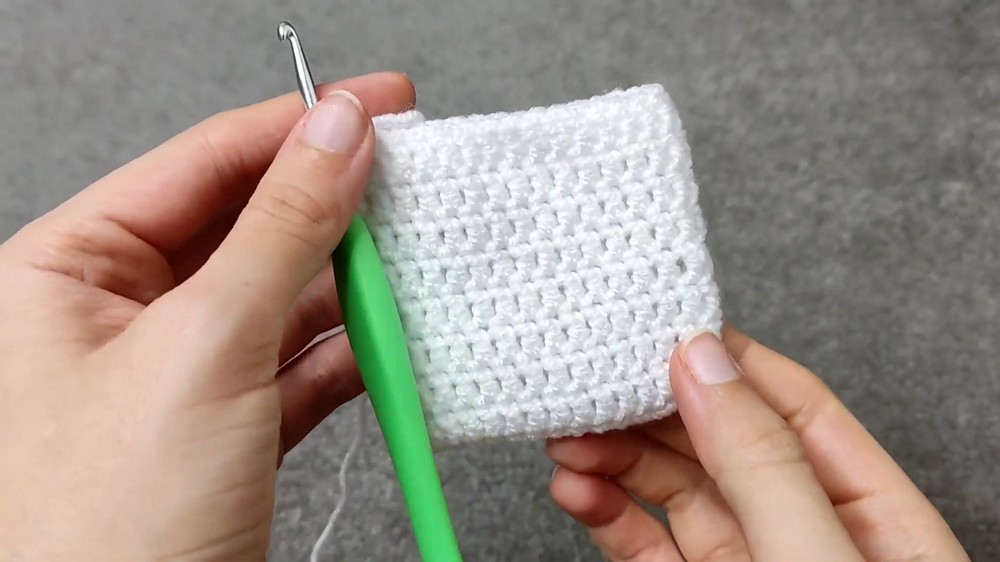
As you move forward, the body of the pouch takes form with rounds of double crochet stitches. These rounds give the piece height and a smooth texture, lending a clean, polished look. The simplicity of continuous rounds makes it a fun and relaxing section to work on while keeping the pattern beginner-friendly. Around nine rounds of double crochet help you achieve the desired depth for your wallet, striking the perfect balance between functionality and portability.
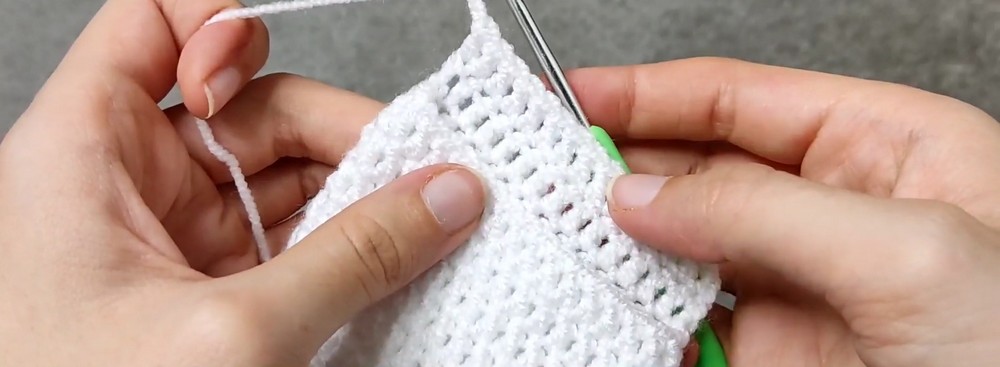
The next step is truly exciting — shaping the pouch’s top with rows instead of rounds. Switching from rounds to rows allows the creation of an unfolding flap that adds structure and style. Double crochet stitches are worked back and forth, and after four rows, the shape comes together. The flap adds a practical layer to the design, allowing the pouch to close securely and look polished.
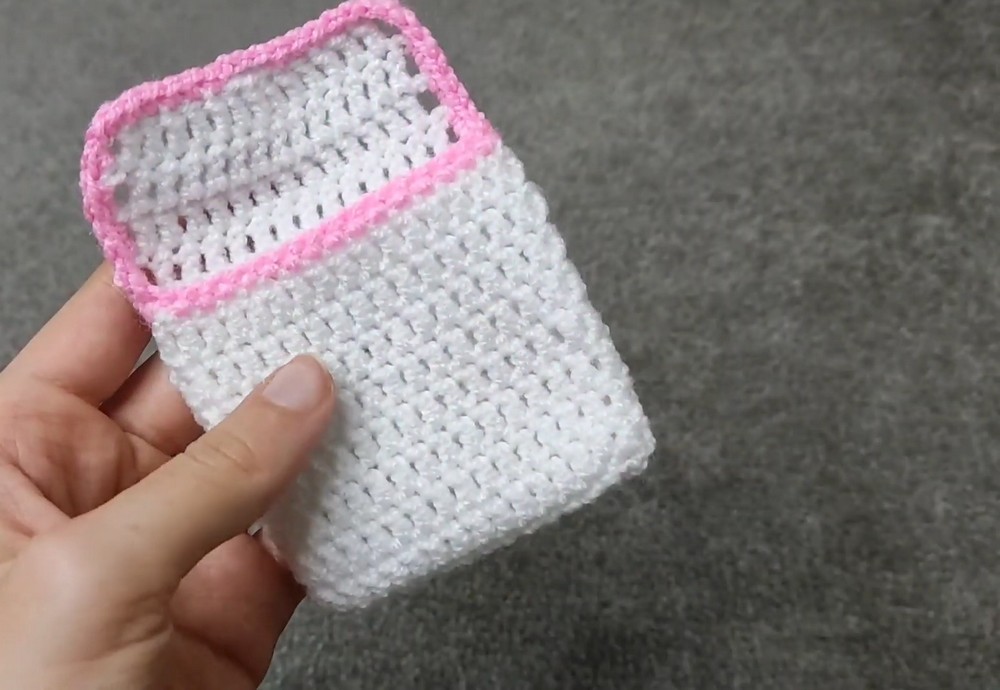
Introducing a pop of color with a secondary yarn brings life and personality to the pouch. This new color frames the opening with single crochet stitches, further reinforcing the structure while providing a neat finish. A woven “bow strap” adds charm and acts as a securing mechanism for the pouch, tying functionality into the aesthetic appeal. Creating the bow itself is delightful; it involves chaining, weaving, and tying for a finished look that feels luxurious and thoughtful.
Video Tutorial
Materials & Tools Needed
- Yarn: Choose two colors (e.g., white and pink, as seen in the tutorial).
- Crochet hook: 3.0mm crochet hook.
- Scissors
- Tapestry needle: For weaving in ends and finishing.
Finished Size & Customization Ideas
- Finished Size: The pouch dimensions are suitable for jewelry or small items, approximately 4-5 inches tall and wide when folded.
- Customization Ideas:
- Vary the size by increasing or decreasing the foundation chain.
- Use different yarn weights for smaller or larger pouches.
- Experiment with color changes for the bow and body for personalization.
Pattern Abbreviations & Terminology
All instructions use US crochet terminology:
- ch – chain
- sc – single crochet
- dc – double crochet
- sl st – slip stitch
- st – stitch(es)
- YO – yarn over

Step-by-Step Detailed Instructions
Base and Round Body
- Round 1:
- Start with a slip knot and chain 16.
- Single crochet (sc) in the second chain from the hook, then sc in each chain across.
- In the last chain, make 3 sc (this will allow for turning and working along the opposite side of the chain). Rotate your work.
- Single crochet along the opposite side of the chain until you reach back to the beginning. In total, you should have 30 single crochets.
- Finish the round with a sl st into the first single crochet.
- Round 2:
- Chain 3 (this counts as the first double crochet).
- Double crochet (dc) into the next stitch and each stitch around. You should have 32 double crochets at the end of this round.
- End with a sl st in the top of the starting chain.
- Rounds 3–9:
- Repeat the instructions for Round 2 (dc in each stitch around) for seven additional rounds, ensuring there are always 32 double crochets per round.
- After completing the 9th round, end with a sl st and proceed to the flap construction.
Flap
- Join the flap section by identifying the central part of the pouch:
- Join with a sl st to connect two opposite parts of the pouch edge.
- Chain 3 (counts as the first double crochet), then dc into the next 14 stitches (15 stitches total, including the chain).
- Turn your work.
- Rows for Flap:
- Row 1: Chain 3 and double crochet across, ensuring you have 15 stitches (14 dc + 1 starting chain).
- Row 2–4: Repeat Row 1 for a total of four rows.
- Fasten off after completing Row 4.
Color Change Edging
- Change to your second yarn color (e.g., pink):
- Attach the yarn to the last stitch of the flap with a sl st.
- Chain 1 and single crochet along the edge of the flap and around the entire pouch opening. Add 2 sc into each corner for smooth transitions.
- Work single crochets evenly along the pouch edge to ensure it looks neat and symmetrical.
- At the point where the flap meets the pouch, chain 3, skip 3 stitches, and single crochet (sc) into the next stitch. This creates a loop for the closure mechanism.
- Finish the round with a sl st, cut the yarn, and pull through to secure. Weave in all ends using the tapestry needle.
Bow Decoration
- To create the bow:
- Chain 40 with the pink yarn (or yarn color of choice).
- Cut the yarn, leaving a long tail, and tie a knot on both ends.
- Weave the chain back and forth through the flap rows (around the 3rd row from the top), ensuring it creates a decorative bow.
- Tie the bow at the center, adjusting the loops to make it symmetrical.
Finishing
- Weave in all yarn tails neatly. Use the tapestry needle to tuck loose ends inside the stitches.
- Fold the flap down, tuck the loop closure, and adjust the decorative bow as needed.
- Your crochet pouch wallet is ready to use!
Notes from the Tutorial
- Follow the stitch counts carefully to ensure symmetry.
- The pouch closure loop is made using the chain 3 space at the pouch edge.
- You can cut the white yarn after the flap construction as specified.
Troubleshooting and Suggestions
Common Issues:
- Inconsistent stitch tension: Maintaining even tension is key for a clean finish, especially when switching from rounds to rows. If your stitches get loose or tight during the flap section, focus on relaxing your grip on the yarn.
- Color change gaps: When introducing the secondary color, ensure you pull the new yarn tightly into place when joining. This minimizes visible gaps and helps create smooth edges.
- Uneven bow straps: If threading the bow through the flap feels tricky, use a darning needle or your hook to adjust the placement, ensuring even spacing.
Creative Modifications:
- Color combinations: Experiment with bold contrasting colors or delicate pastel shades for truly unique pouches.
- Embroidery embellishments: Add small floral designs or initial letters to the front flap for personalization.
- Size variations: Adjust the starting chain and foundation length to create larger or smaller wallets to suit your needs.
- Multi-purpose use: This pouch pattern is so versatile — adapt it into coin purses, mini makeup bags, or gift bags for special occasions!


