Crochet Spiral Christmas Tree Ornament Free Pattern
Give your Christmas tree a delicate handmade touch with this spiral crochet ornament, shaped around a cone and finished with a tiny star, hanging loop, and sparkling details.
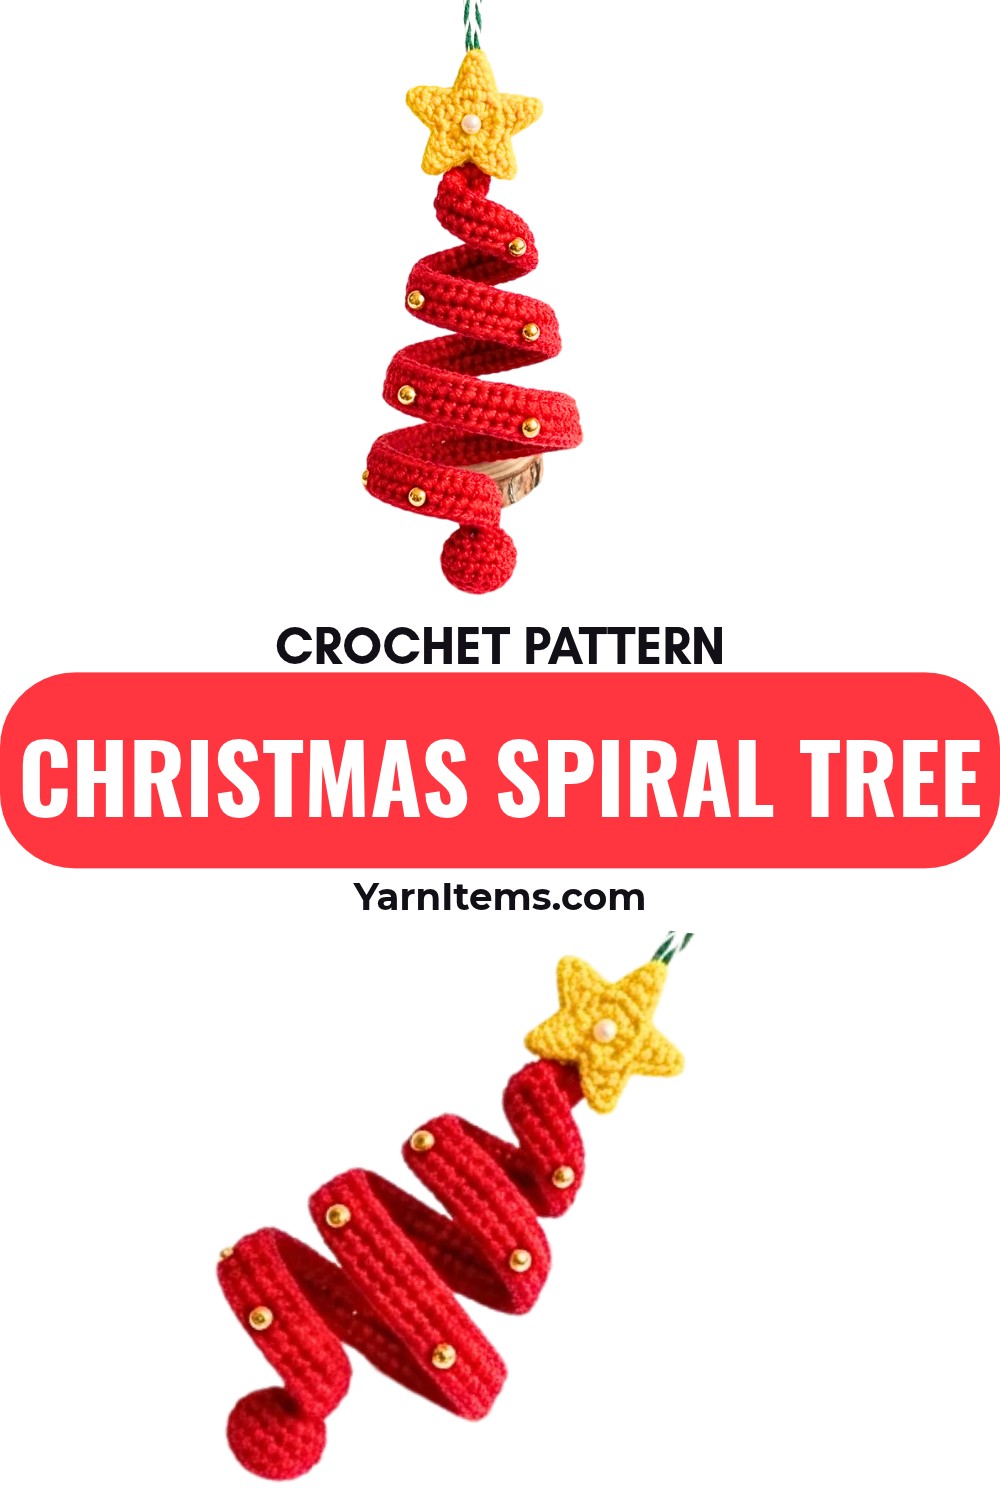
A spiral Christmas tree ornament has a lovely three-dimensional shape that looks especially pretty once it is hanging.
Instead of building the tree from multiple crocheted pieces, this design begins with a simple green strip and turns it into a graceful spiral with stiffening and careful shaping. The finished crochet ornament can decorate a Christmas tree, hang on a wall display, or add a handmade detail to a gift topper.
The crochet itself is quite simple, but the shaping stage determines the final appearance. The green strip needs to be fully soaked, have the excess mixture squeezed out, and then be wrapped tightly around the plastic cone so the spiral dries in the right position. You’ll also make a small yellow star and a lightly stuffed green ball, then attach all three elements once the spiral has hardened.
Credit Crochet Patterns Free
Materials & Tools Needed
- Yarn: 3-ply yarn in Green for the tree body and bottom ball, plus Yellow for the star
- Crochet Hook: 3.0 mm crochet hook
- Stiffening Mixture: 1 spoon of white glue mixed with 2 spoons of water
- Shaping Tool: Hard plastic sheet to roll into a cone
- Clips or Clamps: For holding the spiral securely while it dries
- Scissors
- Glue
- Sparkling flat-back rhinestones or sequins
Finished Size & Customization Ideas
The finished piece is a delicate spiral hanging holiday ornament. Its lightweight shape works well on a Christmas tree, for wall displays, or as a decorative gift topper.
For a taller or shorter spiral, adjust the length of the initial chain. You can also change the look of the finished tree by using multi-colored rhinestones to create the appearance of festive holiday lights.
Pattern Abbreviations & Terminology
- ch: Chain stitch
- sl st: Slip stitch
- sc: Single crochet
- hdc: Half double crochet
- st(s): Stitch(es)
- rnd: Round
- rep: Repeat
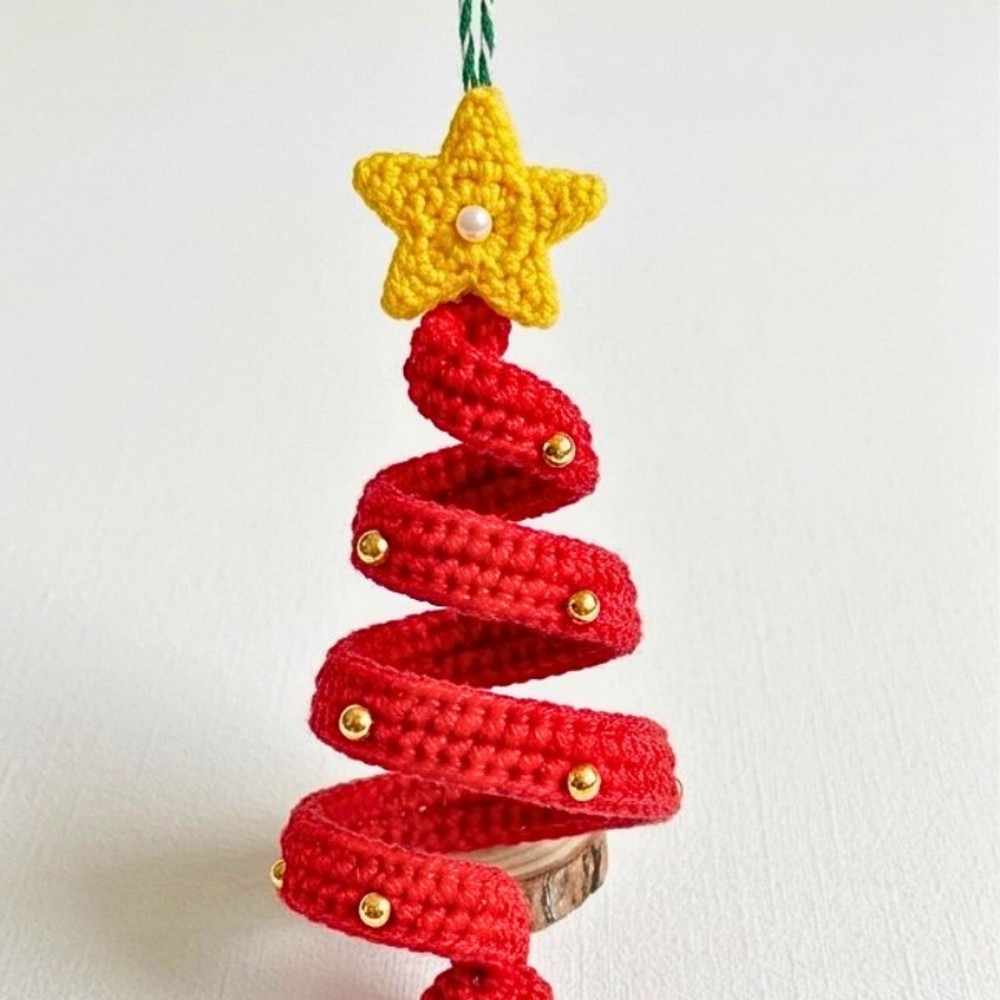
Crochet the Spiral Tree Body
The tree begins as one straight crocheted strip. There is only one row of single crochet, so the important part comes afterward: the strip must be evenly soaked and wrapped around the cone while it is still flexible.
Foundation Chain
Using the 3.0 mm crochet hook and green 3-ply yarn, make 60 chains.
Row 1: Turn, 1 sc in each st across; fasten off, leaving a short tail, and trim the excess ends.
Shape and Stiffen the Spiral
The crocheted strip will not naturally hold the tree shape. The glue-and-water mixture gives it the firmness needed to keep the spiral form after drying.

Prepare the Stiffening Mixture
Mix 1 spoon of white glue with 2 spoons of water in a small container.
Completely soak the crocheted strip in the mixture. Make sure the strip is thoroughly saturated before shaping it.
Roll the hard plastic sheet into a cone. This cone acts as the temporary form around which the wet strip will be shaped.
Gently squeeze the excess liquid from the crocheted strip. It should remain damp and flexible, but you do not want it dripping as you begin wrapping.
Wrap the strip tightly around the outside of the plastic cone in a spiral. Keep the spacing and direction consistent as you work so the finished tree has an even, graceful shape.
Secure both ends with clips or clamps. Leave the spiral to dry overnight, or until it is completely hard.
Shape check: Do not remove the spiral from the cone before it has fully hardened. The cone keeps the strip in position while the stiffening mixture sets, so moving it too early can disturb the shape.

Make the Yellow Star Topper
The star is worked separately in yellow yarn from a magic ring. Each point is formed with a short chain, a slip stitch, and a half double crochet before returning to the center.
Star
Create a magic ring using yellow yarn.
Star Point Repeat: Rep 5 times: ch 3, sl st in 2nd ch from hook, hdc in last ch, sl st in magic ring.
After completing all five points, pull the magic ring tight to close the center. Fasten off securely, then trim and hide the yarn tails.

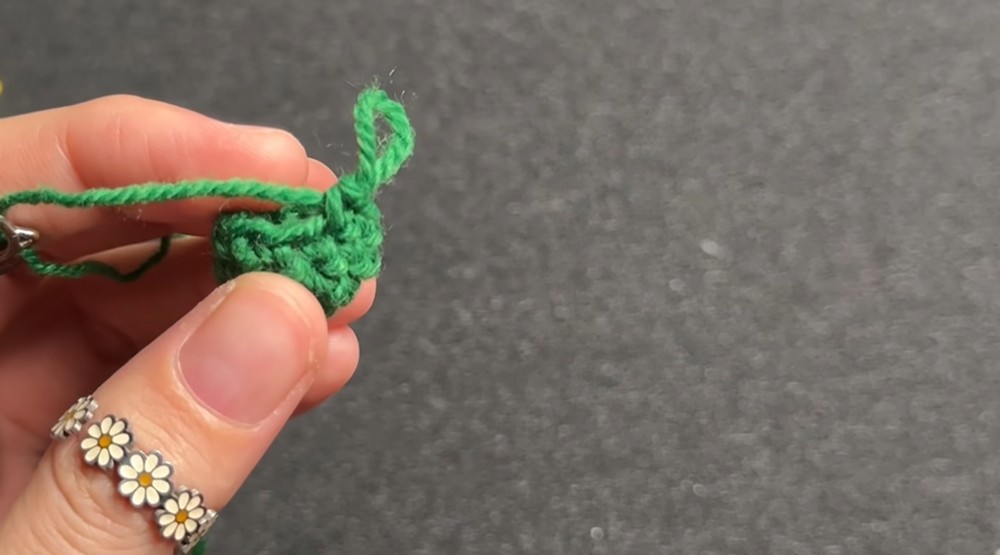
Crochet the Bottom Green Ball
The small green ball sits at the bottom terminal tip of the spiral. Keep the stuffing light so the ball remains small and rounded rather than becoming bulky.
Begin with ch 2 using green yarn.
Rnd 1: Work 5 sc in 2nd ch from hook (5 sts).
Rnd 2: Work 2 sc in each of the next 4 sts (8 sts); use a stitch marker to keep track of the rounds.
Rnd 3: Work 1 sc in each st around (8 sts).
Rnd 4: Work 5 sc decrease to close, then fasten off, leaving a working tail.
Before completely closing the ball, reshape it using the crochet hook. Lightly stuff the interior with leftover green yarn scraps, then finish closing it.
Shape check: Use only a light amount of stuffing. The ball is meant to remain a small finishing element at the bottom of the spiral, so overstuffing can change its intended shape.
Assemble the Christmas Tree Ornament
Once the green spiral is completely hard, you can add the hanging loop, star, bottom ball, and decorations.
1. Add the Hanging Loop
Form a secure green string loop and attach it at the top apex of the hardened green spiral tree. Check that the loop is firmly secured before hanging the ornament.
2. Attach the Star and Bottom Ball
Glue the yellow star to the very top front of the tree.
Next, glue the stuffed green ball to the bottom terminal tip of the spiral.
Allow the glued elements to become secure before handling the ornament further.
3. Add the Sparkling Decorations
Apply glue to position the flat-back rhinestones or sequins along the outer edges of the green spiral tree.
For a classic Christmas-light effect, use several colors of rhinestones rather than keeping all of the decorations the same color.

Final Finishing Check
Before placing the ornament on your tree, check each attachment point:
- The spiral should be completely hard and retain its cone-shaped curve.
- The hanging loop should be securely attached at the top apex.
- The yellow star should sit at the top front.
- The green ball should be firmly attached to the bottom tip.
- The rhinestones or sequins should be securely glued along the spiral edges.
Once everything is firmly attached, the delicate spiral shape is ready to hang as part of your Christmas decorations or to use as a festive gift topper.