Beautiful Crochet Christmas Tree For Holiday Fun
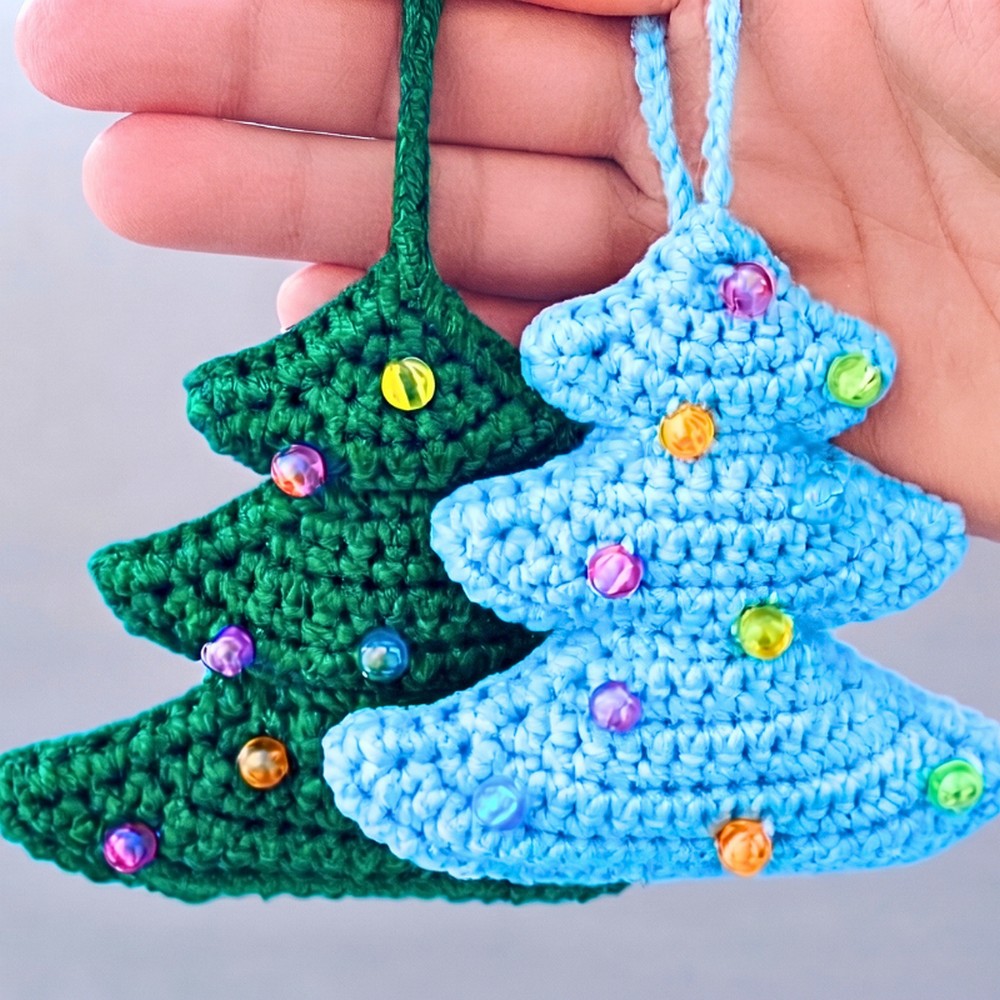
The best crochet Christmas decorations don’t have to be expensive or complicated. Sometimes, a small handmade piece can bring the warmest holiday feeling to a room. This easy Christmas tree is quick to make, fun to display, and adds a cheerful festive touch wherever it hangs. Keep reading to see how a few simple materials can turn into a decoration you’ll want to make more than once.
Crochet Christmas Tree Pattern
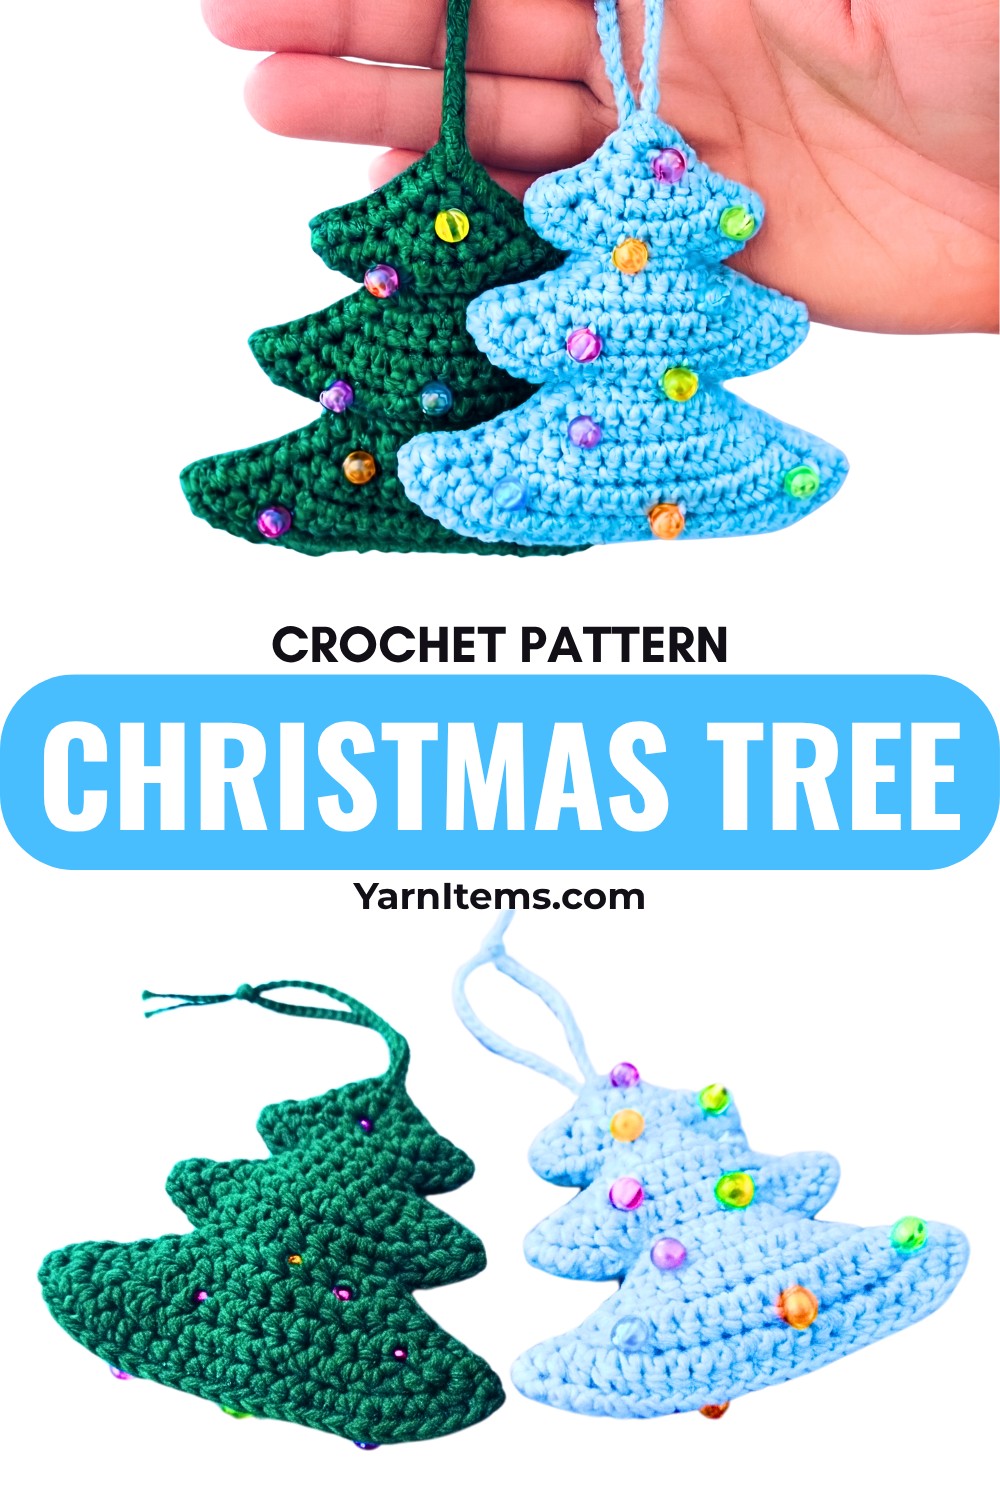
The crochet pattern is beginner-friendly and uses easy steps that are enjoyable to follow. Once finished, you can hang it on your Christmas tree, decorate a wall, brighten a wreath, or add it to a handmade gift. Its simple design is easy to customize with your favorite holiday colors. Making every crochet decoration feel a little more personal.
Credit Hello Amigurumi
Materials & Tools Needed
- Yarn: Sport weight cotton or acrylic yarn in mint blue/green or dark forest green (or any color).
- Crochet Hook: 2.0 mm to 2.5 mm (adjust per yarn & tension).
- Decorations: Small colorful beads for ornaments (optional).
- Stuffing: Polyester fiberfill (toy stuffing).
- Notions: Tapestry needle, scissors, sewing thread & needle for beads.
Finished Size & Customization
- Size: Approximately 3–4 inches tall (depends on yarn & tension).
- Customization: Use embroidery (French knots) or metallic thread for garlands. Scale up with thicker yarn.
Abbreviations & Terminology
- ch: Chain stitch.
- sc: Single crochet.
- inc: Increase (2 sc in the same stitch).
- slst: Slip stitch.
- st / sts: Stitch(es).
- Row / Rnd: Row (turning), Round (continuous/along edges).
Step-by-Step Instructions
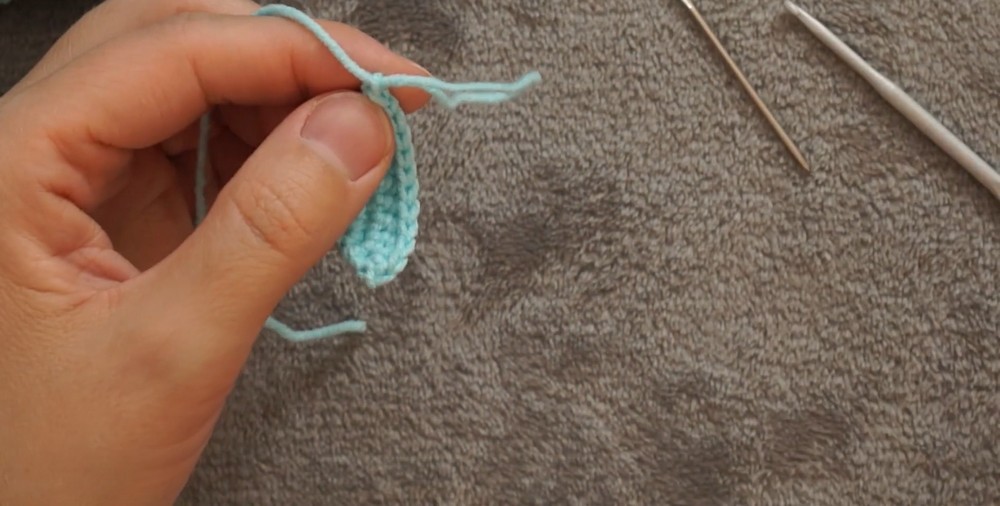
1. Top Tier (Rows 1–6)
Forms the tree’s point.
- Row 1: Ch 2, work 1 inc in the first loop. (2 sts)
- Row 2: Ch 1, turn, 2 inc. (4 sts)
- Row 3: Ch 1, turn, 1 inc, 2 sc, 1 inc. (6 sts)
- Row 4: Ch 1, turn, 1 inc, 4 sc, 1 inc. (8 sts)
- Row 5: Ch 1, turn, 1 inc, 6 sc, 1 inc. (10 sts)
- Row 6: Ch 1, turn, 1 inc, 8 sc, 1 inc. (12 sts)
Finish off and hide the ends.
2. Middle Tier (Rows 1–7)
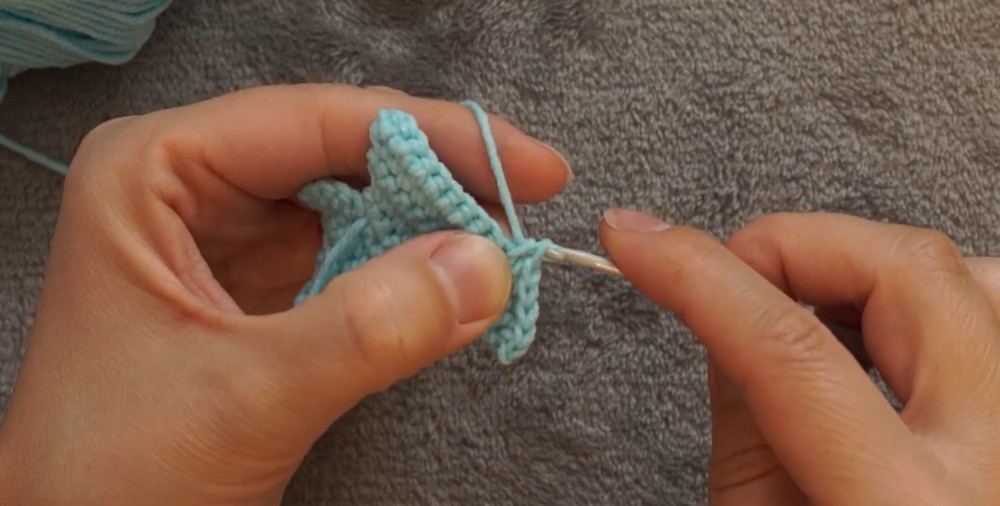
Attach to Row 6 of the Top Tier:
- Skip 4 sts of Row 6. Attach new yarn into the 5th st.
- Row 1: Work 1 inc, 2 sc, 1 inc. (6 sts)
- Row 2: Ch 1, turn, 1 inc, 4 sc, 1 inc. (8 sts)
- Row 3: Ch 1, turn, 1 inc, 6 sc, 1 inc. (10 sts)
- Continue same logic till Row 7: 1 inc, 14 sc, 1 inc. (18 sts)
Finish off and hide.
3. Bottom Tier (Rows 1–9)
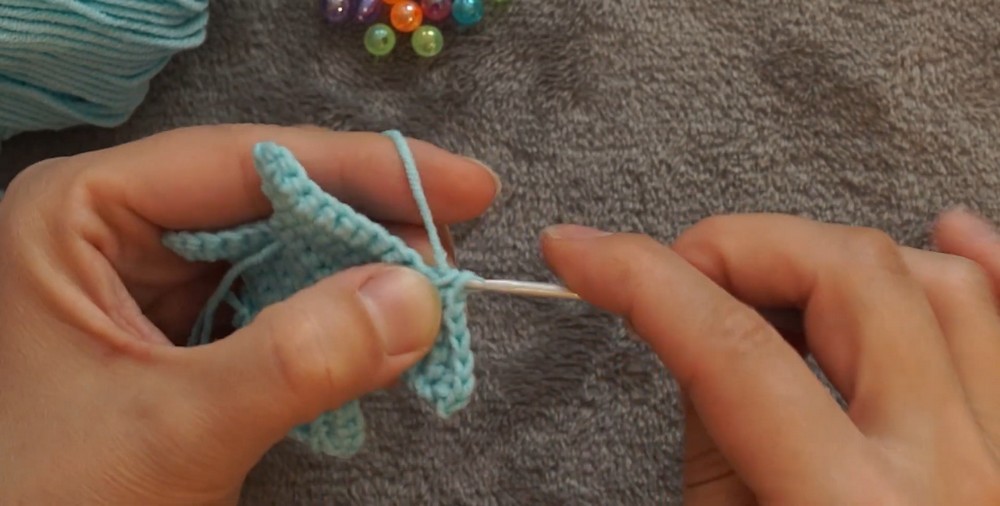
Attach to Row 7 of the Middle Tier:
- Skip 6 sts of Row 7. Attach new yarn in the 7th st.
- Row 1: Work 1 inc, 4 sc, 1 inc. (8 sts)
- Continue incrementally till Row 9: 1 inc, 20 sc, 1 inc. (24 sts)
Finish off.
4. Assemble Two Panels
- Follow Steps 1–3 to create two identical panels.
5. Hanging Loop & Decoration
- Loop: Ch 31. Fasten off.
- Beads: Use a needle and thread to sew colorful beads as ornaments.
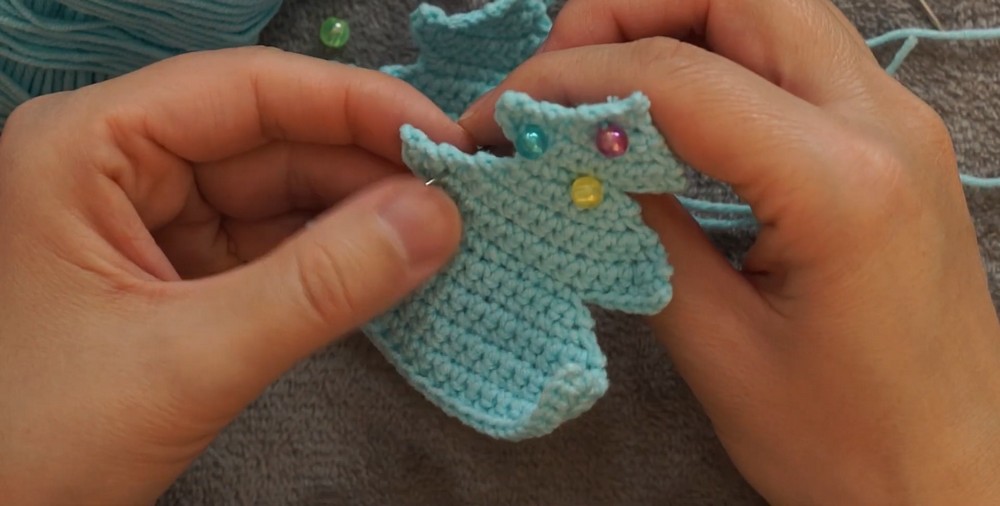
6. Joining, Stuffing & Edging
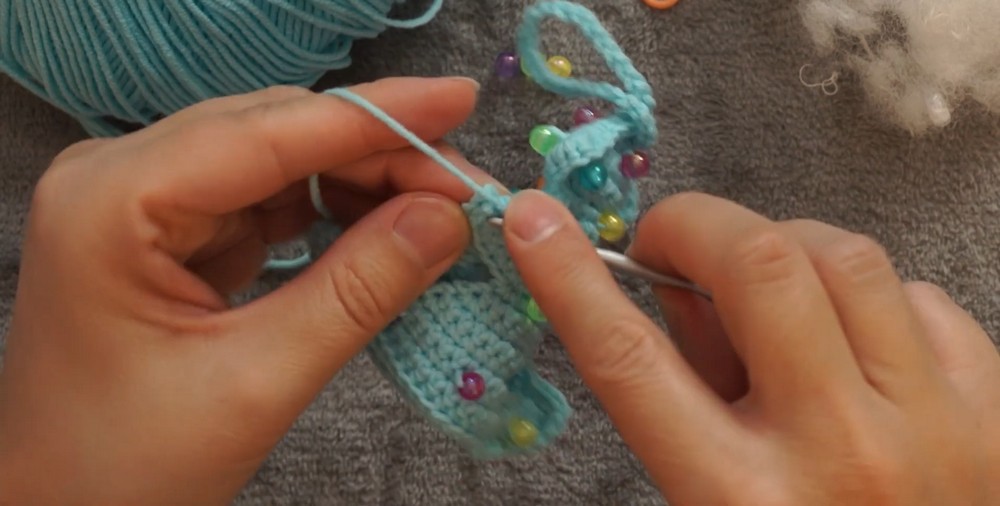
- Align: Place panels together with wrong sides facing inward.
- Attach Loop: Tie the loop to the top of the tree.
- Edging: Sc around both panels to join:
- Work 3 sc in each corner for sharp branch points.
- Stuffing: Fill with fiber as you go.
- Finish: Close remaining stitches, fasten off, and hide loose threads.