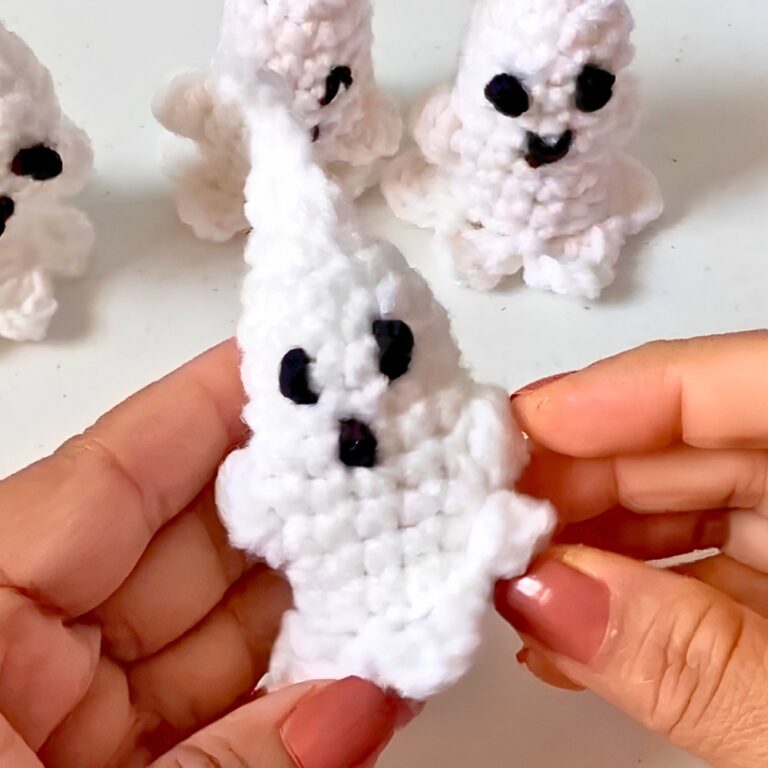
No-Sew Crochet Ghost Pattern for All Skill Levels
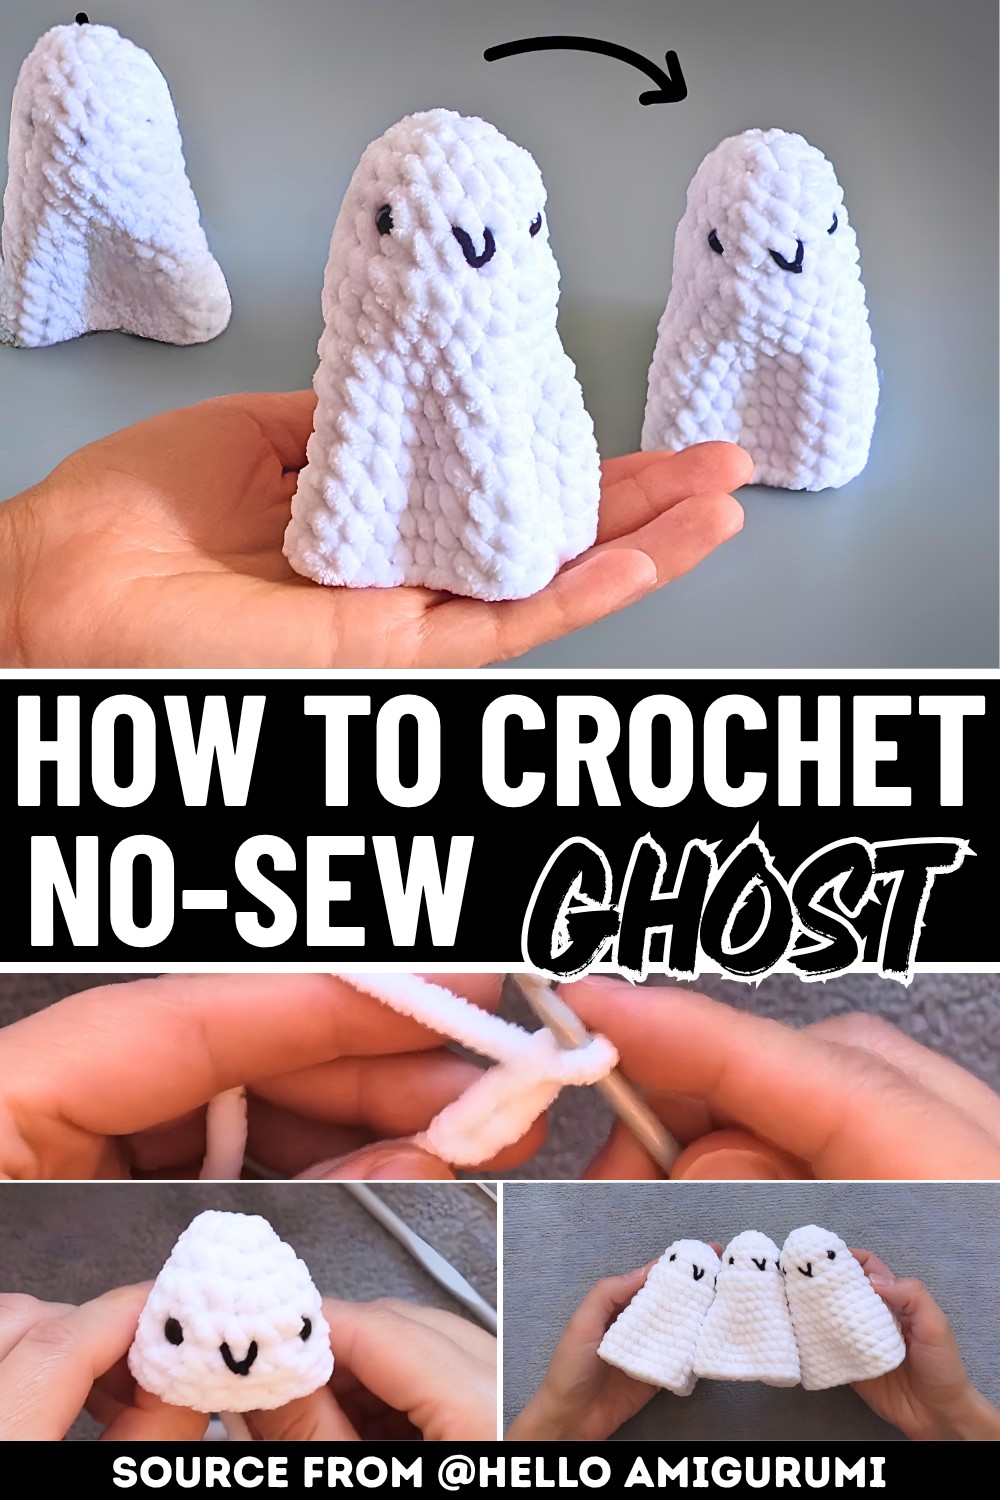
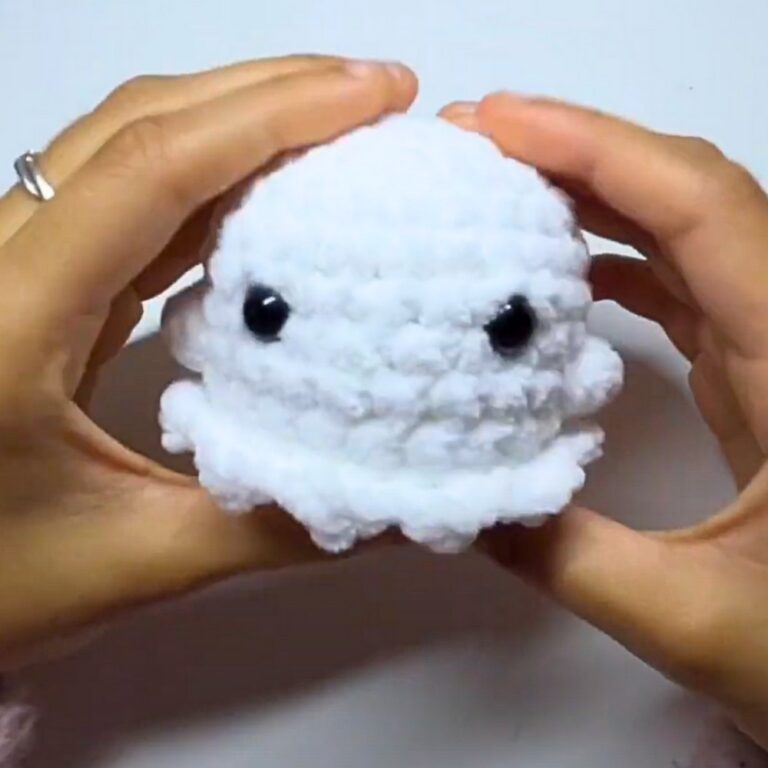
Looking for an adorable and simple crochet idea? This no-sew crochet ghost is perfect for anyone, including beginners! Its charming round shape and cute droopy arms are made in one continuous piece, which means no sewing is required. That makes it an excellent choice if you love crocheting but don’t enjoy stitching parts together. This ghost adds a fun and playful touch to your Halloween decorations or can be a cute little friend all year round.
Quick No-sew Crochet Ghost Pattern
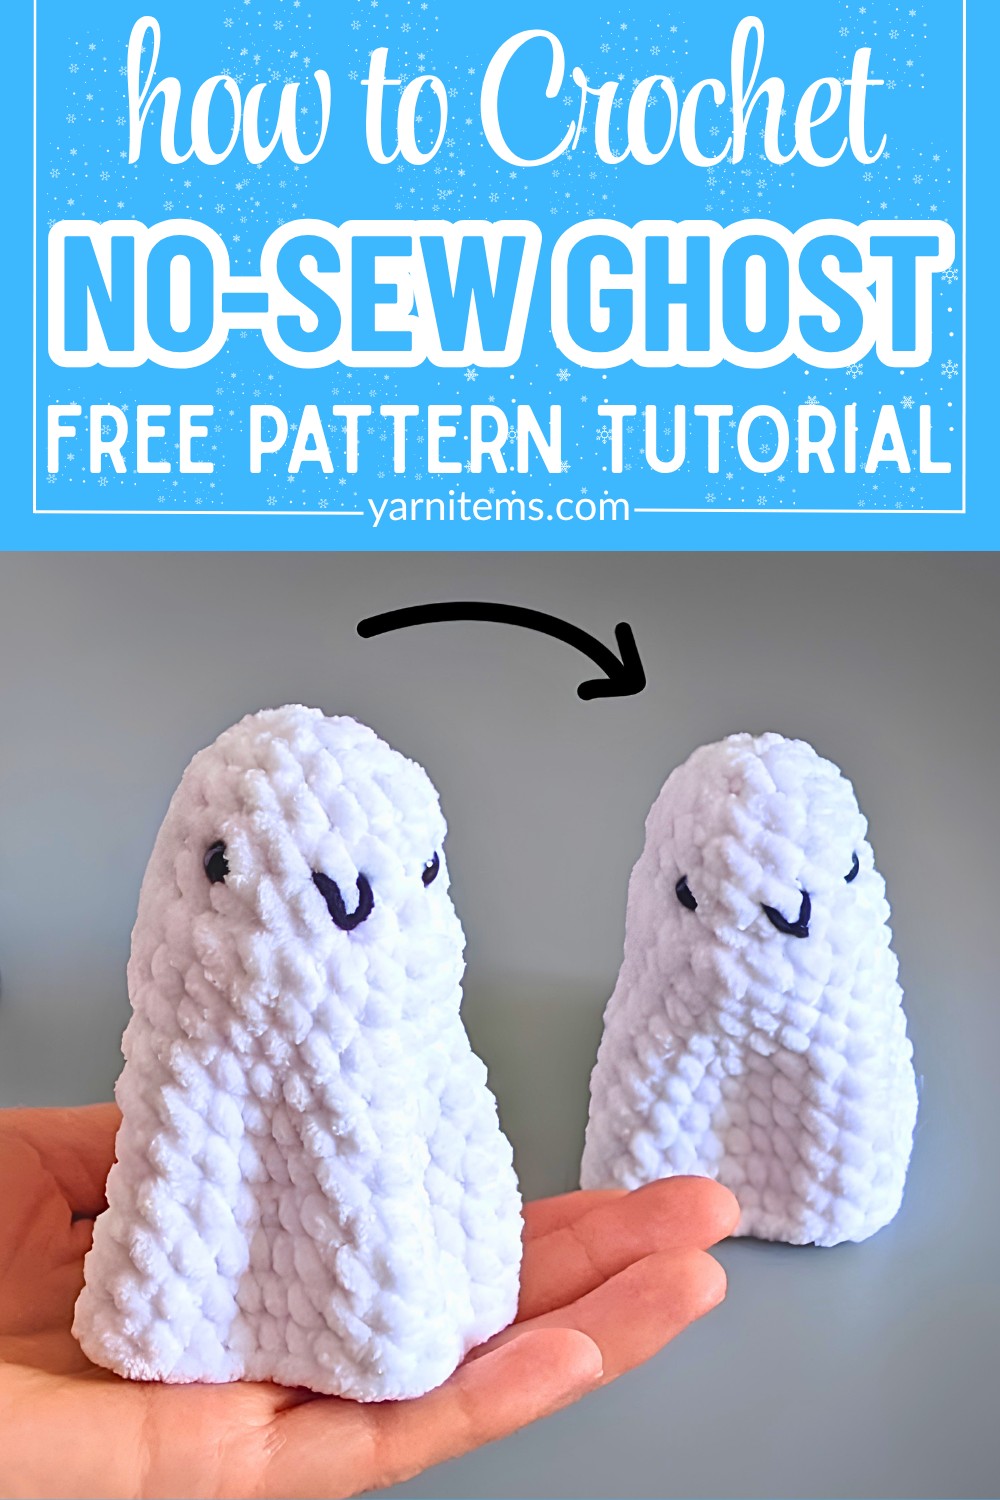
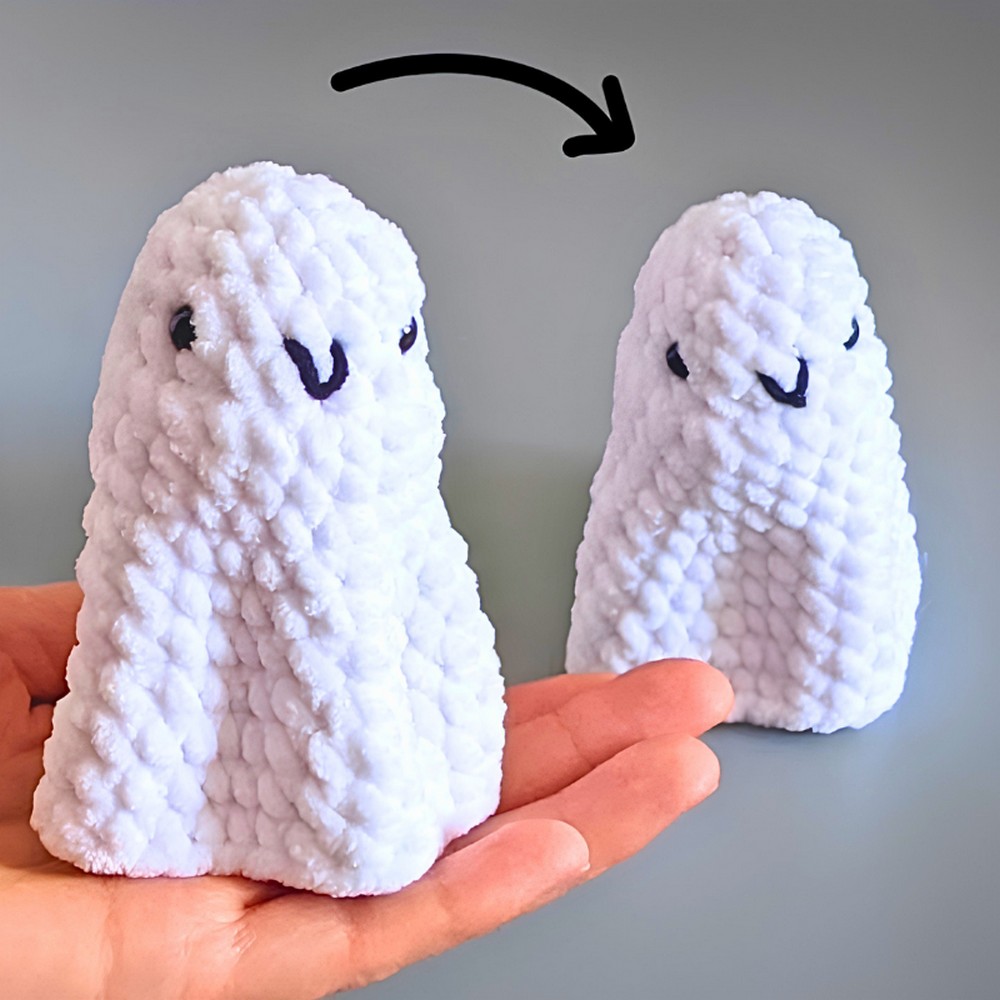
The pattern is beginner-friendly, but it can also be personalized in many ways! You can adjust the size by using different yarn weights or hooks. Want a tiny ghost for keychains? Use thinner yarn and a smaller hook. Or go bigger with chunky yarn to create a huggable ghost. Add personality by stitching on funny or spooky facial expressions using black yarn. You can even turn it into holiday décor by adding a string loop to hang it up or attaching it to wreaths.
To make your ghost unique, consider using glow-in-the-dark yarn for a fun nighttime effect or multicolored yarn for a quirky twist. The techniques are simple, requiring basic crochet stitches like single crochet and working in the round. Without the hassle of sewing separate parts, you can focus on making your creative vision shine. This no-sew ghost is quick, fun, and a wonderful addition to your crochet creations.
Credit Hello Amigurumi
Materials & Tools Needed
-
Yarn: Chunky plush/chenille blanket yarn in white (main body) and a small length of medium-weight acrylic yarn in black (for facial details).
-
Crochet Hook: 4 mm crochet hook (or any hook size suitable for the yarn you are using)
-
Eyes: Safety eyes or alternative black embroidery details.
-
Stuffing: Fiberfill/polyester toy stuffing.
-
Notions: Stitch marker, tapestry needle, and scissors.
Key Construction Features
-
No-Sew Design: The item is worked continuously in the round, meaning there’s absolutely no sewing of separate limbs or panels required.
-
Top-Down Mechanics: The pattern begins at the crown of the head and increases down, forming a stable bell or cone shape.
-
Ripple Base: It uses clever placement of increases to flare out the base of the ghost, allowing it to stand smoothly.
Step-by-Step Pattern
Phase 1: The Head
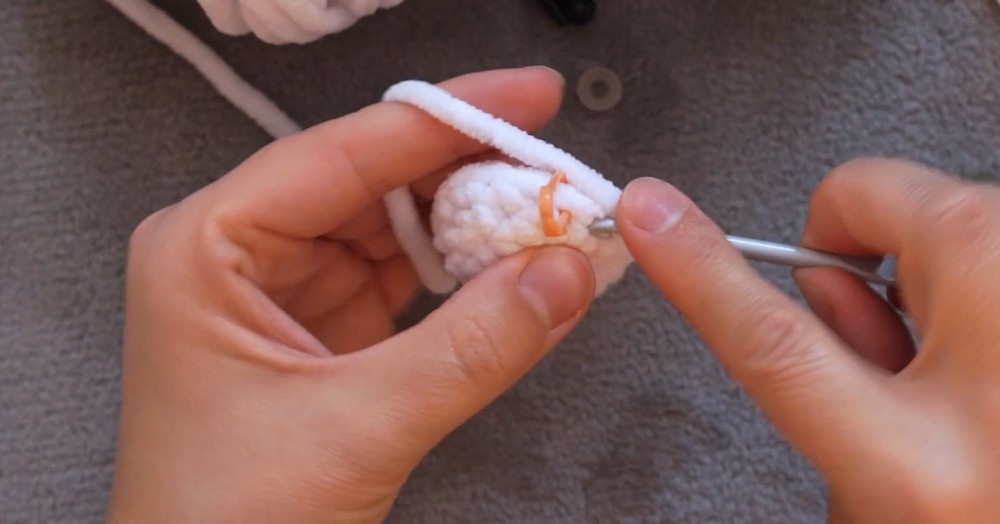
Round 1
-
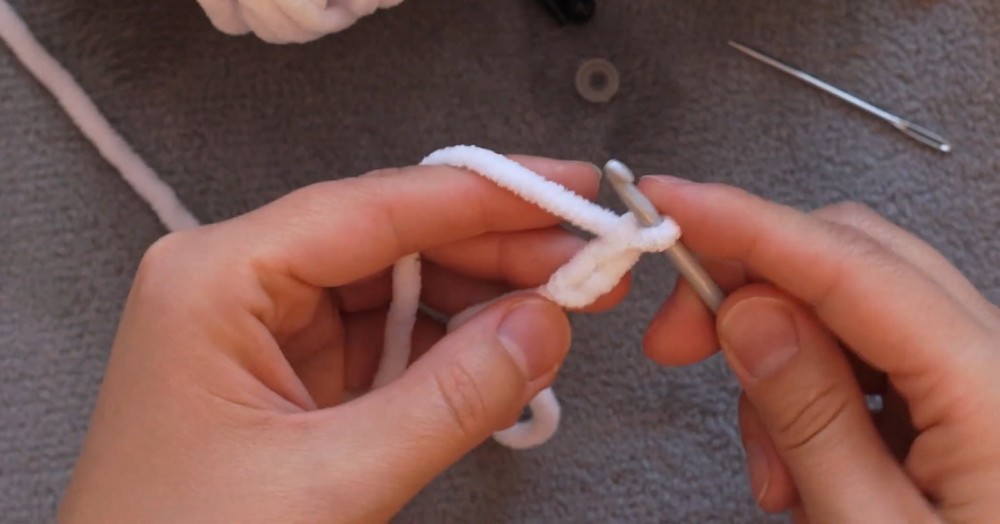
Create a magic ring (MR).
-
Work 8 single crochets (sc) into the ring.
-
Total stitches: 8
Round 2
-
Work [1 sc, 1 inc] repeated 4 times around.
-
Total stitches: 12
Round 3
-
Work [2 sc, 1 inc] repeated 4 times around.
-
Total stitches: 16
Phase 2: The Face & Body Length
Round 4
-
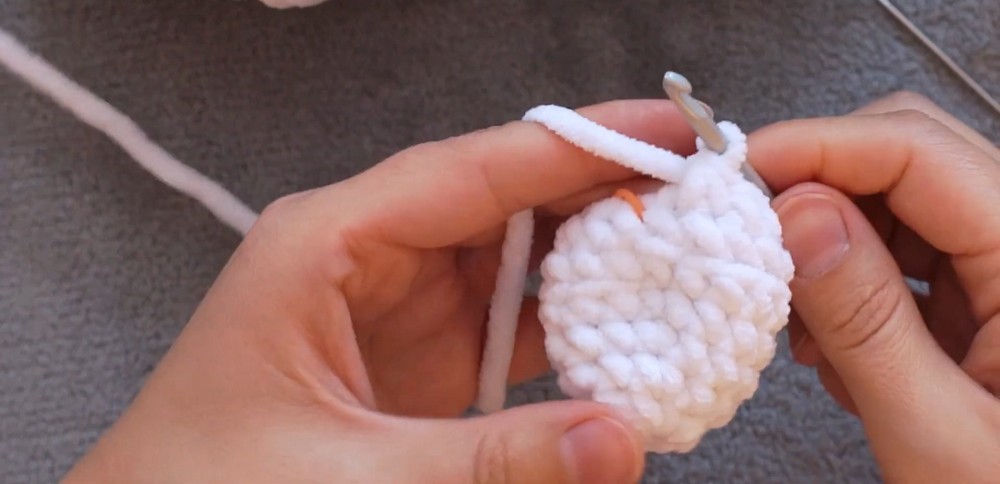
Work 16 sc evenly all the way around (1 sc in each stitch from the previous round).
-
Total stitches: 16
Round 5
-
Work 16 sc evenly all the way around.
-
Total stitches: 16
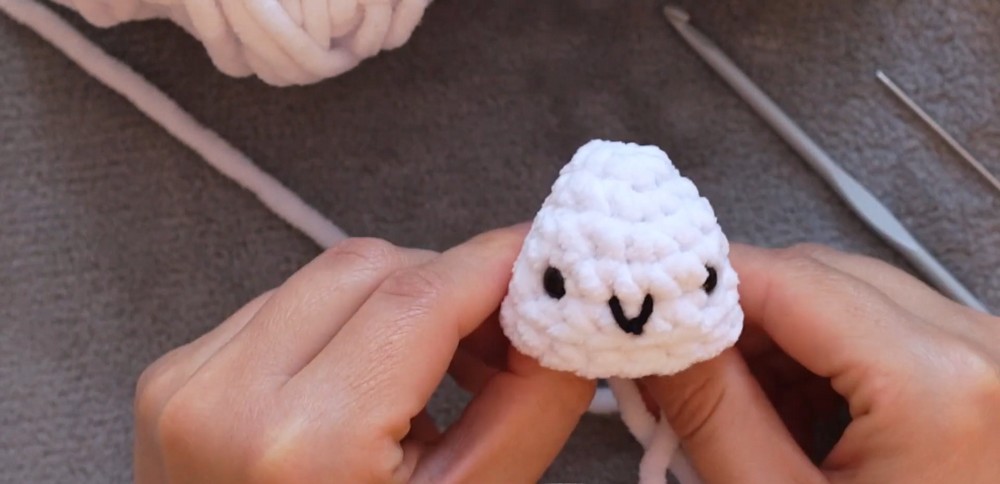
Stop & Add Features: Pause here. Insert your safety eyes between Round 4 and Round 5, leaving about 4 stitches of space between them. Use your scrap black yarn and tapestry needle to embroider a quick mouth right below the eyes.
Phase 3: The Flared Base
Round 6
-
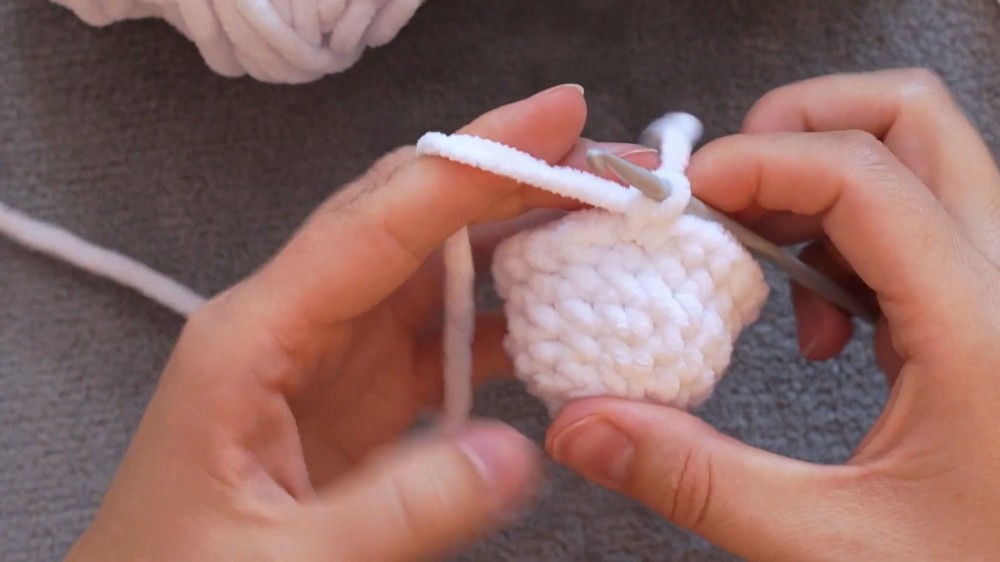
Work [3 sc, 1 inc] repeated 4 times around.
-
Total stitches: 20
Round 7
-
Work 20 sc evenly all the way around.
-
Total stitches: 20
Round 8
-
Work [4 sc, 1 inc] repeated 4 times around.
-
Total stitches: 24
Round 9
-
Work [5 sc, 1 inc] repeated 4 times around.
-
Total stitches: 28
Round 10
-
Work 28 sc evenly all the way around.
-
Total stitches: 28
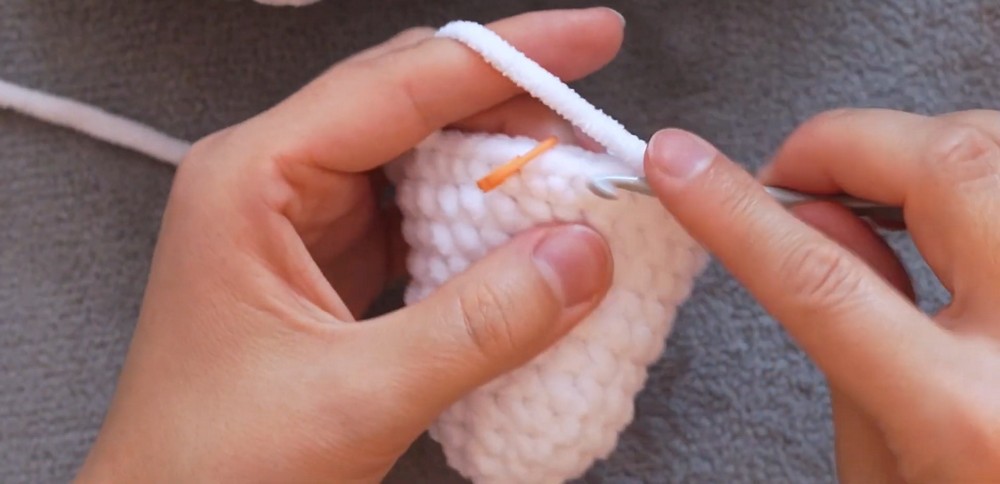
Round 11
-
Work [6 sc, 1 inc] repeated 4 times around.
-
Total stitches: 32
Phase 4: Closing
Stuffing Step
-
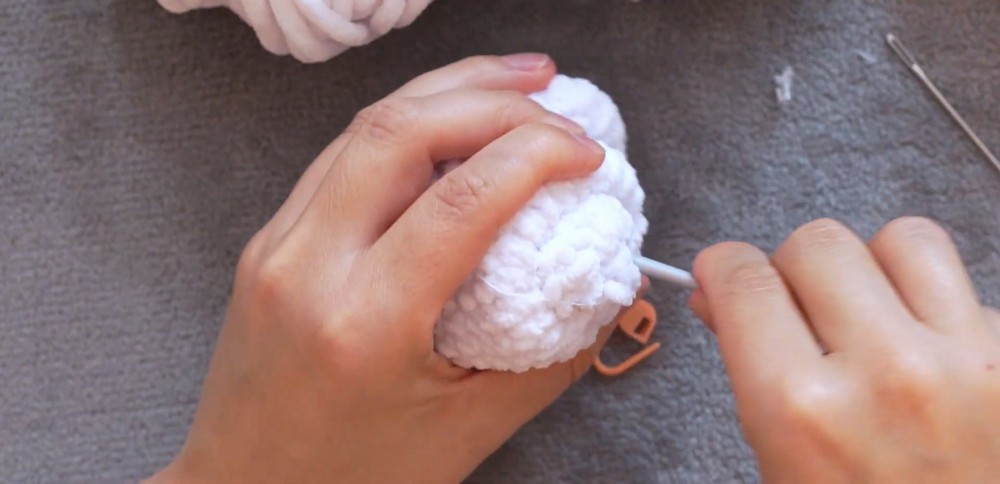
Firmly pack fiberfill into the head (Rounds 1–5), but keep it lightly stuffed toward the bottom rim so the ghost stands flat.
Finishing Step
-
Slip stitch into the very next stitch to secure the edge.
-
Cut your yarn, leaving a 6-inch tail.
-
Thread the tail onto a needle, weave it through the front loops of the 32 stitches from Round 11, pull tightly to close the base, and hide the thread inside the body.
Troubleshooting and Suggestions
-
Handling Plush Yarn Friction: Chenille or blanket yarn can sometimes catch heavily or snap if pulled too tightly while forming a magic circle. If you struggle with breaking the yarn, start with the Chain 2 method and place your initial single crochets directly into the first chain loop instead.
-
Creating a Flat Base: If your ghost tilts or wobbles when standing, it’s often caused by over-stuffing the lower third. Keep the stuffing dense at the top of the head, but light and airy near the flared ripple edge so it stays flexible enough to rest flat on surfaces.
-
Modifications:
-
Try swapping the classic white for a pastel palette (mint green, lavender, or soft pink) to make a collection of colorful ghost variants.
-
You can skip cinching the bottom shut entirely to leave the base open, creating a functional finger puppet or a festive top for a Halloween garland.
-