Crochet Ghost with a Removable Beanie – Easy for Halloween
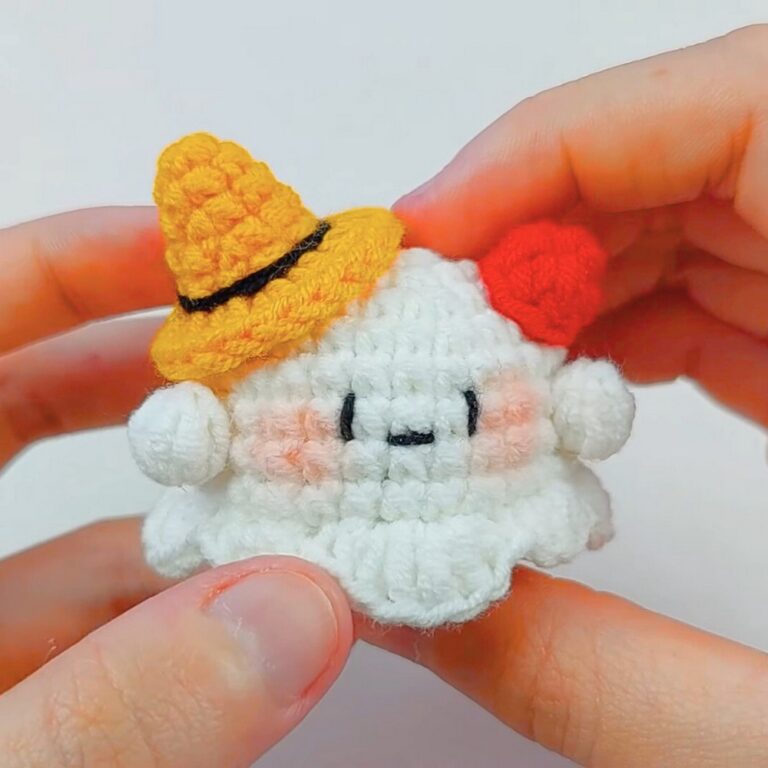
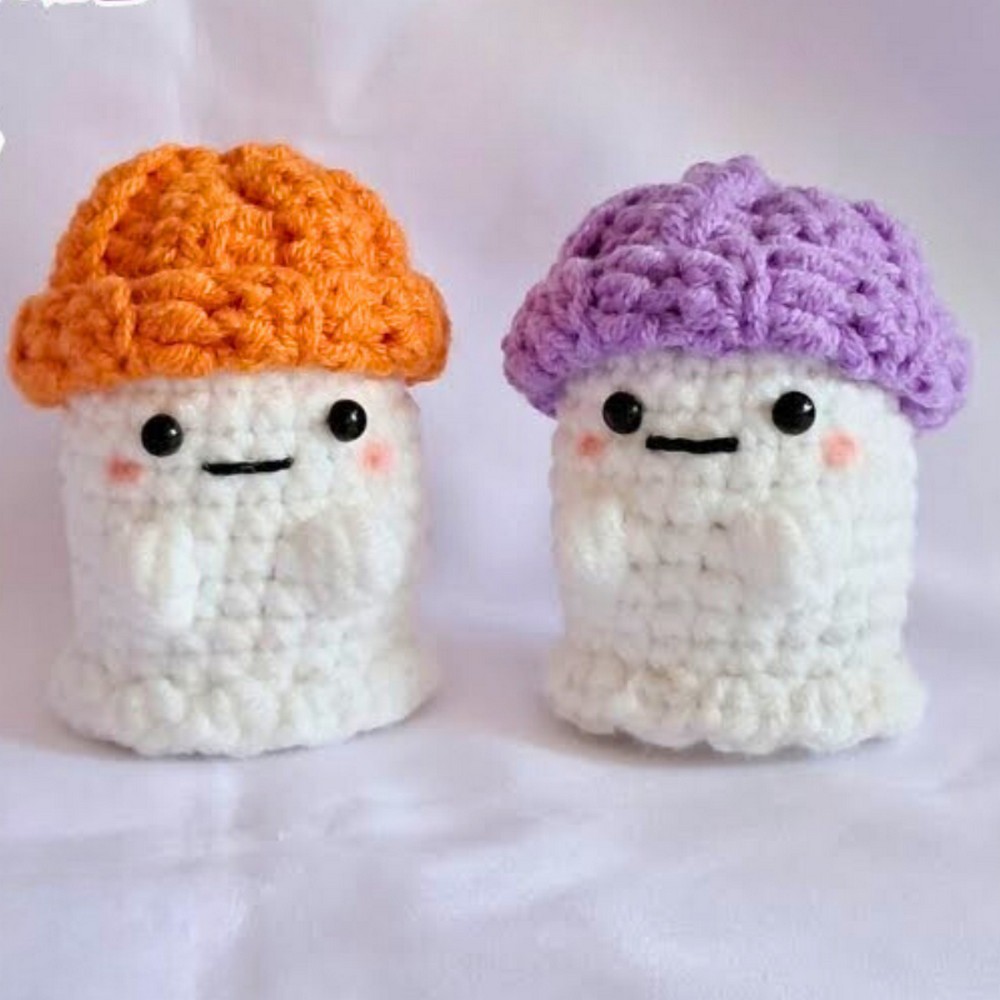
Cute, spooky, and effortlessly charming, this crochet ghost (complete with a mini beanie!) is the perfect handmade addition to your Halloween décor or fun year-round festivities.
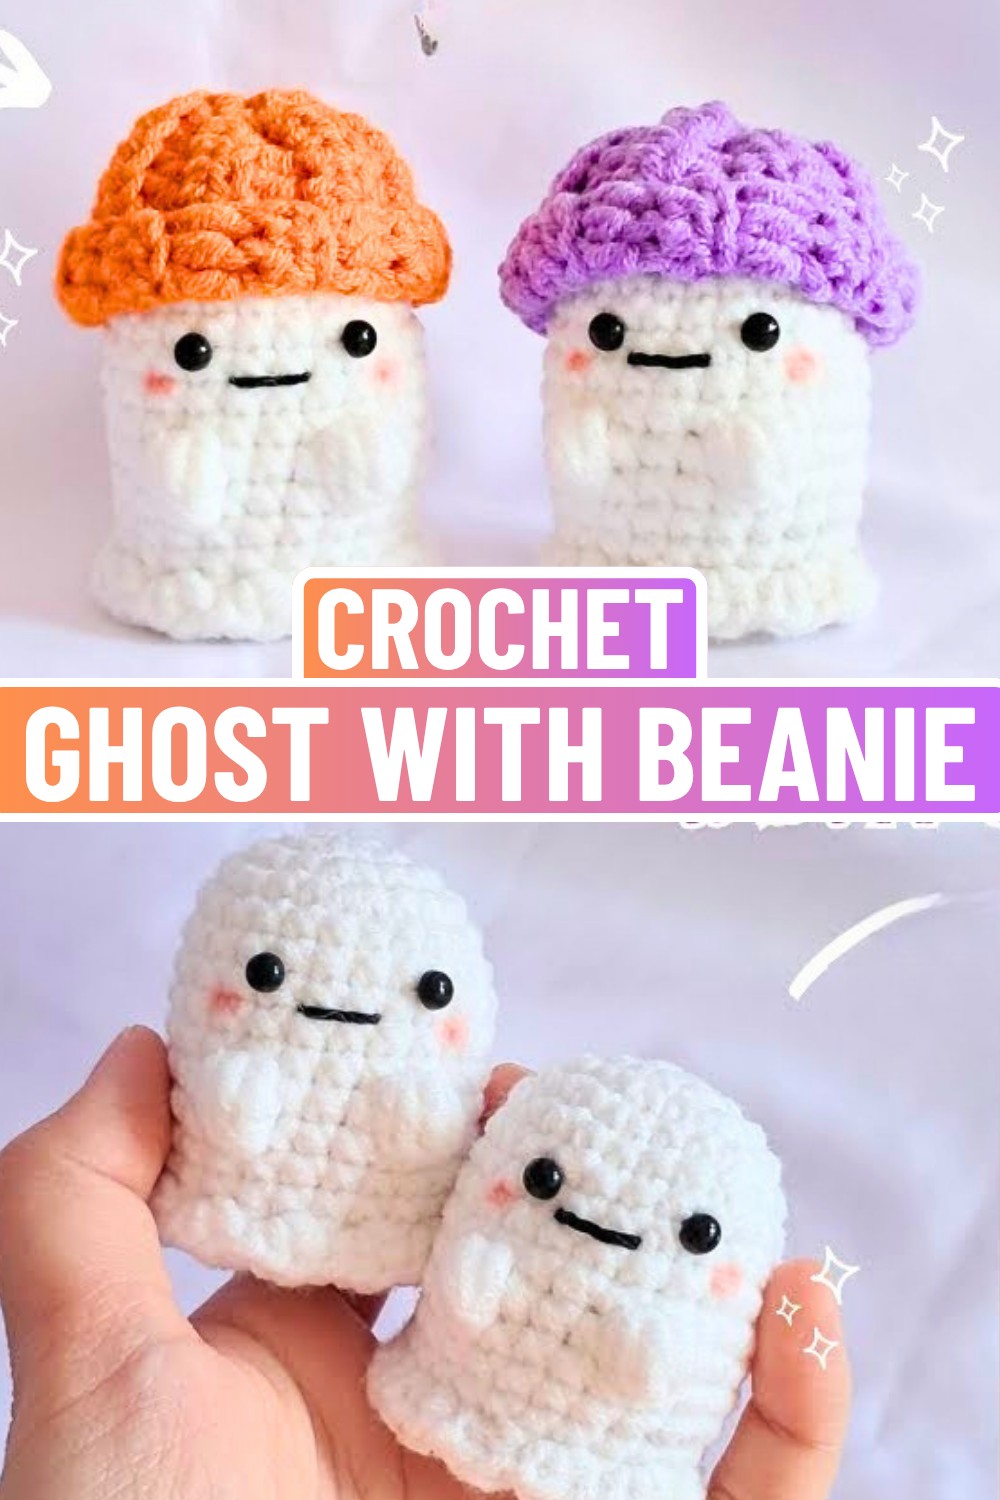
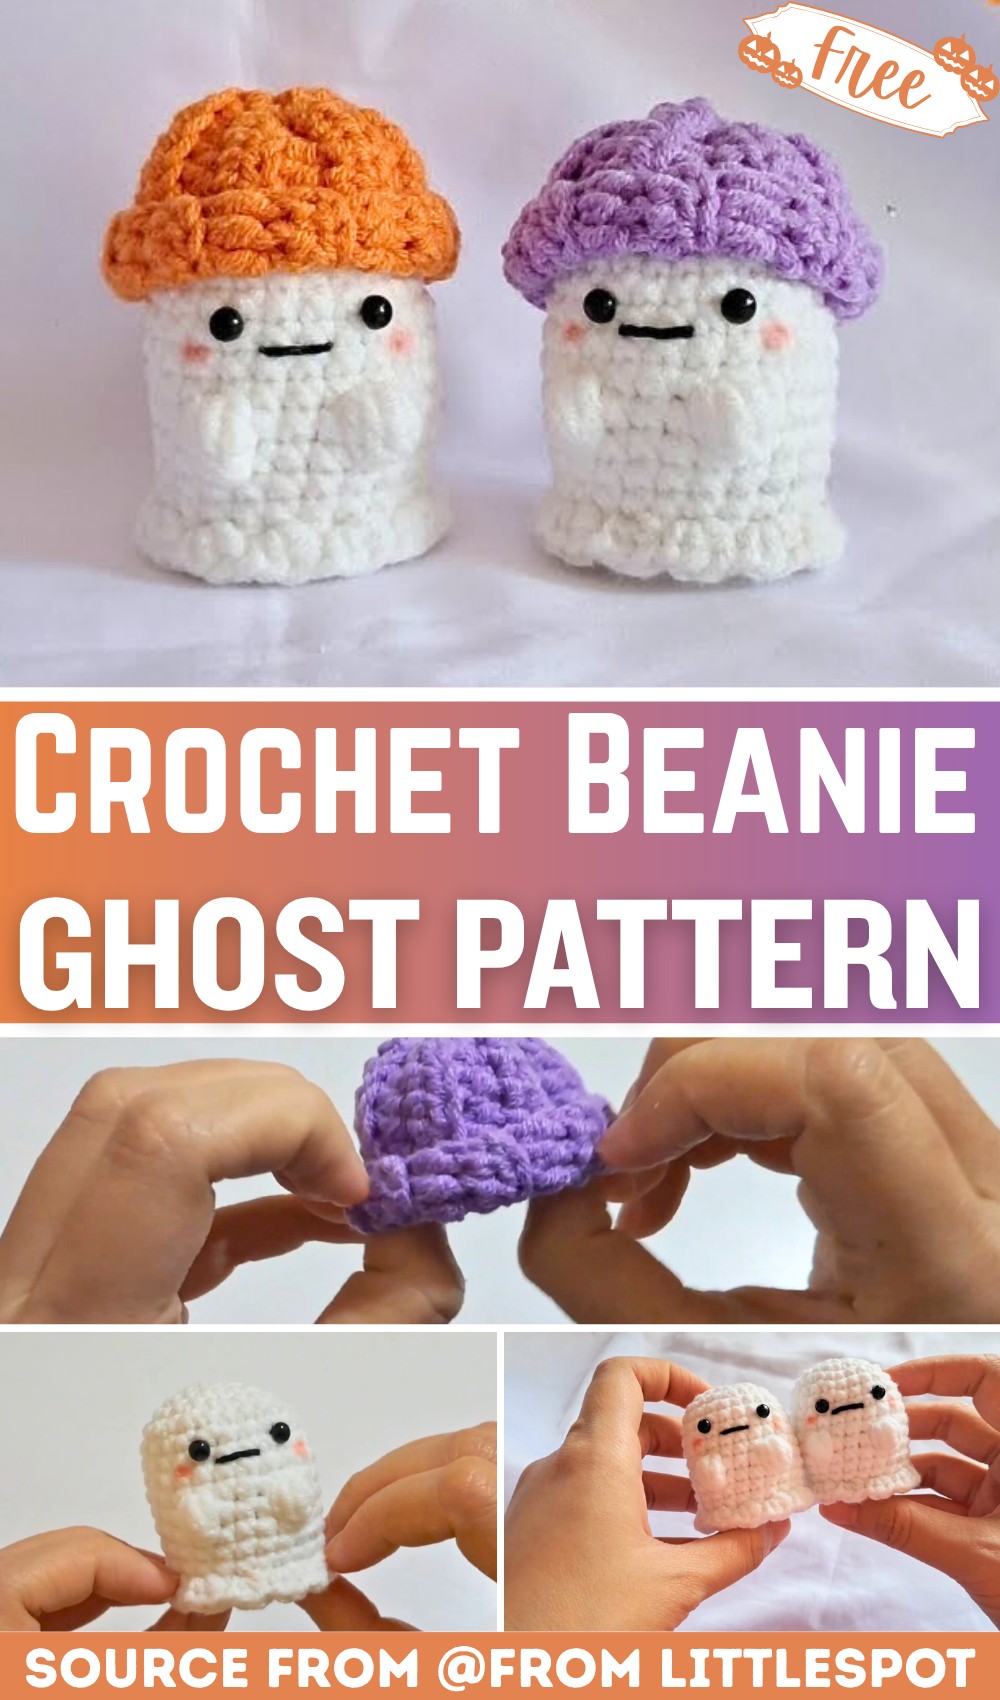
This crochet ghost is a cozy, adorable creation perfect for Halloween or the fall season. With its snug little beanie, the ghost gives off a friendly and comforting vibe, making it ideal as a decoration, gift, or even a playful companion. Its sweet details, like a smiling face and soft materials, make it both fun to look at and easy to love.
Crochet Ghost with a Removable Beanie
To make this crochet ghost, you’ll work with simple techniques like the magic ring and basic stitches for the ghost’s body. What sets it apart is the tiny removable beanie, adding a touch of personality and charm. Beginners will appreciate how fun and manageable this tutorial feels. If you’re looking to brighten up your space or create a heartfelt handmade item, this crochet ghost is an enjoyable choice.
Credit from littlespot
Key Features and Construction Summary:
- Body: Starts with a Magic Ring, worked in the round to create a sculpted, seamless ghost form.
- Texture Details: Bobble stitches add whimsical bumps to mimic ghostly features.
- Base Frill: Front loop and back loop techniques create a flowing, frilly base for extra flair.
- Beanie: Worked in rows with a ribbed texture created by back loop half-double crochet stitches, then shaped and attached seamlessly.
- Customization: Add safety eyes, embroidered features, and optional blush for personality.
This ghost begins with a Magic Ring—a popular technique for tightly closing the center of circular crochet patterns. You’ll use single crochets and a combination of increases in early rounds to gradually sculpt the ghost’s rounded head and upper body. After reaching a steady width, crochet several rounds without increasing to complete the body’s structure.
Moving into the middle section, the ghost’s personality comes to life with bobble stitches added strategically to create bumps on the surface. This stitch, which involves pulling loops into a single spot several times for a raised appearance, is playful and adds a slightly mischievous detail. Keep counting carefully, as the placement of bobble stitches is key to maintaining symmetry!
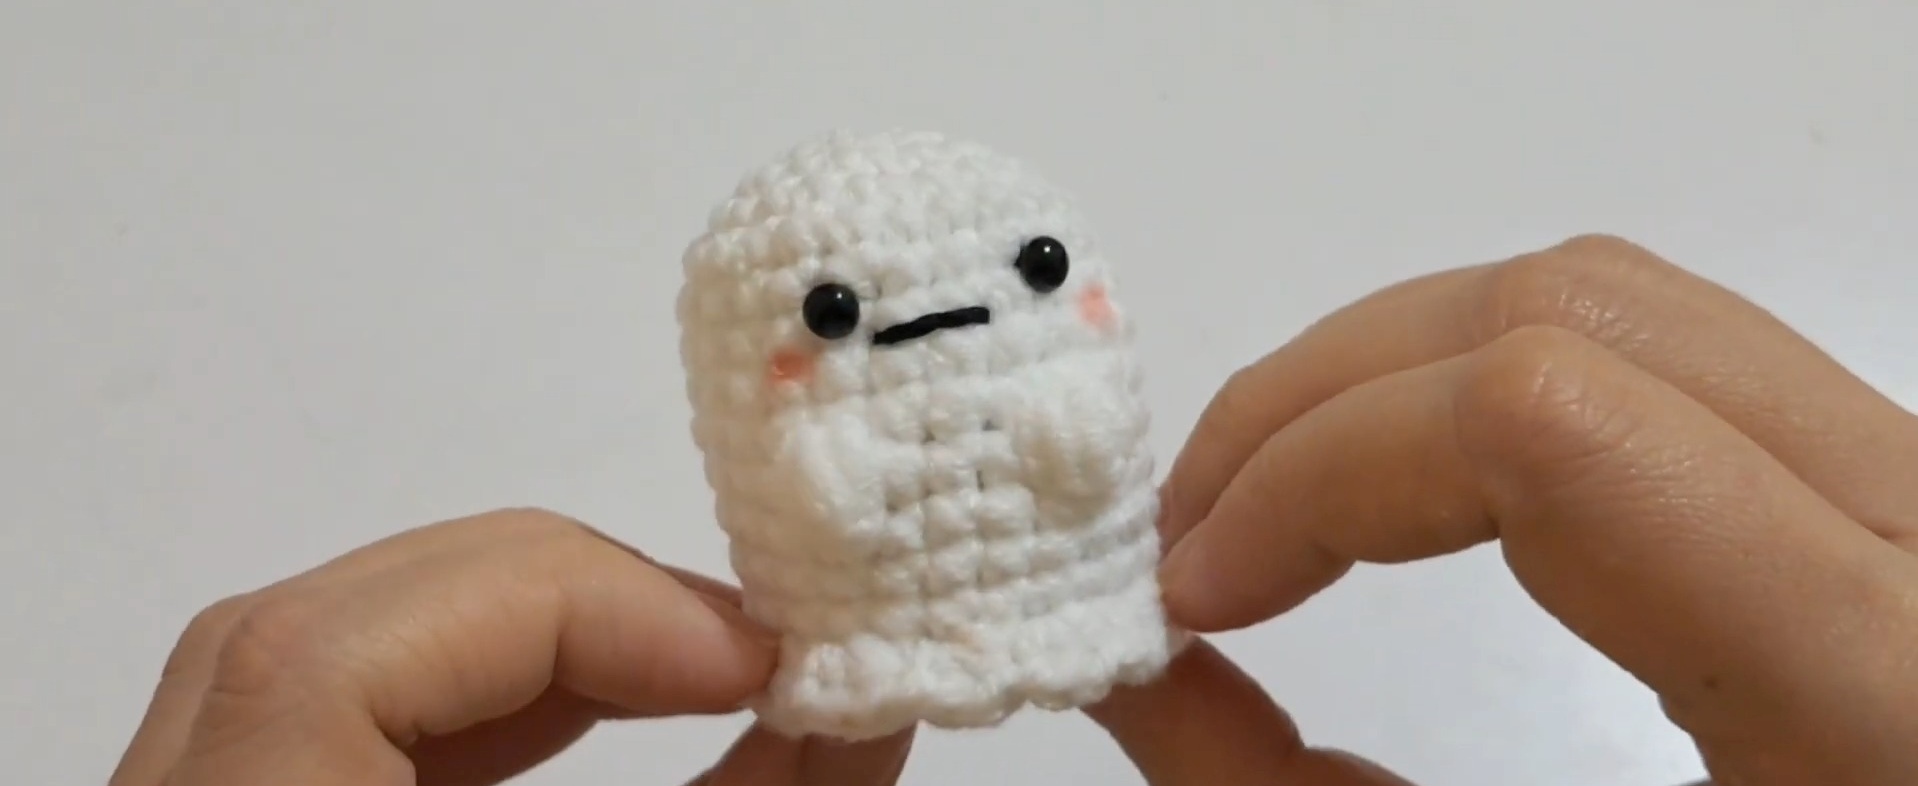
The ghost’s base is designed to give it its signature spooky, wispy look. The frill begins with stitches worked in the front loops only (FLO), giving the edges of the ghost’s body texture and motion. By alternating slip stitches, half-double crochets (hdc), and skipped stitches, this frilled border fans out beautifully with a slight wave-like effect.
To balance this, the next round focuses on the back loops only (BLO) from the previous row. This technique grounds the frill and transitions into the base of the ghost while maintaining structural integrity. The final few rounds reduce the stitch count to close the body neatly. Before finishing, stuff the ghost with fiberfill to bring it to life, then weave the remaining tail through the stitches to close the base.
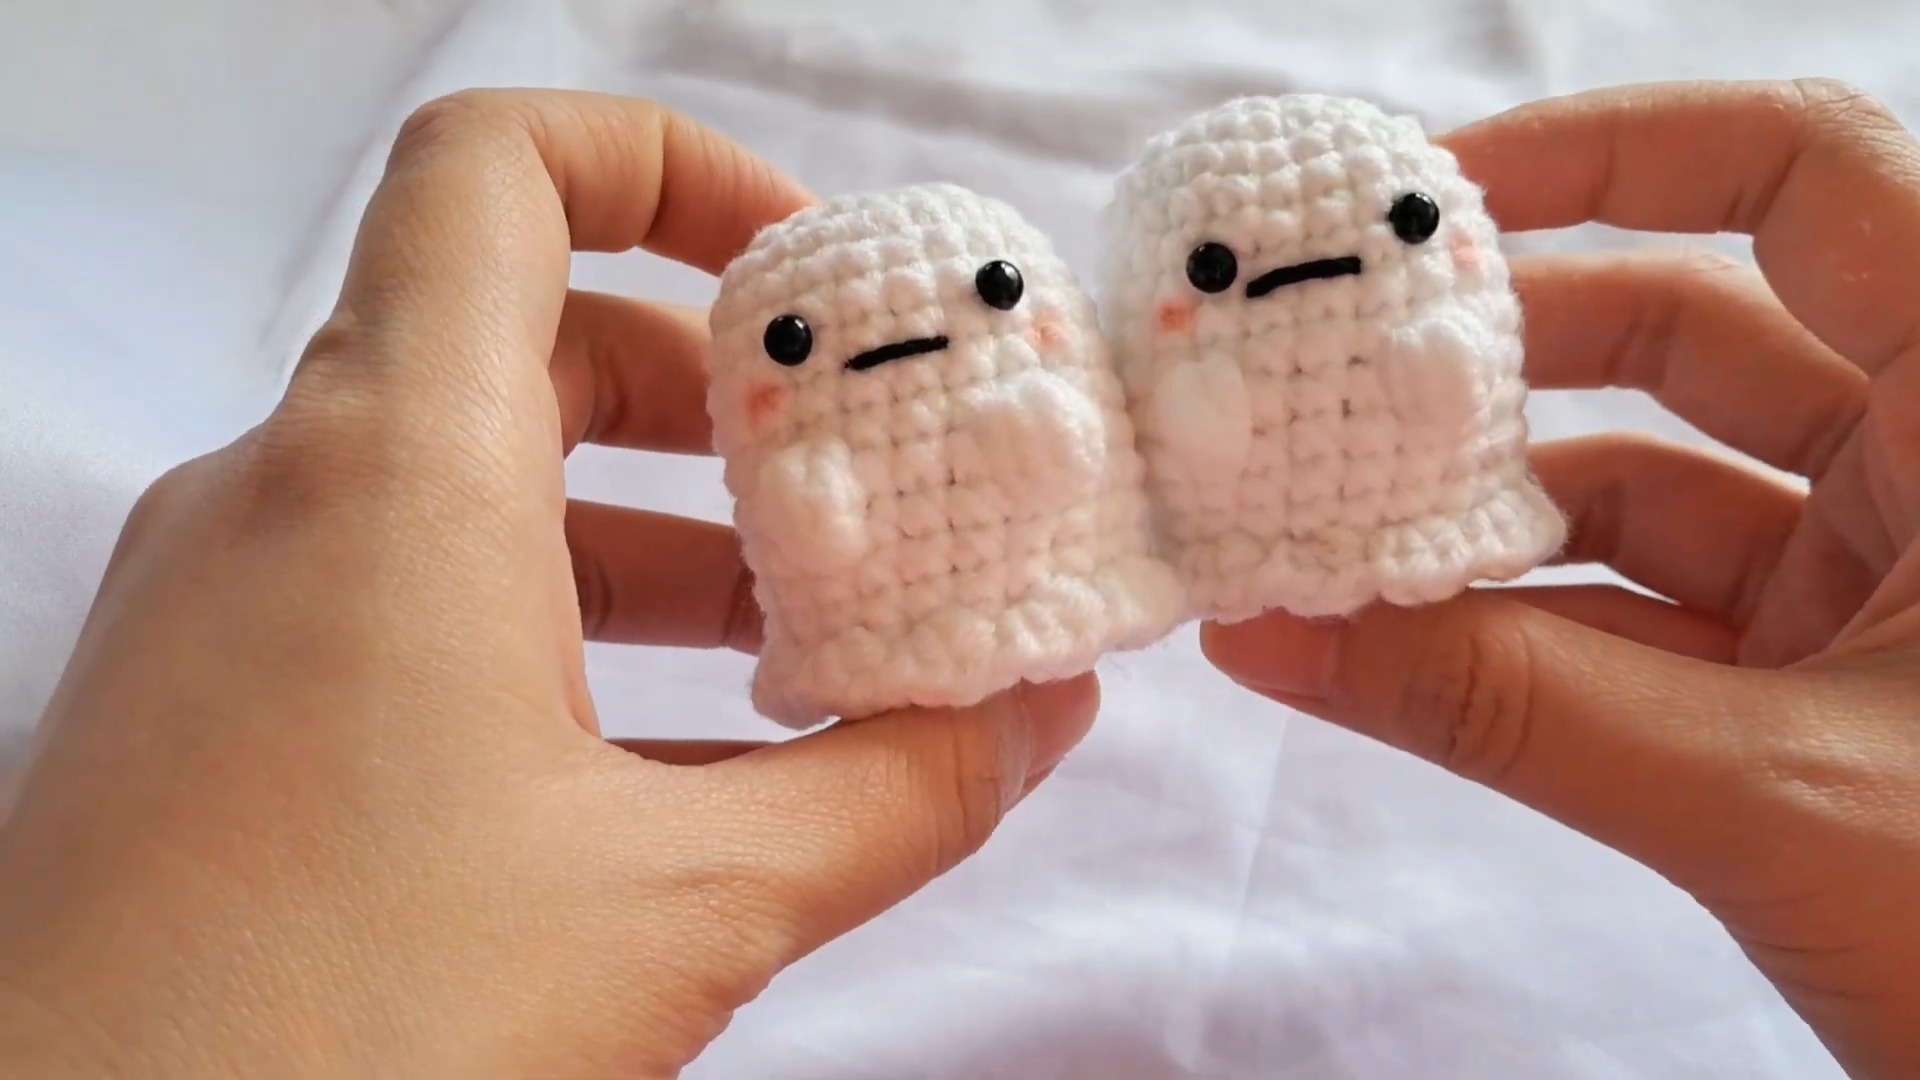
Install safety eyes between rounds 6 and 7 of the ghost to make its facial features pop. Use black yarn to add a sweet or spooky embroidered smile, giving your ghost its own unique expression. For a trendy touch, lightly blush its cheeks with fabric paint or embroidery thread. These finishing touches allow you to personalize your ghost with endless creative possibilities.
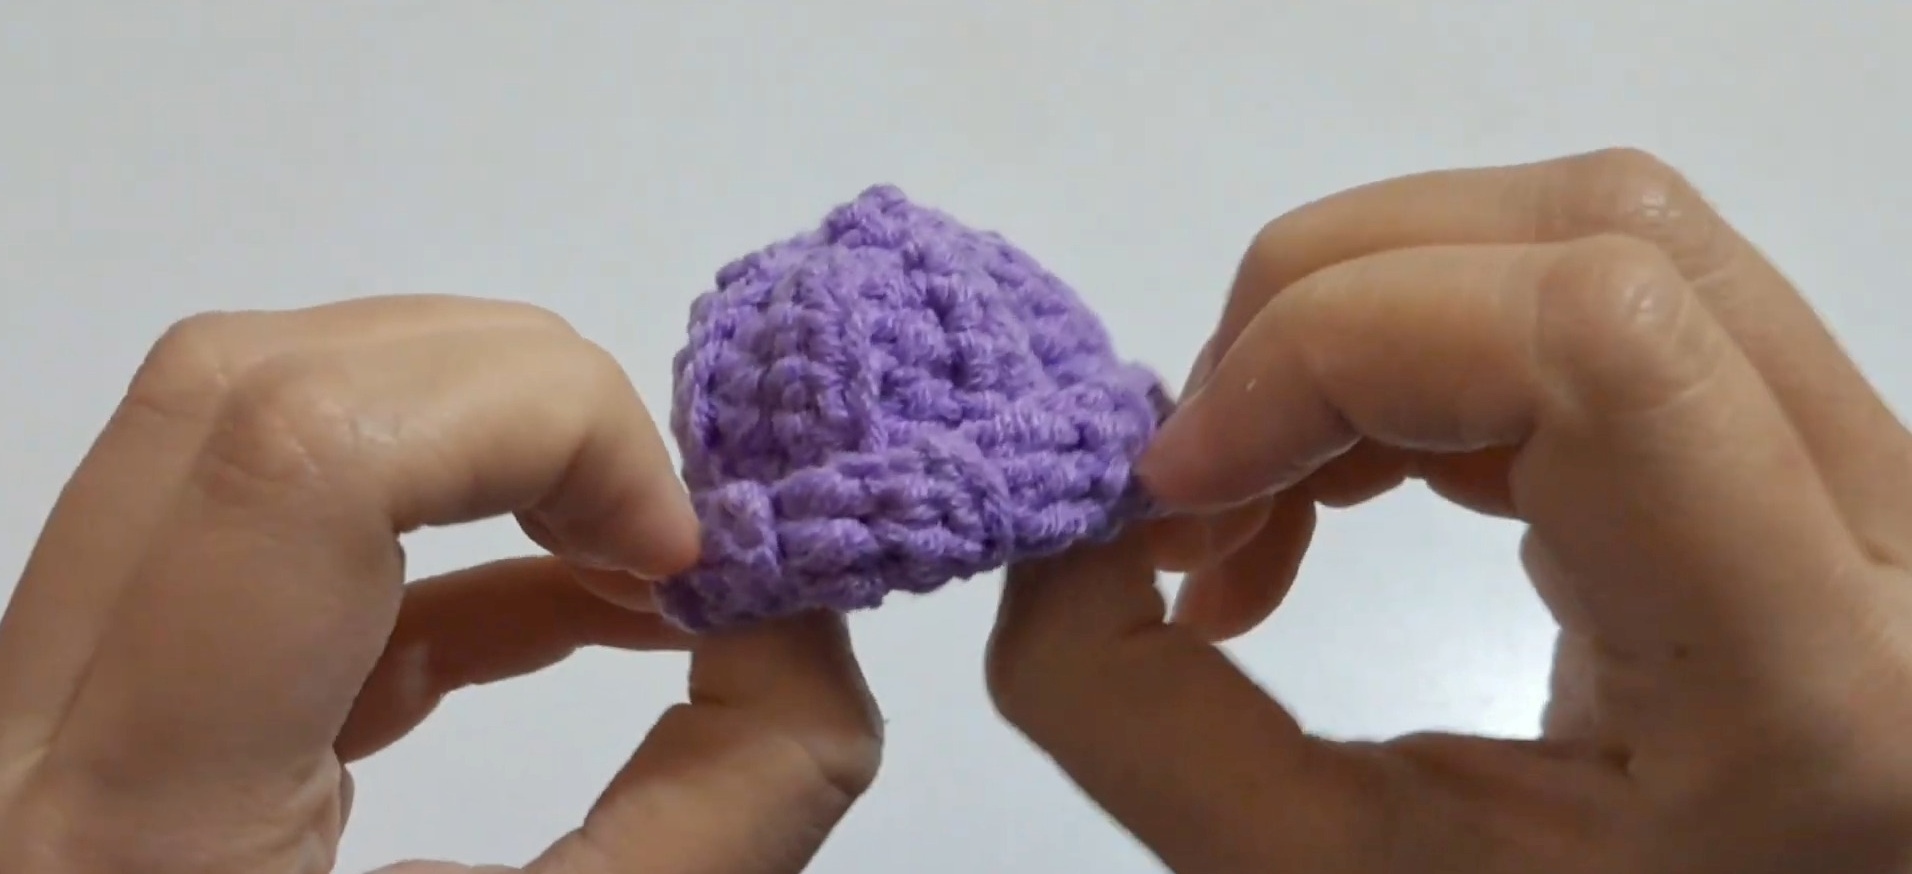
The beanie is worked flat in rows using half-double crochet (hdc). The back loop only (BLO) technique creates a perfect ribbed texture, giving the hat a stretchy, cozy appearance. Once the rectangle is long enough to wrap around the ghost’s head, the edges are joined, and the top is cinched together for a snug crown. Optional reinforcement stitches help maintain the shape, and you can sew fun embellishments like a pom-pom or embroidery for extra personality!
Video Tutorial
Materials & Tools Needed
You will need the following to create the ghost and its beanie:
- Yarn:
- White (for the ghost’s body) – 5-ply milk cotton yarn
- Purple (for the beanie) – 5-ply milk cotton yarn
- Crochet Hook: 3 mm
- Additional Supplies:
- Safety eyes (place between Rounds 6 and 7 of the ghost)
- Black yarn (for stitching the mouth)
- Polyester fiberfill/stuffing
- Tapestry needle
- Stitch marker
Finished Size & Customization Ideas
- Size: The finished ghost (size depends on tension and yarn weight) fits comfortably in your hand. Adjustments can be made to resize the ghost by scaling up or down with thicker/thinner yarn and using the appropriate hook size.
- Customization:
- Use different yarn colors for a fun twist.
- Add blush to the cheeks for a cute look.
- Try out different beanie colors or patterns to fit various holidays or themes.
Pattern Abbreviations & Terminology
| Abbreviation | Meaning |
|---|---|
| MR | Magic Ring |
| ch | Chain |
| sc | Single Crochet |
| hdc | Half Double Crochet |
| inc | Increase (2 sc in 1 st) |
| dec | Decrease (sc 2 sts together) |
| sl st | Slip Stitch |
| FLO | Front Loop Only |
| BLO | Back Loop Only |
- Notes: The pattern uses US terminology.
Step-by-Step Detailed Instructions
Body of the Ghost
- Round 1:
- Using white yarn, create a Magic Ring (MR).
- Make 6 sc into the magic ring. (6 sts)
- Round 2:
- Make an increase in every stitch around. (12 sts)
- Round 3:
- Repeat (sc, inc) around. (18 sts)
- Round 4:
- Repeat (2 sc, inc) around. (24 sts)
- Rounds 5–9:
- Sc in every stitch (no increases) for each round. (24 sts per round)
- Round 10 (Adding Bobble Stitches):
- Sc in the first 10 stitches.
- Create a bobble stitch (see the instructions for bobble stitch in the Notes section below).
- Sc in the next 3 stitches.
- Create another bobble stitch.
- Sc in the remaining 9 stitches.
- Round 11–13:
- Sc in every stitch. (24 sts per round)
- Round 14 (Creating Ghost Base Frill):
- Work in FLO (Front Loop Only) for this round:
- Start with a sl st into the first stitch.
- Make 2 hdc into the same stitch.
- Skip 1 stitch, then sl st into the next stitch.
- Repeat (2 hdc in the same stitch, skip 1, sl st) around.
- Work in FLO (Front Loop Only) for this round:
- Round 15:
- Flip the ghost and work into the BLO of Round 14:
- Sc in every stitch around. (24 sts)
- Flip the ghost and work into the BLO of Round 14:
- Round 16 (Start Decreases):
- Repeat (2 sc, dec) around. (18 sts)
- Final Round (Decrease to Close Ghost):
- Repeat (sc, dec) around. (12 sts)
- Stuff the ghost firmly with fiberfill.
- Weave the tail through the front loops of the remaining stitches, pull tight to close, and cut the yarn.
- Finishing Touches:
- Insert safety eyes (placed between Rounds 6 and 7).
- Use black yarn to stitch a mouth.
- Add blush with fabric paint or embroidery (optional).
Beanie
- Foundation Chain:
- With purple yarn, create a slip knot.
- Chain 12.
- Row 1: (Begins in 3rd chain from hook)
- Make a hdc into the third chain from the hook.
- Hdc across the row. (10 hdc)
- Mark the first stitch for reference.
- Row 2:
- Ch 2 (turning chains, does not count as a stitch).
- Turn your work; hdc into the back loop only (BLO) for each stitch across. (10 hdc)
- Rows 3–15:
- Repeat Row 2 until the beanie measures long enough to wrap around the ghost’s head.
- Seaming the Beanie:
- Fold the piece in half.
- Use a tapestry needle to sew the short edges together. (Use the BLO for a seamless join.)
- Closing the Top of the Beanie:
- Weave the yarn tail through the top edge of the beanie, pull tight to close, and make a knot to secure.
- Optionally, sew a few stitches to reinforce the closure.
- Attach the Beanie:
- Place the beanie on the ghost’s head. Adjust as needed.
Special Notes on Techniques
Magic Ring (MR) Explanation:
- Wrap yarn around your fingers to create two loops.
- Insert your hook under the first loop and pull the second loop through.
- Chain 1 to secure, then work your stitches into the ring.
Bobble Stitch Explanation:
- Yarn over, insert the hook into the stitch, yarn over, and pull up a loop.
- Yarn over again and pull through two loops (leave the remaining loops on the hook).
- Repeat this process until there are 5 loops on your hook.
- Yarn over and pull through all 5 loops to complete the bobble.
Troubleshooting and Suggestions
Troubleshooting:
- Magic Ring Opening: If gaps appear, pull the starting tail tighter after crocheting into the ring’s center. Practice chaining too tightly or too loosely to avoid gaps in your stitches.
- Bobble Placement: If bobbles seem uneven, count stitches carefully between each bobble and practice maintaining the same tension throughout.
- Frill Consistency: When working the FLO and BLO rounds, ensure you consistently pick up the correct loops to keep the base tidy.
Suggestions for Creative Customization:
- Color Variations: Try pastel yarns for cute ghosts, or add glow-in-the-dark threads to create haunting night decor.
- Accessorize the Beanie: A tiny pom-pom or embroidered spooky designs on the beanie amplifies its charm.
- Multi-Use Ghosts: Turn your ghost into a plushie, keychain, garland, or even holiday ornaments by adding loops, hooks, or strings where needed!