Stylish Crochet Devil Horns Headband Pattern Free
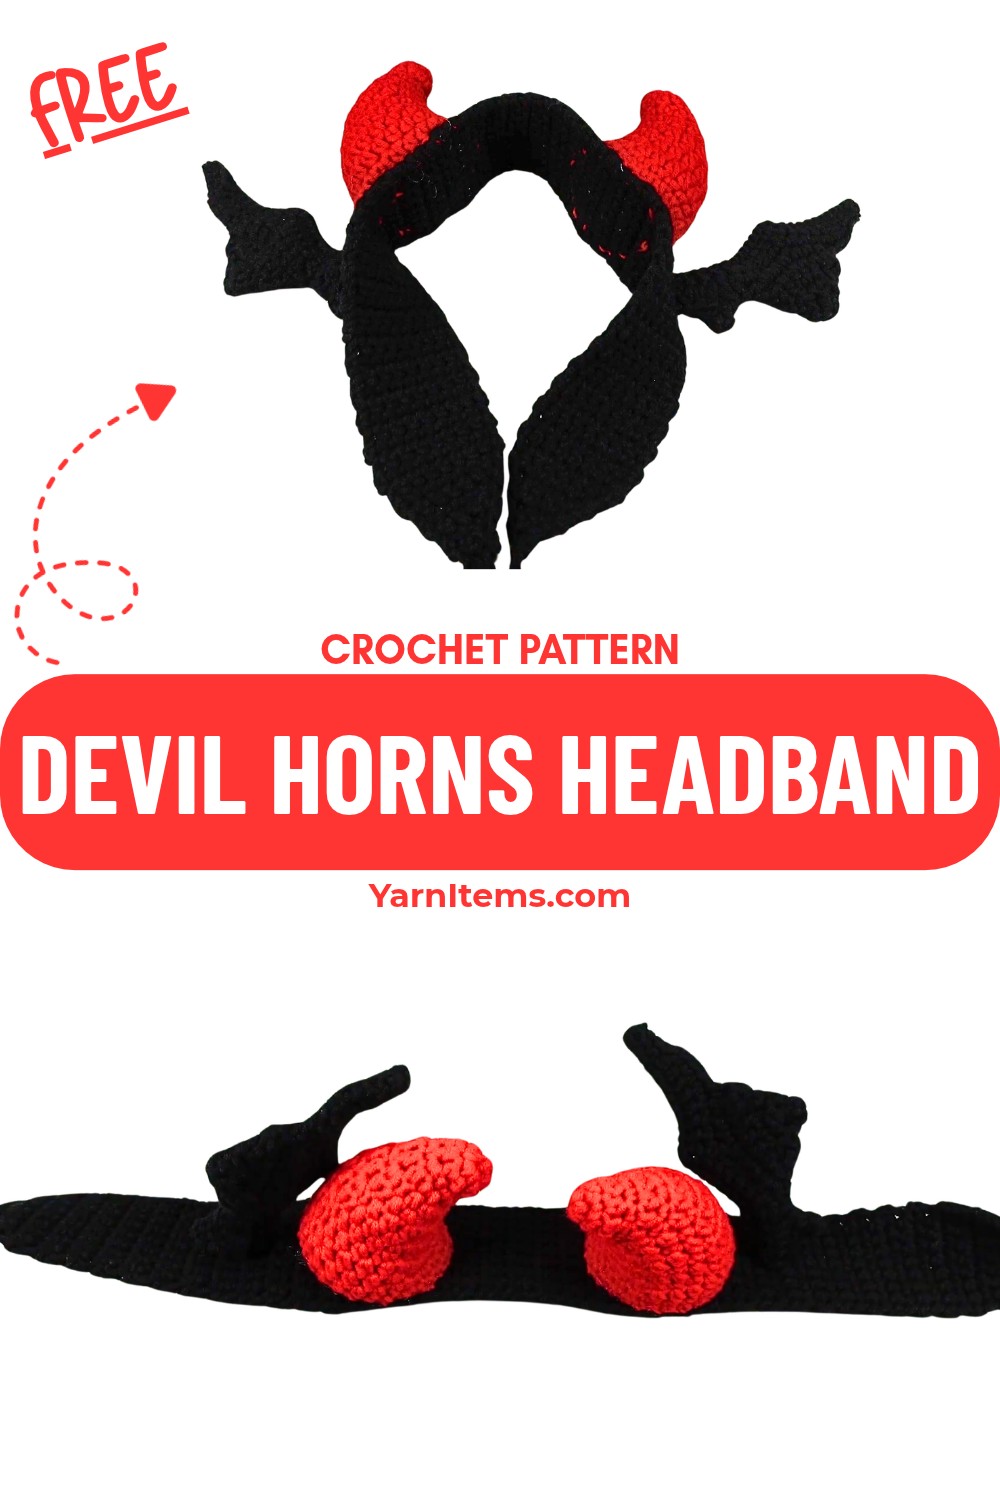
If playful accessories are your favorite way to stand out, these crochet devil horns are sure to catch every eye.
This bold piece blends comfort with a mischievous style that works for costumes, themed events, or adding a fun twist to everyday outfits. The lightweight headband keeps the horns secure while remaining comfortable to wear for hours. It is a creative item that brings personality to your handmade crochet collection without feeling overdone.
Crochet Devil Horns Headband Tutorial
Nothing transforms a simple outfit quite like a pair of handmade devil horns with striking charm. This eye-catching piece is enjoyable to crochet and offers a great chance to shape neat details with simple stitches.
Whether you’re preparing for Halloween, a cosplay event, or a festive gathering, it adds a playful finishing touch. The information below will help you create a stylish accessory that is fun to wear and satisfying to make.
Credit Emma Crochet for Baby
Materials & Tools Needed
Yarn
- Milk Cotton Yarn
- Fingering Weight / 5-ply, 2.5 mm diameter
- Color A: Black (for demon wings and headband base)
- Color B: Red (for demon horns)
- (Note: Purple is used for better visibility in the tutorial.)
Crochet Hook
- Size: 3.5 mm
- US Standard: No. 6/0
Stuffing
- Material: Polyester Fiberfill or Cotton Stuffing
Additional Tools
- Stitch Markers: At least 2
- Yarn Needle: For sewing and weaving ends
- Scissors
Gauge Instructions
- Use standard tension: Maintain consistent tension throughout your stitches to ensure an even appearance and proper dimensions for the pattern.
- Use a 3.5 mm hook: This is the recommended crochet hook size for the pattern.
- Ensure tight stitches: Your stitches should be snug enough to prevent gaps that allow stuffing to show. This is crucial for patterns like amigurumi, where stuffing is inside.
Tips for Achieving Tight Stitches
- Practice Your Tension
- Focus on maintaining consistent tension while working with the yarn. Avoid pulling too tightly, as this can make it hard to work into stitches in later rows.
- Ensure the yarn is snug enough for tight coverage but not overly restrictive.
- Check for Stuffing Visibility
- If you’re working on stuffed projects (like amigurumi), periodically check your work to ensure no gaps are visible where stuffing might peek through.
- If gaps appear, consider either tightening your tension or switching to a smaller hook size for a denser fabric.
- Gauge Testing
- Create a small swatch using the recommended hook size (e.g., 3.5 mm) and standard tension.
- Compare the swatch size with the pattern specifications. Proper gauge ensures your stitches are tight without being difficult to manage.
Finished Size & Customization Ideas
- Final Headband Length: ~16.1 in (41 cm).
- Customize length, colors, or add reinforcement for a unique look.
Pattern Notes
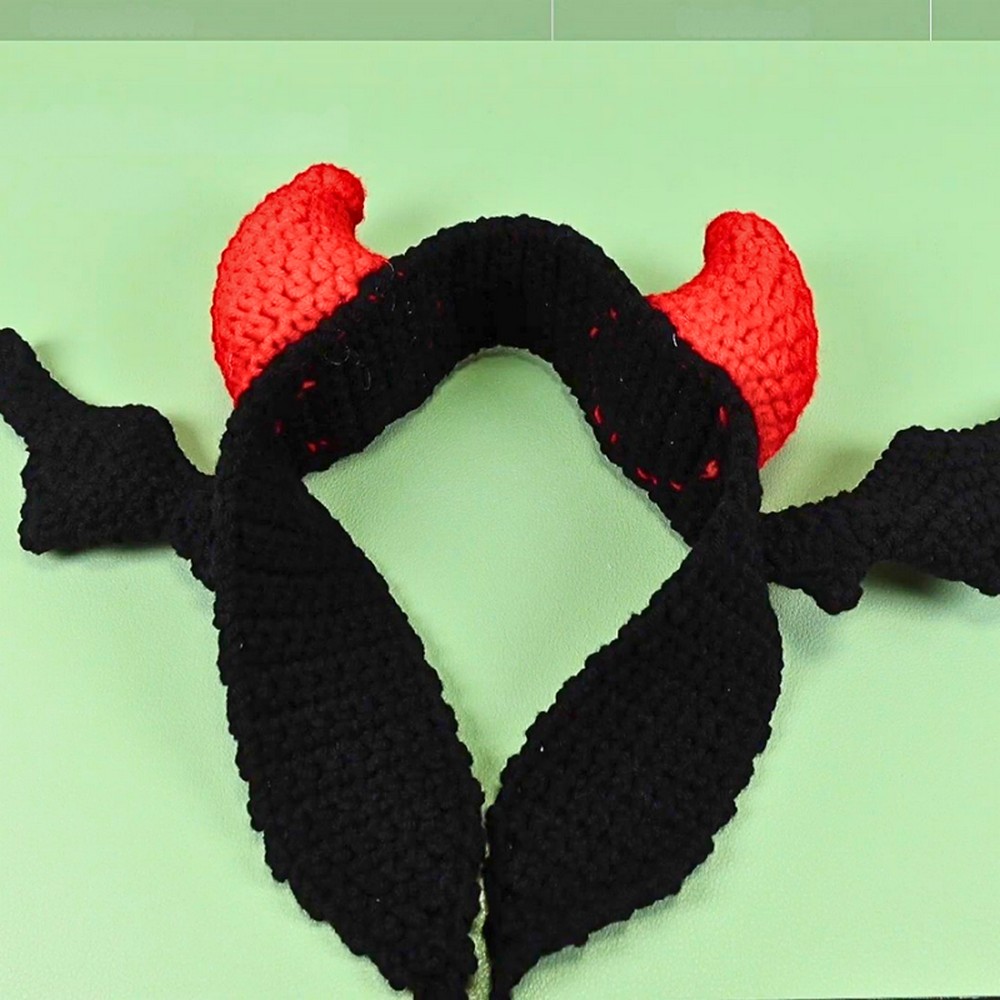
- Project Components:
- Demon Horns (2): Worked in closed joined rounds with Color B.
- Headband Base: Worked in flat rows with Color A.
- Demon Wings (4): Worked flat and sewn in pairs to make 2 double-thick wings.
- Assembly & Sewing: Join horns and wings to the headband.
- Joining Rounds:
- Each horn round starts with 1 ch and ends with a sl st to the first stitch.
- Customization Options:
- Adjust headband length for sizing.
- Experiment with other colorways (e.g., glitter, neon tones).
- Add wire or pipe cleaners inside horns/wings for posability.
Abbreviations & Crochet Stitches (US Terminology)
-
ch = chain
-
sl st = slip stitch
-
sc = single crochet
-
hdc = half double crochet
-
dc = double crochet
-
sc2tog = single crochet 2 together (decrease)
-
(2sc) = single crochet increase (2 single crochets in the same stitch)
-
(2hdc) = half double crochet increase (2 half double crochets in the same stitch)
-
MR = magic ring / adjustable ring
Step-by-Step Instructions
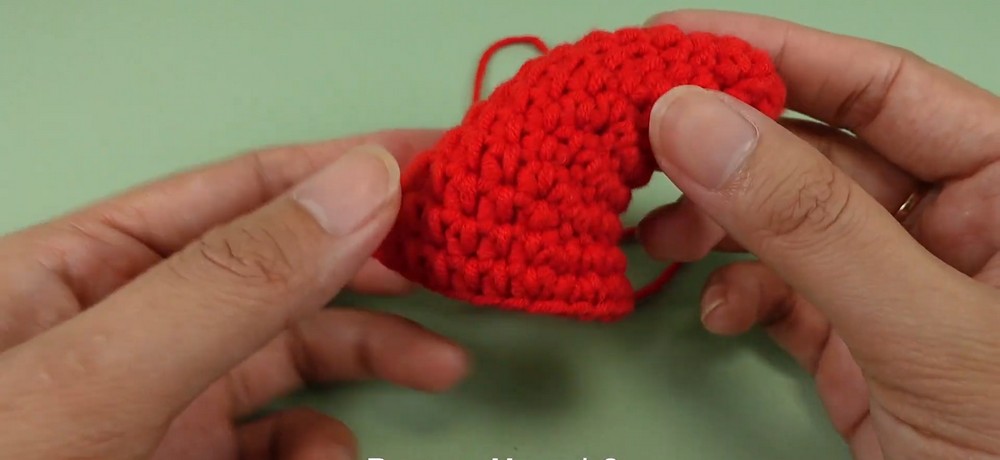
Component 1: Demon Horns (Make 2)
Material: Use Color B (Red). Worked in joined rounds.
- Round 1: Start with a Magic Ring (MR), 1 ch, 6 sc into the MR. Pull tight, sl st to the first sc. (6 sts)
- Round 2: 1 ch, [1 sc, (2sc)] repeat 3 times, sl st to the first st. (9 sts)
- Round 3: 1 ch, 4 sl st, 5 hdc, sl st to the first st. (9 sts)
- Round 4: 1 ch, [2 sc, (2sc)] repeat 3 times, sl st to the first st. (12 sts)
- Round 5: 1 ch, 1 hdc, 6 sl st, 5 hdc, sl st to the first st. (12 sts)
- Round 6: 1 ch, 2 hdc, 1 sc, (2sc), [3 sc, (2sc)] repeat 2 times, sl st to the first st. (15 sts)
- Round 7: 1 ch, 2 hdc, 7 sl st, 6 hdc, sl st to the first st. (15 sts)
- Round 8: 1 ch, 3 hdc, 1 sc, (2sc), [4 sc, (2sc)] repeat 2 times, sl st to the first st. (18 sts)
- Round 9: 1 ch, 3 hdc, 8 sl st, 7 hdc, sl st to the first st. (18 sts)
- Round 10: 1 ch, 3 hdc, 2 sc, (2sc), [5 sc, (2sc)] repeat 2 times, sl st to the first st. (21 sts)
- Round 11: 1 ch, 4 hdc, 9 sl st, 8 hdc, sl st to the first st. (21 sts)
- Round 12: 1 ch, 5 hdc, 1 sc, (2sc), [6 sc, (2sc)] repeat 2 times, sl st to the first st. (24 sts)
- Round 13: 1 ch, 6 hdc, 9 sl st, 9 hdc, sl st to the first st. (24 sts)
- Round 14: 1 ch, 7 hdc, (2sc), [7 sc, (2sc)] repeat 2 times, sl st to the first st. (27 sts)
- Round 15: 1 ch, 8 hdc, 12 sc, 7 hdc, sl st to the first st. (27 sts)
- Finishing: Fasten off, leaving a long tail for sewing.
Component 2: Headband Base
Material: Use Color A (Black). Worked flat in turning rows.
- Row 1: Chain 50 (tie strap).
- Row 2: Starting from 2nd ch from hook, 1 ch, 1 sc. (1 st)
- Row 3: 1 ch, turn, (2sc). (2 sts)
- Row 4: 1 ch, turn, (2sc), 1 sc. (3 sts)
- Row 5: 1 ch, turn, (2sc), 2 sc. (4 sts)
- Row 6: 1 ch, turn, (2sc), 3 sc. (5 sts)
- Row 7: 1 ch, turn, (2sc), 4 sc. (6 sts)
- Row 8: 1 ch, turn, (2sc), 5 sc. (7 sts)
- Row 9: 1 ch, turn, (2sc), 6 sc. (8 sts)
- Rows 10–83: 1 ch, turn, 8 sc across. (8 sts per row for 74 rows)
- Row 84: 1 ch, turn, sc2tog, 6 sc. (7 sts)
- Row 85: 1 ch, turn, sc2tog, 5 sc. (6 sts)
- Row 86: 1 ch, turn, sc2tog, 4 sc. (5 sts)
- Row 87: 1 ch, turn, sc2tog, 3 sc. (4 sts)
- Row 88: 1 ch, turn, sc2tog, 2 sc. (3 sts)
- Row 89: 1 ch, turn, sc2tog, 1 sc. (2 sts)
- Row 90: 1 ch, turn, sc2tog. (1 st)
- Row 91: Chain 50 (ending tie strap). Fasten off and cut yarn.

Component 3: Demon Wings (Make 4)
Material: Use Color A (Black). Worked flat in rows.
- Row 1: Chain 24.
- Row 2: Starting from 2nd ch from hook, 1 ch, 3 sl st, 8 sc, skip 2 sts, 11 sc.
- Row 3: 1 ch, turn, 1 sc, 1 hdc, (1 dc, 3 ch, 1 sl st back into 1st ch, 1 dc) [picot stitch point], 1 hdc, 1 sc, 1 sl st, 4 sc, skip 1 st, 7 sc, 4 sl st. 1 ch, fasten off and leave end.
- Row 4: Reattach yarn: 1 ch, 4 sc, skip 1 st, 4 sc.
- Row 5: 1 ch, turn, sc2tog, 4 sc, sc2tog.
- Row 6: 1 ch, turn, sc2tog, 2 sc, sc2tog.
- Row 7: 1 ch, turn, [sc2tog] repeat 2 times. 1 ch, fasten off and weave in loose ends.

Assembly & Sewing
Step 1: Prepare the Wings in Pairs
- Take 2 wing pieces and place them back-to-back.
- Sew along the edges using a yarn needle and Color A (Black) to form 1 double-thick wing.
- Repeat with the other 2 pieces to make a total of 2 sturdy wings.
Step 2: Stuff the Horns
- Firmly stuff both Red Demon Horns with polyester fiberfill cotton, shaping the natural curved peak.
Step 3: Attach the Horns to the Headband
- Position each stuffed horn symmetrically near the top curved arch of the headband base.
- Using the long red yarn tails, whipstitch around the bottom edge of each horn to secure them onto the headband.
- Fasten off the yarn and weave in ends inside the headband.
Step 4: Attach the Wings
- Align 1 finished wing on each outer side of the horns along the top edge of the headband.
- Sew the wings securely in place with black yarn.
- Weave in all remaining loose yarn ends.
Final Thought
This crochet pattern is a beautiful mix of simplicity, creativity, and functionality. It demonstrates how thoughtful design choices, like combining slip stitches with half double crochets for horns or using a double-thick wing design, can achieve excellent results without extra materials like wires or stiffeners.

Video Tutorial