Crochet a 3D Heart Granny Square for a Beautiful Design
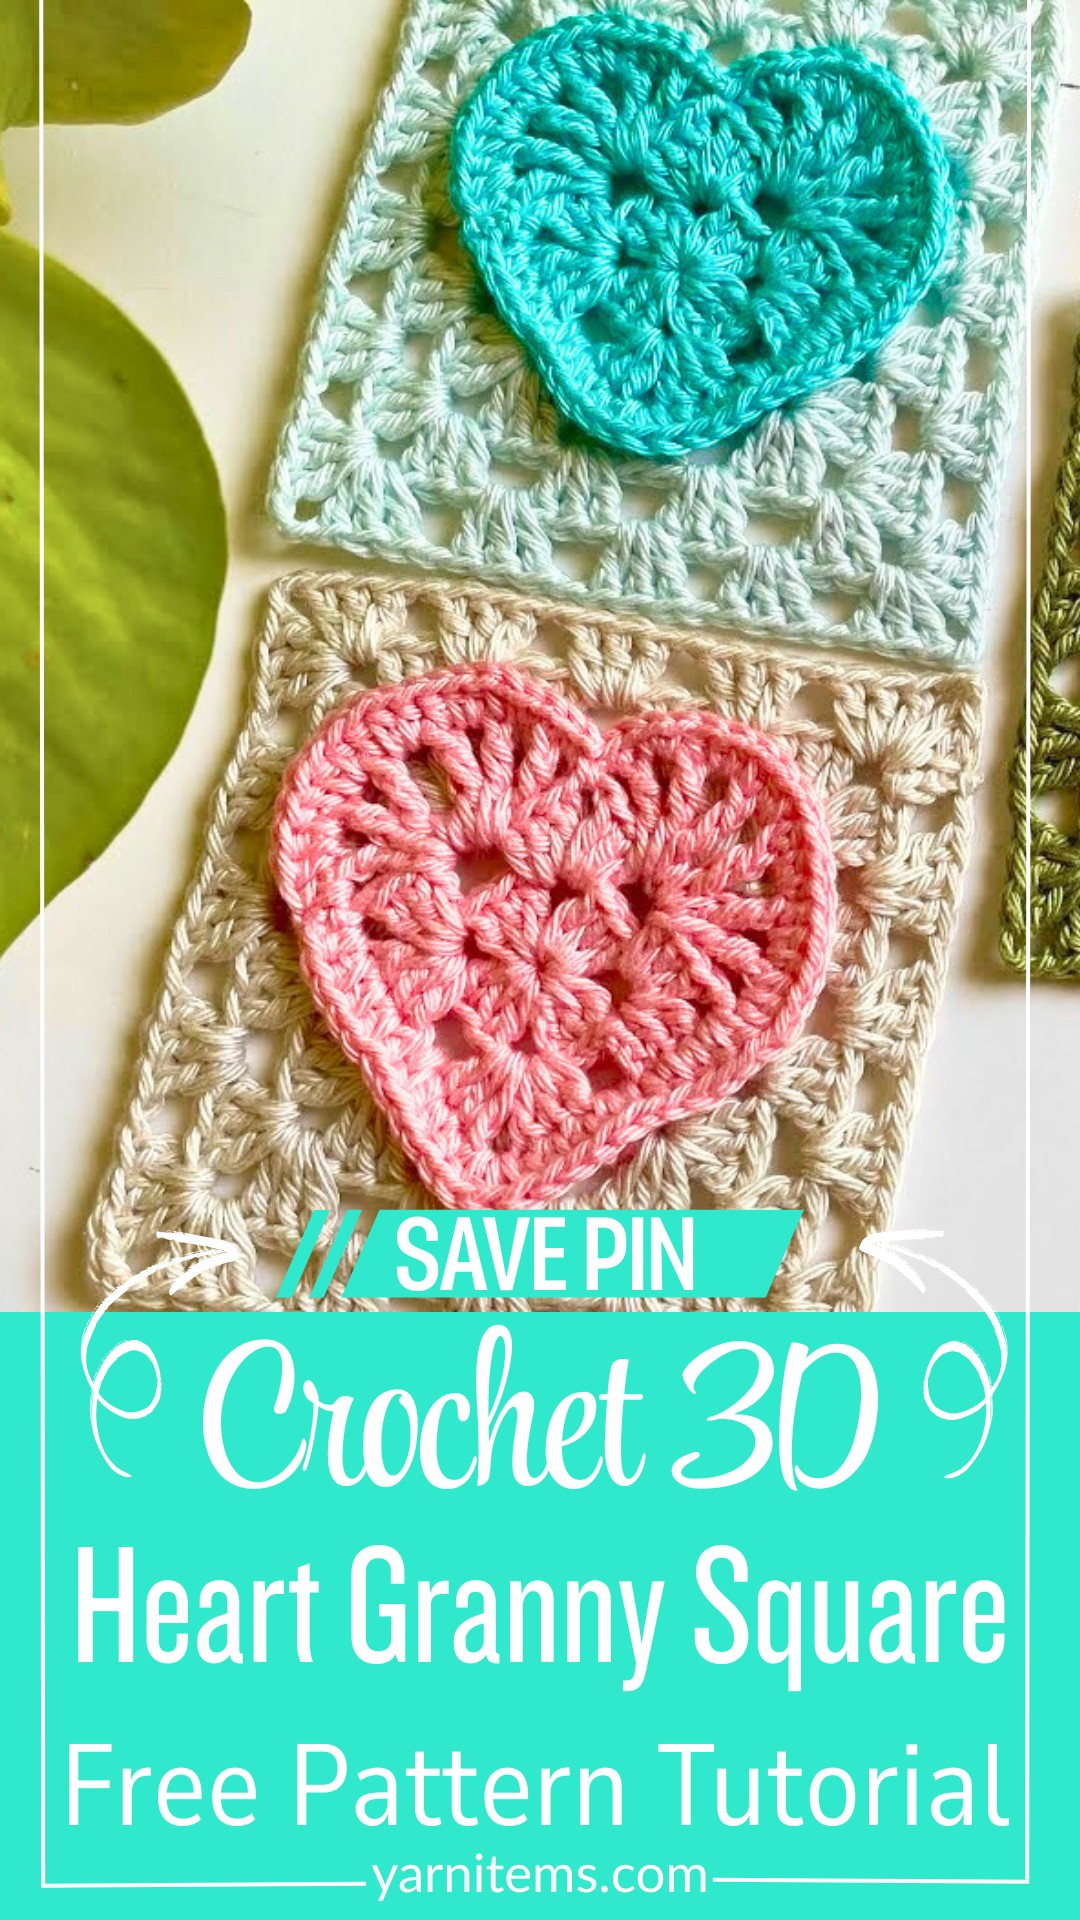
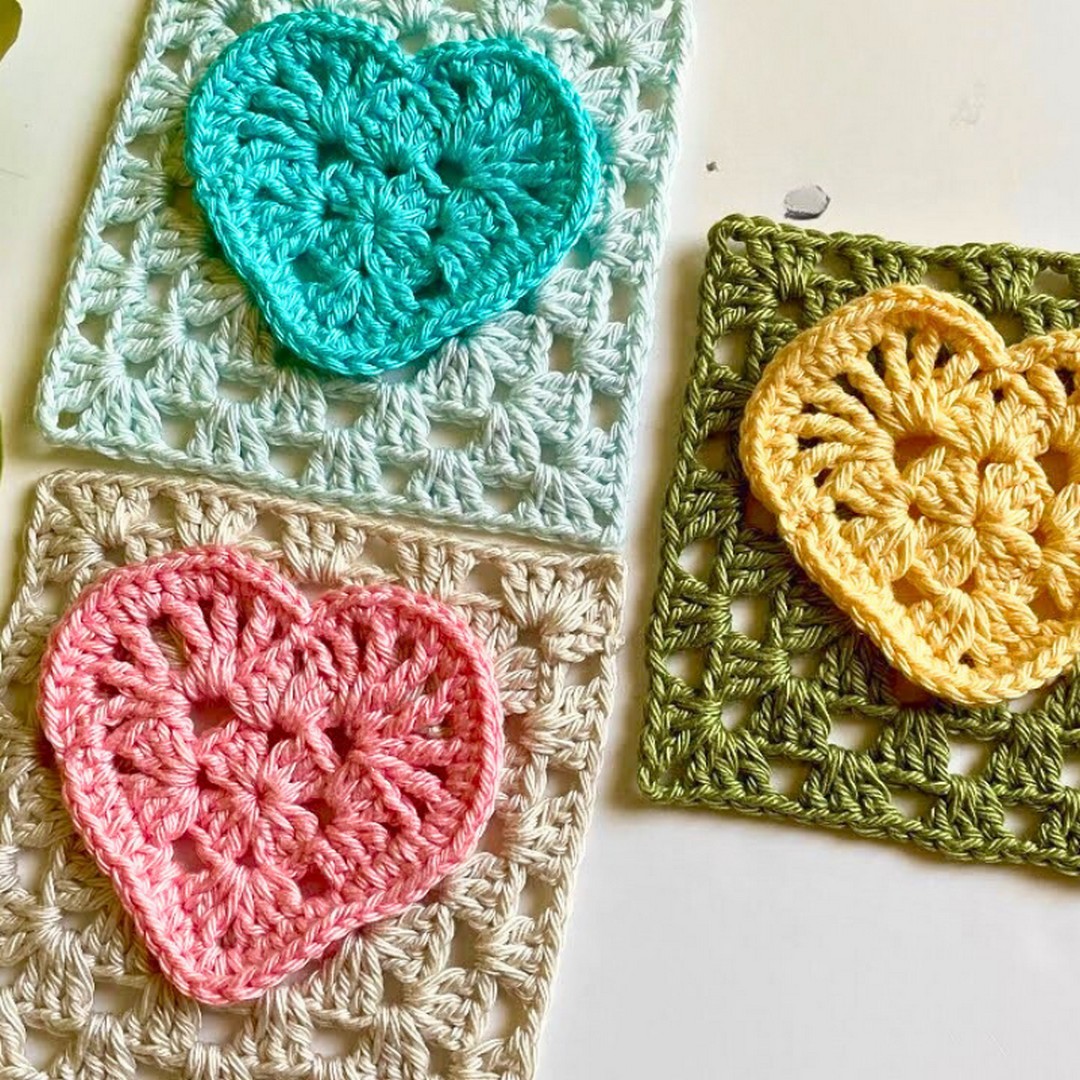
A charming crochet heart takes center stage before unfolding into a classic granny square with surprising elegance. The 3D Heart Granny Square blends raised texture with clean edges, creating a piece that feels both timeless and distinctive.
Its eye-catching center gives every stitch extra character while keeping the overall design balanced and neat. The result is a beautiful crochet piece that instantly adds warmth and personality.
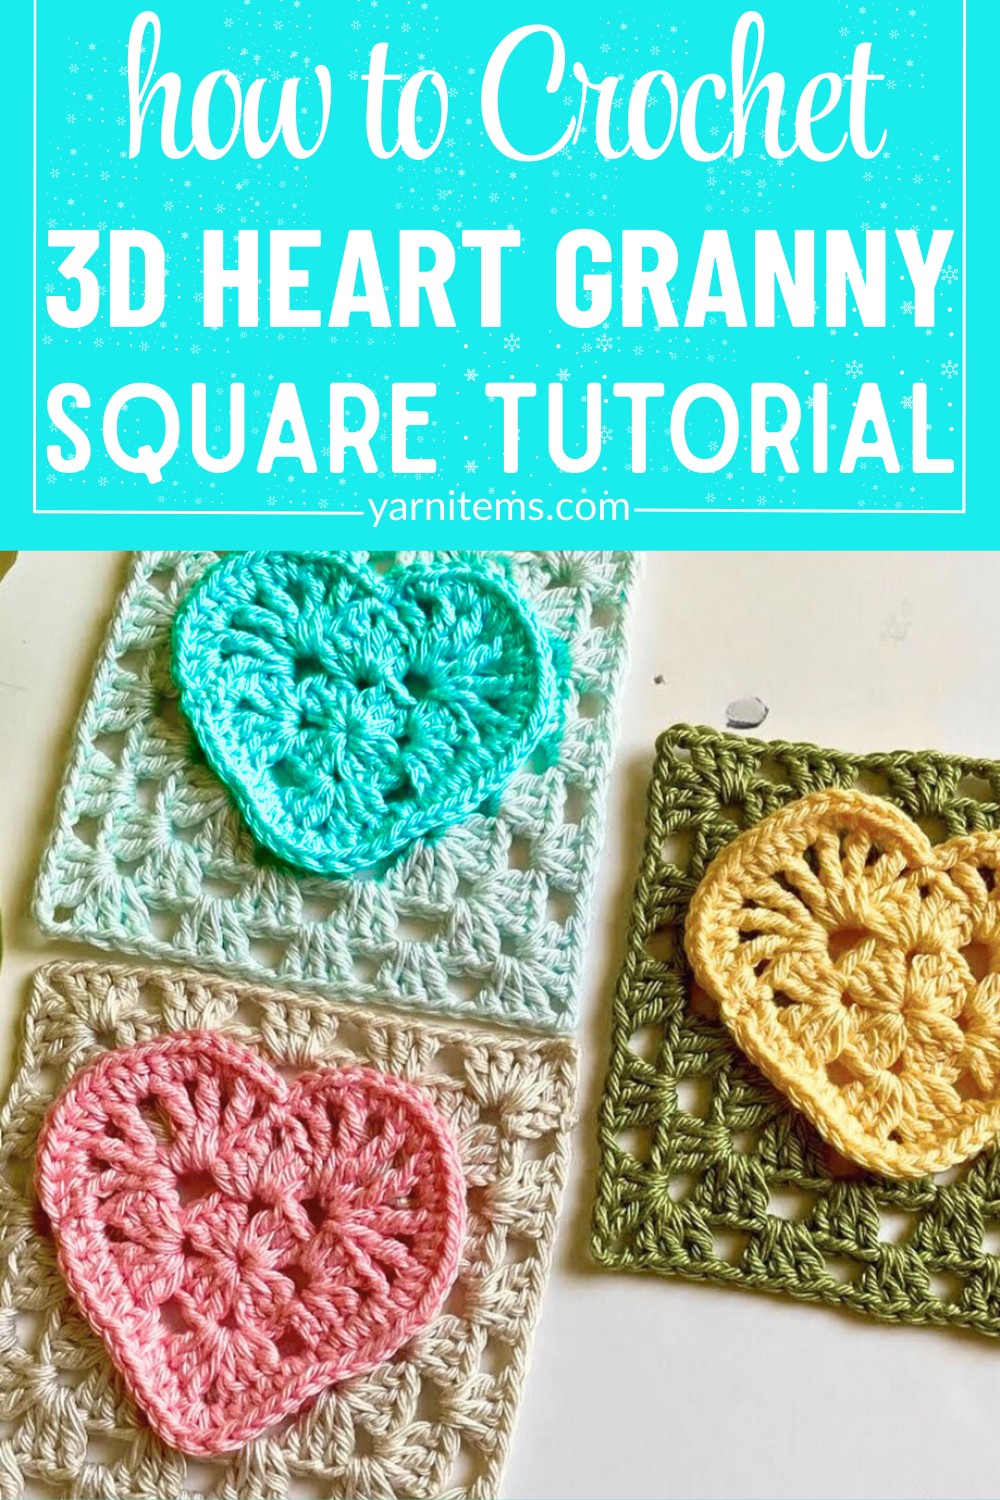
Gentle shaping and flexible sizing make this crochet design suitable for many creative ideas. It can be used for blankets, cushion covers, decorative items, or thoughtful handmade gifts with ease.
The square grows naturally as additional rounds are added, allowing you to create the size you need. From beginners to experienced crocheters, everyone can enjoy giving this lovely heart-inspired piece their own colorful touch.
Credit Beyond Diary
Materials & Tools Needed
- Yarn: Use the same color yarn as the heart motif.
- Crochet Hook: Ensure the hook size matches your yarn weight (usually 4.0mm or 5.0mm).
- Scissors
- Foam Blocking Mat & Clips (Optional): For blocking the square at the end.
- Spray Bottle: Filled with water for blocking.
- Tapestry Needle: To weave in ends.
Finished Size & Customization Ideas
- The size of your 3D Heart Granny Square depends on the number of rounds you add in the granny square portion.
- You can customize the square with additional colors or make larger squares by continuing the granny square rounds.
Pattern Notes
- The tutorial transitions a pre-made heart into a granny square. You must already have the heart motif prepared.
- The pattern follows U.S. crochet terminology.
- It alternates between chain spaces and corners.
- Blocking is heavily recommended to achieve sharp edges for the square.
Pattern Abbreviations & Terminology
- ch: Chain stitch
- sl st: Slip stitch
- sc: Single crochet
- dc: Double crochet
- treble crochet (tr): A longer stitch (used in the heart motif)
- sp: Space
- rep: Repeat
- RS: Right side
Tips Before You Start
- Familiarize yourself with granny square stitching techniques.
- Use the same tension for all rows so the square turns out even.
- Block the finished square for neatness.
- Work in a well-lit area for clarity during the stitch transition phases.
Step-by-Step Detailed Crochet Instructions
Foundation: Connecting the Heart Motif to Start the Square
- Insert the Hook in the Chain Spaces:
- Identify the four chain 1 spaces from the heart motif.
- Working on each corner will build the granny square.
- Steps for Creating Corners:
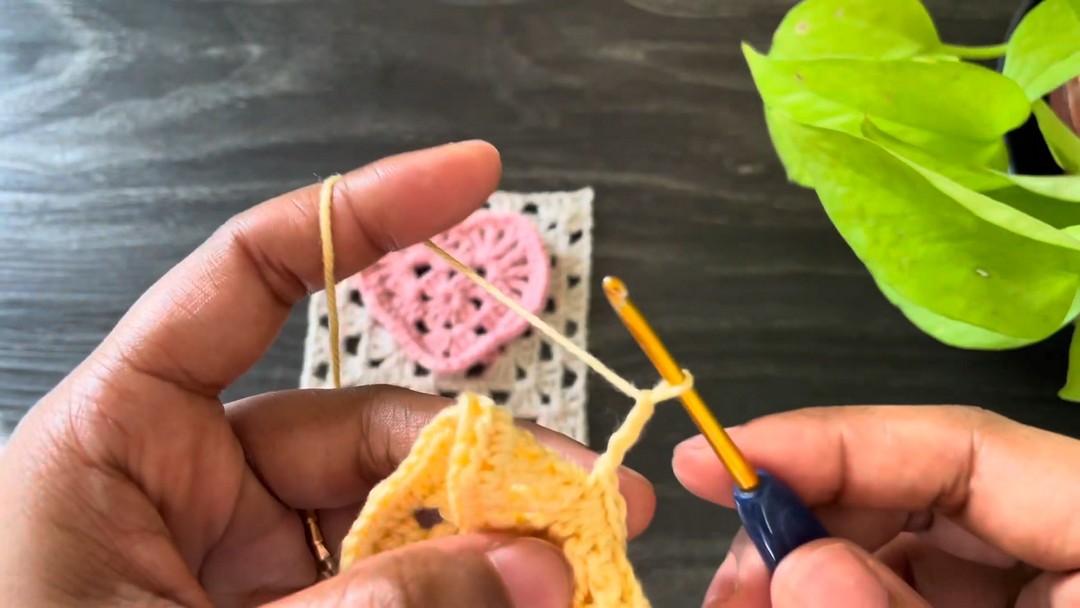
- Insert the hook into the first chain 1 space of the heart motif (bend the heart slightly if needed for visibility).
- Work sl st in the chain space to attach the yarn.
- ch 1, then sc in the same chain 1 space.
- ch 3, then sc again in the same chain 1 space — this creates the first corner.
- ch 6 to move to the next chain 1 space.
- Repeat for Remaining Corners:
- For each chain 1 space:
- Skip three treble crochets from the heart motif.
- Insert the hook between the third and fourth treble crochet (from the back).
- Sc, ch 3, then sc again in the same space.
- Ch 6 to move to the next corner.
- For each chain 1 space:
- Finish the Foundation Round:
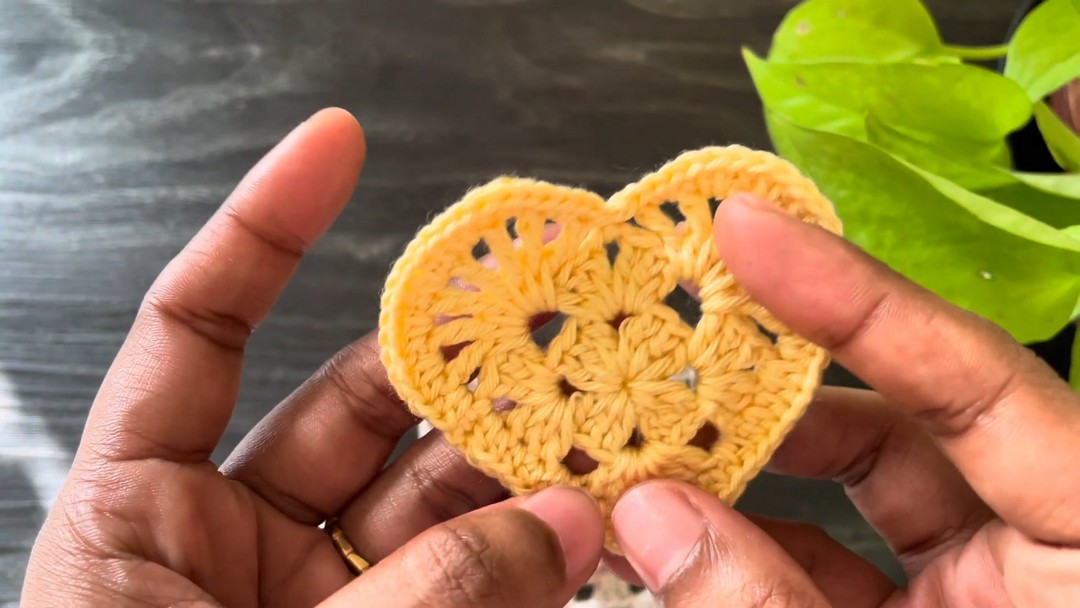
- After completing all four corners, ch 6 and join to the first single crochet with a sl st.
- Ch 1, cut off yarn, and pull through.
Round 1: Starting the Granny Square
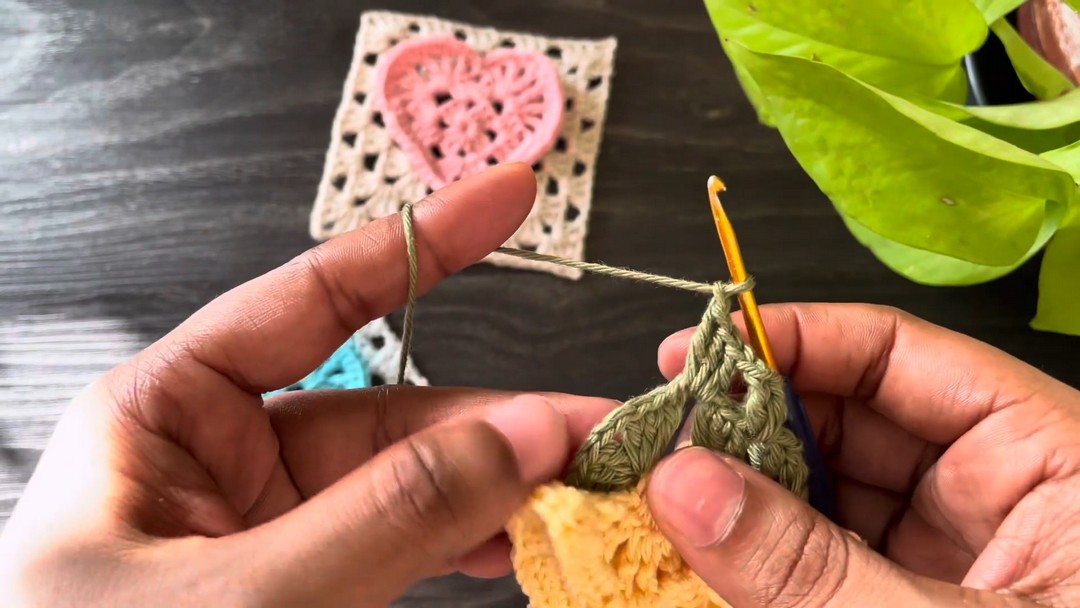
- Attach Yarn:
- Use contrast color yarn (e.g., green).
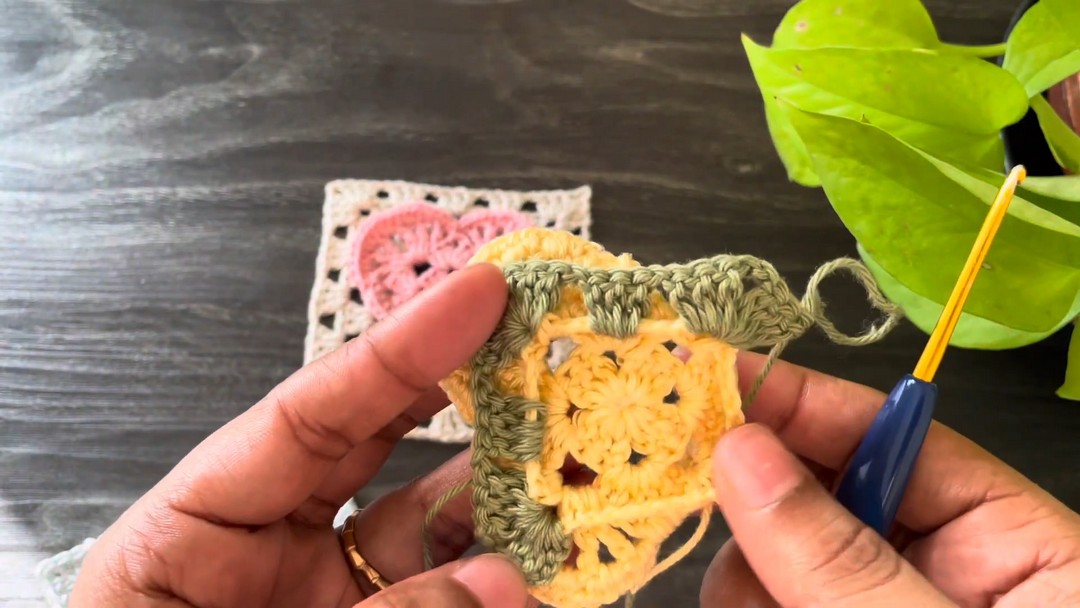
- Make a slip knot and insert the hook into any ch-3 corner space.
- Form the First Corner:
- Sl st into the corner space to attach yarn.
- Ch 3 (counts as first dc), then work 2 more dc in the same space.
- Ch 2, and work 3 more dc into the same space. This forms the first corner.
- Transition to Chain Spaces:
- Ch 1, then insert the hook into a ch-6 space.
- Work 3 dc into the chain 6 space.
- Ch 1, move to the next corner.
- Work Remaining Corners:
- In the next ch-3 corner space:
- Work 3 dc, ch 2, then 3 dc.
- Transition again with ch 1 into the next chain 6 space and repeat.
- In the next ch-3 corner space:
- Complete the Round:
- After working all sides and corners, join to the top of the first ch-3 with a sl st.
- Slip stitch into the next 2 stitches and finally into the corner ch-2 space to prepare for the next round.
Round 2: Continuing the Granny Pattern
- Start the Round at a Corner Space:
- Ch 3 (counts as 1 dc) and work 2 more dc into the corner space.
- Ch 2, then work 3 more dc into the same corner space.
- Work Along the Sides:
- Ch 1, then work 3 dc into the chain 1 space of the side.
- Repeat this pattern until the next corner.
- Work the Corners:
- In each corner space, continue: 3 dc, ch 2, 3 dc.
- Repeat for All Sides:
- Continue working clusters of 3 dc into each chain 1 space along the square.
Additional Rounds:
- Work as many additional rounds as desired by following the same granny square pattern:
- In side spaces: 3 dc, ch 1.
- In corners: 3 dc, ch 2, 3 dc.
Final Assembly
- Final Round:
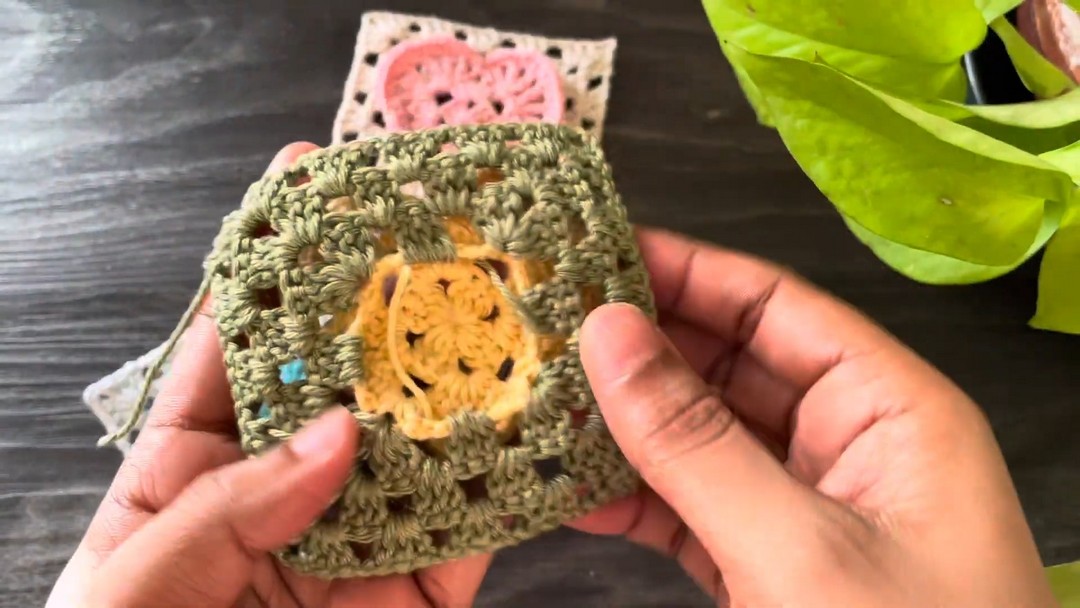
- On the last round, complete with sl st to join to the top of the first ch-3.
- Ch 1, cut the yarn, and pull through to finish.
- Weave in Ends:
- Use a tapestry needle to weave in any loose ends.
- Blocking for Sharp Edges:
- Lay the square flat on foam blocking mats.
- Stretch and pin the corners using clips.
- Spray lightly with water.
- Let it dry completely for a polished look.
Conclusion
That’s it! You’ve now completed your 3D Heart Granny Square, a beautiful and functional motif perfect for blankets, pillows, or standalone decorations. Don’t forget to block the finished piece to get those sharp edges and a neat appearance.
If you enjoyed this tutorial, like the video, subscribe to the creator’s channel, and try experimenting with different yarn colors or sizes for unique variations.