Crochet Daisy Bag Tutorial – Beautiful, and Easy-to-Make
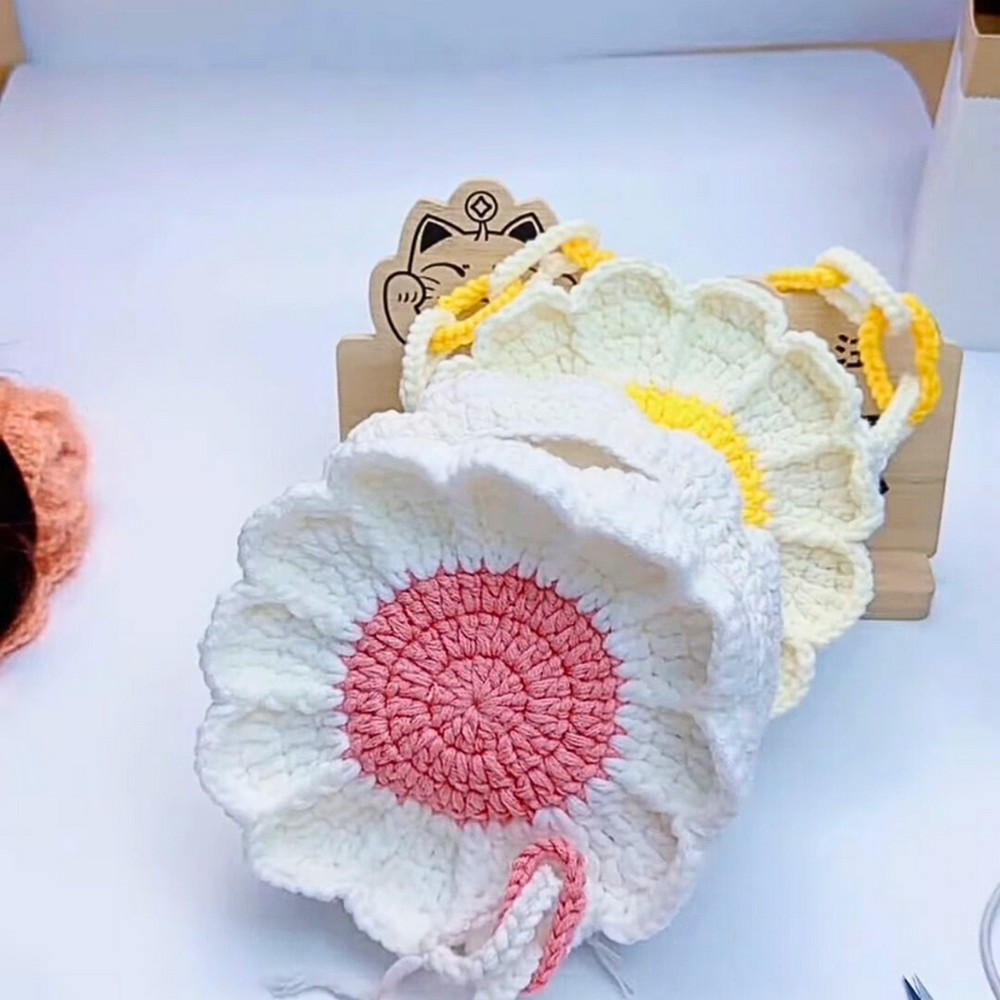
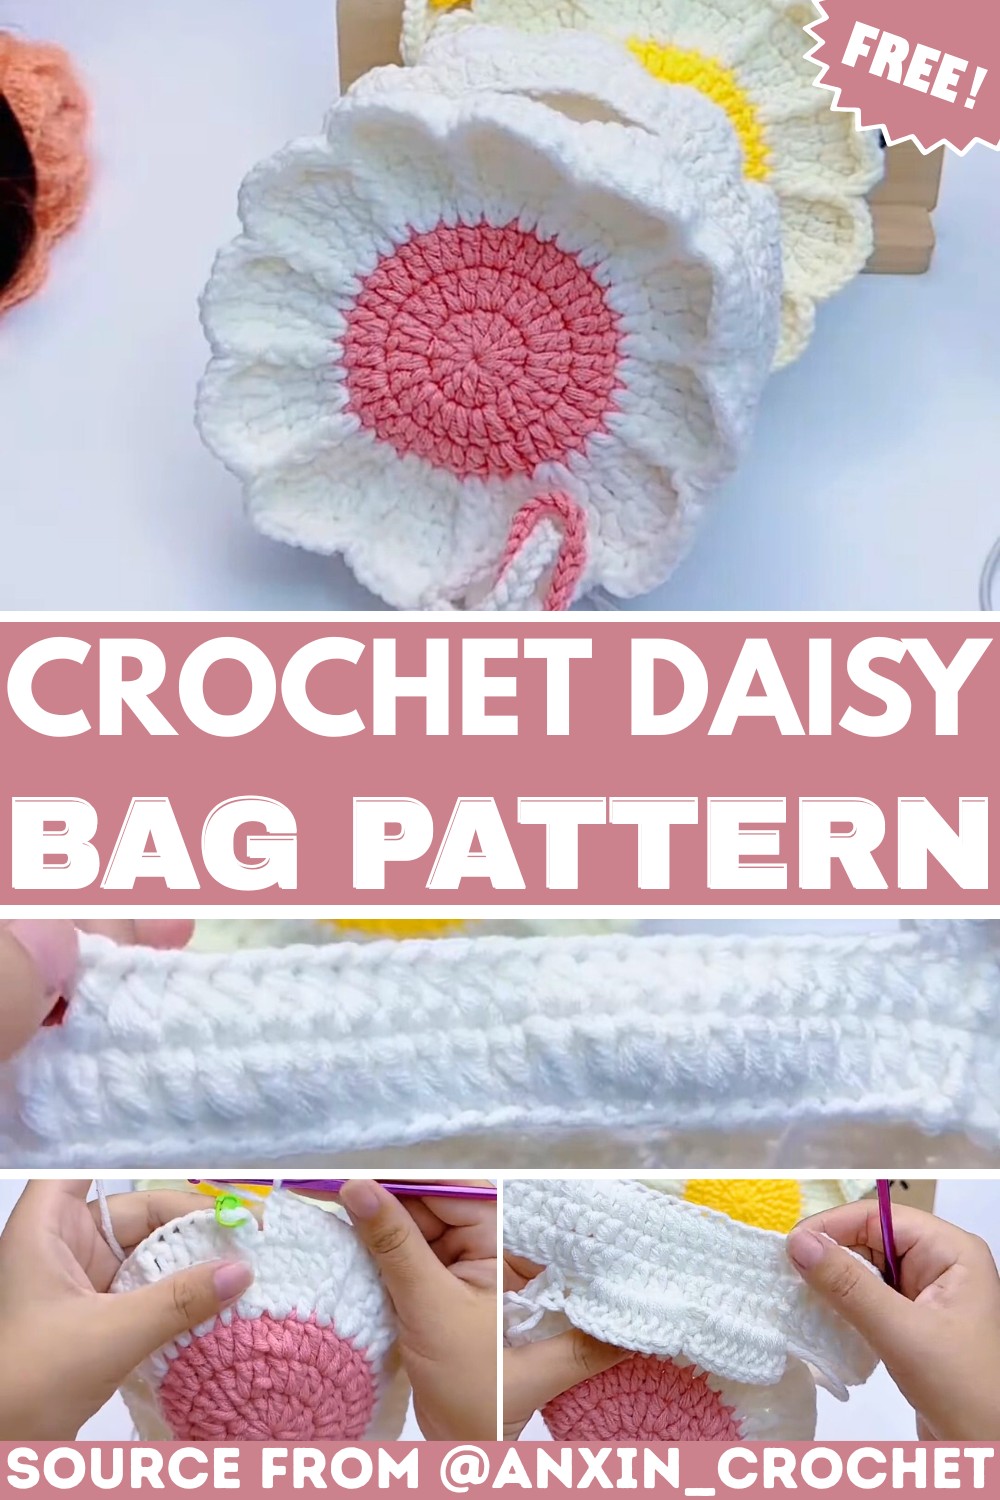
The Crochet Daisy Bag is an elegant and versatile handmade project perfect for any occasion. Its floral design adds a touch of charm, while the practical size makes it ideal for daily use.
Whether for carrying essentials or accessorizing your outfit, this bag combines beauty, functionality, and creativity in a timeless design.
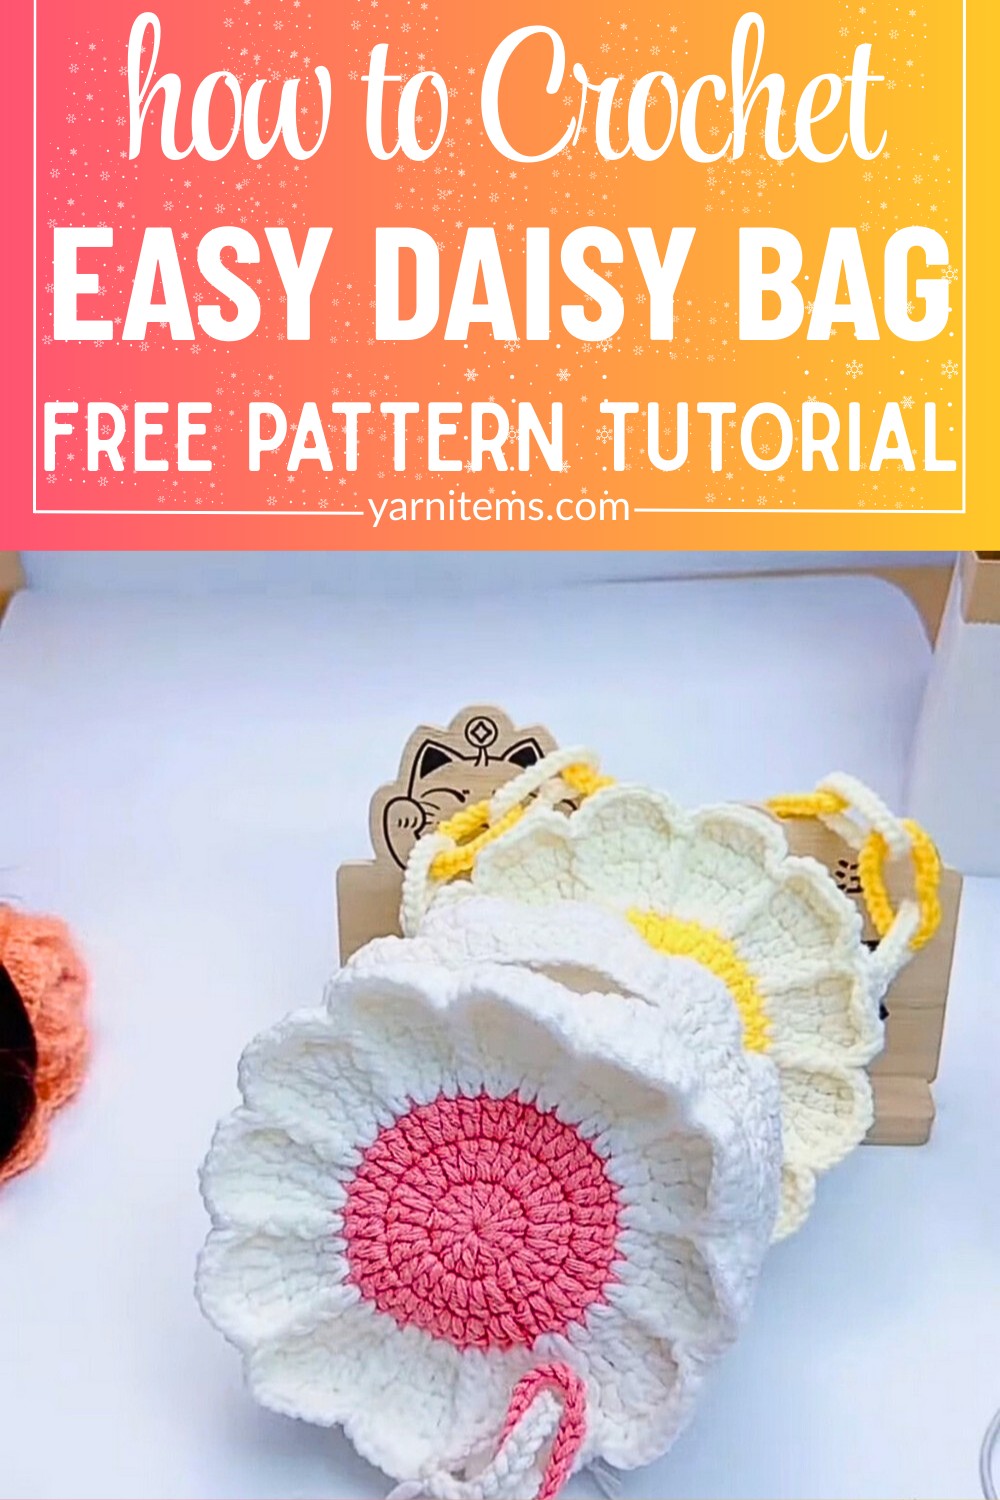
The Daisy Crochet Bag is durable, stylish, and practical. It’s perfect for errands, casual outings, or as a unique gift.
Its double-layered structure ensures longevity, while the detailed daisy pattern makes it visually appealing. Lightweight yet sturdy, it’s a reliable and chic companion for anyone on the go.
Step By Step Pattern
Materials
To make your Crochet Daisy Bag, you’ll need the following materials:
- Yarn: Worsted weight cotton or acrylic yarn in three colors:
- White (for daisy petals)
- Yellow (for daisy centers)
- A contrasting color of your choice for the bag body (e.g., green, pink, or blue).
- Crochet Hook: Size 4.0 mm (G/6) or as recommended for your yarn.
- Darning Needle: For weaving in ends.
- Scissors: To cut your yarn.
- Optional: Stitch markers, fabric lining material (if you’d like to line your bag), and a snap or zipper closure.
Stitch Guide
Here are the basic stitches you’ll need to know for this project:
- Magic Ring: A foundational technique for creating projects worked in the round. Wrap yarn around your fingers to form a loose loop and crochet into it before pulling it closed.
- Chain Stitch (ch): Yarn over, pull through the loop on your hook.
- Single Crochet (sc): Insert hook into the stitch, yarn over, pull through, yarn over again, and pull through both loops on the hook.
- Double Crochet (dc): Yarn over, insert hook into the stitch, yarn over again, pull through, yarn over again, pull through the first two loops, yarn over again, and pull through the last two loops.
- Slip Stitch (sl st): Insert hook into the stitch, yarn over, and pull through the stitch and the loop on your hook.
- Cluster Stitch (optional skill for creating petal shapes): As your video tutorial demonstrates, this involves completing multiple double crochet stitches in the same space but leaving the last loop of each on the hook, then yarning over and pulling through all loops.
Notes
- Gauge: Gauge is not critical for this project, but ensuring consistent tension is key for a uniform finish.
- Customization: Feel free to experiment with your color choices to match your personal style. You can also adjust the bag’s size by adding or decreasing the number of rounds in the base.
- Lining Suggestion: If your bag feels too stretchy, consider adding a fabric lining for extra stability and durability.
Pattern Instructions
Step 1: Create the Daisy Motif
- Magic Ring: Start with a magic ring and secure it with a slip stitch (sl st).
- Yellow Center:
- Work 8 single crochets (sc) into the ring.
- Tighten the ring by pulling the tail of the yarn, and join with a slip stitch to the first sc. Cut yarn and fasten off.
- White Petals:
- Attach the white yarn to any stitch of the circle.
- For each petal: Work (1 slip stitch, 4 double crochets, 1 slip stitch) all into the same stitch. This creates one petal.
- Repeat around for a total of 8 petals. Slip stitch to the first stitch and cut yarn.
Make as many daisy motifs as you’d like, depending on the desired size of your bag.
Step 2: Create the Bag Base
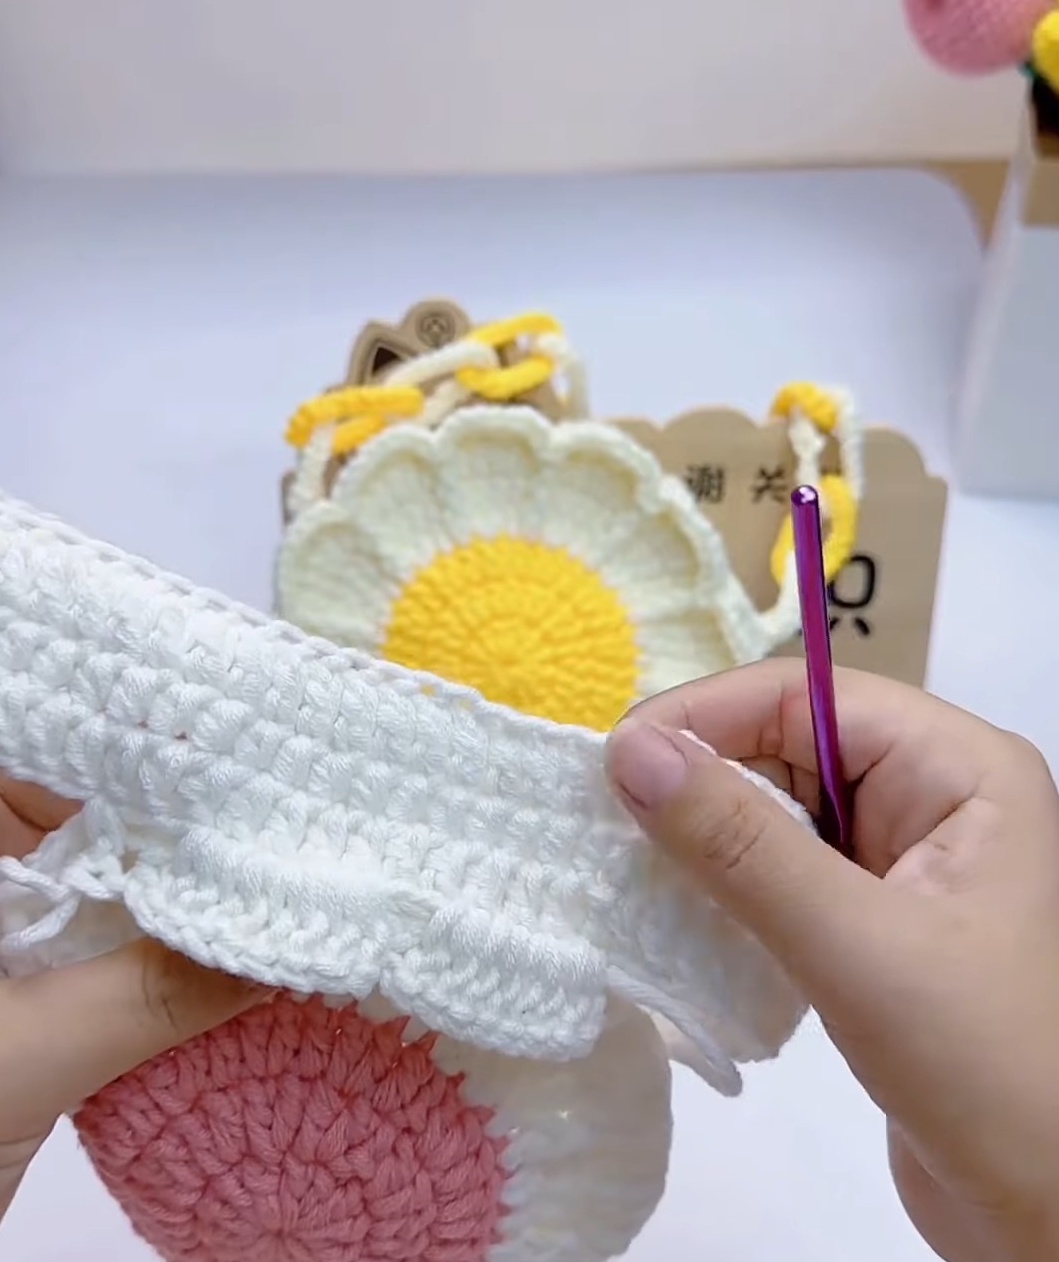
- Using your bag body color, start with a magic ring.
- Round 1: Work 8 single crochets (sc) into the ring. Tighten the loop and join with a slip stitch to the first sc.
- Round 2: Chain 1, work 2 sc into each stitch around (16 sc). Join to the first stitch with a slip stitch.
- Round 3 Onward: Continue increasing in each round as follows:
- Round 3: (1 sc, 2 sc in the next stitch) around (24 sc).
- Round 4: (2 sc, 2 sc in the next stitch) around (32 sc).
Continue increasing until your base reaches the desired width, approximately 8–10 inches in diameter.
Step 3: Build the Bag Body
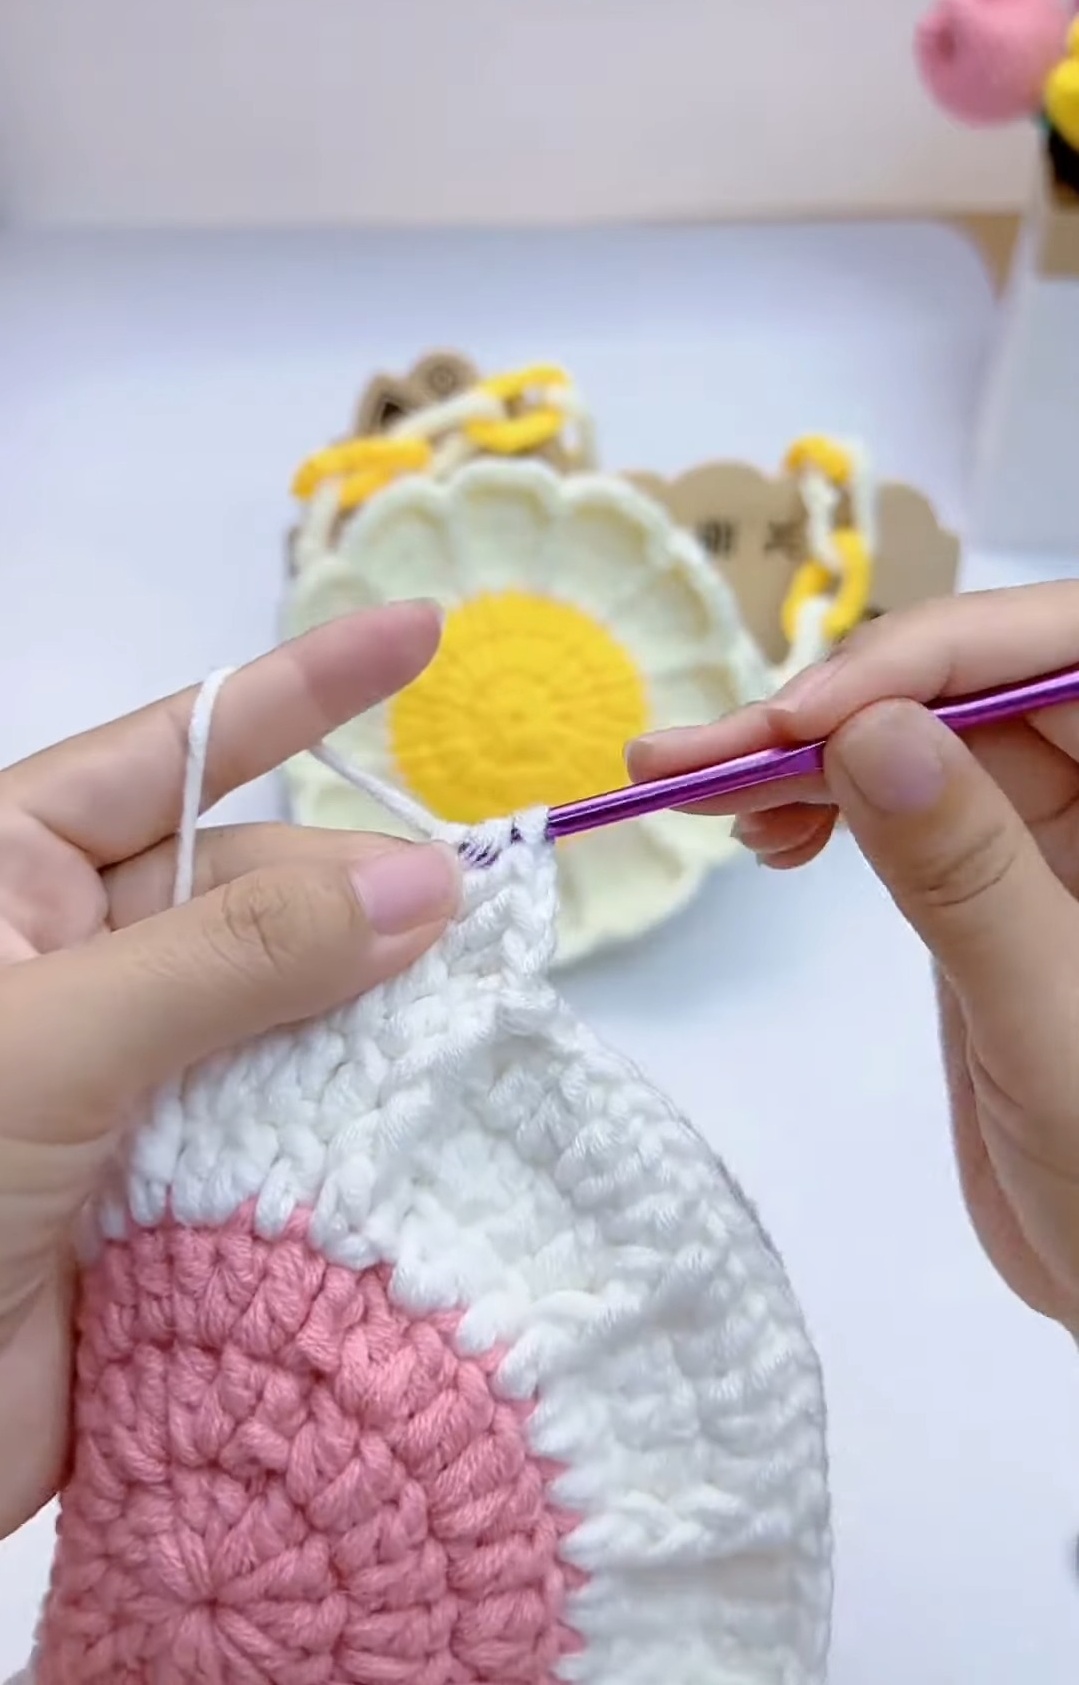
- Once the base is wide enough, stop increasing and start working even rounds (1 sc in each stitch) to build the body of the bag.
- The height of the bag is up to you. For a medium-sized bag, work about 25-30 rounds.
Step 4: Attach the Daisy Motifs
- Sew or crochet your daisy motifs to the front of the bag using the yarn tail. Arrange them in a grid pattern or randomly, depending on your preferred look.
- Weave in all your ends neatly at the back of the motifs.
Step 5: Add Straps and Finishing Touches
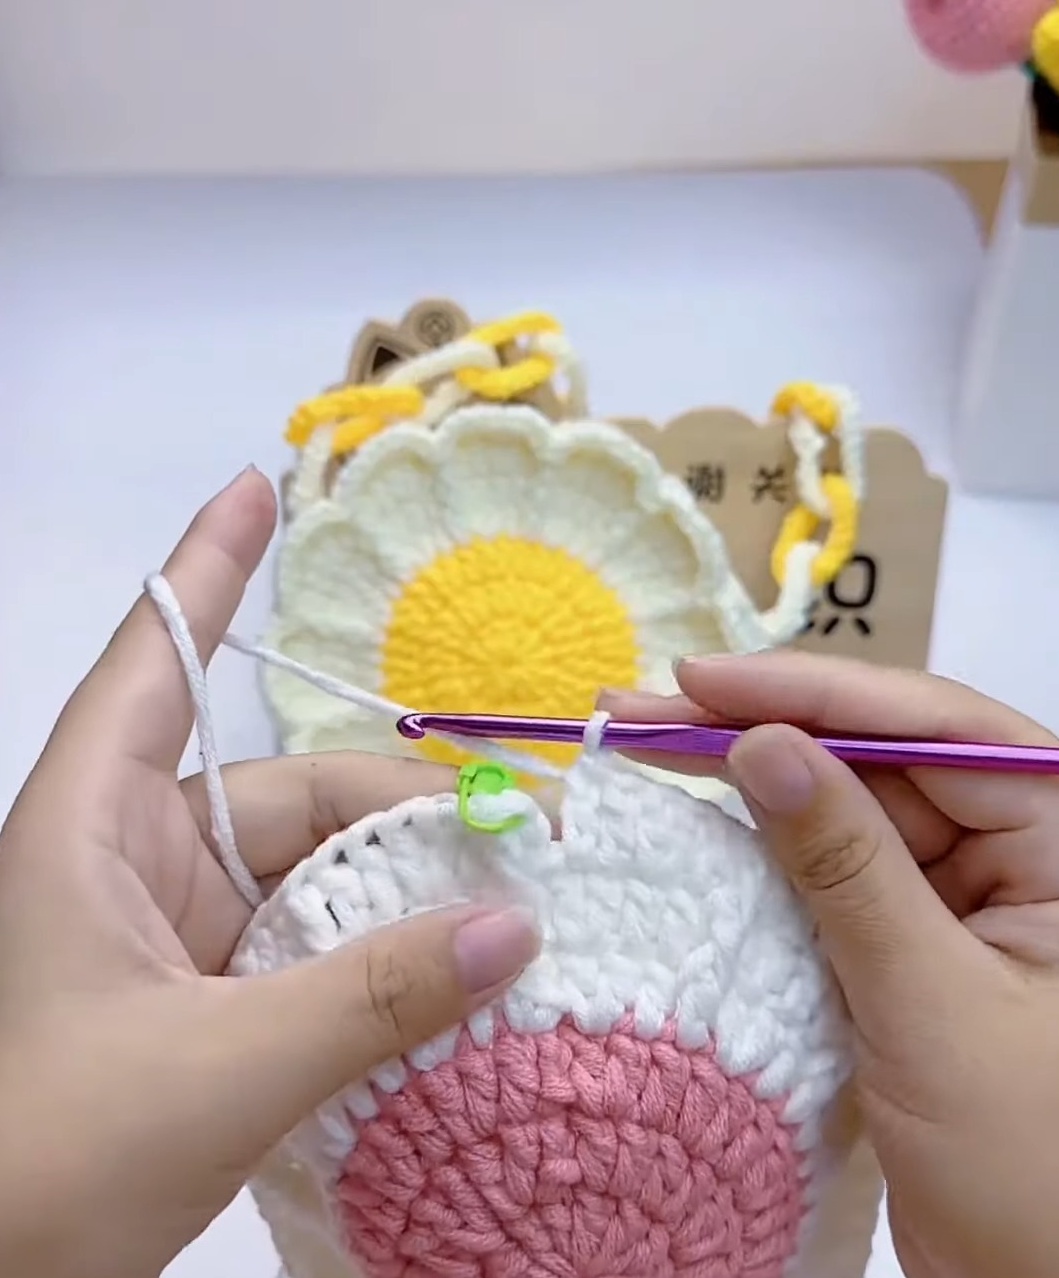
- To crochet straps:
- Chain the length of the strap you want, then work single crochet rows until the strap width is about 1–2 inches.
- Make 2 straps of equal length and width.
- Sew the straps securely to each side of the bag.
- Optionally, line your bag with fabric or add a snap/zipper closure.
Pattern Question:
Question: What type of yarn works best for the Crochet Daisy Bag?
Answer: A sturdy cotton yarn is recommended for creating the Daisy Crochet Bag. It ensures structure, durability, and a clean stitch definition to highlight the daisy pattern.
Conclusion:
The Crochet Daisy Bag is a delightful project that merges creativity and practicality. Its floral design and usability make it a joy to craft and carry. Whether you’re a crochet enthusiast or a beginner, this project is worth trying for its beauty and functionality.