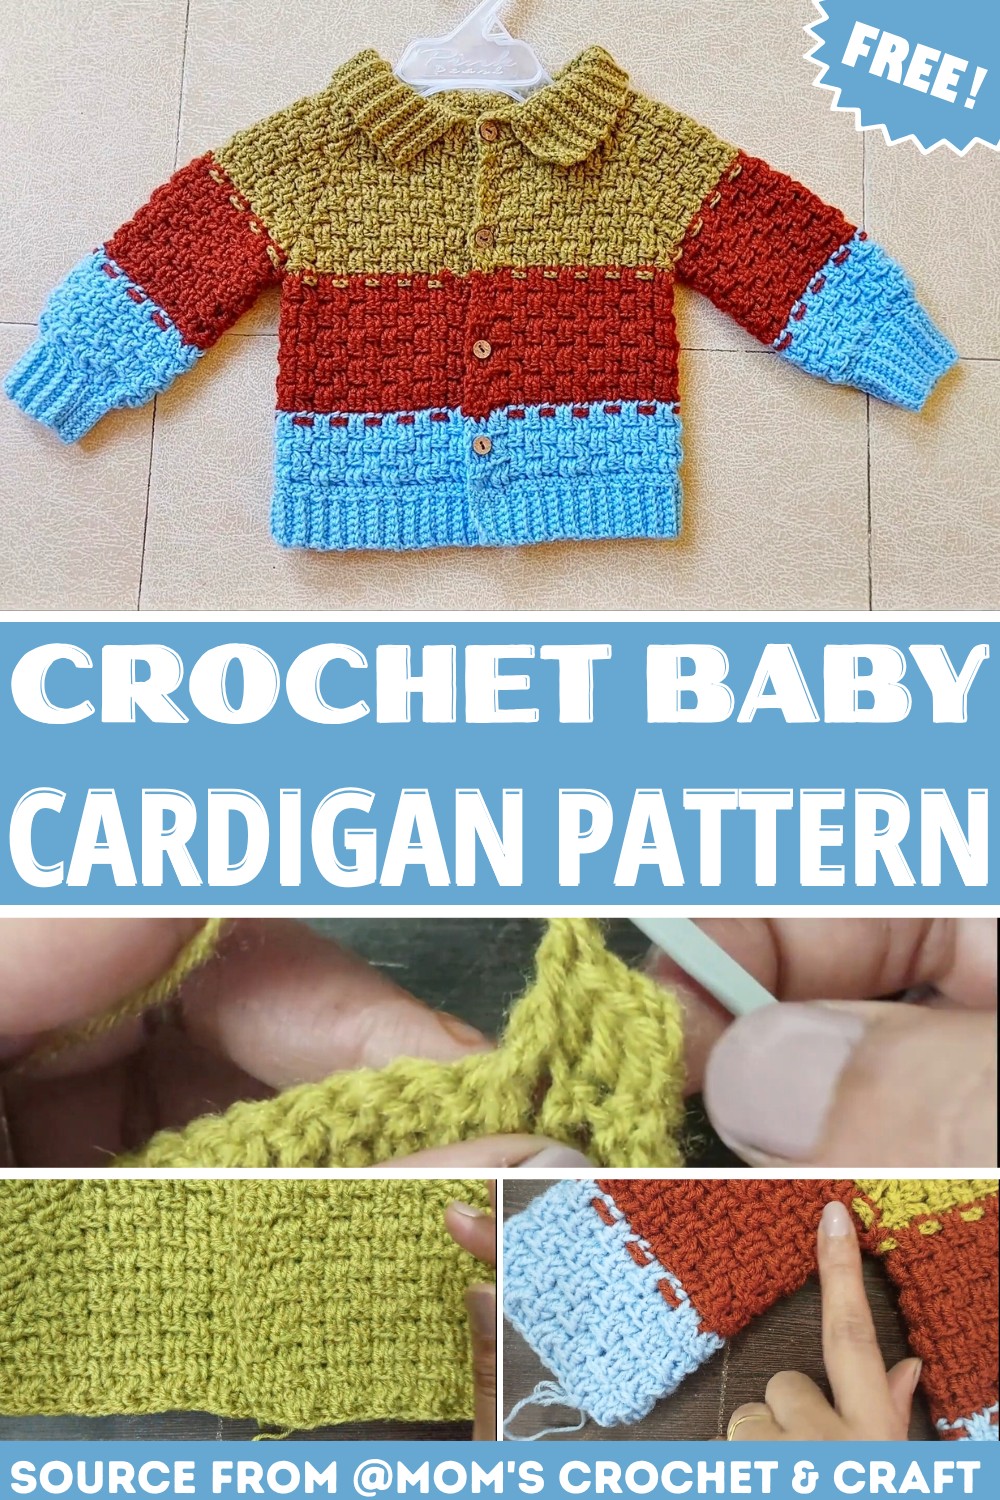
Crochet Basket Stitch Baby Cardigan Pattern for 1-Year-Olds
Looking for a baby cardigan with beautiful texture and an easy-to-follow construction? This crochet basket stitch design keeps the shaping clear while adding a cozy woven finish.
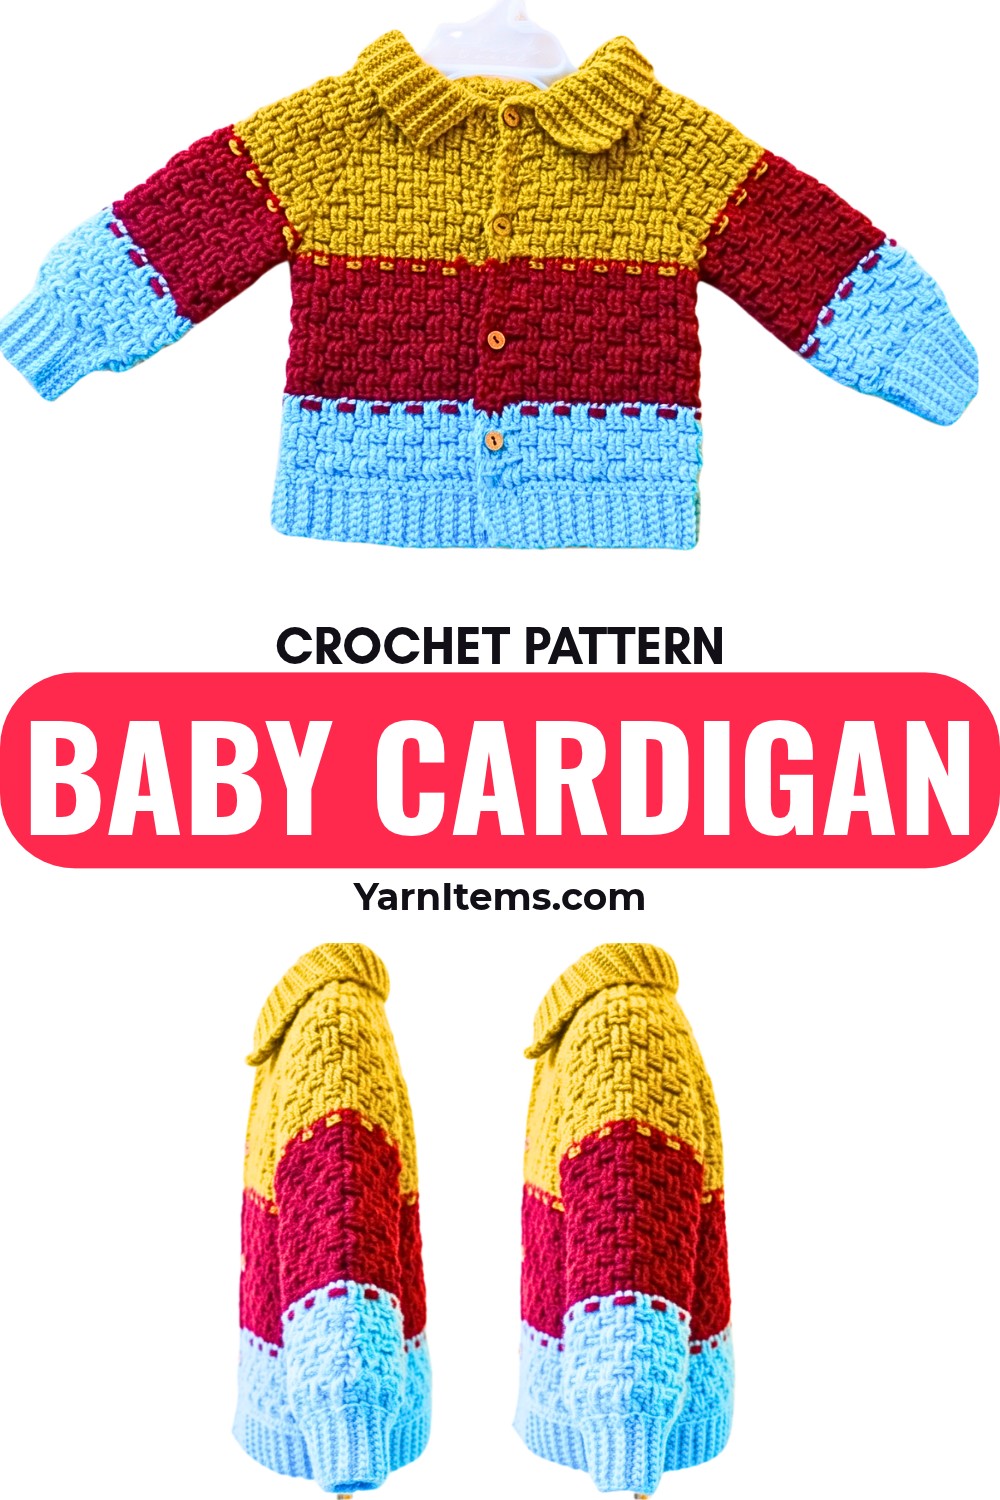
Baby garments can be surprisingly tricky because a small difference in tension or stitch placement can change the fit quite noticeably. This crochet cardigan uses a structured yoke with four increase points, then separates into the body and sleeves, giving you clear places to check your progress as you work.
The crochet basket stitch is also easier to manage when you understand what the post stitches are doing rather than simply repeating them by count. In my experience, marking the four corner spaces from the beginning makes this type of yoke much less confusing, especially when the textured stitches start making the rows harder to visually read.
Credit Mom’s Crochet & Craft
Materials & Tools Needed
- Yarn: Ganga Kalli yarn or a similar lightweight/fine baby yarn, approximately 150 grams across three colors
- Crochet Hook: 3.50 mm
- Stitch markers
- Yarn needle
- Buttons
- Scissors
Finished Size & Customization
Designed for approximately a 1-year-old:
- Chest width: about 10 inches
- Length from underarm: about 7.5 inches
- Sleeve length from underarm: about 8 inches
For an 18-month to 2-year-old, try a 4.0 mm hook with slightly thicker yarn or add around 2 yoke rows. For a 3-year-old, adding approximately 4–6 yoke rows can provide additional room.
Before changing the number of rows, compare the actual measurements with the child’s desired fit. Adding rows changes more than length—the yoke also determines how much room is available around the chest and armholes.
Pattern Abbreviations
- Ch: Chain
- St / Sts: Stitch / Stitches
- Sl St: Slip Stitch
- Hdc: Half Double Crochet
- Dc: Double Crochet
- FPdc: Front Post Double Crochet
- BPdc: Back Post Double Crochet
Step-by-Step Crochet Instructions
Where the Shape Can Go Wrong
The most important area to watch is the four corner spaces of the yoke. These spaces control the expansion of the cardigan. If one corner is missed or worked twice, the front, back, and sleeve sections can become uneven.
Place a stitch marker in each corner ch-1 space and check them at the end of every increase row. This simple habit is much easier than trying to recount the entire cardigan after a shaping problem appears.
Foundation Chain: Make a slip knot and chain 73. Check that the chain measures approximately 14 inches / 37 cm before beginning.
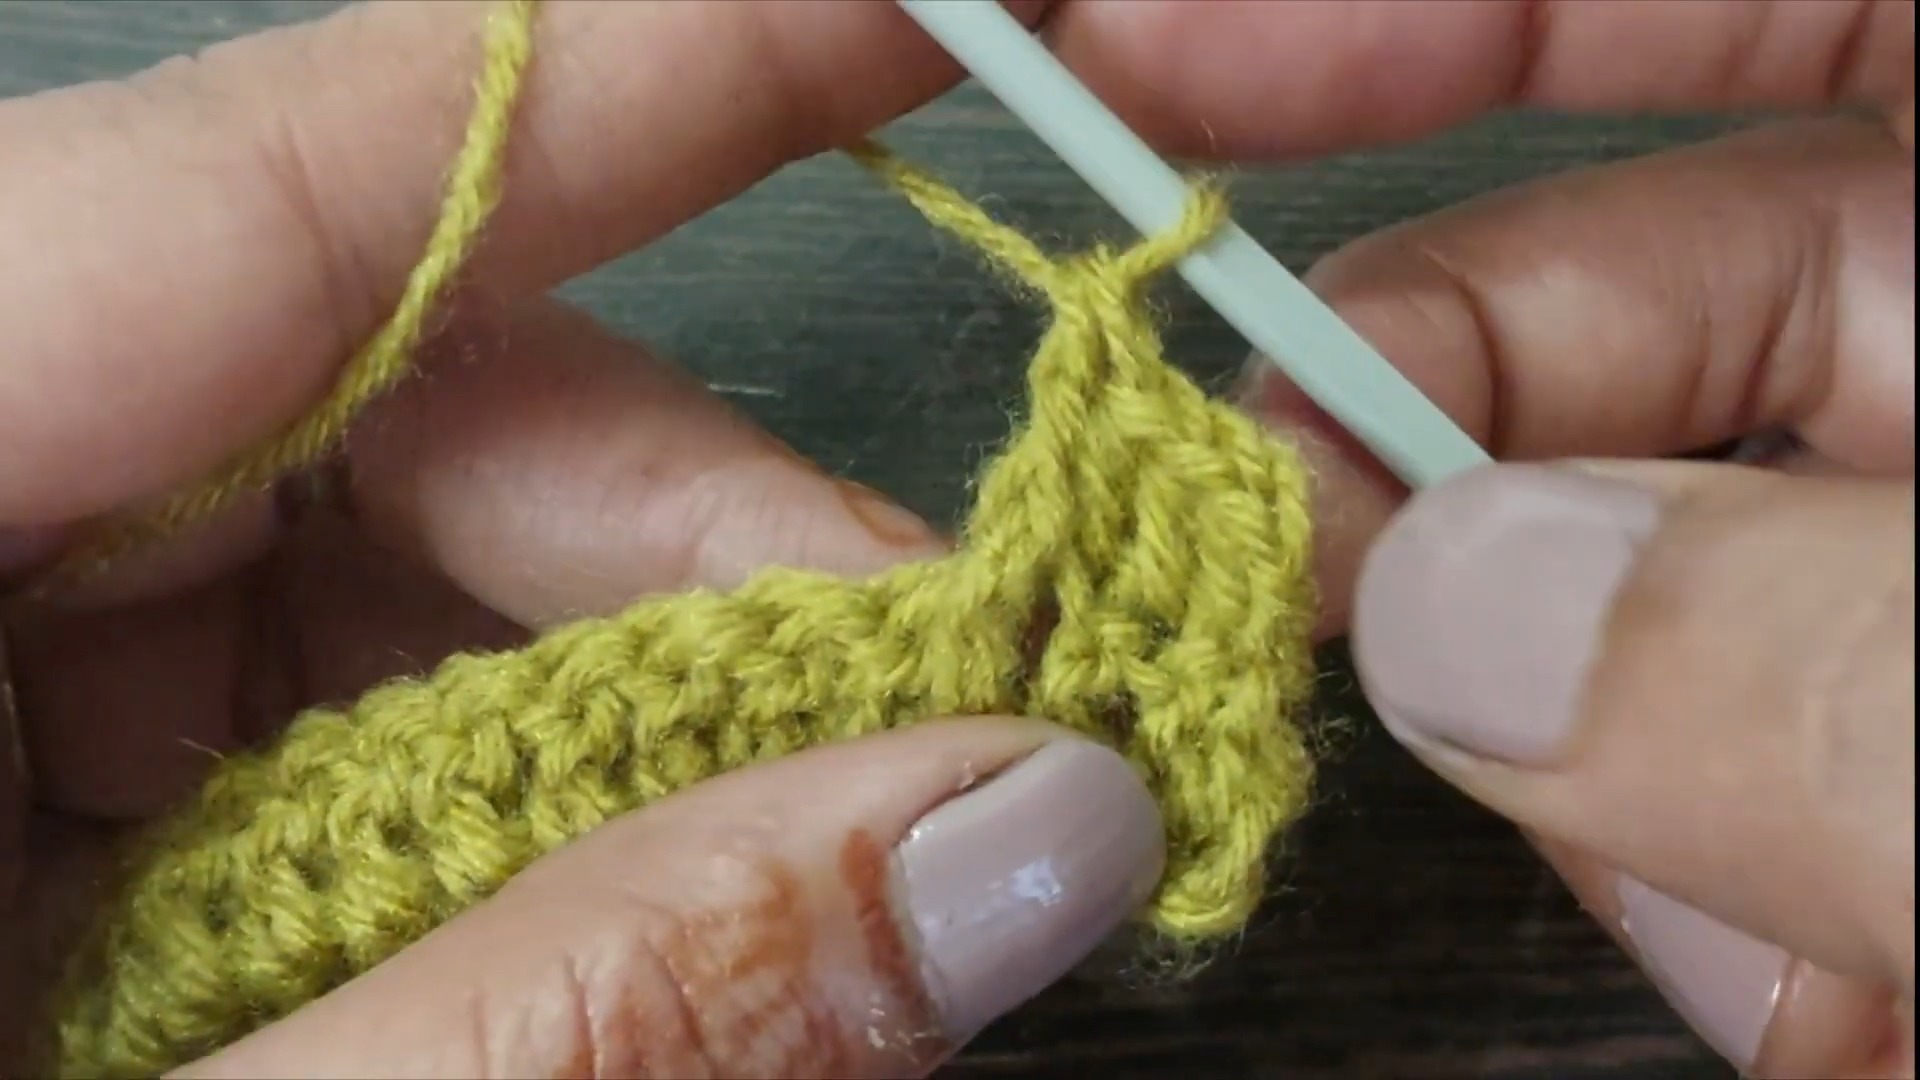
Row 1: Skip the first chain from the hook. Work 1 sc into the second chain and place a marker in this first stitch. Continue with 1 sc across the remaining chains for 72 sc.
Yoke Setup
Row 2: Ch 1 and turn.
Work 1 dc into the first stitch, followed by 13 dc for the right front section.
In the next stitch, work [1 dc, ch 1, 1 dc] to create the first corner.
Work 10 dc for the first sleeve, then make the second corner with [1 dc, ch 1, 1 dc]. Place a marker in this ch-1 space.
Work 22 dc across the back, followed by the third corner.
Work 10 dc for the second sleeve and make the fourth corner in the same way.
Finish with 13 dc along the left front section. Keep the four corner spaces clearly marked.
Building the Basket Stitch
Row 3: Ch 1 and turn. Work 3 hdc across the first button band.
Across the main section, alternate 2 FPdc and 2 BPdc.
At each corner, work 1 BPdc before the corner, [1 hdc, ch 1, 1 hdc] into the corner space, and 1 BPdc immediately after it.
Continue the basket stitch sequence between each corner and finish with 3 hdc for the opposite button band.
Rows 4–14: Continue the basket stitch pattern. Begin and finish with 3 hdc for the button bands.
Reverse the post stitches where needed so that FPdc sits over the previous BPdc and BPdc sits over the previous FPdc. At every marked corner, continue working [1 hdc, ch 1, 1 hdc].
Continue until you have 14 yoke rows.
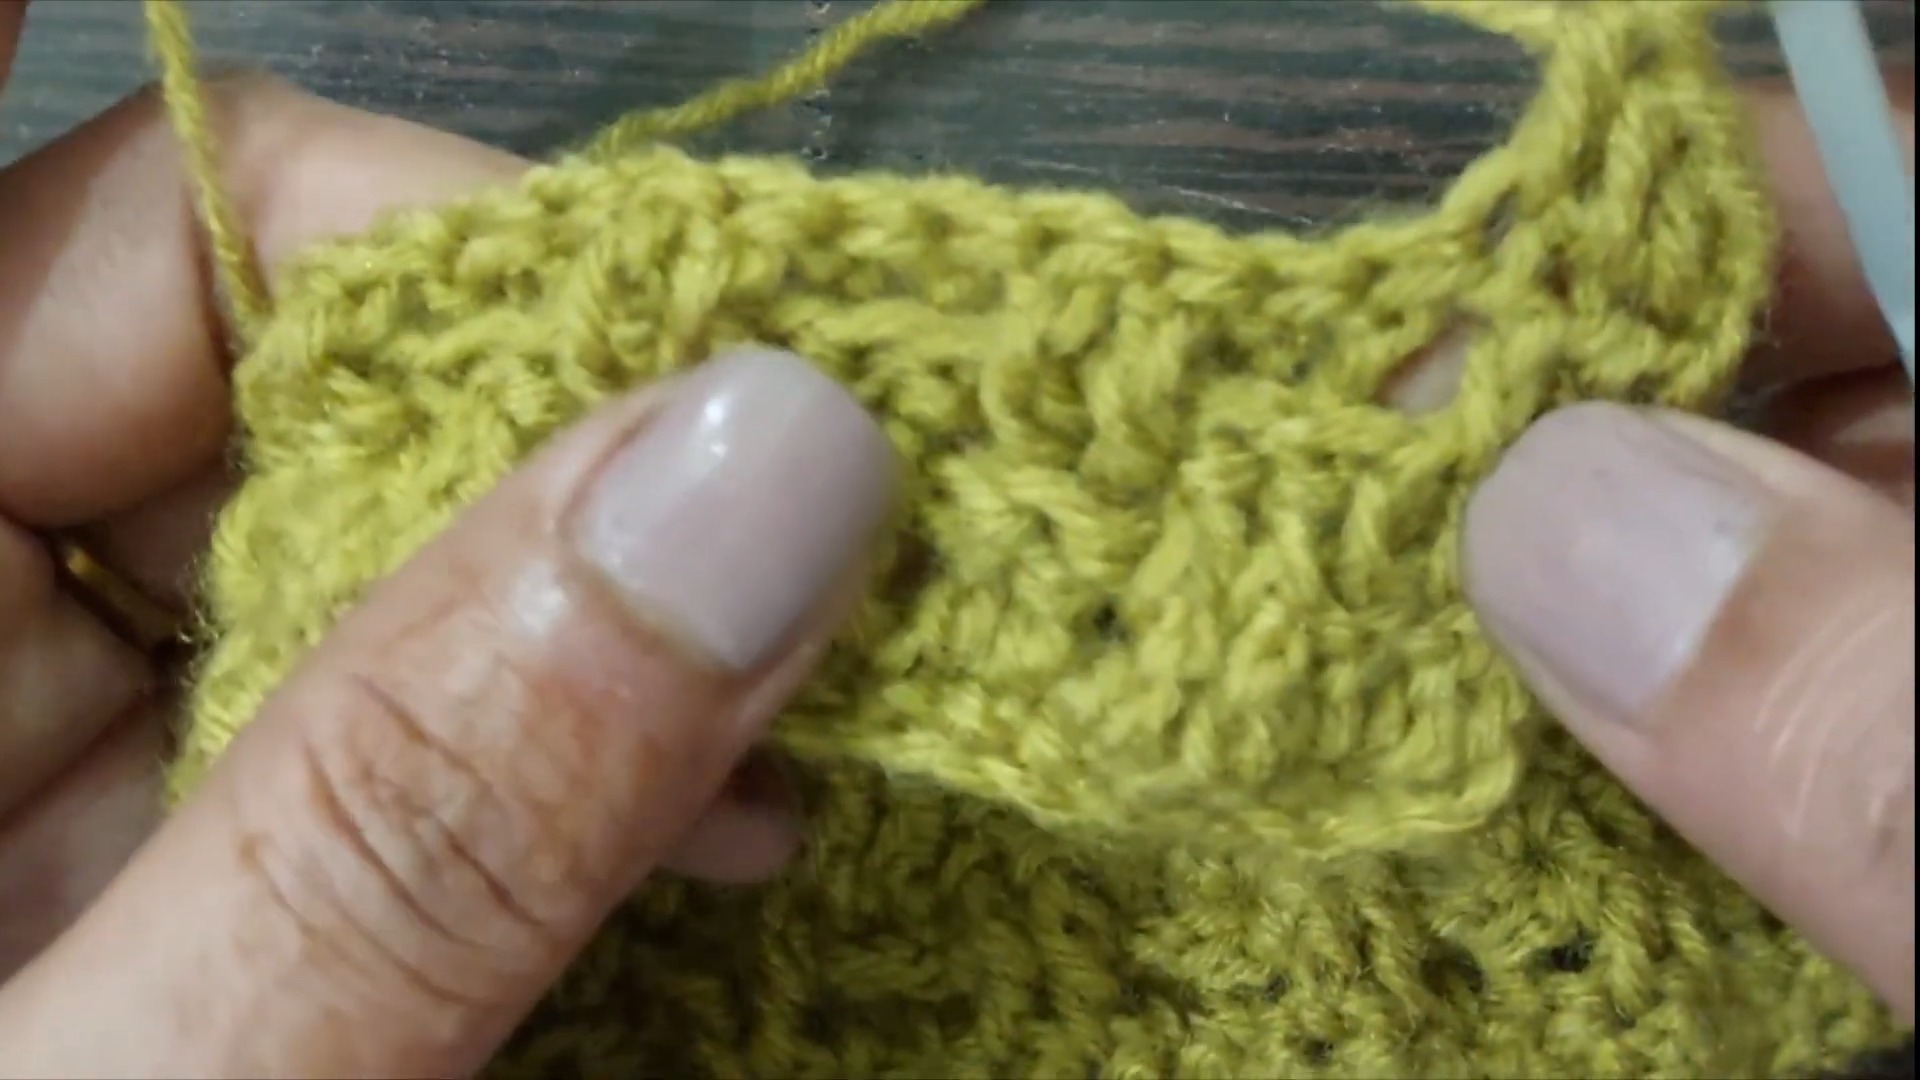
Read the Texture, Not Just the Count
Once the basket texture develops, it can become difficult to identify the next stitch by looking only at the top loops. Instead, look at the raised post from the previous row. If you can identify whether that post is sitting toward you or behind the fabric, the FPdc/BPdc sequence becomes much easier to follow.
Separating the Armholes
Row 15: Ch 1 and turn.
Work across the right front and first sleeve section until reaching the first corner.
At the first corner ch-1 space, work 1 dc, then work 1 dc directly into the second corner ch-1 space, skipping the sleeve stitches between them.
Continue across the back.
At the third corner, work 1 dc, then work 1 dc directly into the fourth corner ch-1 space, again skipping the second sleeve.
Complete the left front and finish with 3 hdc.
Row 16: Attach the second color, ch 1, and turn. Work 3 hdc across the button band and continue the established basket stitch across the body.
Continue for 15 rows below the armholes, changing colors as desired.
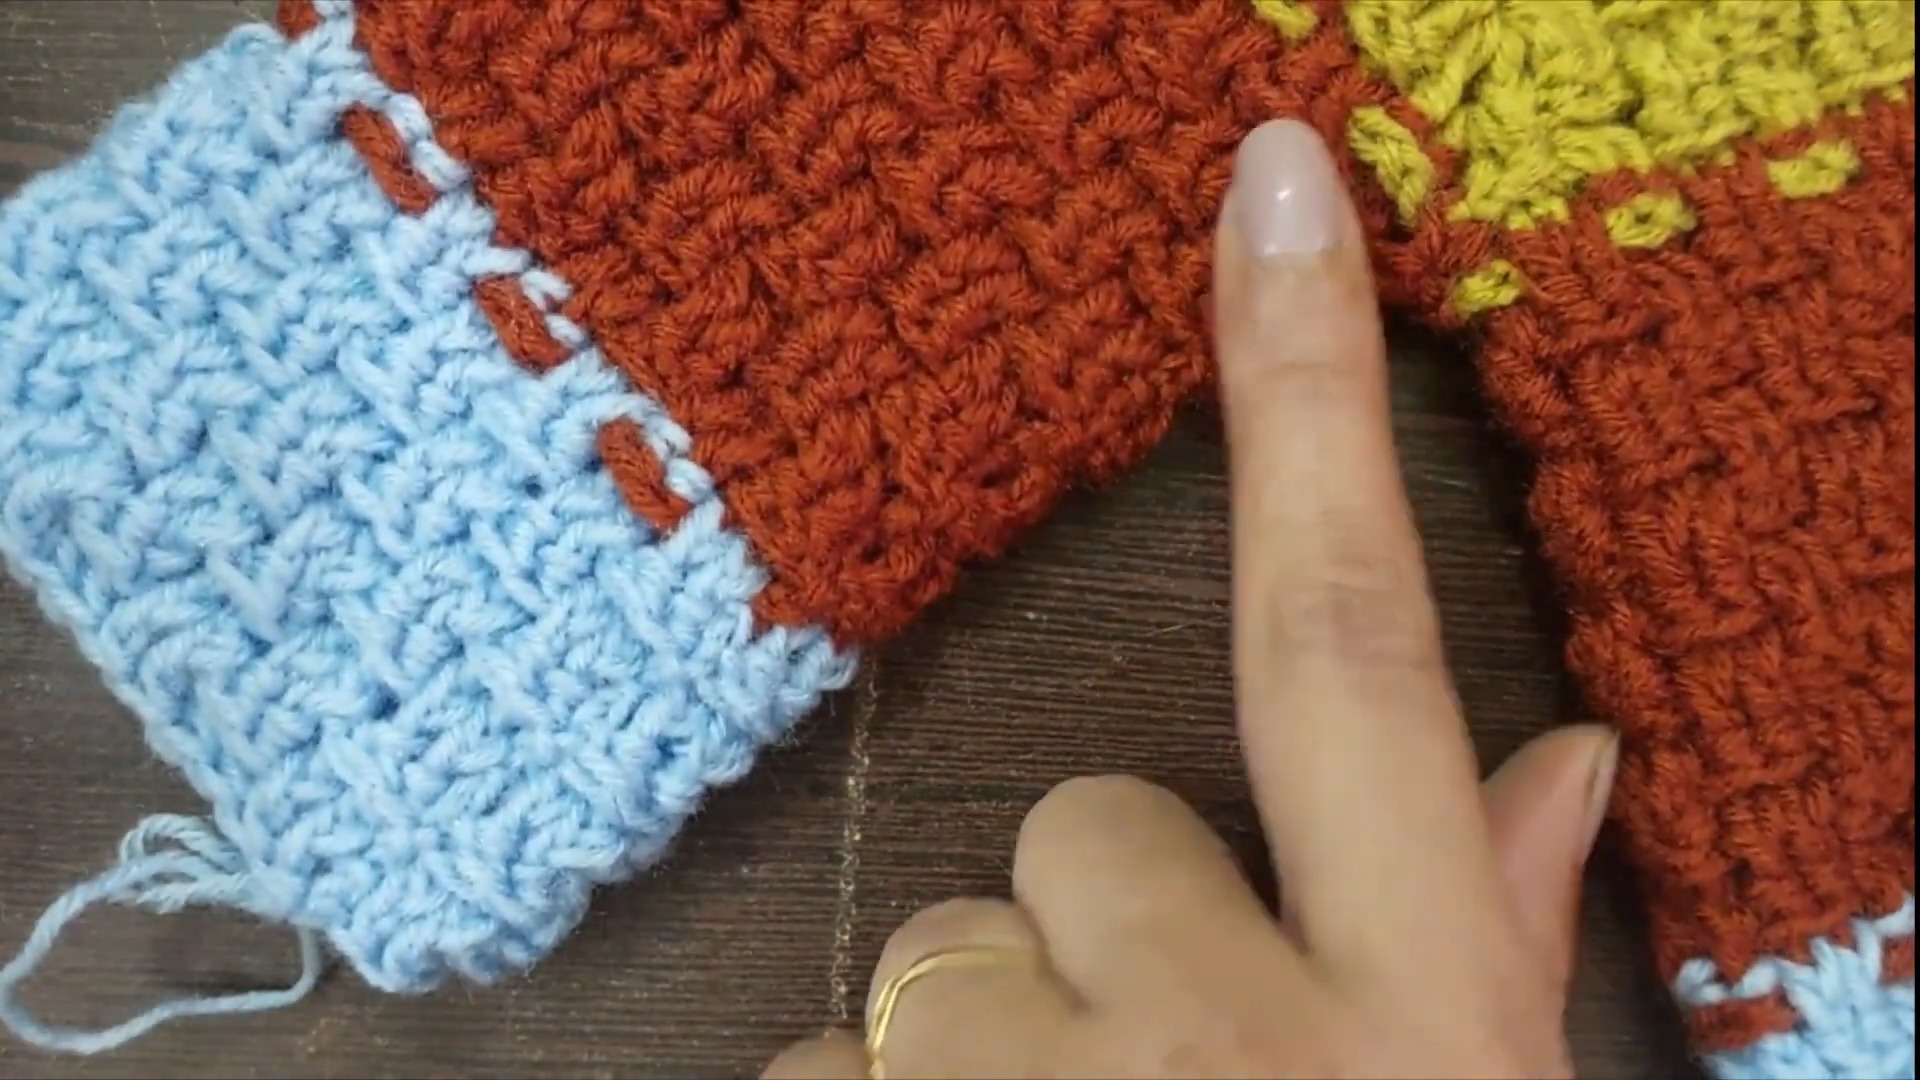
Bottom Ribbing
Work one even row of sc across the bottom edge.
Then ch 7, skip the first chain, and work 6 sc down the chain.
Slip stitch into the next 2 stitches of the cardigan edge and turn.
Work 6 sc back up through the BLO. Ch 1, turn, and work 6 sc back down through the BLO.
Slip stitch into the next 2 body stitches and repeat across the entire hem.
Sleeves
Attach yarn at the underarm opening.
Ch 2 and pick up stitches evenly around the armhole, making sure the underarm area does not leave a visible gap.
Work alternating FPdc and BPdc in rounds for 18 rows.
On Row 19, decrease evenly to taper the sleeve toward the wrist.
For the cuff, ch 9, work 8 sc down the chain, then slip stitch into the next 2 sleeve stitches. Turn and work back through the BLO.
Repeat around the cuff and join the ends neatly.
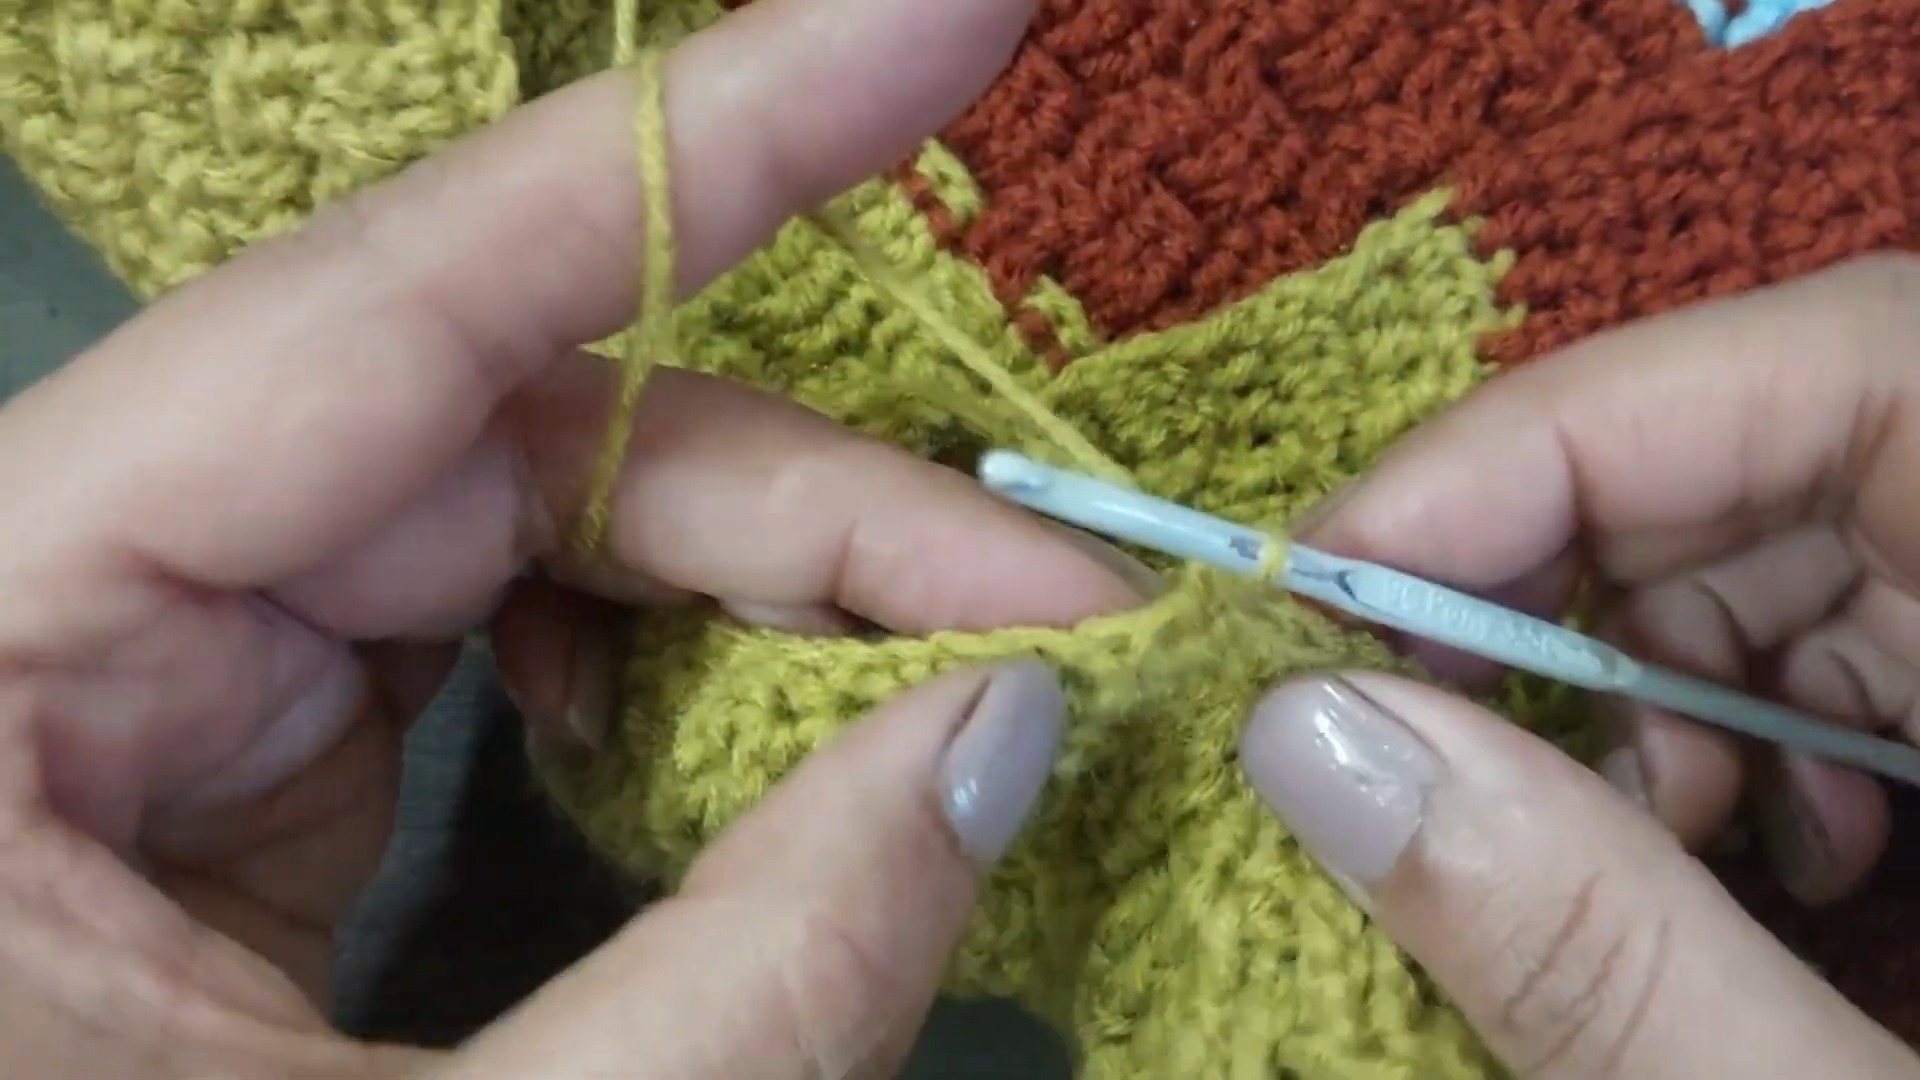
Collar
Attach yarn at the right front neckline and work a row of sc around the neckline. Slightly decrease across the back neck so the collar sits flat.
Leave the front 3-stitch button bands unworked.
For the ribbing, ch 11, work 10 sc down the chain, anchor with 2 slip stitches to the neckline, turn, and work back through the BLO.
Repeat around the neckline.
A Better Time to Check the Fit
I would personally check the cardigan before adding the buttons and finishing all the yarn tails. At that stage, the garment is still easy to adjust, and you can quickly compare the sleeve lengths, chest width, and front bands.
With textured crochet, small tension differences can sometimes hide inside the stitch pattern. A quick flat measurement and visual check at this point can save much more work later.
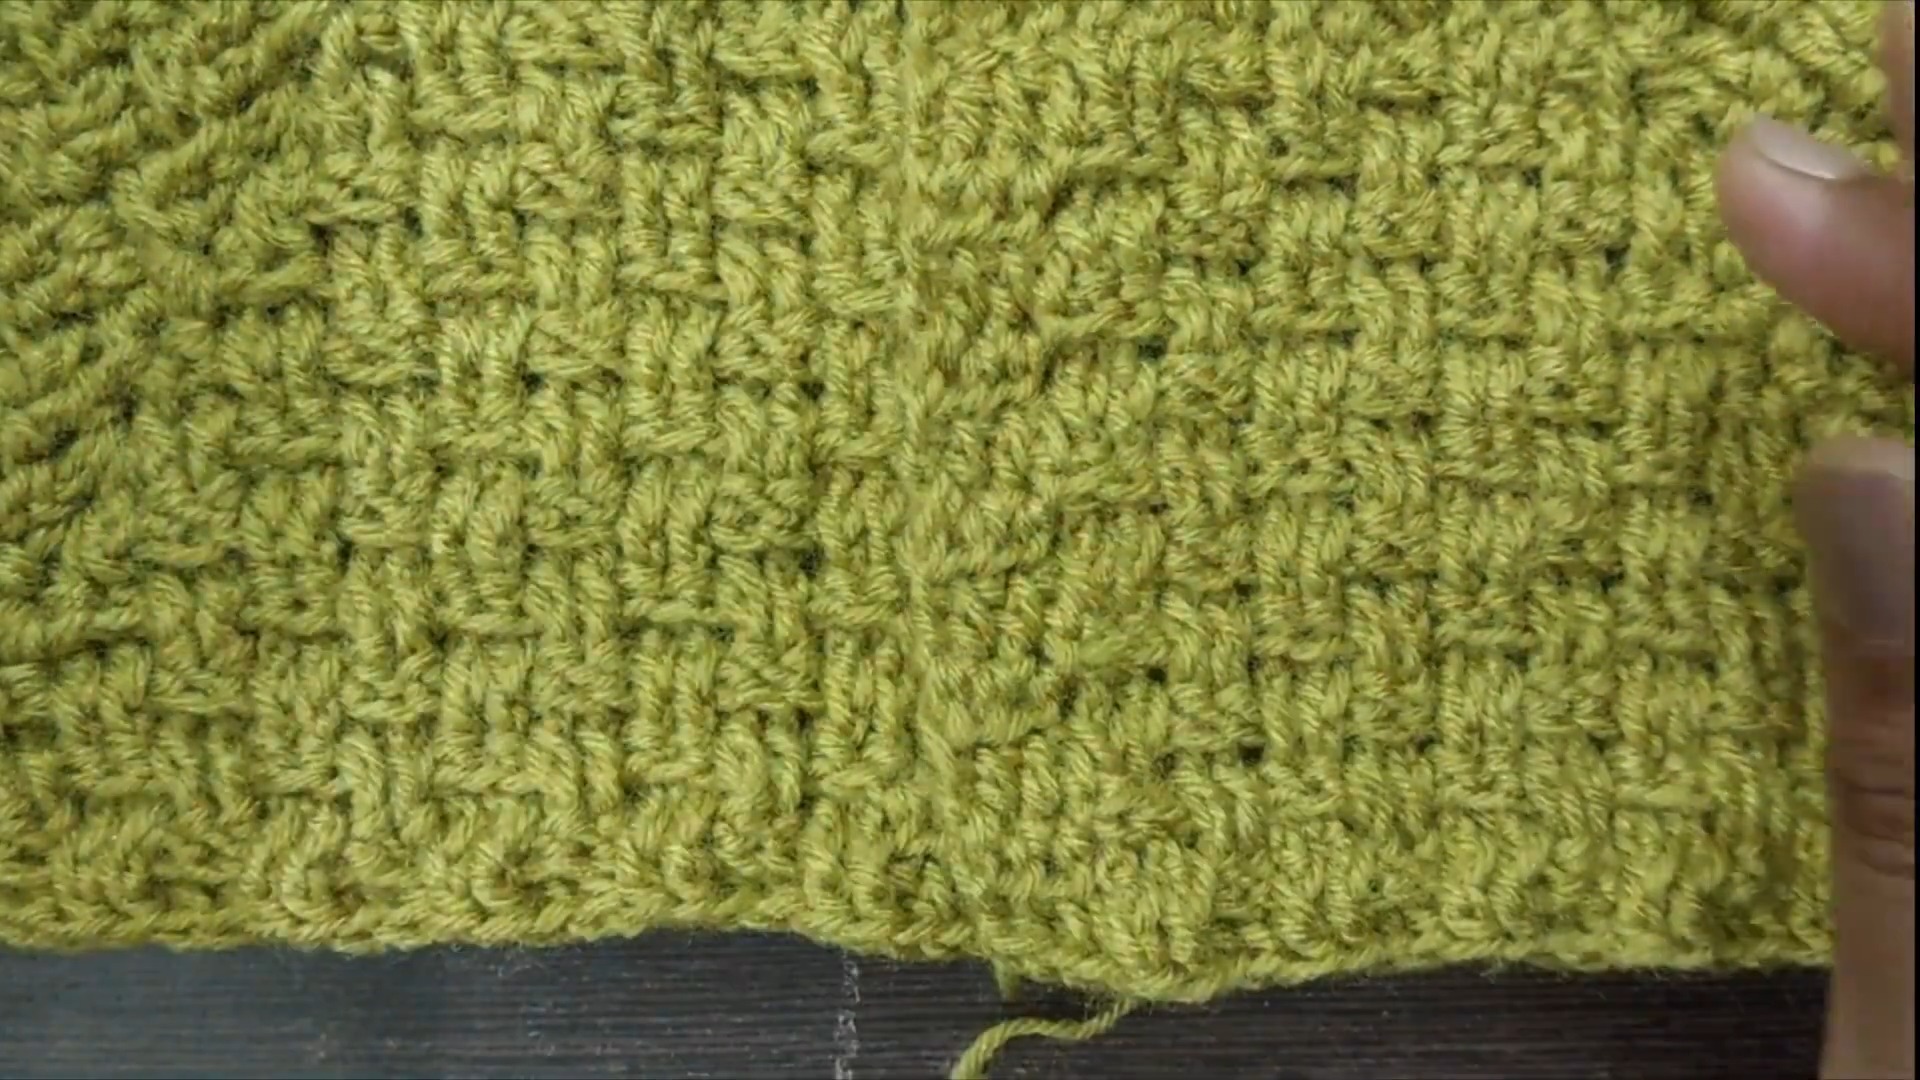
Final Finishing
Sew the buttons onto the left front band, using the natural stitch gaps as buttonholes.
Weave all loose yarn ends securely into the wrong side of the cardigan. If needed, lightly block the finished piece to help the basket texture and edges settle evenly.
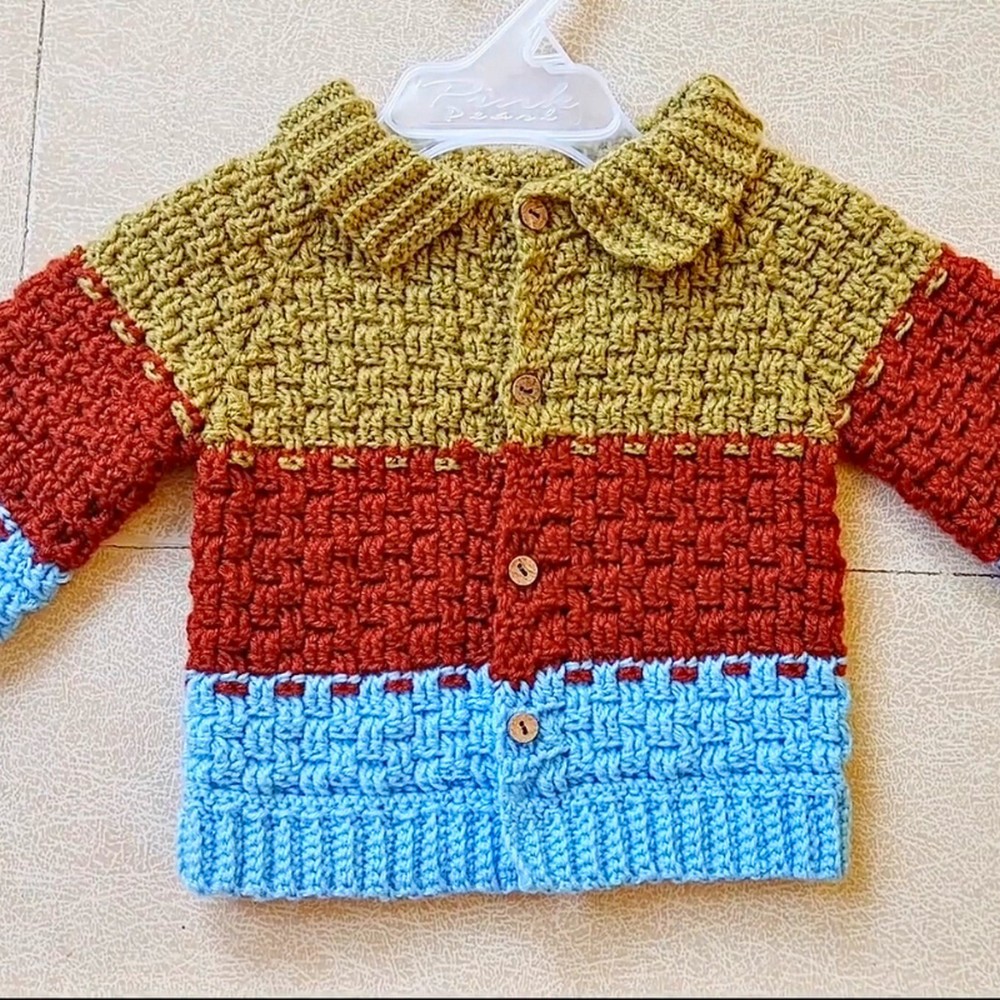
The finished cardigan combines a warm textured stitch with practical shaping, making it a useful little layer while still giving you several places to customize the fit and color.