Stylish Crochet Pumpkin Shoulder Bag For Halloween
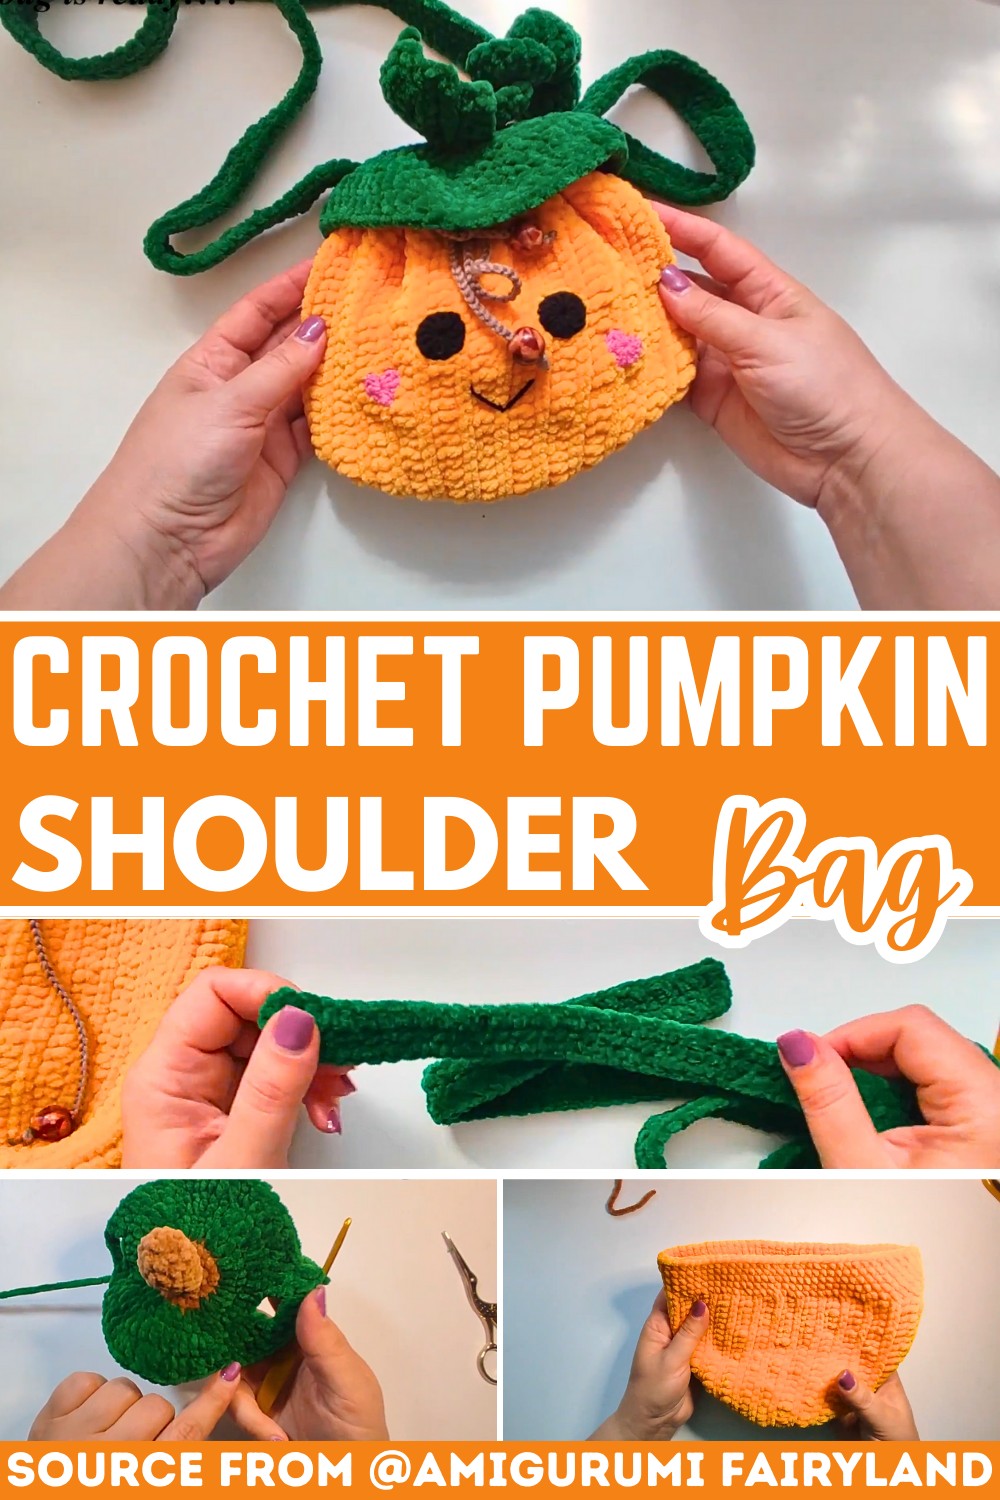
A crochet pumpkin shoulder bag is the kind of accessory that instantly catches attention without trying too hard. Its rounded shape, textured details, and handmade look give it a fun seasonal charm while still being practical for everyday use.
If you’d love to make one yourself, this pattern walks you through the crochet process in a clear and beginner-friendly way.
Crochet Pumpkin Shoulder Bag Pattern
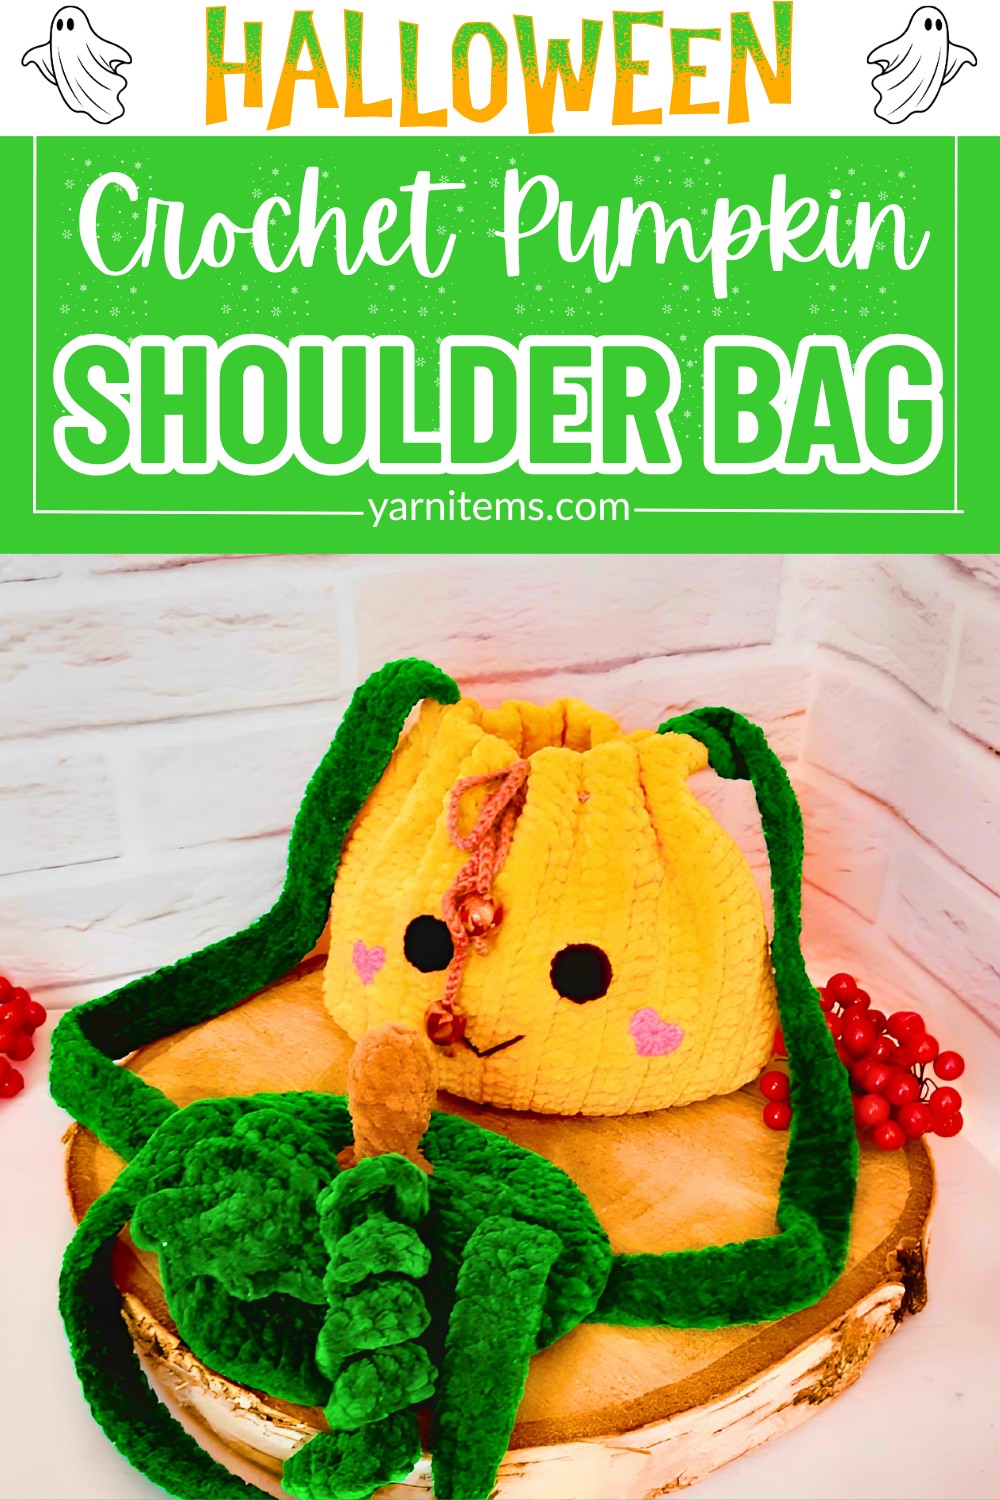
Every stitch gradually transforms simple yarn into a bag that’s both eye-catching and useful. From shaping the crochet pumpkin to adding the strap and finishing details, each step builds toward a polished result. Keep reading to see how this unique design comes together and create a handmade crochet bag you’ll enjoy carrying long after it’s finished.
Credit Amigurumi fairyland
Finished Dimensions
- Bag Size: 20 cm (7.87″) wide × 17 cm (6.69″) tall
- Bottom Diameter: 6 cm (2.36″) × 6 cm (2.36″)
Materials & Tools Needed
- Yarn:
- Plush Yarn (Thick/Super Bulky, 100g/120m):
- Orange (~0.8 skeins)
- Green (~0.5 skeins)
- Brown (small amount for the stem/tail)
- Semi-Cotton Yarn (e.g., YarnArt Jeans):
- Brown (for drawstring lace)
- Black (for eyes and mouth)
- Pink (for cheek hearts)
- Plush Yarn (Thick/Super Bulky, 100g/120m):
- Crochet Hooks:
- 4.0 mm (for plush components)
- 2.5 mm (for accents)
- Accessories:
- 2 wooden beads (optional)
- Tools: Sewing needle, sewing thread, scissors, lighter
Abbreviations
- MR: Magic Ring
- ch: Chain stitch
- sl st: Slip stitch
- sc: Single crochet
- hdc: Half double crochet
- dc: Double crochet
- inc: Increase (2 stitches into the same loop)
- dec: Decrease (sc2tog)
- BLO: Back loops only
- FLO: Front loops only
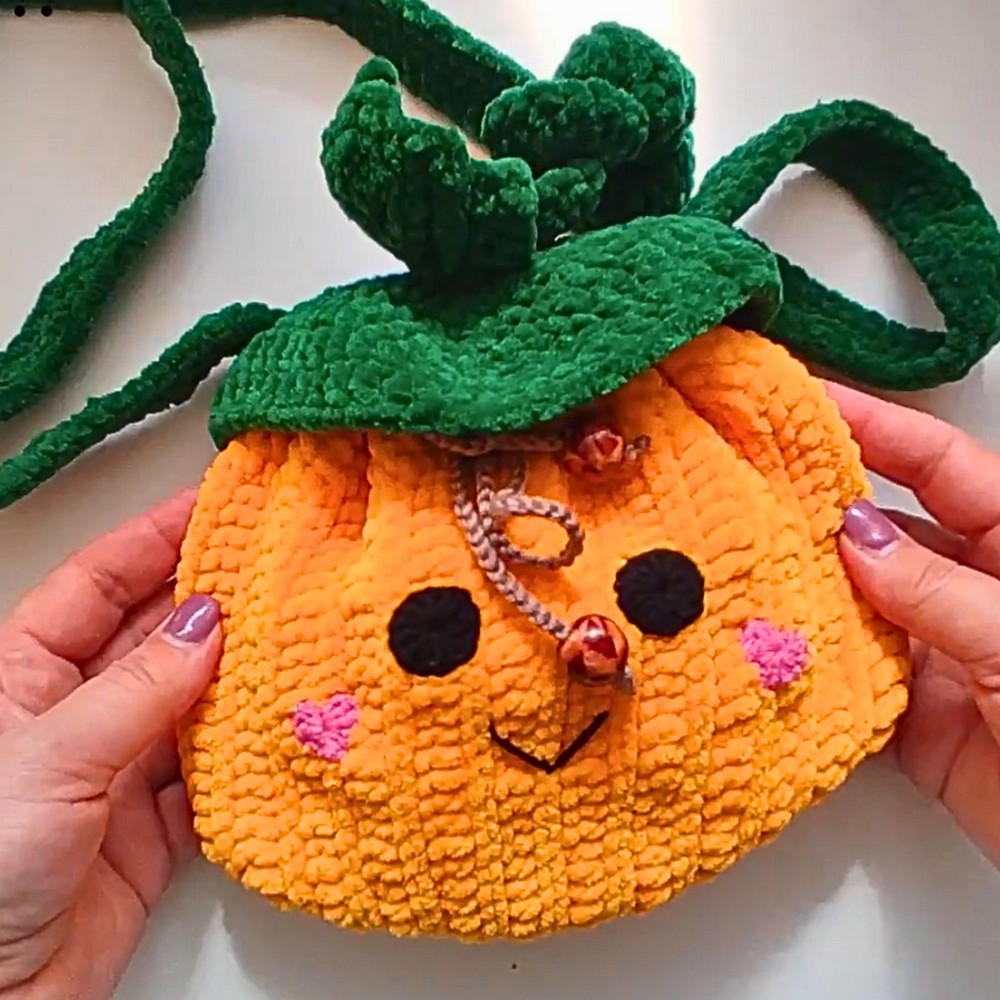
Component-by-Component Breakdown
1. Bag Walls (Orange Plush Yarn, 4.0 mm Hook)
The main body is worked flat to create a ribbed texture.
- Rows 1–4:
- Row 1: Chain 30. Work 18 dc, 3 hdc, 3 sc, 4 sl st.
- Row 2: Work 28 sl st back across.
- Row 3–4: Alternate rows as described (dc rows and sl st rows).
- Repetition:
- Repeat Rows 3 and 4 sequentially until 50 rows total are completed.
- Fold inside out and sew the side edges together to form a cylinder.
2. Bottom of Bag (Orange Plush Yarn, 4.0 mm Hook)
- Rounds 1–5: Gradually increase in rounds:
- Round 1: 8 sc.
- Round 2: 8 inc (16).
- Round 5: (3 sc, 1 inc) × 8 (40).
Sew cylinder walls to the bottom on the wrong side.

3. Top Rim Trim
Work 5 rounds of evenly spaced single crochets around the bag’s open edge.
4. Bag Lid (Brown & Green Yarn)
Start with brown yarn for the stem, move to green for the pumpkin topper.
Key Steps:
- Round 1–8: Shape the stem with sc and dec.
- Round 9–16: Expand topper with dc and add strap holes in Round 13.
Finish with reverse single crochets for structure.
5. Lid Decorations (Green Plush Yarn, 4.0 mm Hook)
- Leaf: Worked in BLO rows to create texture, ending with a symmetrical leaf.
- Curl: Chain 30 and work 2 dc into every chain to make a spiraled vine.
Secure both to the stem.
6. Facial Features (Semi-Cotton Yarn, 2.5 mm Hook)
- Eyes: Create with black yarn (12 dc into Magic Ring). Sew symmetrically onto the bag.
- Cheeks: Make cheeks with pink yarn:
- Ch 2, 2 dc, 2 sc, 1 dc, 2 sc, 2 dc. Pull tight to form a heart.
- Mouth: Embroider a “V” or smile between cheeks using black yarn.
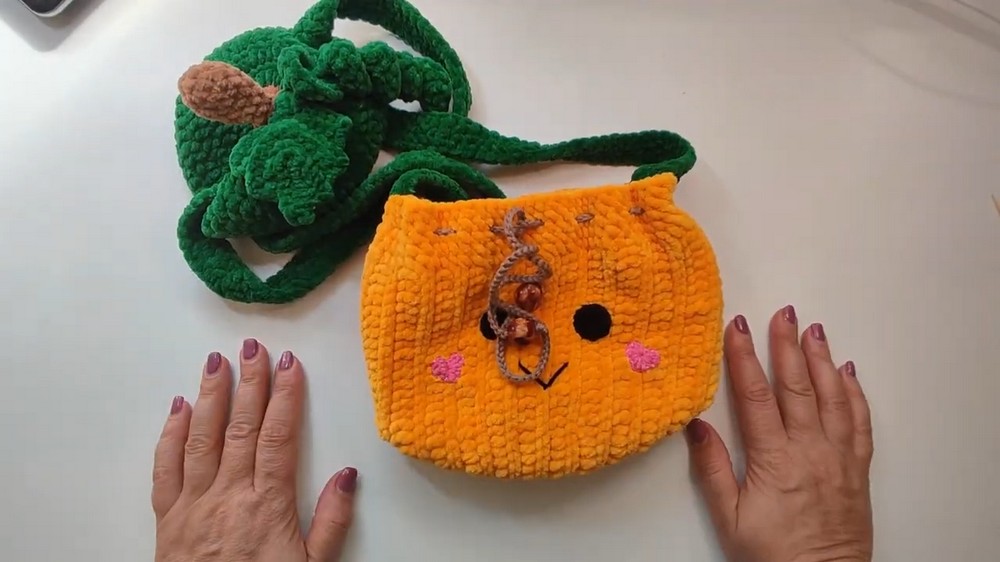
7. Drawstring Lace
Crochet a 70 cm chain with brown yarn. Thread through the bag’s top edge, adding beads if desired.
8. Shoulder Strap (Green Plush Yarn, 4.0 mm Hook)
- Chain 200. Hdc across each side of the chain foundation to form a sturdy strap.
- Secure to sides of the bag and thread through lid strap holes.
Final Assembly
- Attach lid, straps, and decorations as described.
- Your pumpkin bag is now complete!
Video Tutorial