Crochet High Waist Mesh Shorts – Breezy Beach Cover-Up Shorts
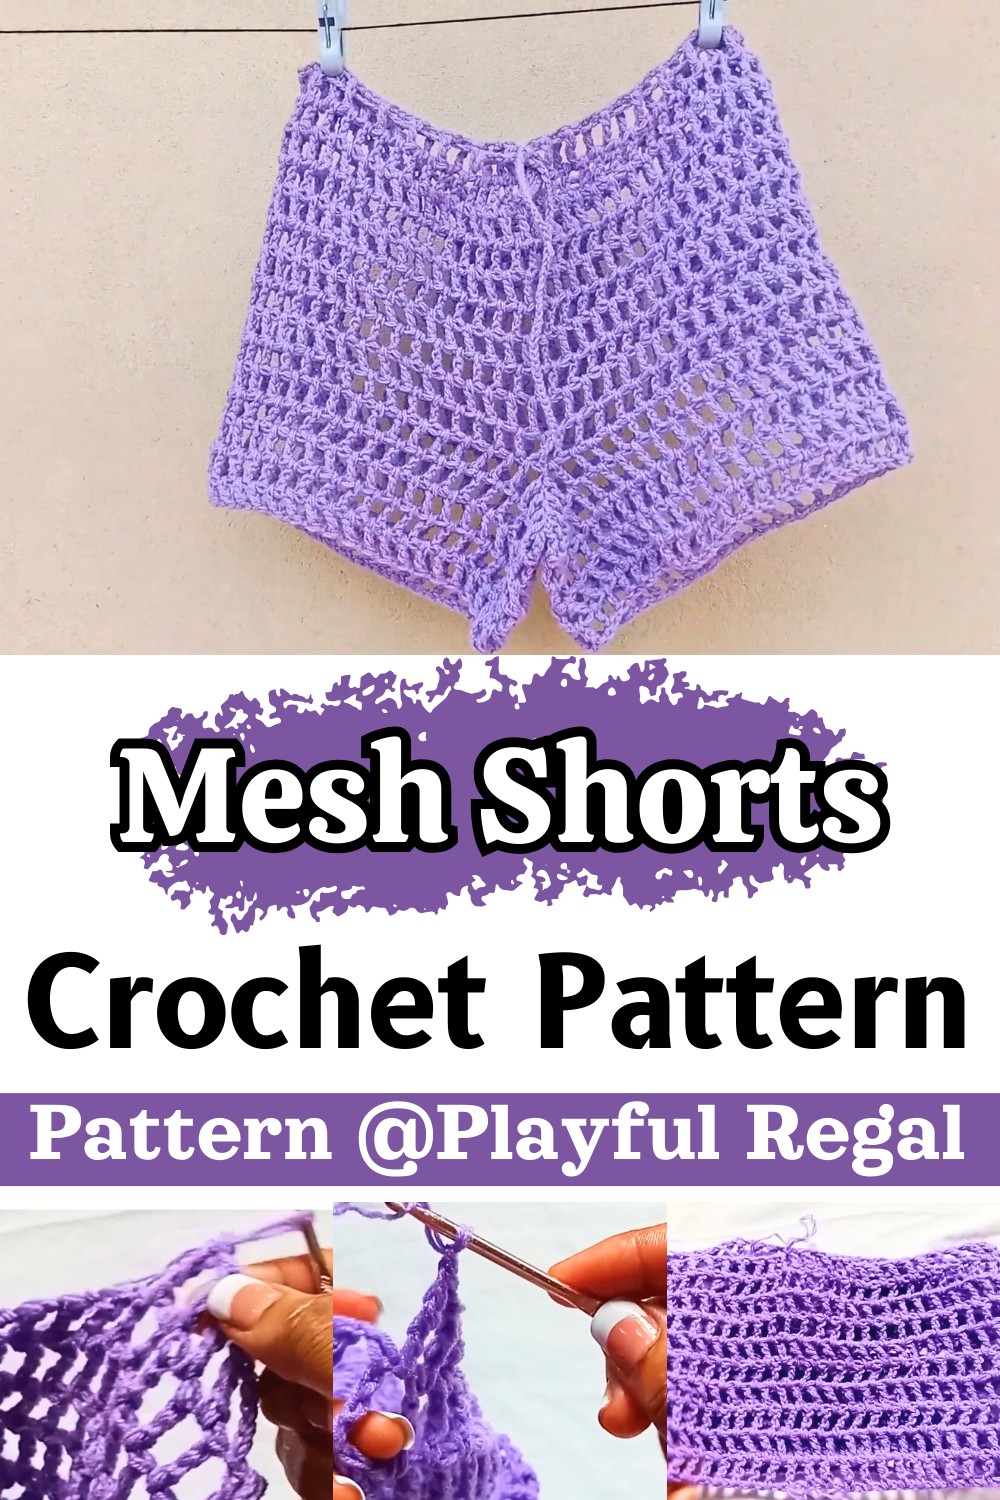
High Waist Crochet Mesh Shorts are lightweight and breathable shorts featuring a trendy mesh stitch, perfect for summer lounging, poolside styling, or casual wear.

Crochet high waist mesh shorts are light, airy bottoms that sit comfortably above the hips. They look stylish, feel relaxed, and are perfect for warm days. The open mesh design gives them a breezy look, while the high waist adds coverage and a flattering shape. You can wear them over a swimsuit at the beach, with leggings or boyshorts underneath, or as cozy lounge wear at home.
Crochet High Waist Mesh Shorts Pattern
These shorts are usually built from simple stitches and repeat rows, making them friendly for newer crocheters who know the basics. You start from the waistband area and shape the body of the shorts, then finish each leg. The crochet mesh pattern works up quickly and helps you see your progress fast, which keeps things fun and motivating. By choosing different yarn colors, you can make them bold and bright or soft and neutral. They are a nice way to practice tension, counting, and shaping, while ending up with something you can actually wear.
Credit Playful Regal
- Custom foundation fit: Start with a foundation chain to match your waist size and form a round.
- Effortless pattern repeat: Build the shorts using mesh-pattern rounds of chains and double crochets.
- Shaping the legs: Divide the mesh pattern into equal sections to create the leg openings, then work each leg separately.
- Adjustable waistband: Add single or half-double crochet rows at the waist for a polished finish and snug fit.
- Finishing details: Seamlessly weave in ends and block the piece for a smooth, wearable item.
Crocheting these high-waist mesh shorts is a straightforward and rewarding pattern that delivers both style and comfort. You begin with a foundation chain customized to your waist size, ensuring the shorts fit snugly while remaining airy. Joining the chain to form a round sets the stage for working the body of the shorts with a simple mesh stitch pattern, combining chains and double crochets. This open, repetitive stitch creates an attractive, breathable fabric that’s perfect for summer.
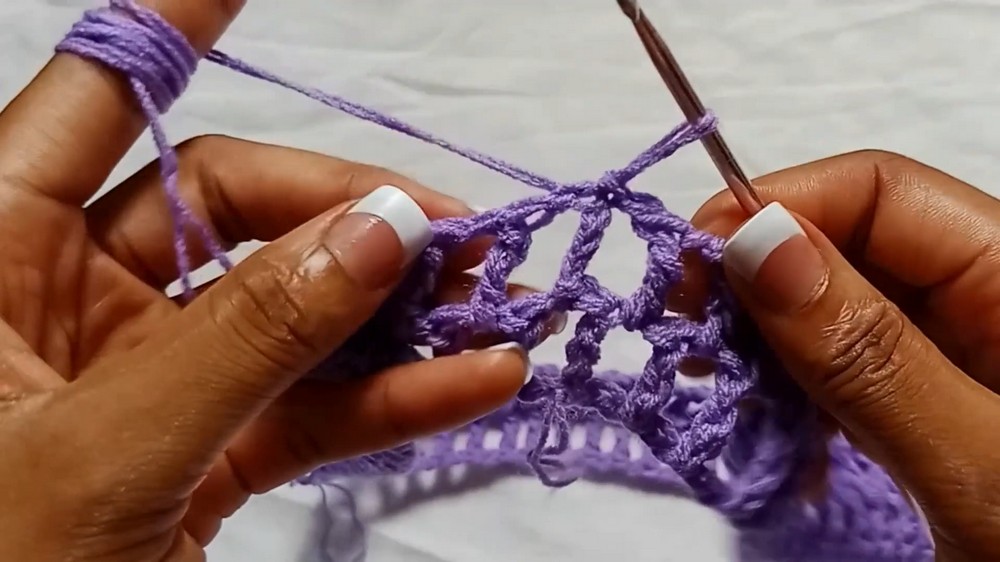
Once the body of the shorts reaches the planned length from waist to crotch, you’ll mark two sections with stitch markers and split the pattern to form the leg openings. A seamless transition allows you to work each leg individually, continuing the mesh stitch rounds until the desired length is achieved. The division into legs is one of the most exciting points of customization, offering endless possibilities for adjusting leg lengths or adding unique accents at the hem.
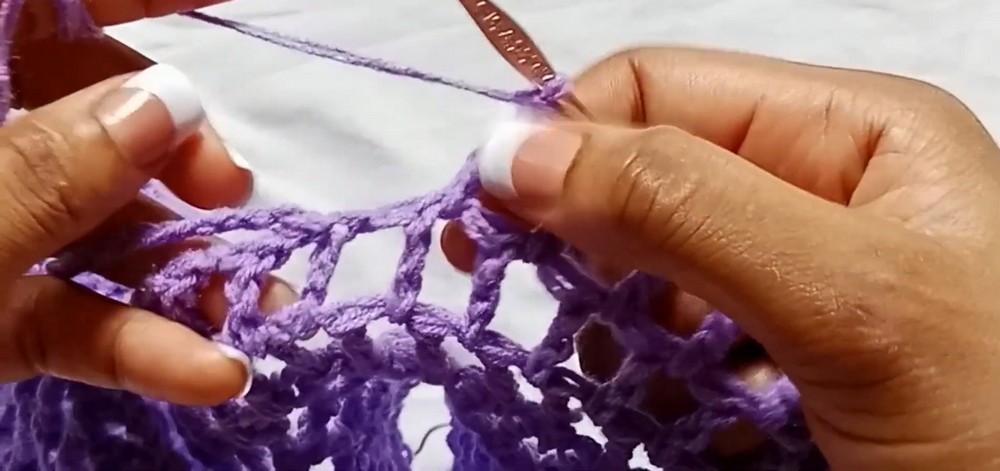
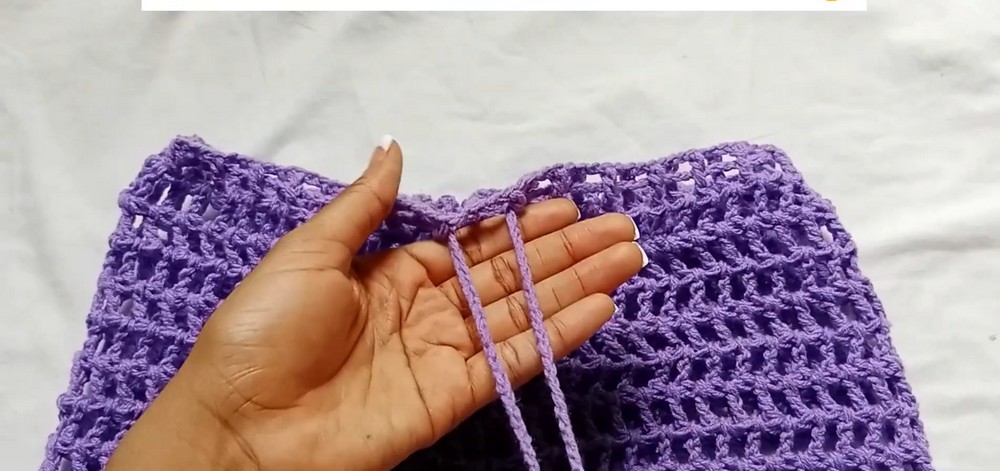
The waistband brings functionality and flair to the design. Adding rows of single or half-double crochet on top of the final mesh round creates a snug band that hugs the waist nicely. For extra security, you can incorporate a drawstring or elastic, ensuring the shorts fit securely and comfortably for various body shapes.
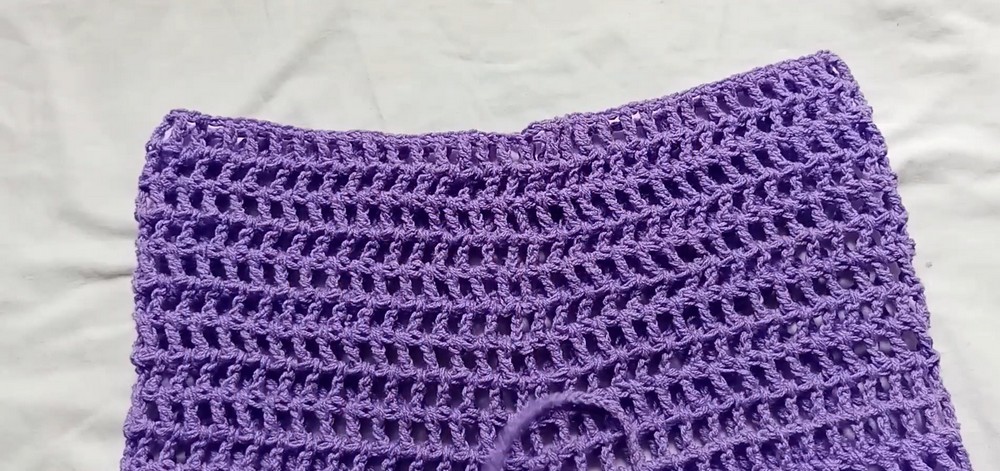
Finally, a few finishing touches complete this versatile piece. Weave in your yarn ends carefully for a clean look, and consider blocking the shorts for perfect shaping and stitch alignment. The result is a lightweight, high-waisted garment that offers a flattering fit and trendy style.
Video Tutorial
Step-by-Step Pattern
Materials
- Yarn: Choose a lightweight cotton yarn for breathability and comfort, such as a cotton blend yarn (approximately 300-400 yards depending on size).
- Hook Size: A 3.5 mm (E/4) crochet hook.
- Optional Tools: Scissors, yarn needle for weaving in ends, stitch markers for keeping track of rounds, and a measuring tape for sizing.

Pattern Instructions
Foundation Row:
-
- Begin with a foundation chain that matches your waist size. Ensure it is a multiple of the mesh stitch pattern you intend to use.
- Join to the first chain with a slip stitch to form a round.
Mesh Pattern Rounds:
-
- Round 1: Chain 3 (counts as first dc), skip two chains, dc in next chain, chain 2, repeat from * to the end, join with a slip stitch to the top of the initial chain 3.
- Round 2: Chain 3, dc in the next dc, chain 2, repeat around. Join with a slip stitch.
Repeat Mesh Pattern:
-
- Continue working in the mesh pattern until the desired length from waist to crotch is achieved. Measure on the body as needed.
Split for Legs:
-
- Determine where to divide for the leg openings. Use stitch markers to designate two equal sections.
- Work each leg separately now.

Leg Rounds:
-
- Attach yarn to the marked beginning of one leg opening. Repeat the mesh pattern, continuing until the desired leg length is achieved.
- Fasten off the yarn when complete. Repeat for the second leg.
Waistband:
-
- Create a tighter waistband by crocheting either a band of single or half-double crochet stitches atop the uppermost mesh row.
- Consider inserting elastic inside the waistband or creating a drawstring for additional support.
Finishing Touches:
-
- Weave in all ends using the yarn needle.
- Block to shape the shorts, if desired.
Troubleshooting and Suggestions
- Trouble with the Foundation Chain: Keeping your chain straight when joining it for the first round can be tricky. Lay the chain flat as you go and check for twists before slip-stitching into the first chain.
- Mesh Pattern Tension: Uneven tension can interrupt the pattern’s flow. To remedy this, focus on keeping consistent loops, and if needed, practice a few rounds of mesh stitching on scrap yarn beforehand.
- Ensuring Waistband Fit: If the waistband feels loose or tight, adjust by adding or reducing rows of tighter stitches (e.g., single crochet) across the top of the mesh work. Elastic bands or drawstrings can further help with adjustments.
- Creative Edging: Add decorative edging to the leg openings, such as picot stitches or shells, for a playful touch. You can also experiment with bold contrasting colors for the waistband or hem.
- Adapting Lengths: Shorten or lengthen the legs to transform the design into swim shorts, casual lounge shorts, or even cycle shorts—making the piece highly versatile.