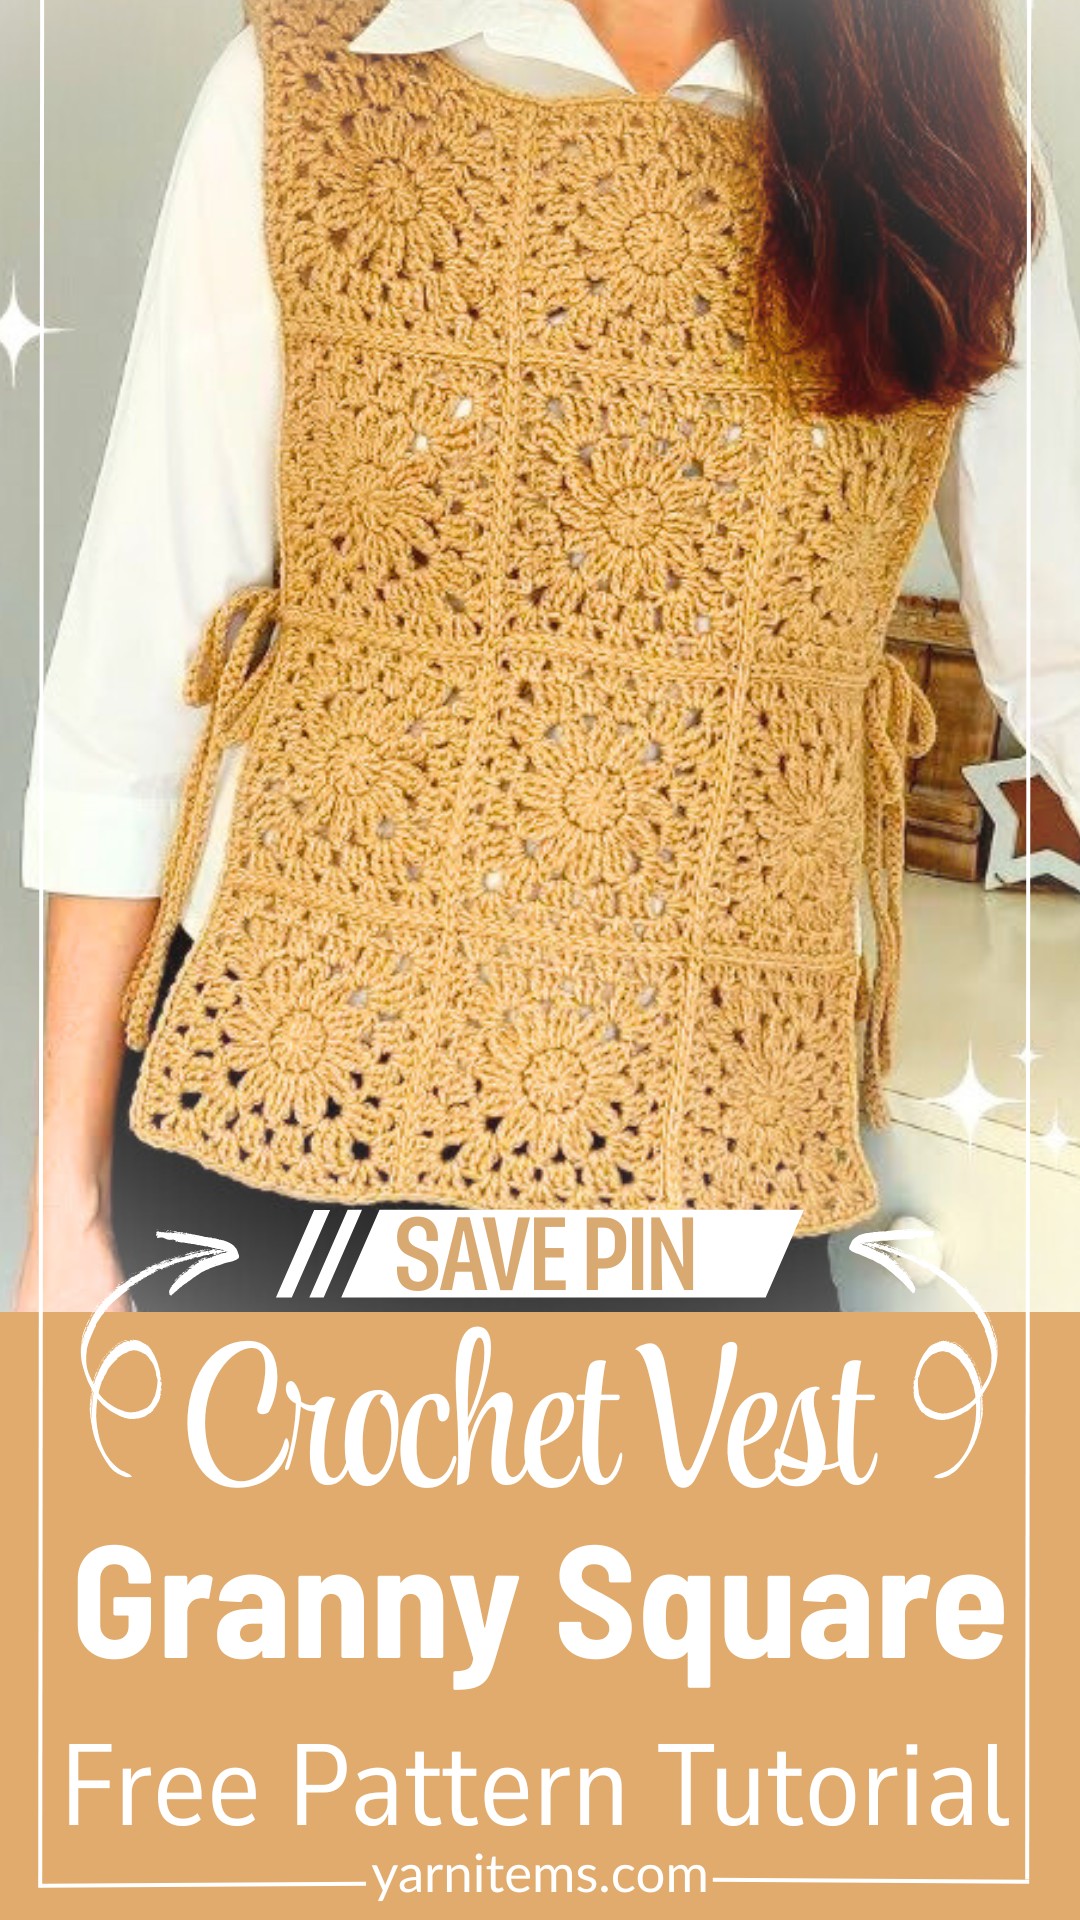
Crochet Granny Square Vest – Timeless Sunburst Design
This colorful granny square vest blends vintage charm with modern flair, making it the perfect handmade accessory to layer over your favorite outfits year-round.

The crochet granny square vest is a wonderful way to add a burst of color and style to your wardrobe. Made with carefully connected granny squares, this crochet vest feels comfortable, looks unique, and you can also crochet it with your favorite person.
Crochet A Granny Square Vest with a full guide
Not only does the Crochet Granny Square Vest look great, but it’s also practical and versatile. The best part is that the bold design of granny squares gives it a creative look, and you can pick any color combination you like, making each vest unique. You can layer this crochet vest over a dress for a chic look or wear it with jeans and a shirt for everyday comfort.
Credit Crochet & Yara
- Yarn: Medium-weight yarn (category 4), such as cotton, acrylic, or a cotton-acrylic blend. Experiment with multiple colors for bold granny squares or keep it monochromatic for a clean, classic look.
- Hook Size: Typically, a 5.0mm crochet hook works best, though you can adjust based on your yarn and preferred gauge.
- Construction: The vest is built from individual granny squares, joined together to form the back and front panels, with space left open for armholes.
- Techniques: Features classic crochet stitches like double crochet (dc), slip stitch (sl st), and chain stitch (ch), along with joining methods like whipstitch or slip stitch seams.
- Customization: Change the number of squares or adjust granny square sizes to create a vest that fits your body and style. Optional embellishments, like edging or fringe, can give your vest a unique finishing touch.
How To Make:
The Crochet Granny Square Vest begins with a timeless staple in crochet: the granny square. Using medium-weight yarn and a 5.0mm hook, each square is worked in the round, typically with chains and clusters of double crochet stitches radiating from the center. To create a colorful, patchwork-style vest, change yarn colors between rounds—this adds liveliness and personality to your squares. For a cohesive design, stick with one or two hues for an elegant, simple finish.
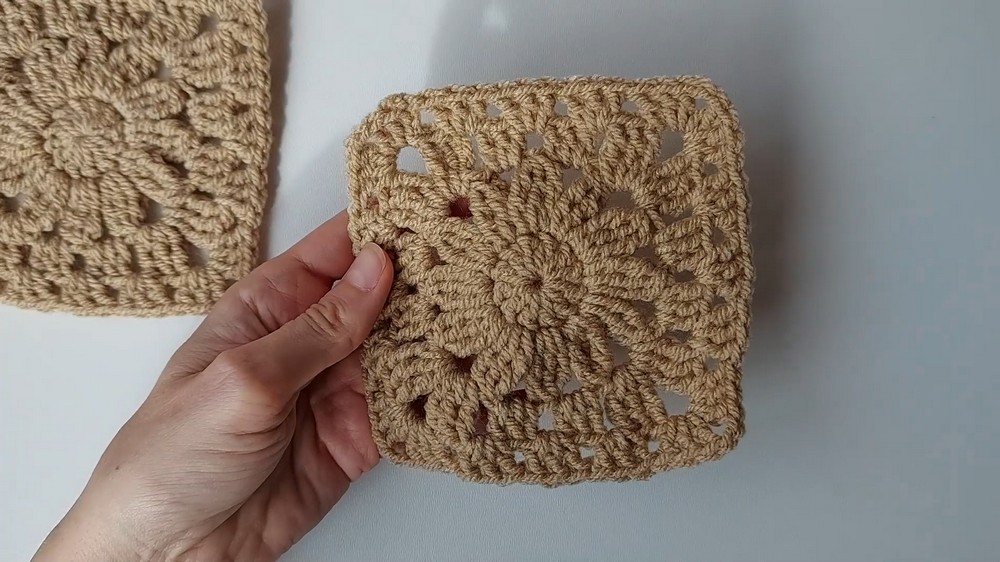
Once you’ve completed your squares, they are assembled into a vest shape. You’ll connect them side by side for the back panel, then repeat for the front, leaving gaps in strategic places for the armholes. Joining methods like the slip stitch join or whipstitch seam are easy to follow and create clean, secure connections. As you assemble, you can choose whether to maintain a symmetrical pattern for the squares or create a funky, mismatched aesthetic.
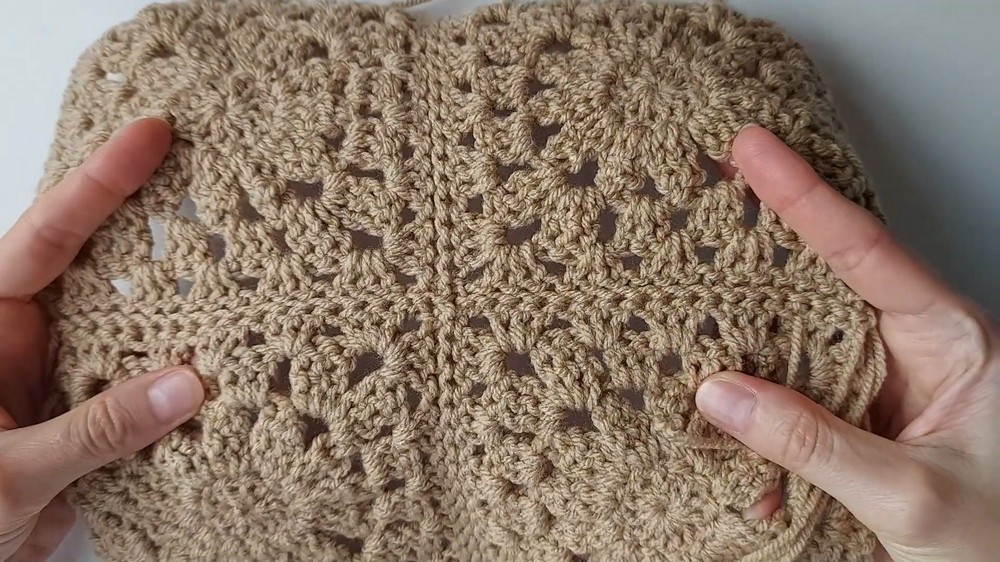
When the panels are joined, you’ll focus on shaping the armholes and neckline for a comfortable fit. Additional rounds of single crochet can be worked around the armholes, neckline, and bottom hem for a neat, finished look. If you’d like, this is also a good moment to add decorative edging, such as scallops or picot stitches, to elevate your design.
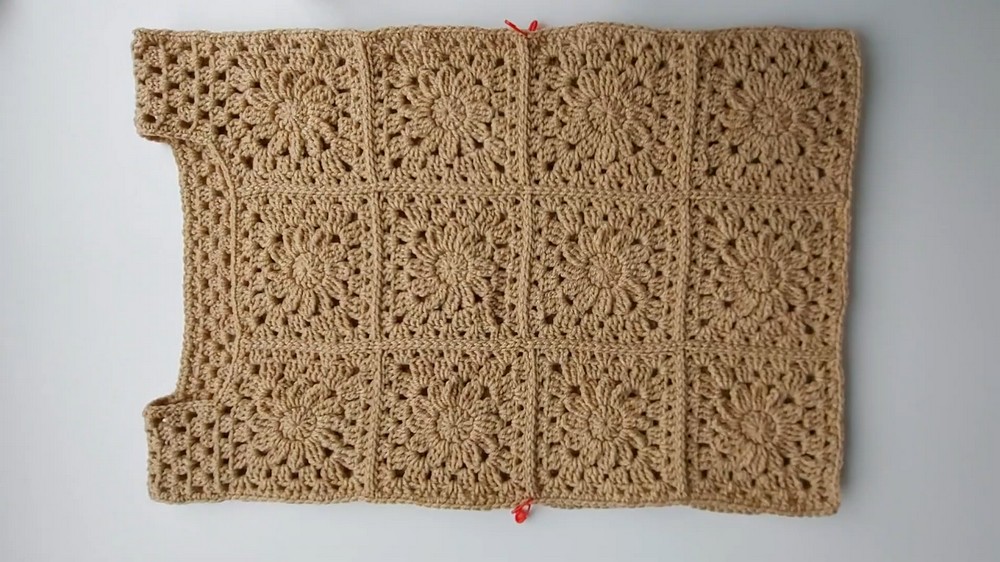
Finally, the pattern allows you to make creative adjustments to the vest length, drape, or overall fit. Whether you’re going for a cropped, summery vibe or a longer vest with a boho-chic aesthetic, simply adapt the number of granny squares and total rows to suit your desired style. This flexibility is part of what makes this pattern beginner-friendly yet endlessly customizable for crocheters of all skill levels.

Video Tutorial
Materials
To make your crochet granny square vest, you’ll need:
- Yarn: Medium-weight yarn (category 4), such as cotton, acrylic, or a cotton/acrylic blend. Choose multiple colors for unique granny square designs or stick to one color for a classic look.
- Hook: Size 5.0mm crochet hook (or adjust based on your yarn and desired gauge).
- Optional Tools:
- Measuring tape
- Scissors
- Yarn needle (for weaving ends)
- Stitch markers (optional, for marking placement of squares or seams)

Stitch Guide
Here’s a quick guide to the stitches and techniques used in this pattern:
- Magic Circle: A method for creating a tight center for your granny square. Wrap yarn around your fingers, crochet into the loop, then pull to close.
- Chain (ch): Yarn over, pull through the loop on your hook.
- Slip Stitch (sl st): Insert hook into stitch, yarn over, pull through stitch and loop on the hook.
- Double Crochet (dc): Yarn over, insert hook into stitch, yarn over, pull through 2 loops, yarn over, pull through the remaining 2 loops.
- Clusters: Groups of stitches worked into the same space (commonly 3 dc per cluster in granny squares).
Notes
- Gauge Adjustment: Check your gauge by measuring the size of a completed granny square. Adjust hook size if squares are too big or small.
- Customization Tips:
- Mix-and-match colors for a vibrant patchwork vest.
- Alter the vest size by adding or removing granny squares.
- Use lighter-weight yarn for a more delicate, airy look.

Pattern Question
Question: How can I adjust the size of the granny square vest for a more customized fit?
Answer: To adjust the size, add more granny squares or increase their dimensions by working additional rows. Ensure that all pieces are evenly aligned before assembling for a balanced fit.
Troubleshooting and Suggestions
- Sizing Issues: If your vest doesn’t fit as expected, consider blocking your granny squares before assembly to achieve consistent dimensions. You can also add extra rows to make squares larger or omit rounds for smaller squares.
- Stitch Consistency: Keep your tension even during color changes to prevent uneven edges or puckering. If your squares feel too tight, try going up a hook size.
- Joining Techniques: If you’re not confident with slip stitching or whipstitching, practice on two scrap granny squares before assembling the vest. A zigzag join is another option for added texture.
- Color Inspiration: Pair neutral squares with vivid pops of accent colors for a fresh, modern look, or go for a rainbow palette for a brighter, festival-ready vibe. For subtle elegance, try a single gradient yarn for an ombré effect.
- Add-On Ideas: Want more flair? Add fringes, tassels, or pompoms along the bottom hem. You could also use lace or ribbing techniques for the edging to transform the look.