Make a Baby Girl Crochet Doll – Life-Sized, Huggable, and Cozy
A tiny winter treasure instantly captures every heart. This Winter Baby Girl Crochet Doll is designed with the charm of a real baby, giving it a warm and lifelike appearance that feels extra special.
Soft textures and cozy winter clothing make this beautiful piece perfect for seasonal decorating or thoughtful gift-giving. Every little detail adds personality, creating a crochet item that feels both comforting and memorable.
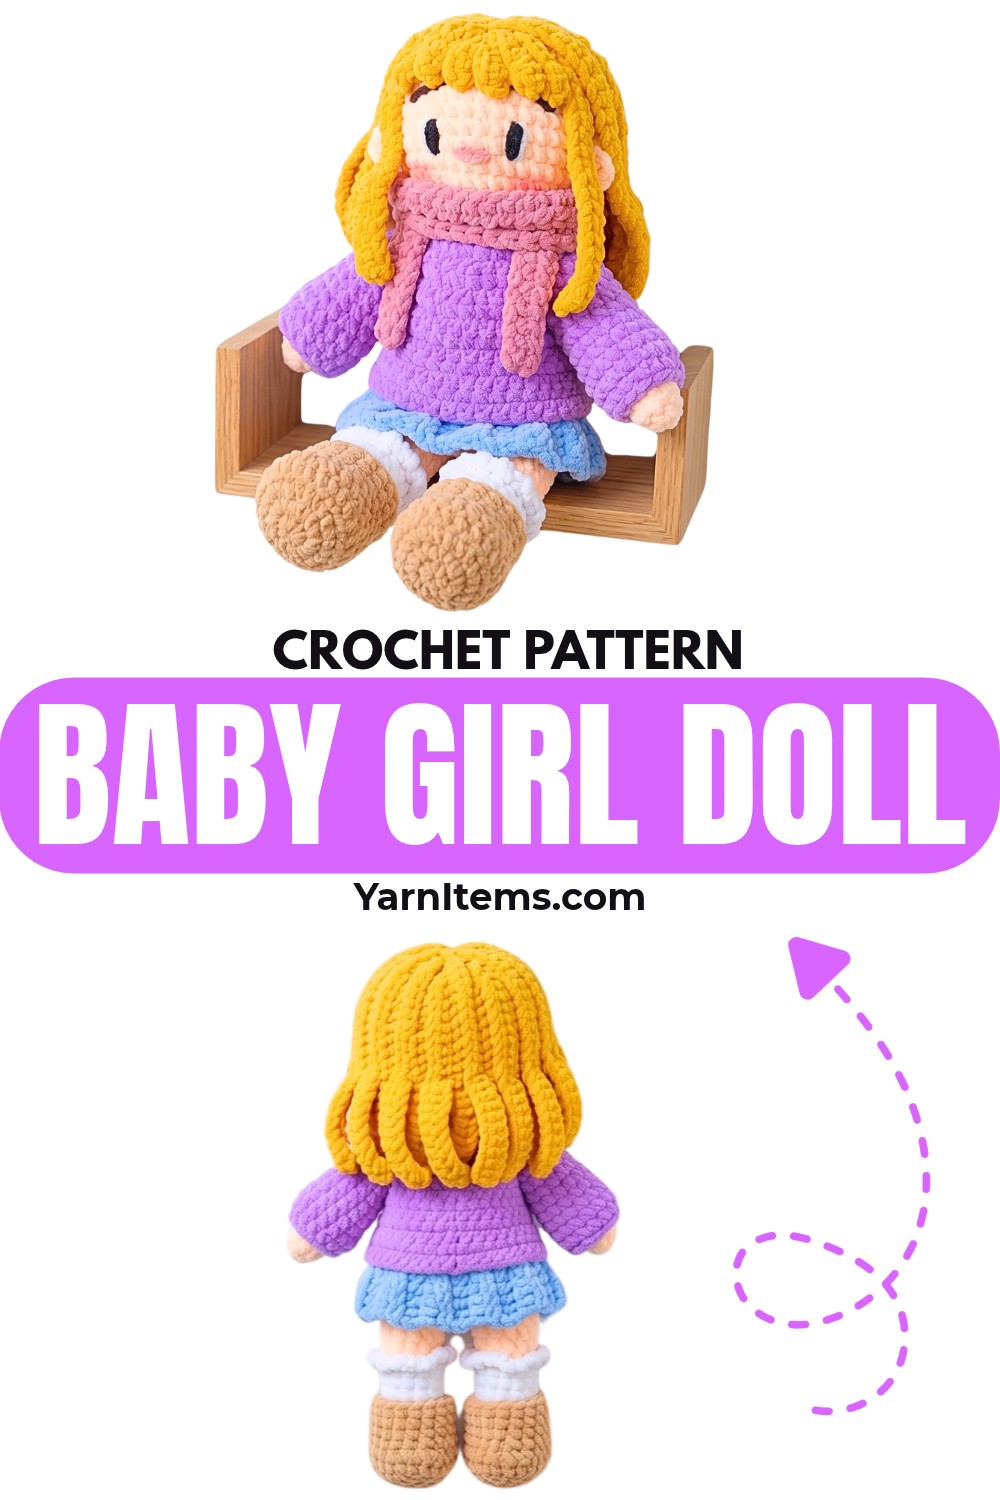
Every carefully stitched detail brings this adorable crocheted doll to life. A snug sweater, matching scarf, and tiny boots give the doll a cozy winter style while enhancing its realistic look. This delightful crochet piece is suitable for different skill levels and offers a rewarding way to create something meaningful with yarn.
Whether displayed in a nursery, placed on a shelf, or given as a heartfelt gift, it brings lasting warmth and handmade charm wherever it goes.
Credit Chubby Cheeks
Materials Needed
-
Yarn: Chunky Chenille yarn in Skin Color, White (for socks), Hair Color, Sweater Color, Skirt Color, Boot Color, and Scarf Color.
-
Embroidery Yarn: Black (30 cm), White (20 cm), and Dark Brown (20 cm).
-
Hook: 5.0 mm crochet hook.
-
Tools: Stitch markers, tapestry needle for sewing, scissors, and craft glue (for the hair).
-
Stuffing: Fiberfill or similar toy stuffing.
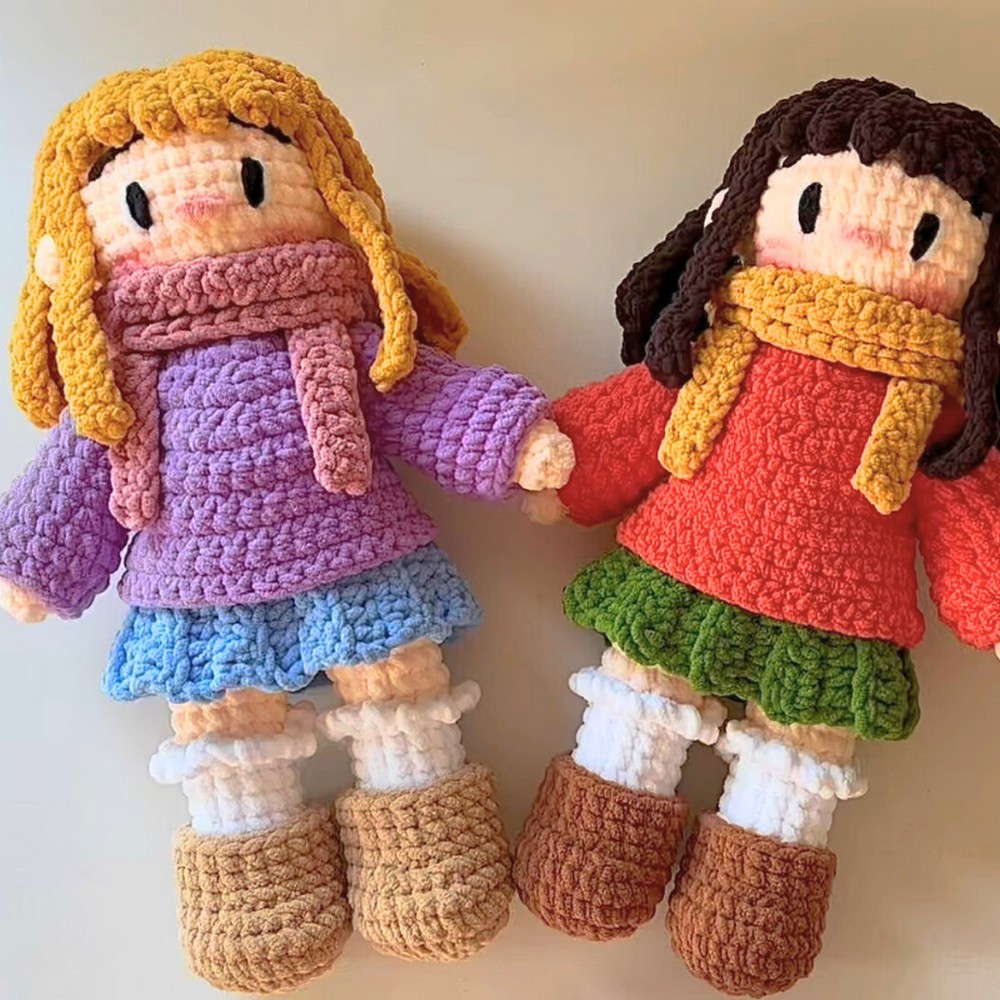
1. The Arms (Make 2) []
Use the Skin Color yarn.
-
Round 1: Create a Magic Ring and make 8 single crochets (sc) into the ring. Pull tight. (8 stitches)
-
Rounds 2 to 11: Make 1 sc in every stitch around. (8 stitches per round)
-
Closing the Arm: Lightly stuff the arm. To close it flat, skip the very last stitch you made. Insert your hook through both the front and back sides of the opening (the 1st stitch and the 2nd-to-last stitch). Make 1 sc. Repeat this twice more across the top so you have 3 sc closing the arm.
-
Chain 1, leave a long yarn tail for sewing later, and cut the yarn. Set both arms aside.
2. The Legs (Make 2) []
Start with White yarn (this is the sock color).
-
Round 1: Create a Magic Ring and make 7 sc into it. (7 stitches)
-
Round 2: Make 2 sc into every stitch (this is an increase). (14 stitches)
-
Rounds 3 to 11: Make 1 sc in every stitch around. (14 stitches)
-
Color Change: On the very last stitch of Round 11, do not finish the stitch with white. Instead, pull the Skin Color yarn through to finish the stitch.
-
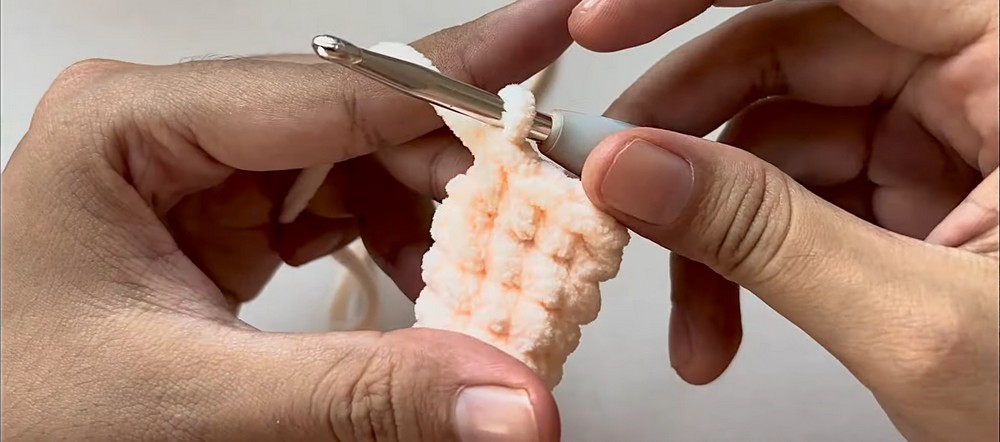
Round 12: Using Skin Color, crochet 14 sc in the Back Loops Only (BLO). This leaves a ridge of front loops on the outside for the sock frill.
-
Rounds 13 to 14: Make 1 sc in every stitch around normally. (14 stitches)
-
First Leg: Fasten off and cut the yarn.
-
Second Leg: Do exactly the same, but do not cut the yarn after Round 14.
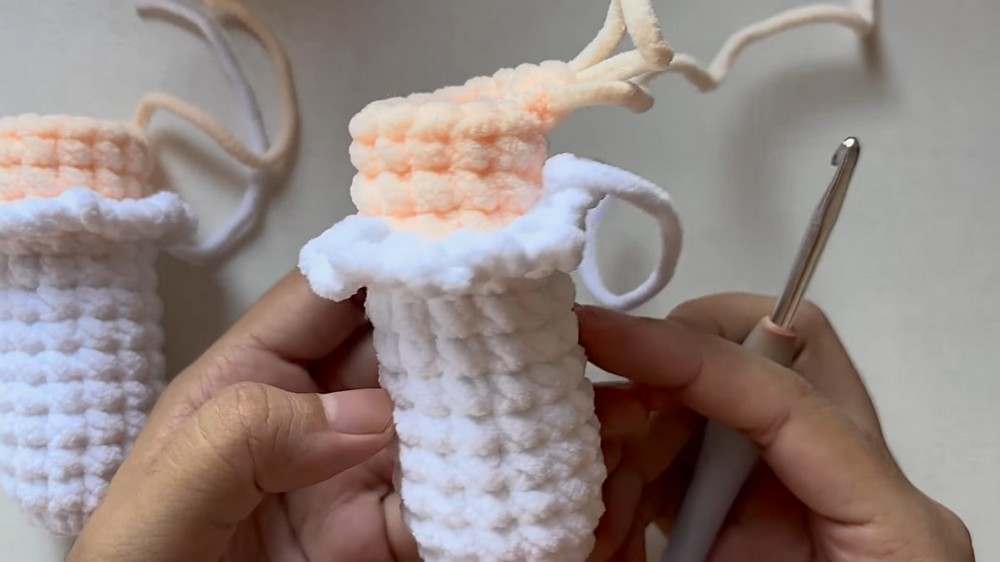
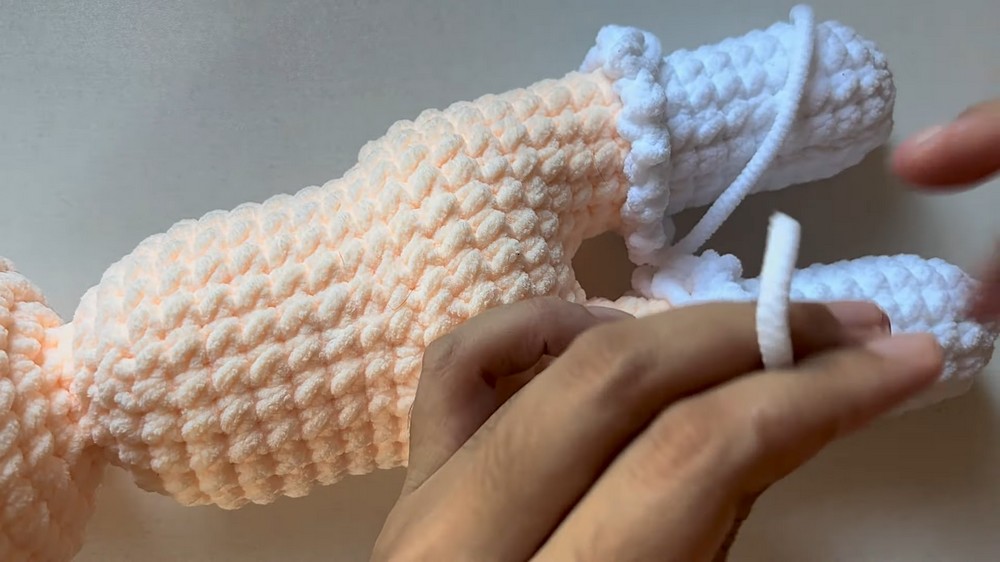
Adding the Sock Frills []: Before connecting the legs, go back to the white ridge left at Round 11.
-
Attach white yarn to the first front loop.
-
Chain 2, then slip stitch into the next loop.
-
Repeat this (Chain 2, slip stitch) all the way around (14 times). Cut and hide the tail.
-
Stuff both legs firmly.
3. The Body []
Continue with the Skin Color yarn attached to the second leg.
-
Joining (Round 1): Chain 2 from the second leg. Pick up the first leg and make an sc into its last stitch. Make 13 more sc around the first leg (14 total). Make 2 sc along the Chain 2 bridge. Make 14 sc around the second leg. Make 2 sc on the other side of the Chain 2 bridge. (Total: 32 stitches). Place your stitch marker here—this is the new start of your rounds.
-
Rounds 2 to 5: Make 1 sc in every stitch. (32 stitches)
-
Round 6: Make 6 sc, then decrease 1 stitch (hook through the front loops of the next 2 stitches and pull yarn through both). Repeat this 4 times. (28 stitches)
-
Round 7: Make 5 sc, then decrease. Repeat 4 times. (24 stitches)
-
Rounds 8 to 14: Make 1 sc in every stitch. (24 stitches). Pause to stuff the body firmly here.
-
Round 15: Make 4 sc, then decrease. Repeat 4 times. (20 stitches)
-
Round 16: Make 3 sc, then decrease. Repeat 4 times. (16 stitches)
-
Round 17 (The Neck): Make 8 decreases in a row. (8 stitches)
4. The Head []
The head is crocheted continuously from the neck.
-
Round 18: Make 2 sc in every stitch (8 increases). (16 stitches). Pause to stuff the rest of the body completely.
-
Round 19: Make 1 sc, then increase. Repeat 8 times. (24 stitches)
-
Round 20: Make 2 sc, then increase. Repeat 8 times. (32 stitches)
-
Round 21: Make 3 sc, then increase. Repeat 8 times. (40 stitches)
-
Rounds 22 to 28: Make 1 sc in every stitch. (40 stitches)
-
Round 29: Make 3 sc, then decrease. Repeat 8 times. (32 stitches)
-
Round 30: Make 2 sc, then decrease. Repeat 8 times. (24 stitches)
-
Round 31: Make 1 sc, then decrease. Repeat 8 times. (16 stitches). Pause to stuff the head very firmly.
-
Round 32: Make 8 decreases in a row. (8 stitches)
-
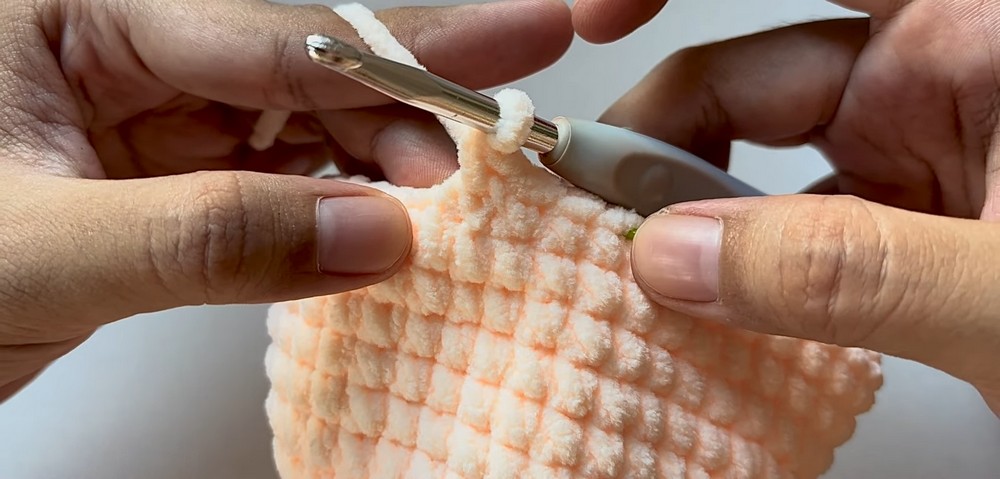
Closing: Cut the yarn, leaving a tail. Thread it onto a needle and weave it through the front loops of the remaining 8 stitches. Pull tight to close the hole, knot, and hide the tail inside the head.
5. Attaching Arms & Embroidering the Face []
-
Sewing Arms: Sew the arms to the sides of the body between Rounds 14 and 15 (just below the neck decreases). They should be exactly 9 stitches apart across the front of the chest.
-
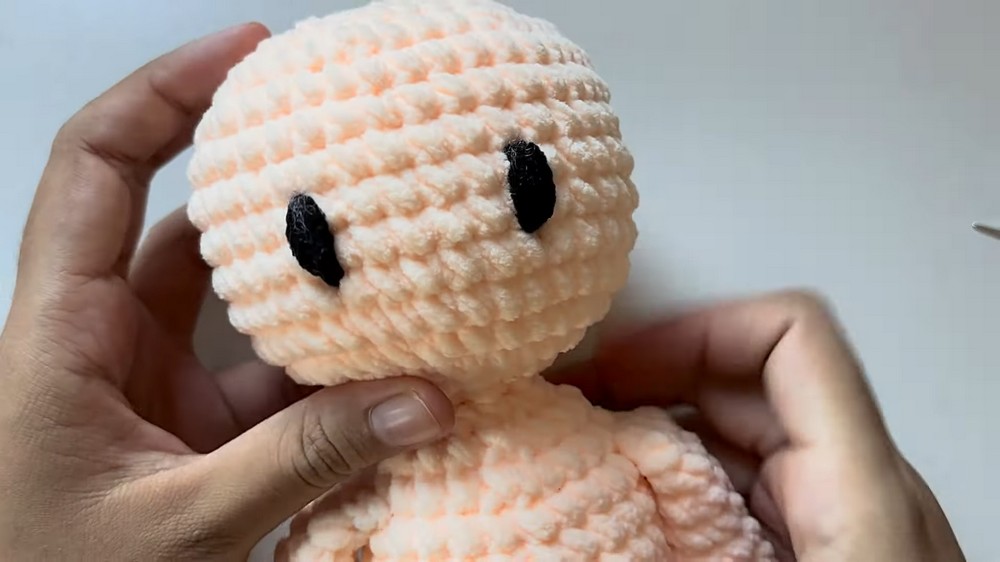
Eyes: Thread 30 cm of Black yarn. Insert the needle from the back of the head and come out between Rounds 24 and 25. Create two vertical lines for sleeping eyes, spacing them 6 stitches apart.
-
Eye Highlights: Thread 20 cm of White yarn. Sew a tiny white line right next to the outer edge of each black eye to create a highlight.
-
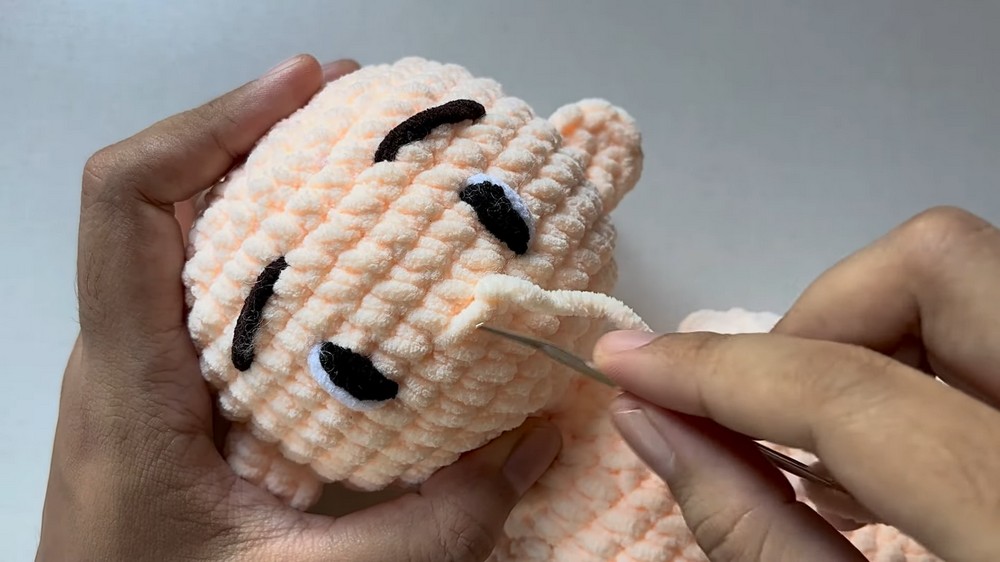
Eyebrows: Thread 20 cm of Dark Brown yarn. Go 2 rows above the eyes and sew a horizontal line spanning 4 stitches wide over each eye.
-
Ears (Make 2): Make 5 sc in a Magic Ring, pull tight, but do not join into a circle (it creates a half-moon shape). Sew them to the sides of the head, 6 stitches away from the eyes, spanning across 3 rows vertically.
-
Nose: Thread 20 cm of Skin Color yarn. Find the center point directly between the eyes. Insert the needle and wrap the yarn horizontally across a 2-stitch width. Pass the needle through 6 or 7 times until the nose looks plump.
-
Blush (Optional): Apply a tiny bit of real makeup blush to the cheeks and the tip of the nose using a brush.
6. Hair & Assembly []
This section uses a wig cap base with two layers of hair strands glued on.
The Wig Cap Base:
-
Round 1: 8 sc in a Magic Ring. (8 stitches)
-
Round 2: 8 increases. (16 stitches)
-
Round 3: Make 1 sc, then increase. Repeat 8 times, working in the Front Loops Only (FLO). (24 stitches)
Top Layer Strands (Worked continuously from Round 3):
-
5 Long Strands: Chain 20. Starting from the 3rd chain from the hook, make 18 half-double crochets (hdc). On the base cap, skip 1 stitch, and slip stitch into the next stitch. Repeat this process to make 5 identical strands.
-
6 Short Bangs: Chain 6. Starting from the 2nd chain, make 5 sc. On the base cap, do not skip a stitch; just slip stitch into the very next stitch. Repeat to make 6 bangs.
-
4 Long Strands: Chain 20, make 18 hdc down the chain. Skip 1 stitch on the base, slip stitch into the next. Repeat to make 4 strands. Fasten off.
Bottom Layer Strands:
-
Attach your yarn to the first Back Loop left exposed from Round 3.
-
Make 8 Long Strands: Chain 22. Starting from the 3rd chain, make 20 hdc down the chain. Skip 1 loop on the base, slip stitch into the next loop. Repeat until you have 8 strands. Fasten off and hide all loose ends.
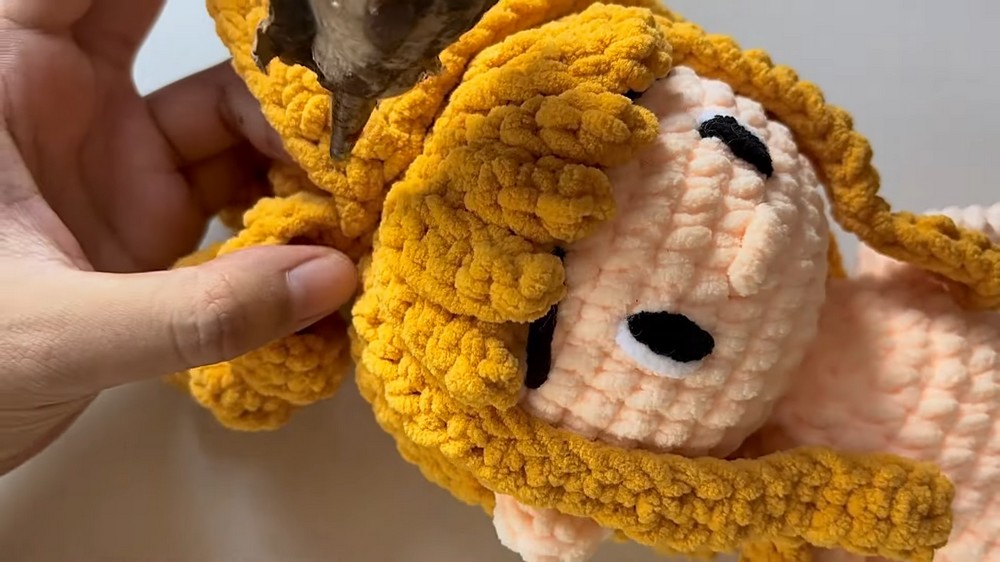
Gluing the Hair []:
-
Place the cap on the head so the 6 short bangs fall squarely on the forehead.
-
Bottom Layer First: Lift the top strands out of the way. Glue the 8 bottom layer strands to the back of the head. Space them out slightly so there are small gaps between them.
-
Front Bangs Next: Glue the 6 short bangs flat against the forehead.
-
Top Layer Last: Let the top long strands fall down. Position them carefully so they directly cover the gaps you left in the bottom layer. Glue them down securely.
7. The Clothing []
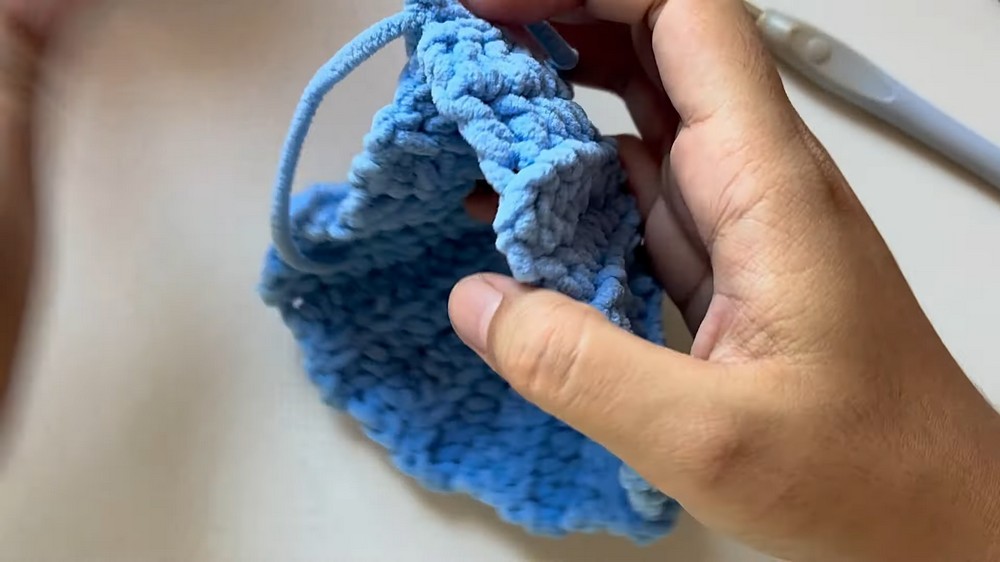
The Skirt
Worked flat and joined at the end.
-
Chain 9.
-
Row 1: Starting in the 2nd chain from hook, make 3 sc, then 3 hdc, then 2 double crochets (dc). Chain 2 and turn your work.
-
Row 2 (BLO): Working in Back Loops Only: Make 2 dc, then 3 hdc, then 3 sc. Chain 1 and turn.
-
Row 3 (BLO): Working in Back Loops Only: Make 3 sc, then 3 hdc, then 2 dc. Chain 2 and turn.
-
Rows 4 to 22: Repeat Rows 2 and 3 back and forth to create a ribbed texture.
-
Closing: Fold the skirt in half so the ends meet. Slip stitch the 8 stitches of Row 22 to the starting chain to seam the skirt closed. Fasten off, hide the tails, and turn the skirt inside out to hide the seam.
The Sweater []
Worked flat from the top down. At the end of every row, Chain 1 and turn.
-
Chain 19.
-
Row 1: Starting in 2nd chain: (2 sc, increase) repeat 6 times. (24 stitches)
-
Row 2: (3 sc, increase) repeat 6 times. (30 stitches)
-
Row 3: (4 sc, increase) repeat 6 times. (36 stitches)
-
Row 4: (5 sc, increase) repeat 6 times. (42 stitches)
-
Row 5: (6 sc, increase) repeat 6 times. (48 stitches)
-
Row 6: (7 sc, increase) repeat 6 times. (54 stitches)
-
Row 7 (Creating Armholes): Make 8 sc. Chain 2, skip the next 11 stitches, and make an sc in the 12th stitch. Make 15 more sc (16 total across the chest). Chain 2, skip the next 11 stitches, and make 8 sc to the end.
-
Row 8: Make 8 sc. Make 2 sc around the Chain-2 gap. Make 16 sc across the front. Make 2 sc around the next Chain-2 gap. Make 8 sc to the end. (36 stitches total)
-
Rows 9 to 13: Make 1 sc in every stitch across. (36 stitches). Fasten off and leave a very long tail. You will use this tail to sew the back of the sweater closed once it is on the doll.
The Sleeves []:
-
Round 1: Attach yarn to the armpit area (where you skipped 11 stitches). Make 11 sc around the top curve, 1 sc in the corner, and 2 sc across the bottom armpit chains. Join with a slip stitch, chain 1. (14 stitches)
-
Rounds 2 to 3: 14 sc. (Join with sl st, ch 1 at the end of every round).
-
Round 4: Make 2 sc, increase, 3 sc, increase, 2 sc, increase, 3 sc, increase. (18 stitches)
-
Rounds 5 to 6: 18 sc.
-
Round 7: Make 2 sc, decrease, 3 sc, decrease, 2 sc, decrease, 3 sc, decrease. (14 stitches). Fasten off and hide the tail. Repeat for the second sleeve.
-
Dressing: Put the skirt on the doll, put the sweater on over it, and use a needle to sew the back opening of the sweater shut.
8. Boots and Scarf []
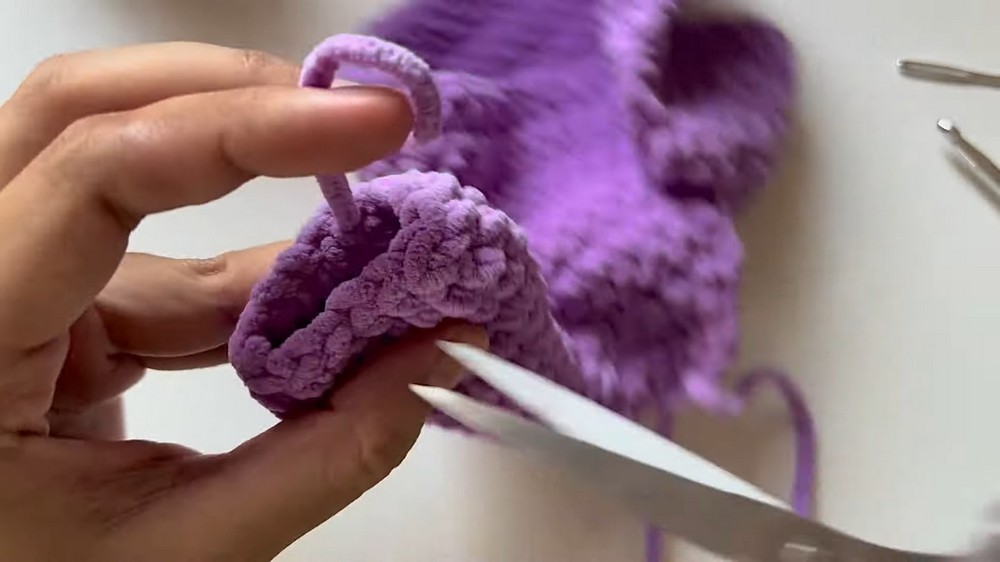
Winter Boots (Make 2)
Worked in joined rounds (slip stitch at the end of each round, chain 1 to step up).
-
Round 1: 8 sc in a Magic Ring. (8 stitches)
-
Round 2: 8 increases. (16 stitches)
-
Round 3: (1 sc, increase) repeat 8 times. (24 stitches)
-
Rounds 4 to 5: 24 sc.
-
Round 6 (Toe Shaping): Make 9 sc, decrease, make 2 sc, decrease, make 9 sc. (22 stitches)
-
Round 7: Make 9 sc, make 2 decreases in a row, make 9 sc. (20 stitches)
-
Rounds 8 to 9: 20 sc. Fasten off, hide the tails, and slip onto the doll’s feet.
The Scarf []
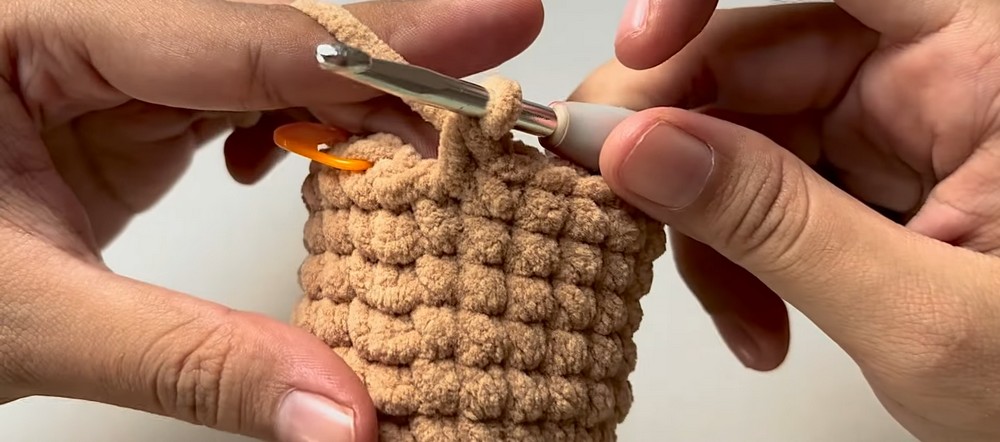
-
Make 102 chains.
-
Starting from the 3rd chain from your hook, make 1 half-double crochet (hdc) in every single chain across. (100 stitches).
-
Fasten off, weave in the ends, and wrap it warmly around your doll’s neck!

Enjoy your creation!