Easy Crochet Christmas Wind Spinner Ornament Pattern
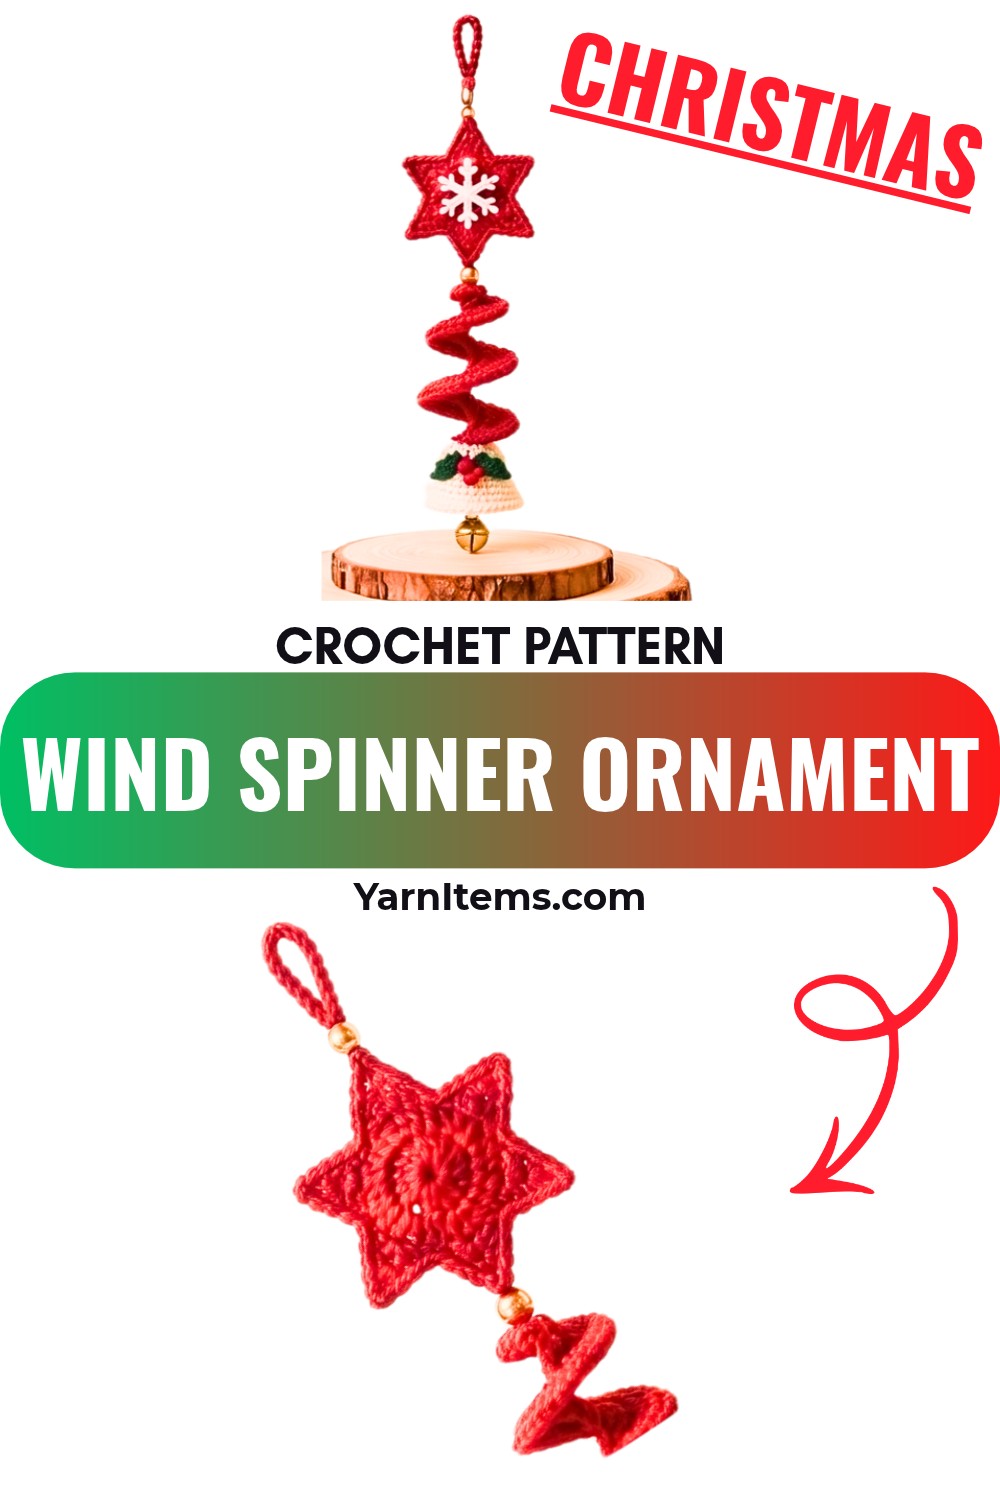
Bring a festive spiral to your Christmas tree with this crochet wind spinner, complete with embroidered stars, a little bell, and colorful bead details.
Crochet Wind Spinner Ornament Pattern
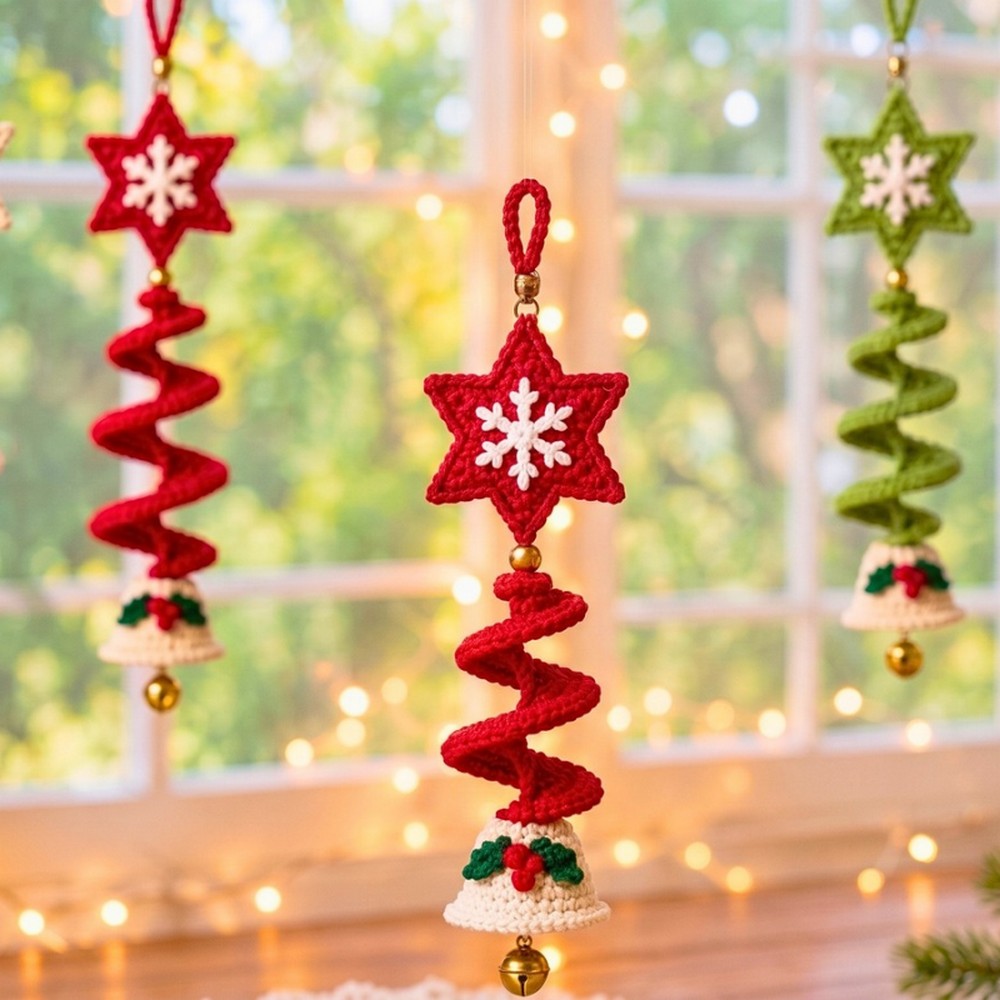
This crochet Christmas wind spinner combines several small handmade details into one cheerful hanging decoration. The curled red spiral creates the movement, while two embroidered stars and a tiny bell give the crochet ornament its classic holiday character.
The part worth watching most closely is the way the spiral develops from the foundation chain. The stitches gradually increase in height and number, which gives the crocheted strip enough shape to curl naturally. Once the individual pieces are finished, careful layering and attachment bring the whole ornament together.
Credit Crochet Patterns Free
Why You’ll Love This Crochet Wind Spinner
This ornament has more detail than a simple flat Christmas motif, but each part is made separately, so you can concentrate on one section at a time. The stars also give you a chance to add simple embroidery, while the beads provide a small decorative finish without requiring complicated crochet stitches.
It is also easy to personalize. Keep the traditional red, white, and green palette for a classic Christmas look, or change the colors and embroidery to match your own tree.
Materials & Tools Needed
- Yarn: 3-ply yarn in red, white, and green.
- Crochet Hook: 2.5 mm or 2.75 mm crochet hook.
- Notions: Tapestry needle, decorative beads, and glue.
Finished Size & Customization Ideas
The finished ornament is a lightweight holiday decoration suitable for hanging on a Christmas tree or adding to another festive display.
For a different look, try green-and-white stripes instead of the traditional red combination. You can also embroider small snowflakes, holly leaves, or other seasonal details onto the star motifs.
Pattern Abbreviations
- ch: Chain
- st / sts: Stitch / Stitches
- sl st: Slip stitch
- sc: Single crochet
- hdc: Half double crochet
- dc: Double crochet
- sk: Skip
- inc: Increase; 2 stitches worked into the same stitch
- nxt: Next
- rep: Repeat
- rnd: Round
How to Crochet the Christmas Wind Spinner
Crochet the Spiral Wind Spinner Body
The spiral is shaped by moving from shorter stitches to taller stitches while increasing across the row. Keep your tension reasonably even as you work, but avoid pulling the stitches too tightly because the finished strip needs enough flexibility to curl.
Foundation Chain: With red yarn, chain 27.
Row 1: Sk 3 sts, work 2 dc in each of the next 10 sts, 2 hdc in each of the next 10 sts, then 2 sc in each of the next 5 sts.
Row 2: Ch 1, turn, then work 2 sc in each of the next 10 sts.
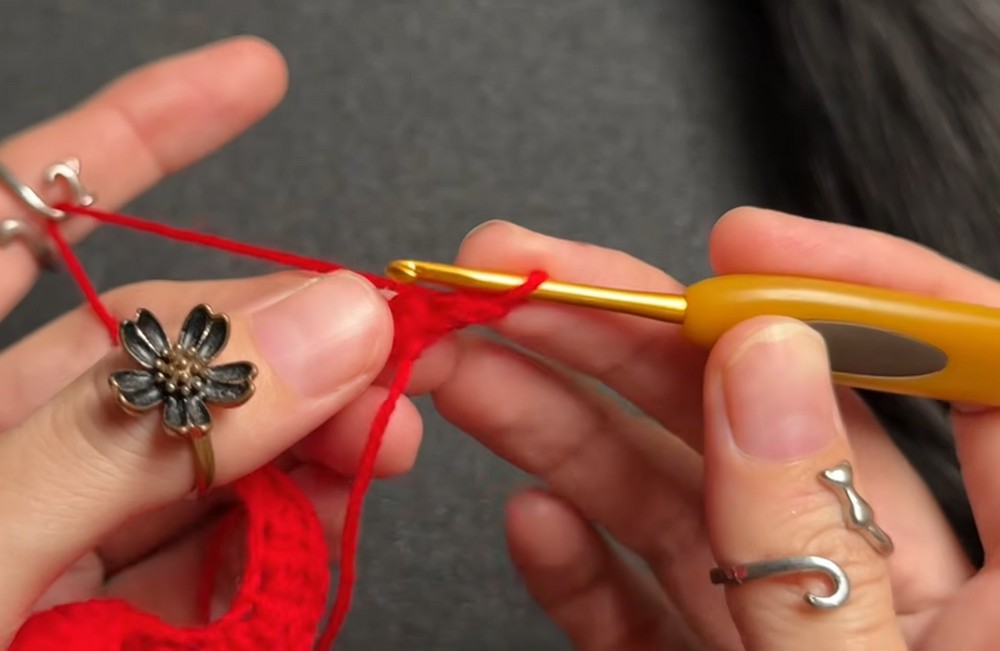
Row 3: Work 2 hdc in each of the next 20 sts.
Row 4: Work 2 dc in each of the next 20 sts.
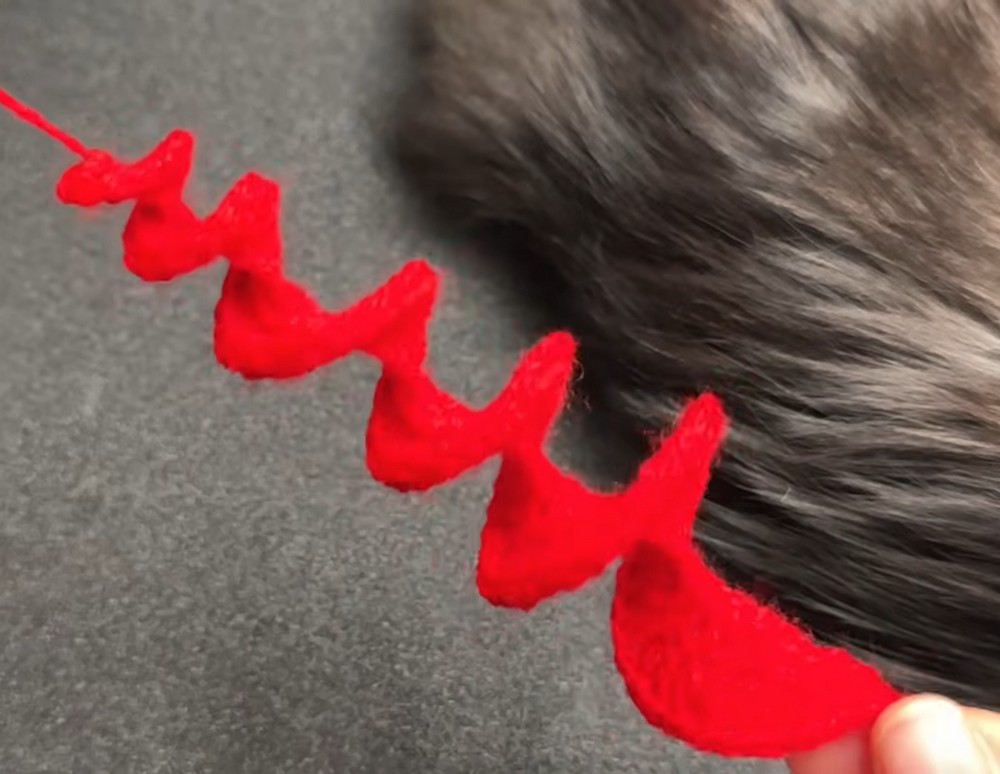
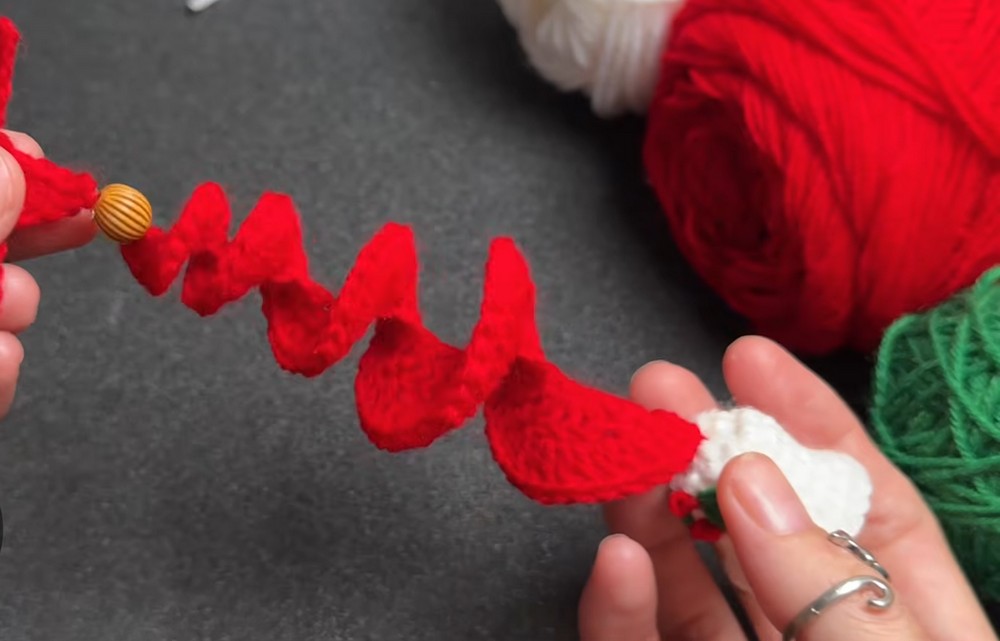
Finish the Spiral: Fasten off and weave in the ends. Gently shape and curl the crocheted strip until it forms the spiral tail.
Spiral Shape Check
The curl should develop naturally as you shape the finished strip. If the spiral looks too flat, give it a little more hand-shaping rather than forcing a sharp bend into the stitches. The gradual change from sc to hdc to dc is what helps create the curved effect.
Make the Christmas Star Motifs
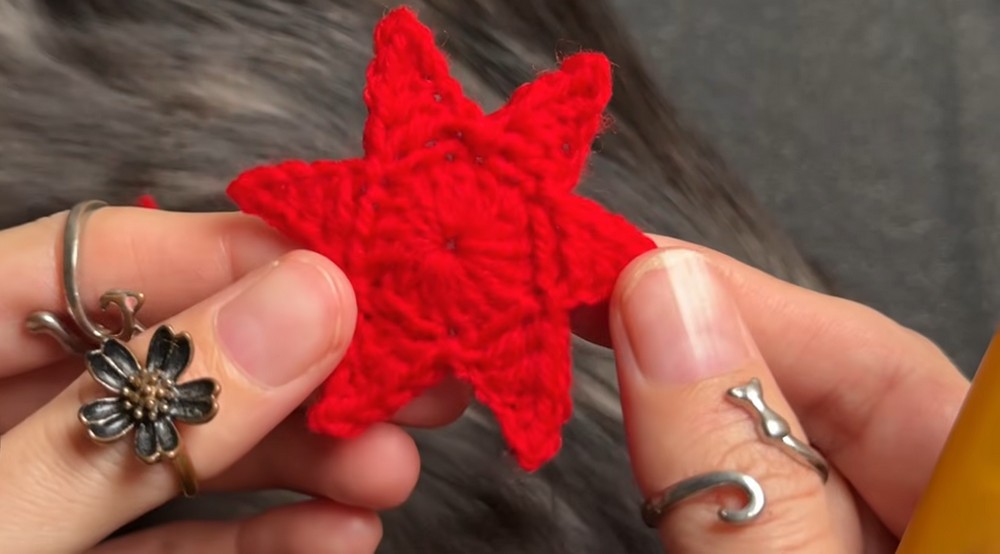
Make 2 stars using red yarn. Each star begins with a magic ring and is shaped into points with a short chain worked from the center.
Foundation: Make a magic ring with red yarn.
Round 1: Ch 3, work 17 dc into the ring, then join with a sl st.
Round 2: Ch 5, working down the chain, sk 1 st, 1 sl st, 1 sc, 1 hdc, and 1 dc; sk 2 sts on the center circle, then work 1 sl st; repeat around to form all the star points, then sl st to finish and fasten off.
Embroider the Stars
Use white yarn to embroider a snowflake motif onto the center of each red star. Keep the embroidery light and even so the star points remain clearly visible.
Crochet the White Bell
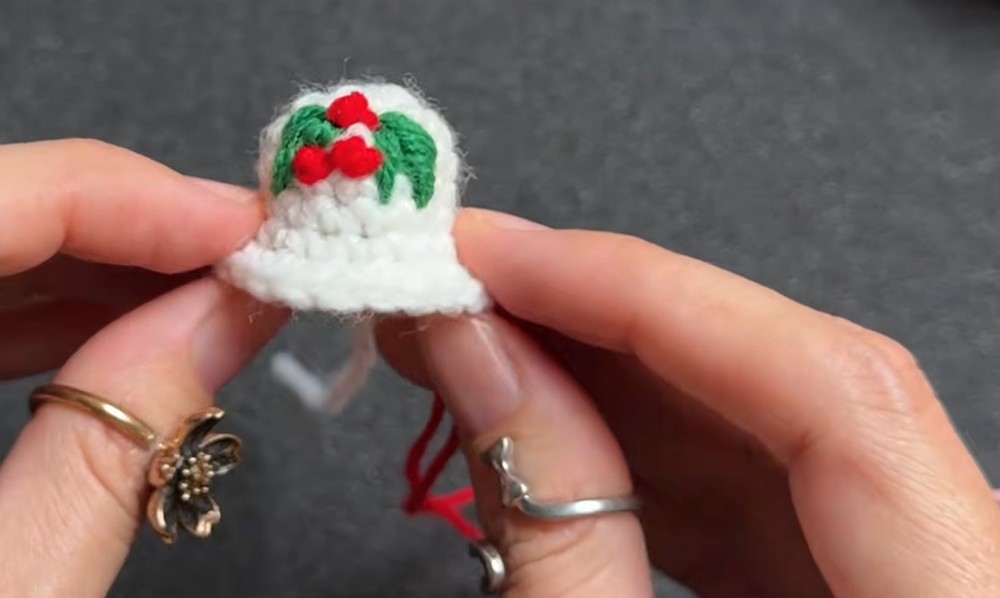
The bell is worked from a magic ring and gradually widened near the bottom. The final increase round creates the flared edge that gives it a bell-like silhouette.
Foundation: Make a magic ring with white yarn.
Round 1: Ch 1, work 10 sc into the ring, then join with a sl st.
Round 2: Ch 1, work [1 sc, sc inc] around, then join with a sl st.
Rounds 3–5: Ch 1, work 1 sc in each st around for a total of 5 rounds, joining each round with a sl st.
Last Round – Flared Edge: Ch 1, work [1 sc, sc inc] around, then join with a sl st.
Embroider the Bell: Use green yarn to embroider small holly leaves and red yarn to add berry French knots.
A Small Detail That Changes the Bell’s Shape
The final increase round should remain easy to identify as you work. This is the round that opens the lower edge, so keeping the increases evenly distributed helps the bell flare instead of pulling unevenly to one side.
Assemble the Wind Spinner Ornament
Once the spiral, two stars, and bell are finished, assemble them from the top down so the hanging loop is secured before the decorative layers are joined.
1. Add the Hanging Loop
Attach a length of white yarn to the top point of one star and form a secure loop large enough to hang the finished ornament.
2. Layer the Stars
Place the two embroidered stars back-to-back with the hanging loop positioned securely between them. Glue the stars together so the loop is held neatly in place.
3. Attach the Spiral
Thread a decorative bead onto the upper tail of the red spiral spinner. Secure the spiral directly beneath the star so it hangs vertically from the center.
4. Attach the Bell
Secure the bottom of the spiral to the top of the crocheted white bell, adding another decorative bead at the connection point.
Star Alignment Check
Before the glue sets completely, check the two stars from the front and side. Their points should sit evenly over one another, and the hanging loop should emerge from the top without pulling either star to one side. Taking a moment here makes the finished ornament look much neater.
Finishing Touches
Weave in any remaining yarn ends neatly and check that the embroidered details are secure. Give the spiral a final gentle curl and make sure the bell and bead connections are firmly attached before hanging the ornament.
The finished wind spinner brings together a curled crochet shape, simple star motifs, seasonal embroidery, and a small bell in one lightweight Christmas decoration. Changing the colors or embroidery gives you plenty of room to make each one feel different while keeping the same basic design.