Crochet Christmas Santa Ornament – Step-by-Step Tutorial
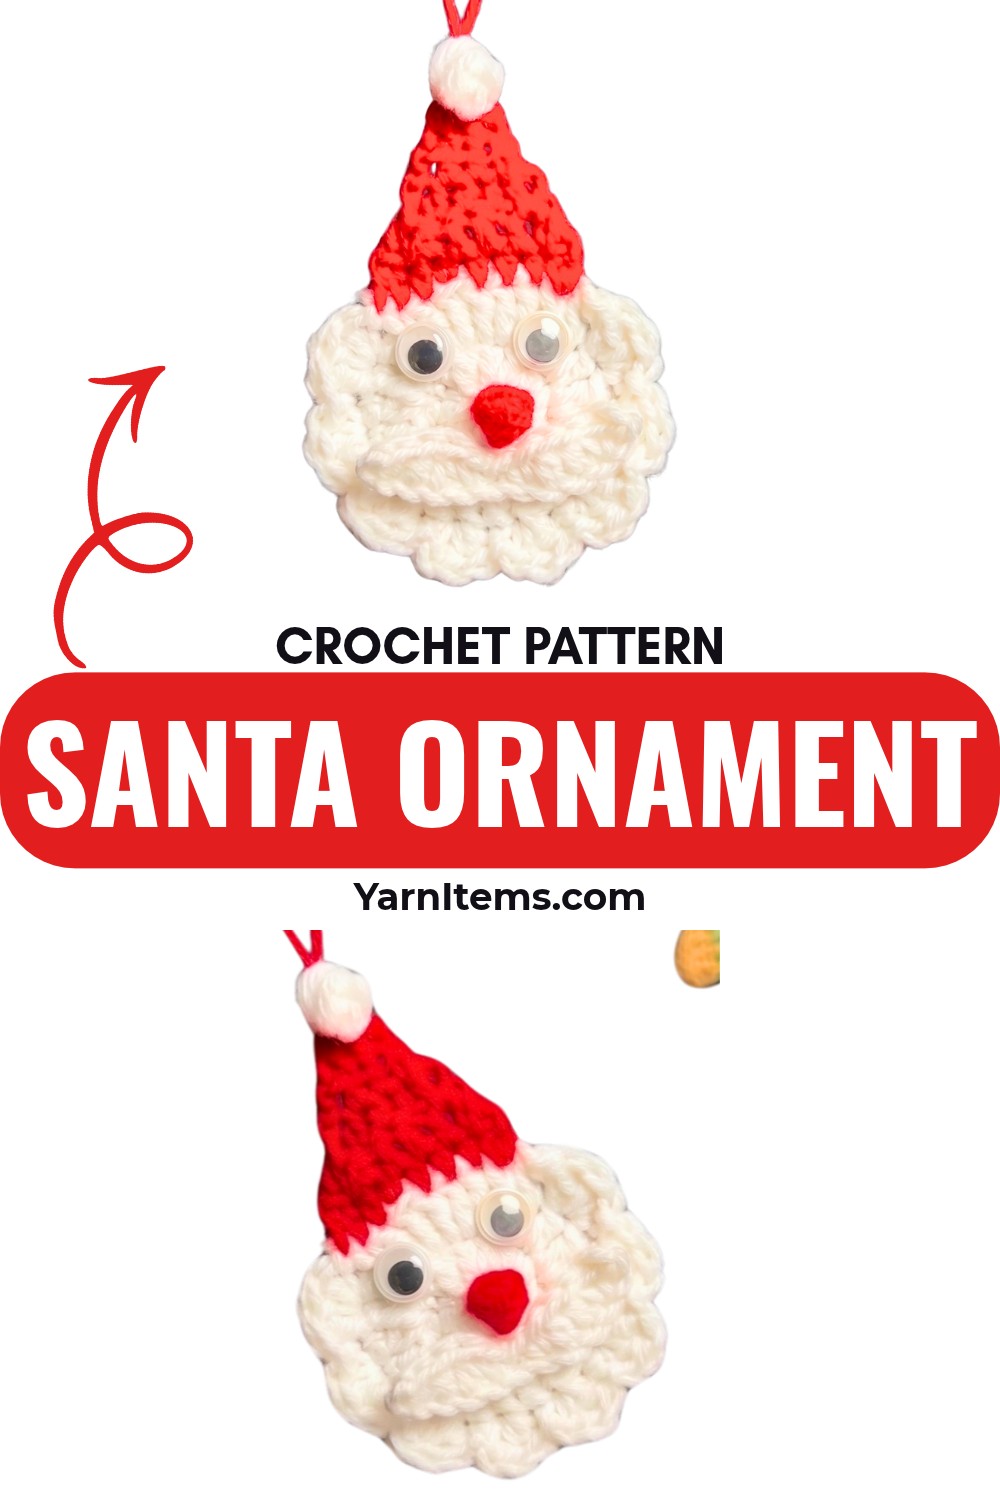
Crochet a jolly little Santa with a fluffy white beard, pointed red hat, and tiny facial details that give this festive ornament its cheerful character.
Crochet Santa Christmas Ornament Pattern
Turn a few small crochet pieces into a cheerful Santa ornament for the Christmas tree. The white face and beard are worked first, followed by a tapered red hat, tiny mustache, puff-stitch nose, and a fluffy pom-pom.
What makes this little crochet Santa especially fun is the way the separate details create his expression. The crochet itself is straightforward, but the final look depends on keeping the beard in the lower section, shaping the hat from the eight open stitches at the top, and positioning the mustache, nose, and eyes before securing them.
Credit Crochet Patterns Free
Materials & Tools Needed
- Yarn: 3-ply yarn in white and red
- Crochet Hook: 3 mm
- Glue: Hot glue or fabric glue
- Googly eyes
- Scissors: For trimming yarn ends
Pattern Abbreviations
- ch: chain
- sl st: slip stitch
- sc: single crochet
- hdc: half double crochet
- dc: double crochet
- dec: decrease
- st(s): stitch(es)
- sk: skip
- rep: repeat
Crochet Santa’s Face and Beard
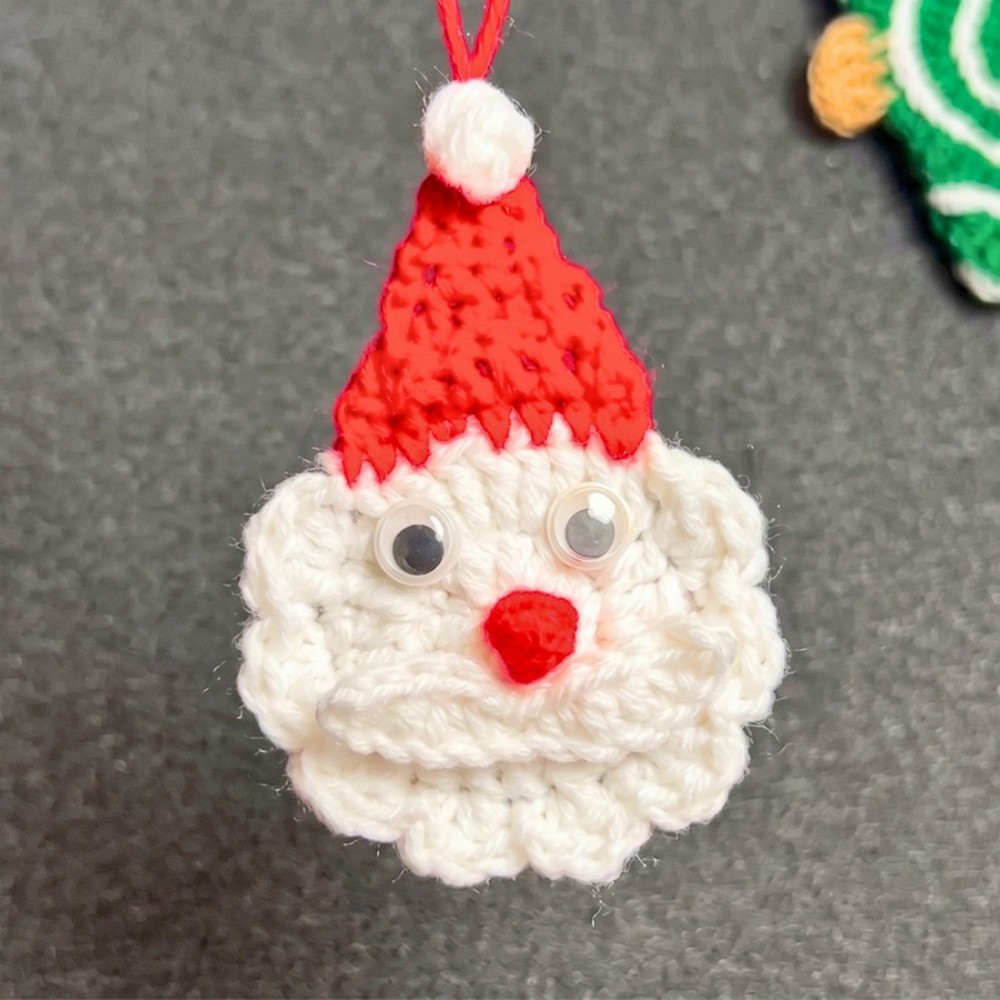
Begin with white yarn to create the circular face. The first two rounds build the base, while the third round adds the beard only along the lower portion.
Magic Ring: Start with a magic ring using white yarn.
Round 1: Ch 2, work 11 dc into the ring, then join with a sl st to the top of the starting chains.
Round 2: Ch 3, work 1 dc in the same st, then work 2 dc in each st around and finish with a sl st.
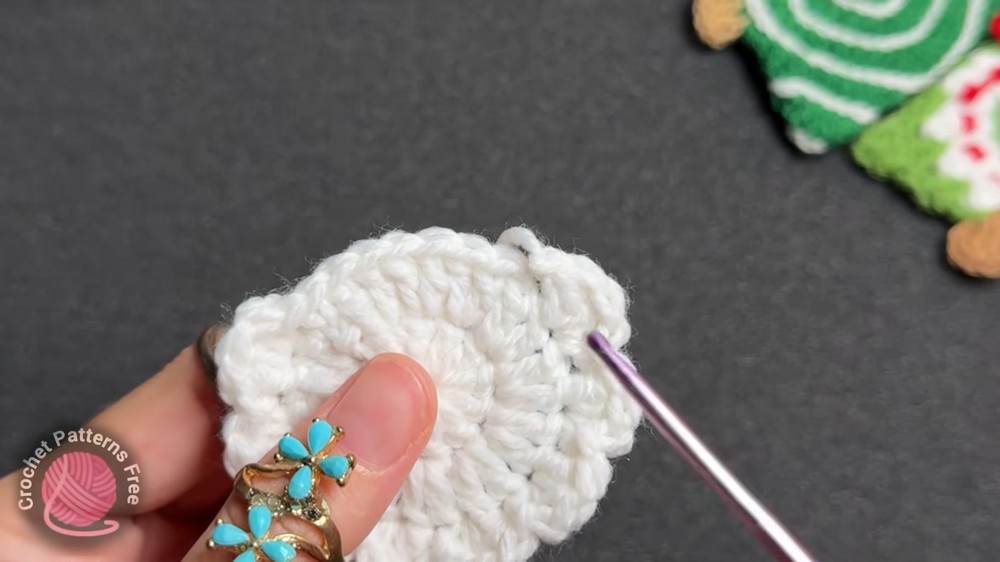
Round 3 – Beard Edge: Work 1 sl st in the next st, then (3 dc in the same st, 1 sl st in the next st) and rep 8 times along the bottom section to form the fluffy beard scallops, leaving 8 sts unworked at the top for the face and hat base. Fasten off white.
Why the Beard Stops at the Top
The eight unworked stitches are intentional. They create the small area where the red hat will be attached next.
Before fastening off, check that the beard scallops are sitting along the lower section of the circle and that the top section remains open. This small check keeps the hat from shifting into the beard area later.
Shape Santa’s Red Hat
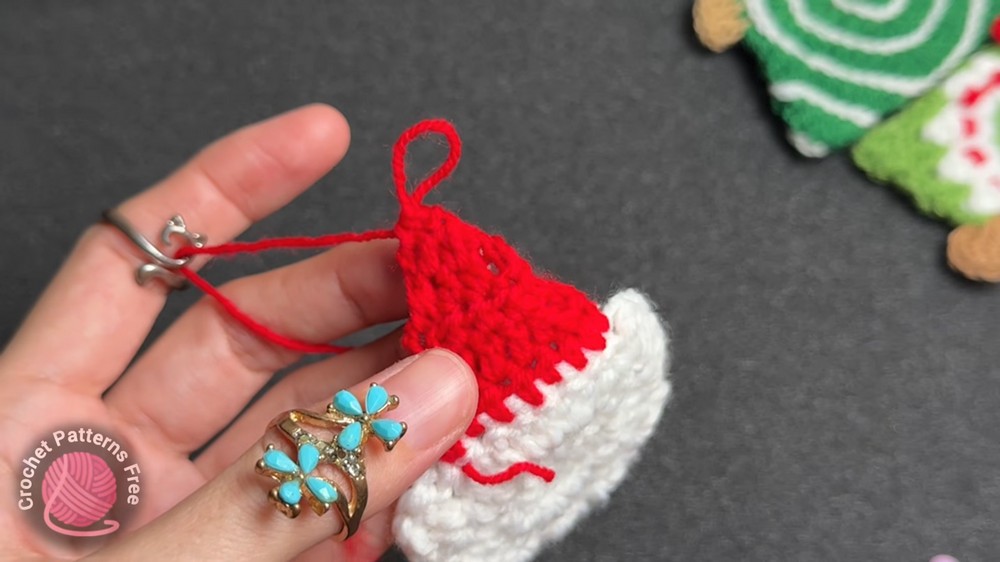
Attach red yarn across the 8 unworked stitches at the top of the face. The rows gradually become smaller, giving the hat its tapered shape.
Row 1: Ch 2, work 7 hdc across. Fasten off red.
Row 2: Attach red yarn, ch 2, turn, work 1 dec, 3 hdc, 1 dec.
Row 3: Ch 2, turn, work 5 hdc.
Row 4: Ch 2, turn, work 2 hdc, 1 dec.
Row 5: Ch 2, turn, work 1 hdc, 1 dec.
Row 6: Ch 1, turn, work 1 sc dec. Leave a long red yarn tail for the hanging loop.
Crochet the Mustache
The mustache is a separate white piece with a raised center created by the two dc stitches in the middle.
Foundation: Ch 12.
Mustache: Sk 1 st, work 1 sl st, 1 sc, 1 hdc, 1 dc, 2 dc in the center peak area, 1 hdc, 1 sc, 1 sl st, mirroring the other side down the chain. Fasten off.
Make the White Pom-Pom
Pom-Pom: Ch 2, work a puff stitch into the first st, pulling up loops multiple times to create a fluffy ball. Fasten off and secure.
Make the Red Nose
Nose: Ch 2, work a puff stitch into the first ch to form a tiny round red nose ball. Fasten off and secure.
Arrange the Face Before Using Glue
This is the easiest way to keep the finished Santa looking balanced.
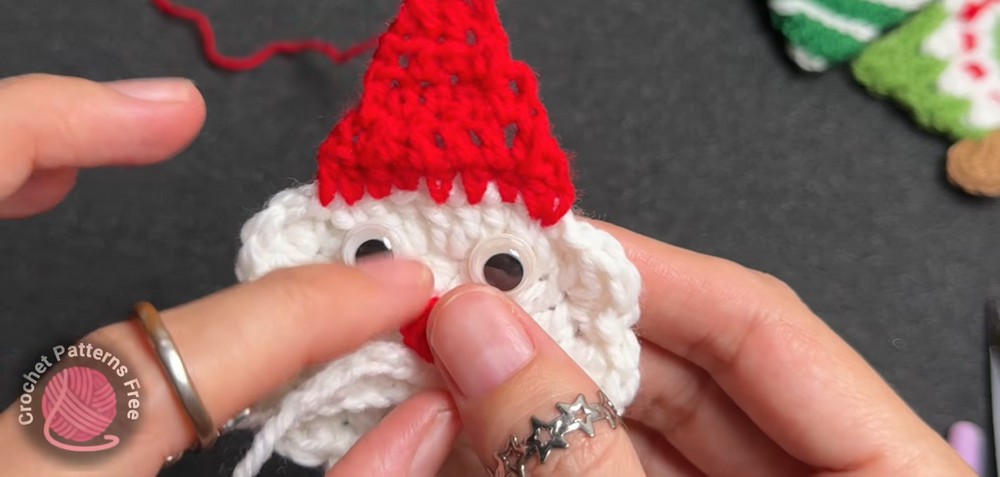
Place the mustache loosely across the face first. Set the red nose above its center, then position the googly eyes on either side of the nose and just above the mustache. Move each piece slightly until the face looks even before adding any adhesive.
The beard should remain clearly visible below the mustache, while the hat should stay visually separate above the facial features.
Put Santa Together
Once you are happy with the arrangement, secure the pieces with hot glue or fabric glue.
Mustache: Glue it horizontally across the center of the face, right below the hat line.
Red Nose: Glue it directly above the center of the mustache.
Googly Eyes: Glue them just above the mustache, one on either side of the nose.
White Pom-Pom: Glue it onto the very tip of the red hat.
Allow the glue to set before moving or hanging the ornament.
Turn the Hat Tail Into a Hanger
The long red yarn tail left after the final hat row can double as the ornament hanger.
Form the tail into a loop at the top of the hat and secure it firmly. The loop can then be used to hang Santa from a Christmas tree, wreath, garland, or another holiday display.
Small Details Worth Checking
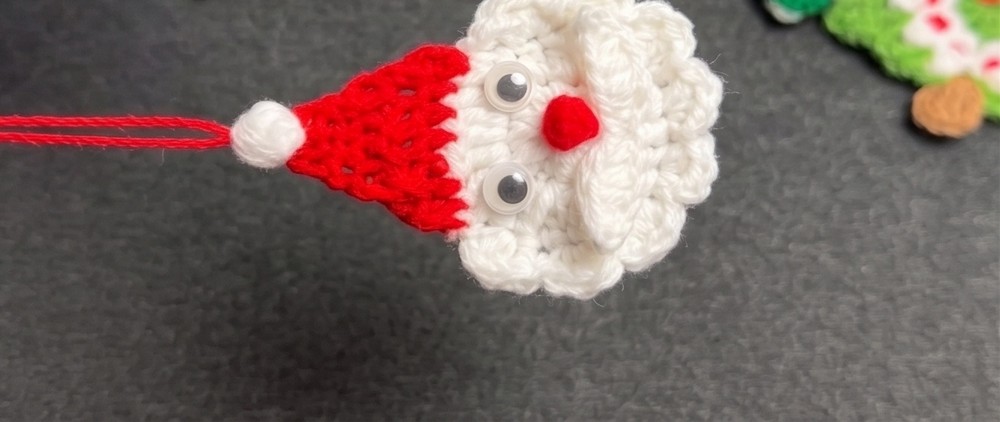
Before displaying your Santa, look closely at the finished face. The beard should have eight visible scalloped sections along the lower edge, the red hat should taper toward its tip, and the mustache and nose should sit close to the center line of the face.
Also check that the pom-pom is firmly attached and that the hanging loop is secure. Because these details are small, a quick final check can make the finished ornament look much neater.