Crochet Headband Pattern with Puff Stitches and Flowers
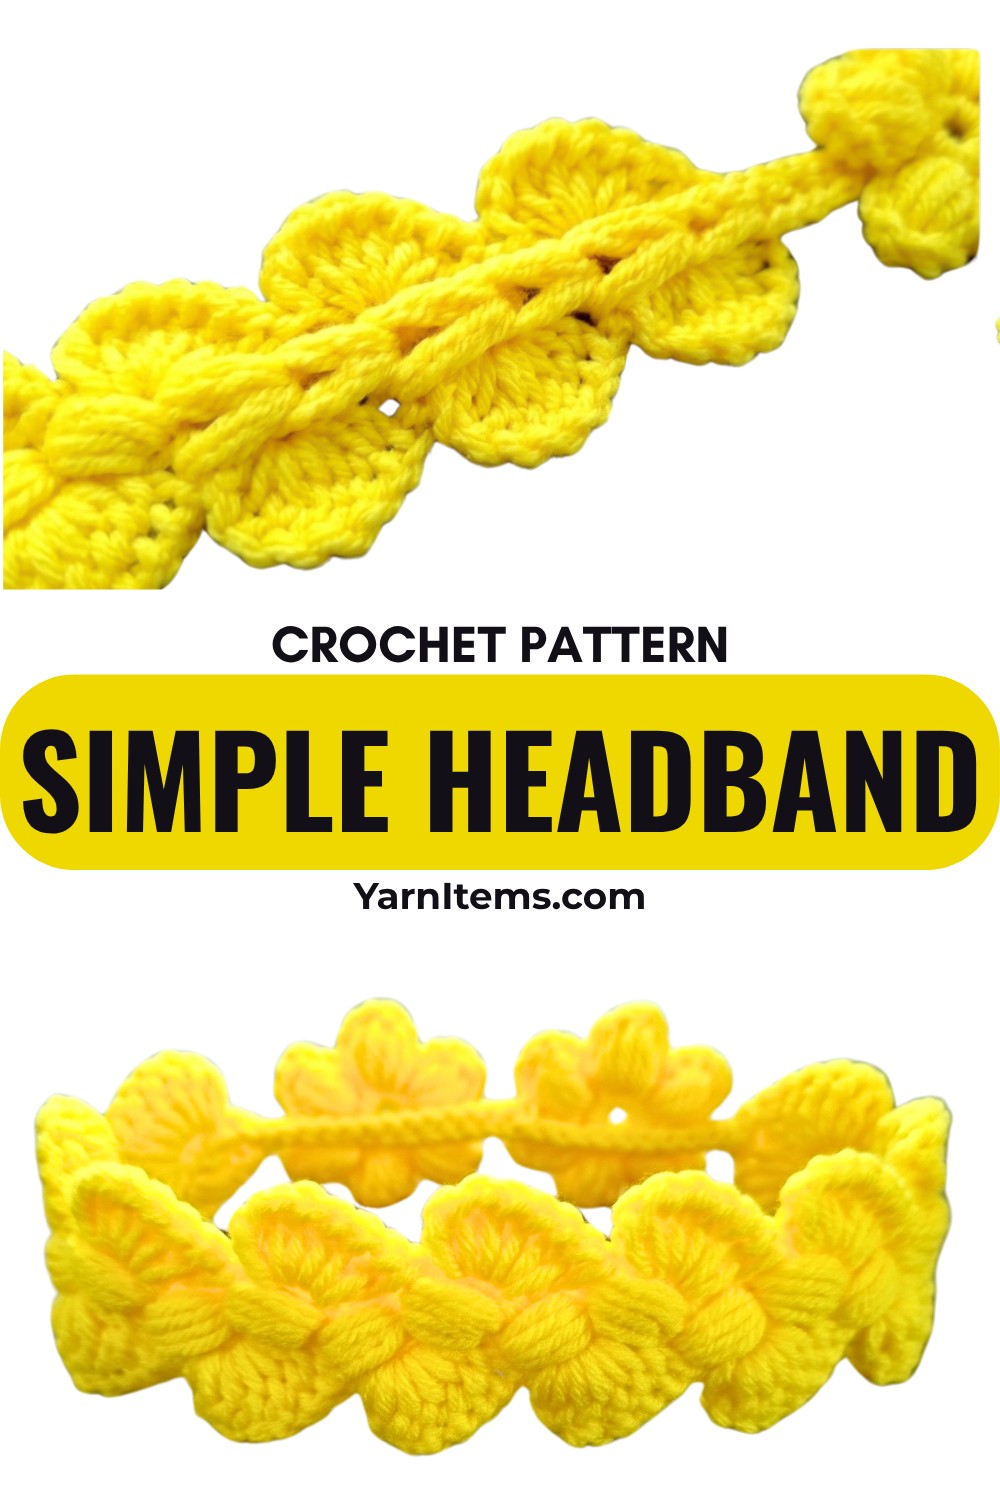
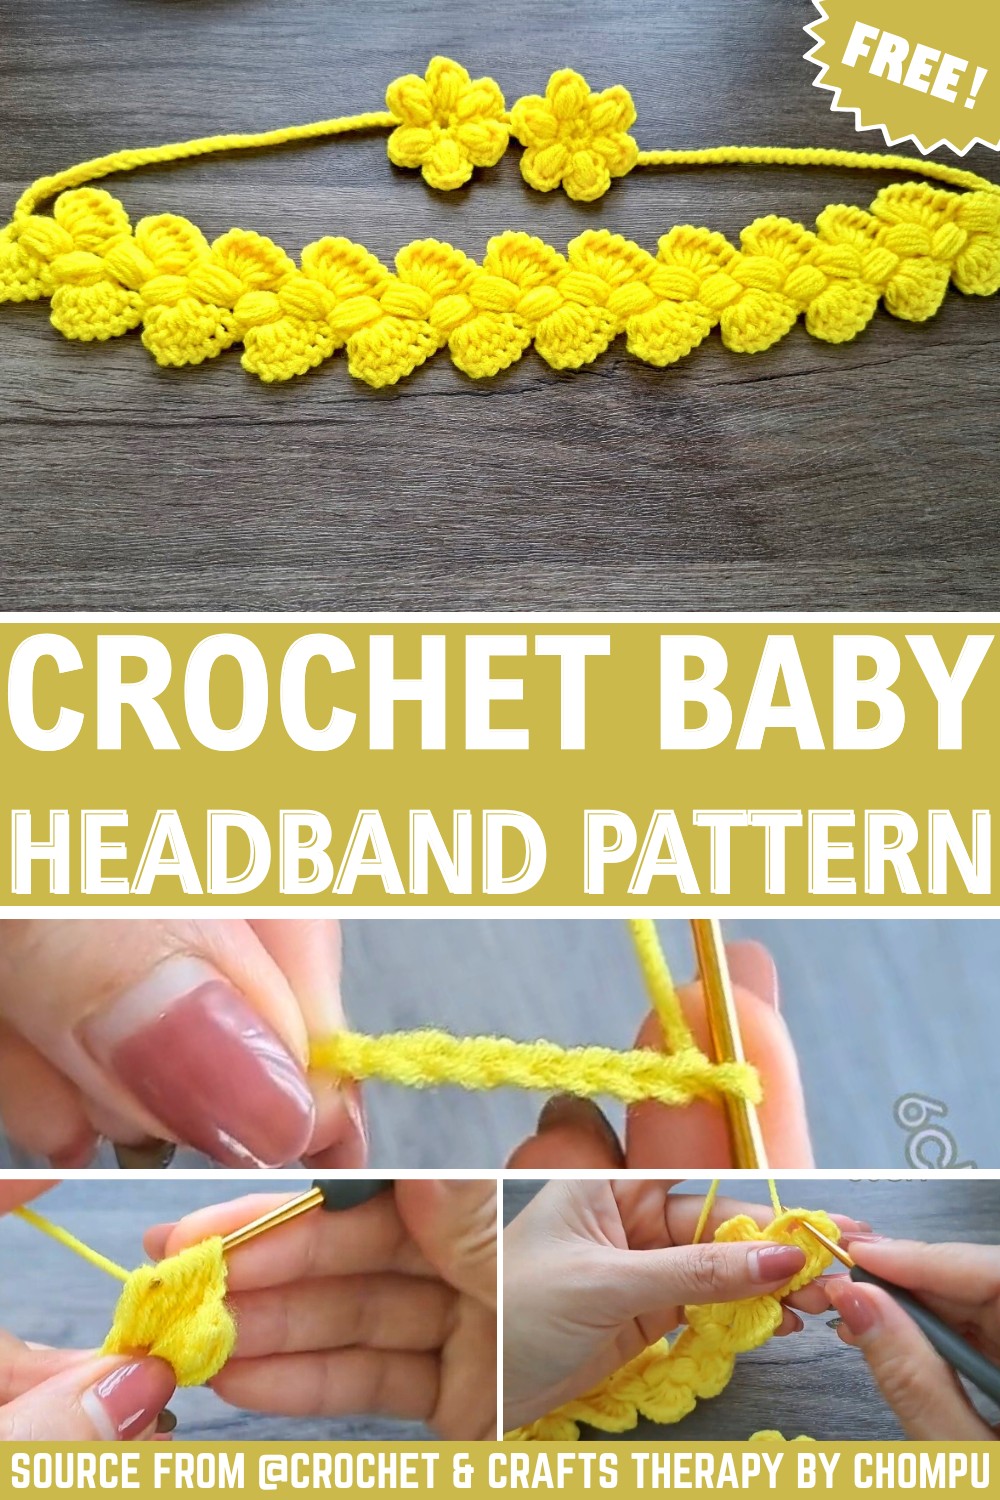
Add a little texture to your everyday look with a crochet headband featuring a raised puff-stitch band, simple ties, and delicate flowers at the sides.
Crochet Headband Pattern
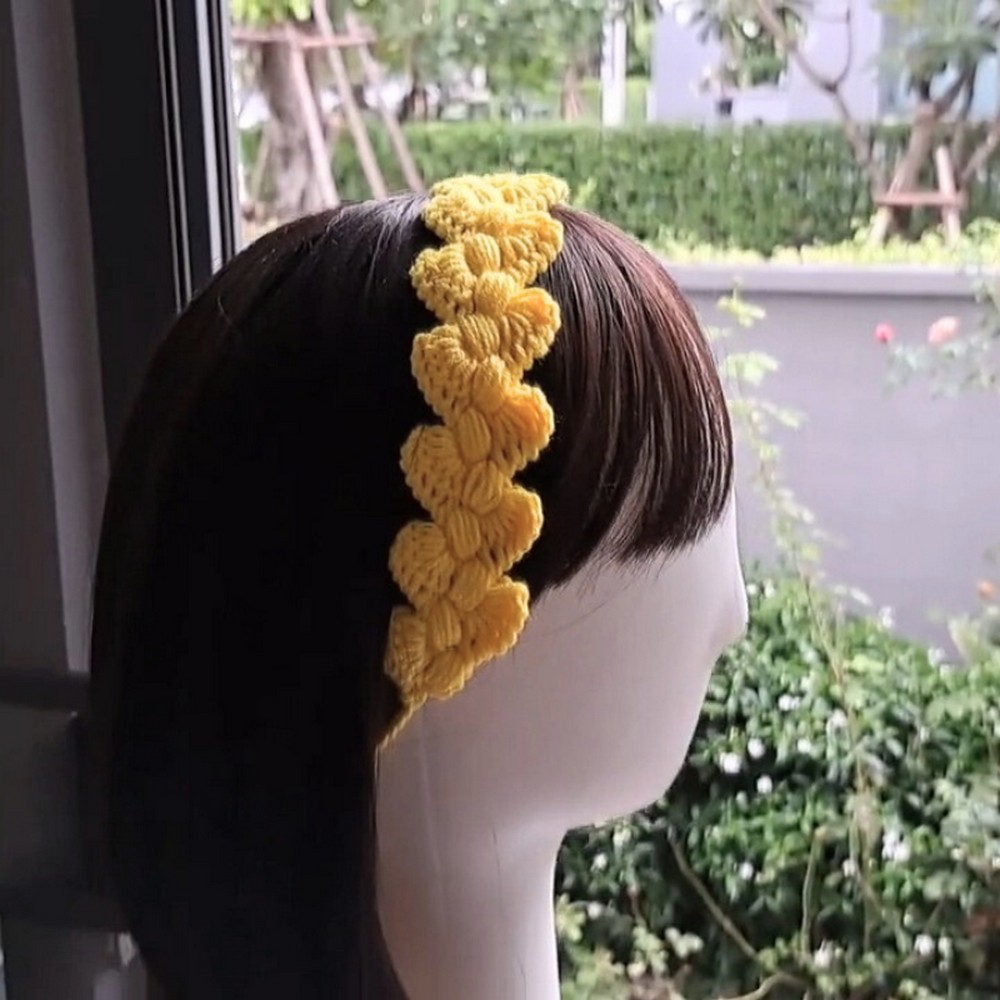
A small crochet accessory can be a satisfying piece when you want something you can finish without using much yarn. This crochet headband combines a textured center with long tie straps, so you can adjust the fit instead of relying on one fixed head size.
The puff stitches give the center crochet band its raised texture, while the small flowers add a decorative finish at both sides. Once you understand how the puff clusters are built and repeated, the main section becomes a simple rhythm of textured stitches and chain spaces.
Credit Crochet & Crafts Therapy by Chompu
Materials & Tools Needed
- Yarn: 4-ply yarn
- Yellow is used in the tutorial.
- You can choose another color or combine contrasting shades for the flowers.
- Crochet Hook: No. 4 / 2.5 mm
- Scissors
- Yarn needle: For weaving in ends and attaching the flowers
Finished Size & Customization
The headband does not have one fixed finished length because the tie straps can be adjusted to suit the wearer.
To customize the fit:
- Make the tie chains longer for a larger head.
- Use shorter ties for a smaller fit.
- Change the yarn color for a different look.
- Use a contrasting shade for the flowers to make the details stand out.
Because the ties are added separately at the sides, you can make the textured center first and then decide how much extra length you need for tying.
Pattern Abbreviations
This pattern uses US crochet terminology.
- ch: Chain
- sl st: Slip stitch
- sc: Single crochet
- puff st: Puff stitch
Create the Textured Headband Pattern
The center of the headband begins with a small ring and develops through repeated puff-stitch sections. The most important part of this section is keeping the puff clusters consistent so the texture stays even along the band.
Start the Foundation Ring
- Make a slip knot.
- Chain 6.
- Insert your hook into the first chain.
- Work 1 slip stitch to close the chains into a small ring.
Begin the First Puff Section
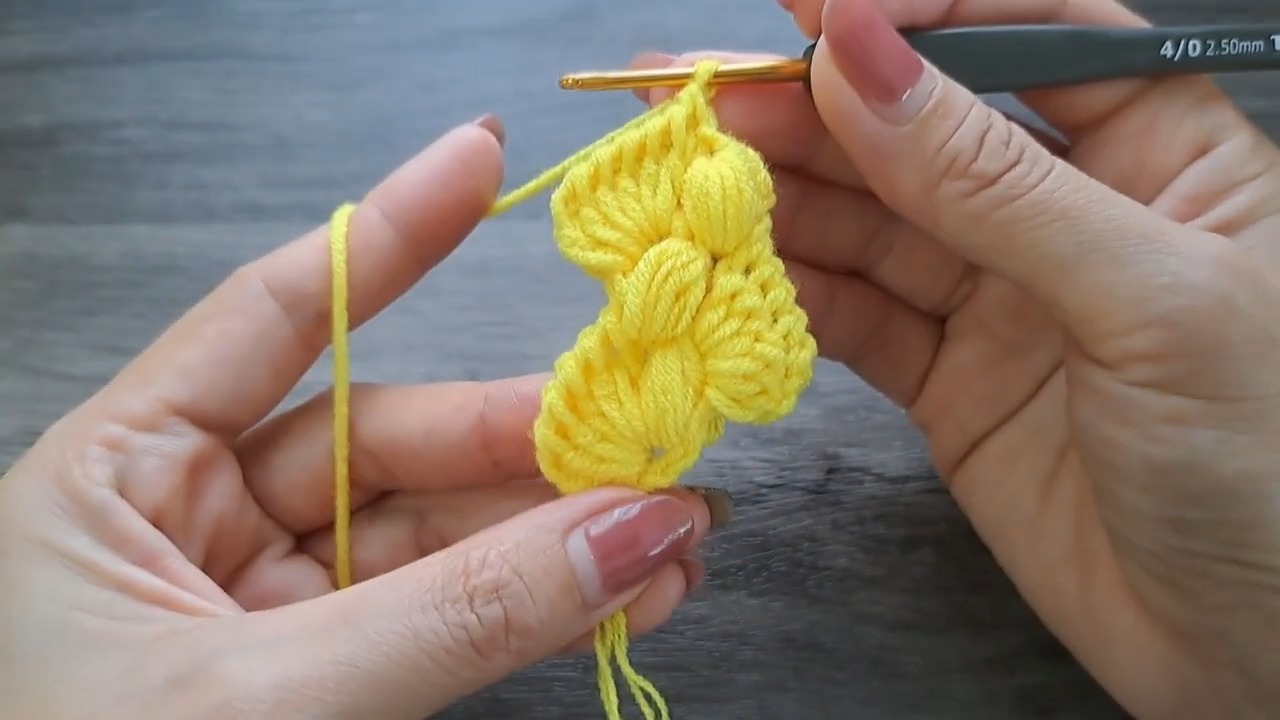
- Chain 3.
- Work the first puff stitch into the ring.
- To make the puff, pull up loops 5 times as demonstrated in the tutorial.
- Yarn over and pull through all the loops on your hook.
- Chain 1 to secure the puff.
Build the Textured Band
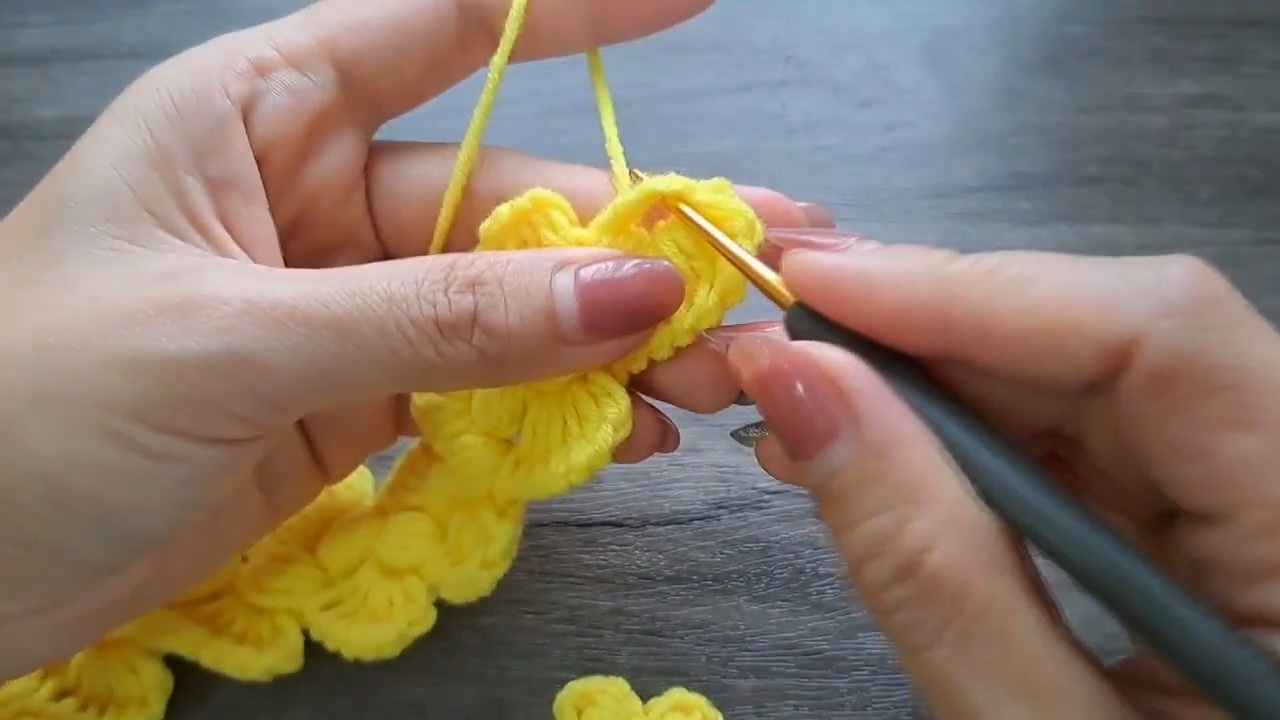
Continue creating the additional puff sections in the designated spaces.
- Rotate your work as needed to reach the next working space.
- Build the next puff cluster using the demonstrated loop sequence.
- For the larger puff clusters, pull up the loops 6 times as shown in the tutorial.
- Chain 3 between the sections.
- Repeat the puff-and-chain sequence along the headband.
- Continue until the textured center reaches the length you want.
Puff Stitch Check
Puff stitches can easily become uneven if the loops are pulled up to different heights. Try to keep the loops approximately the same height each time. This gives the center band a more consistent raised texture and prevents some puff clusters from looking noticeably smaller than others.
Finish the Center Section
When the textured band reaches the desired length:
- Finish the final puff section.
- Work 1 sc at the end edge.
- Continue directly into the tie strap.
Add the First Tie Strap
- Chain 50 to form the first side tie.
- Work 6 sc back along the chain as demonstrated.
- Join with 1 sl st.
- Secure the yarn as directed by the pattern.
If you want a longer tie, increase the starting chain length before working back along it.
Make the Side Flowers
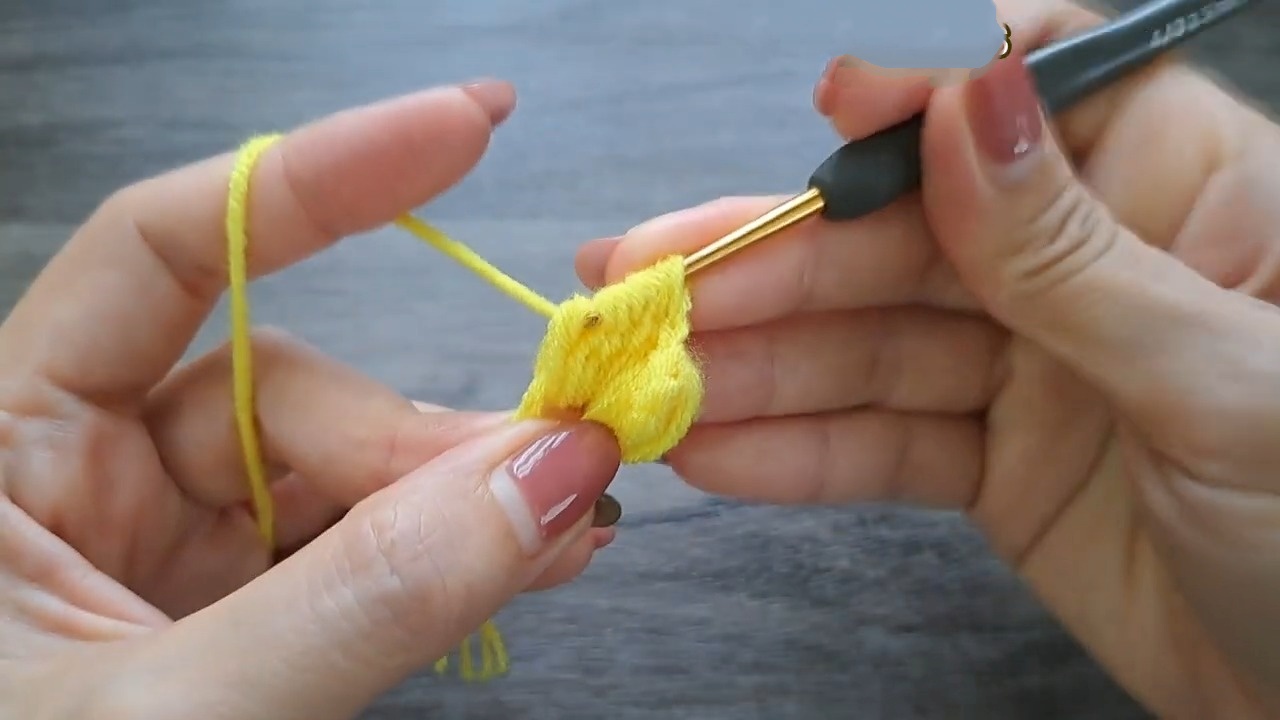
Make 2 flowers, one for each side of the headband.
Flower Center
- Chain 3 to create the starting center.
- Chain 3 to begin the first petal.
- Work a puff stitch into the center space, pulling up the loops 3 times.
- Chain 3.
- Slip stitch back into the center.
Complete the Flower
Repeat the petal sequence: ch 3 → puff stitch → ch 3 → sl st into the center.
Work the sequence 6 times around the center to create a six-petaled flower.
Fasten off and leave a yarn tail long enough to attach the flower securely.
Repeat the same steps to make the second flower.
Attach the Flowers
The flowers are attached after the main headband and ties have been completed.
- Position one flower at the side of the headband where the tie joins the textured section.
- Use the yarn tail to sew the flower securely into place.
- Check that the flower sits flat and does not pull the headband out of shape.
- Repeat with the second flower on the opposite side.
Finishing check: Before trimming the yarn tails, gently tug each flower to make sure it is firmly attached. Since these details can catch on hair or clothing, secure stitching is more important than simply hiding the yarn ends quickly.
Weave In the Ends
Use a yarn needle to weave in all remaining loose ends.
Work the yarn through several nearby stitches, change direction once or twice, and then trim the excess. Keep the finishing neat around the flowers and tie sections so no loose ends interfere with wearing the headband.
Final Thoughts
This crochet headband keeps the main construction small while giving you plenty of texture and detail. The puff-stitch center creates the focal point, and the adjustable ties make it easier to adapt the finished piece to different head sizes.
You can keep the entire headband in one color for a simple look or make the flowers in a contrasting shade for more definition. Either way, the combination of puff stitches, ties, and small floral details turns a basic crochet accessory into something that feels distinctly handmade.
Video Tutorial