Beginner-Friendly Crochet Granny Stitch Sweater Design
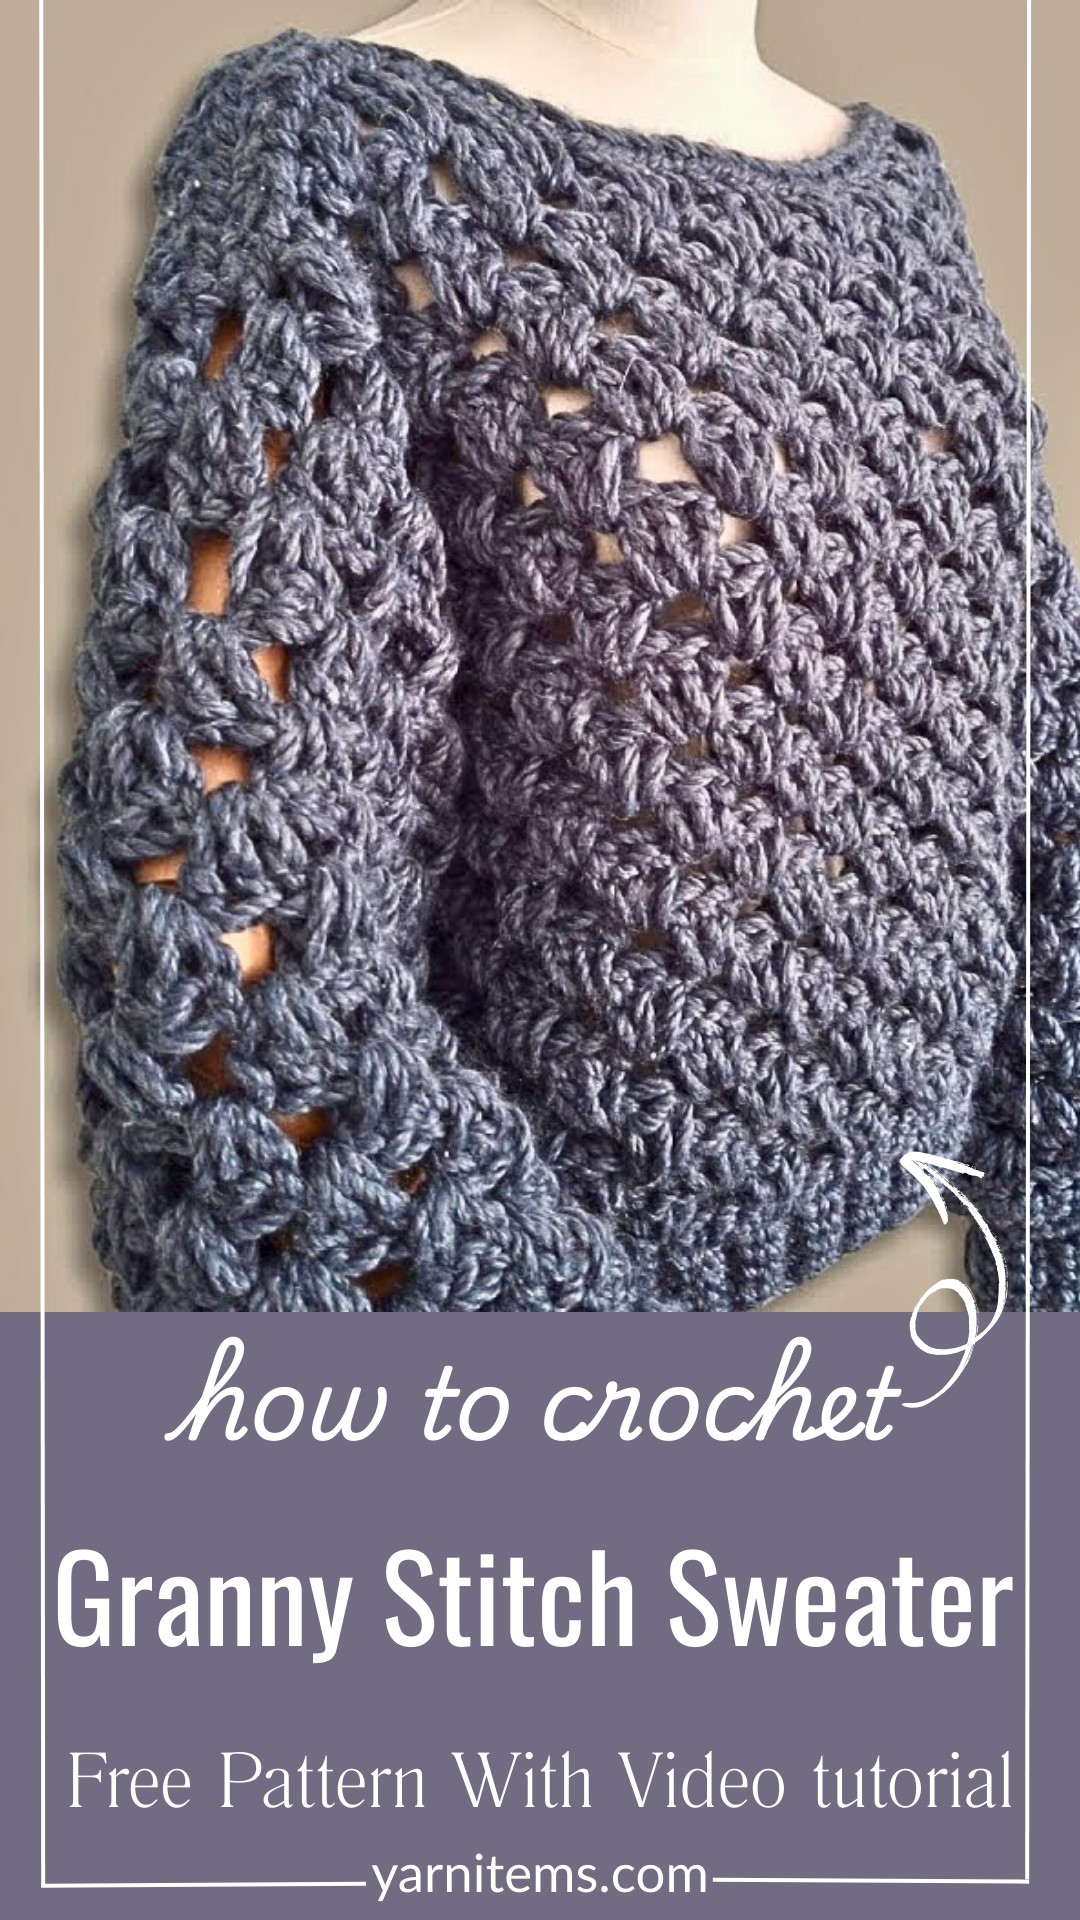
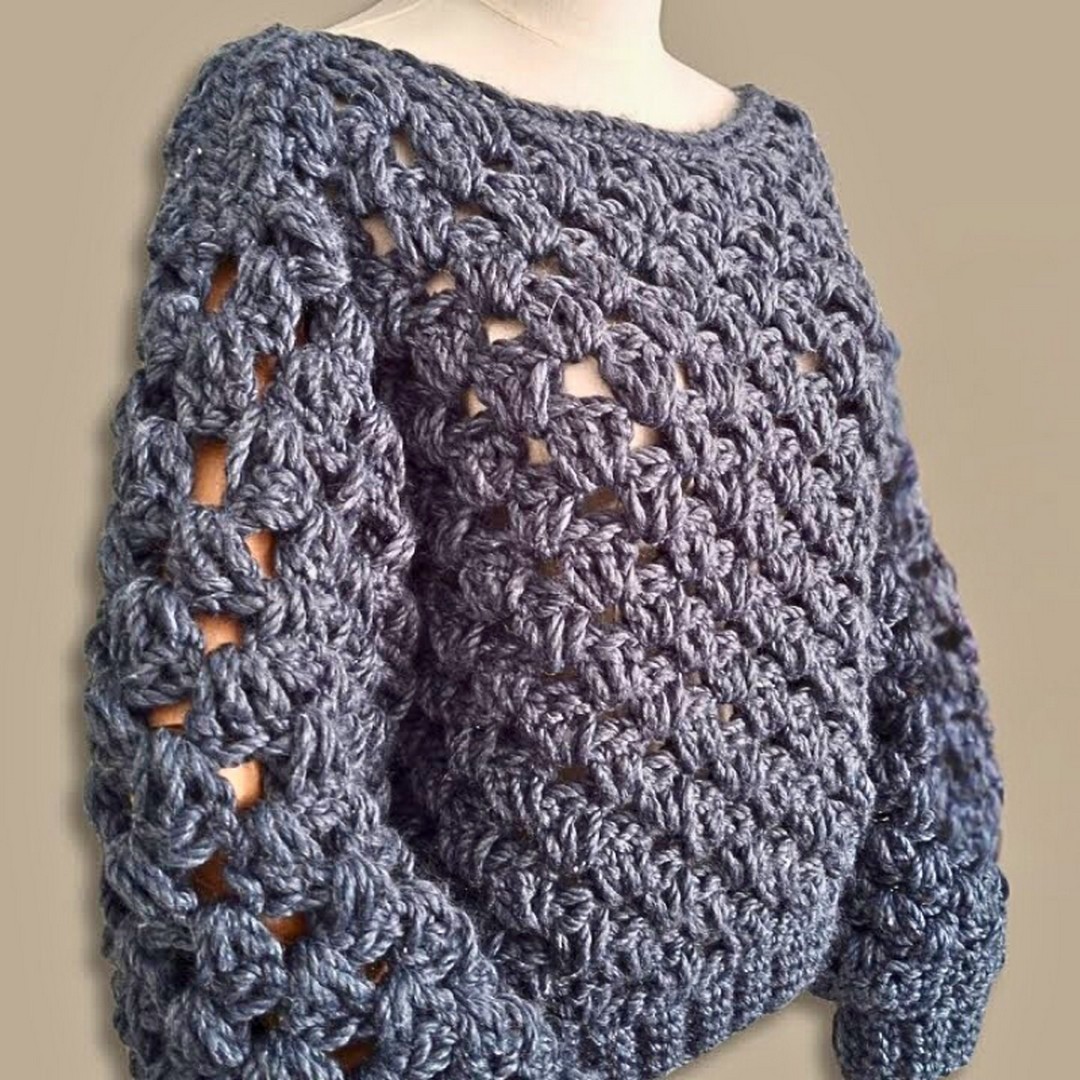
A classic granny stitch takes on a fresh new look in this warm and stylish crochet sweater. Designed with a structured texture and super bulky yarn, this handmade piece offers comfort without sacrificing a modern appearance.
Its measurement-based construction makes it easy to adapt for different body shapes and preferred lengths. Whether you enjoy timeless crochet or contemporary fashion, this sweater is a rewarding piece to create and wear.
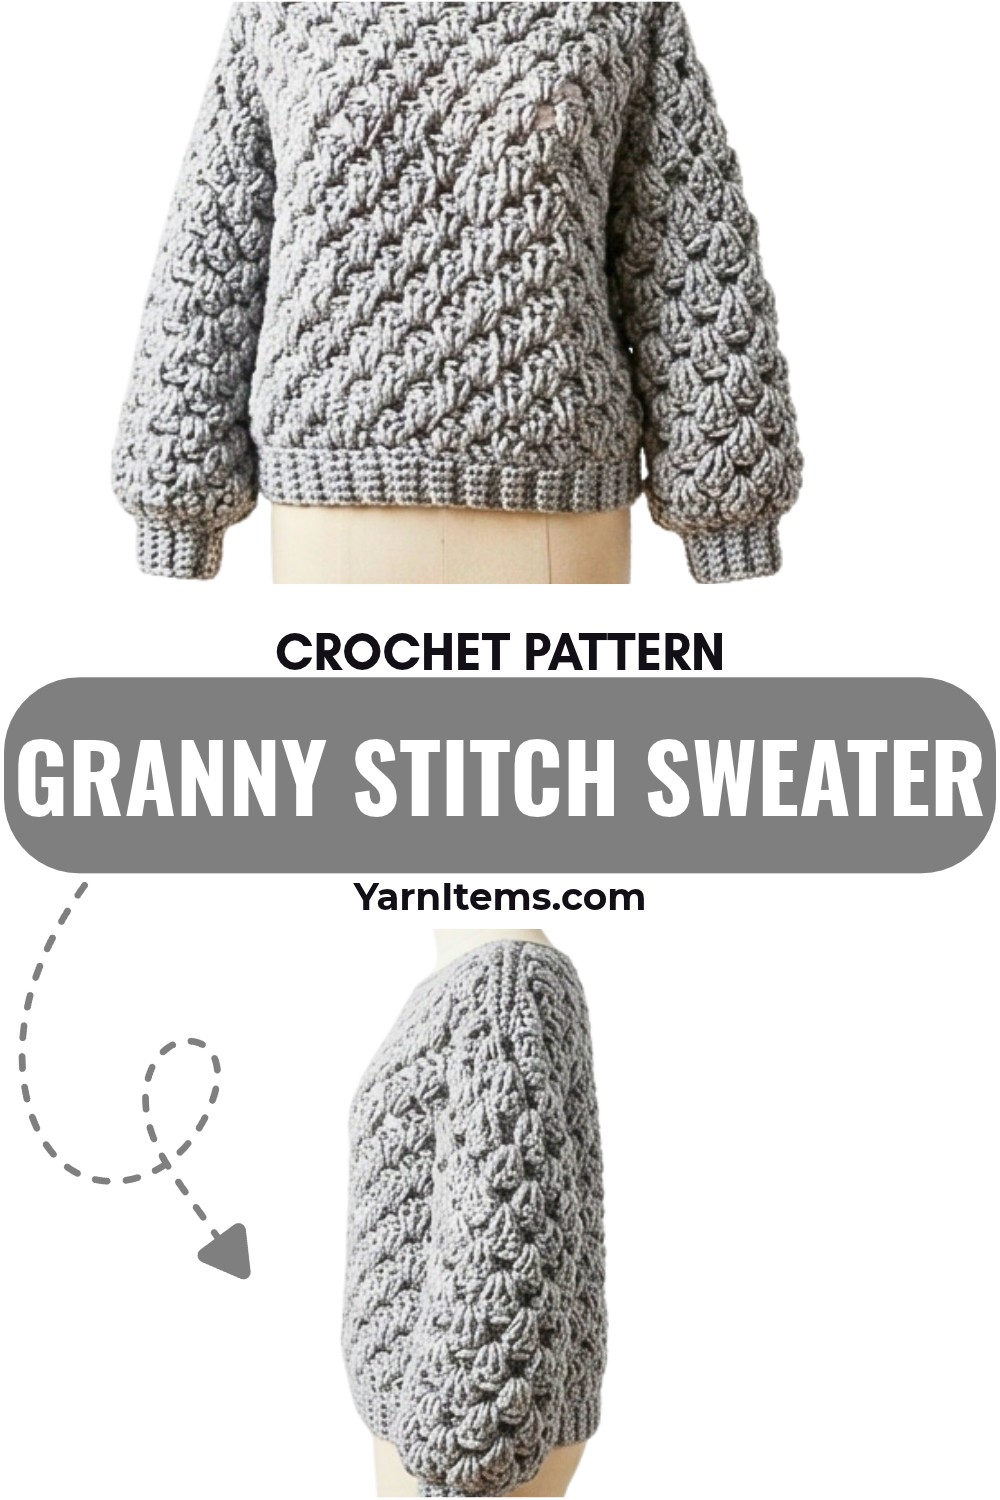
Simple shaping and repetitive crochet granny stitch rows make the construction approachable while leaving plenty of room for personalization. The guide below includes the materials, gauge notes, sizing tips, stitch abbreviations, and detailed instructions for creating the body panels, sleeves, ribbing, and finishing touches.
You’ll also find practical customization ideas for adjusting the fit, neckline, sleeve length, and overall style. The finished crochet piece delivers a cozy feel, a polished finish, and everyday versatility for cooler weather.
Credit BDD Patterns
Top Tools That Deliver Better Results
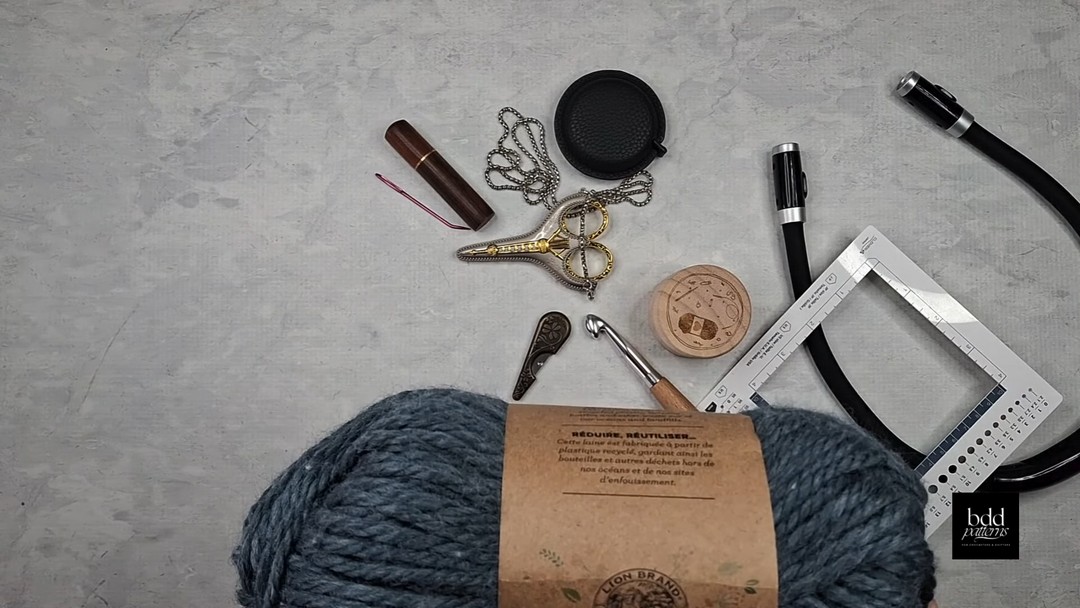
To follow along with the tutorial, you will need:
- Yarn: Lion Brand Re-Spun (Category 6, super bulky, 223 yards per skein) – 3 skeins for a medium size.
- Hook: 10 mm crochet hook.
- Accessories:
- Stitch markers.
- Measuring tape.
- Bent yarn needles (for seaming).
- Yarn needle threader.
- Sharp scissors.
- Optional: A row counter or notebook for tracking rows.
- Optional Light: Rechargeable craft light for night crochet.
Before You Start Crocheting
- Read the Pattern
Carefully read through the entire pattern before making the first stitch to understand the process and any potential challenges. - Take Accurate Measurements
Measure your body (or the intended recipient’s) to ensure the final piece fits perfectly. - Confirm Yarn and Hook Compatibility
Check that your yarn weight and hook size match the recommendations in the pattern for optimal results. - Test Your Stitch Tension
Make a small swatch to verify your tension and adjust if needed. - Gather Your Tools
Keep stitch markers, a measuring tape, and a row counter within easy reach to stay organized. - Plan Your Design
Decide on the finished length, sleeve style, and other design elements before you begin. - Check Dye Lots
If using multiple skeins of yarn, ensure they are all from the same dye lot for consistent color throughout your pattern.
Gauge:
Although a gauge swatch is not highly emphasized, the designer uses measurements to achieve proper sizing. The approximate gauge:
- 3 granny clusters over 4 inches and 4.5 rows.
Adjust your stitches to match measurements rather than strict gauge.
Professional Pattern Notes Made Simple
- Focus on Measurements:
- Instead of rigid stitch counts, this pattern uses body measurements for creating a well-fitted piece.
- It allows adjustments for unique body shapes and sizes, making it suitable for any wearer.
- Modified Flat Granny Stitch:
- The pattern employs the granny stitch but removes the chain spaces between clusters, resulting in a tighter fabric.
- This modification makes it ideal for garments where you want more structure and less “gapiness.”
- Custom Lengths:
- This design emphasizes flexibility.
- Whether you want a cropped sweater or a tunic-length one, the ability to measure and adjust on the go makes this pattern beginner- and intermediate-friendly.
Tips for Success
- Accurate Measurements:
Be sure to take precise body measurements (bust, armhole depth, sleeve length, and desired body length). - These will directly influence the fit and customization of your piece.
- Gauge:
Since the granny stitch can vary based on the crochet hook and yarn weight, you may want to create a gauge swatch to determine how many clusters fit per inch. - Mark Progress:
Use stitch markers or tape measures as you work to ensure you’re following your specific measurements closely.
Finished Size Details
- Medium Size: Comfortable fit for up to a 36-inch bust.
- Sweater Height: Approximately 18 inches.
Customization Ideas
Height Adjustments
- Crop Style: Subtract rows for a shorter, modern cropped look.
- Tunic-Length: Add rows for a longer, relaxed tunic style.
Width Adjustments
- Increase width to accommodate larger bust sizes by adding clusters:
- Formula: Add clusters in multiples of 3 stitches.
- Use this method to ensure a proportional increase.
Sleeve Adjustments
- Standard Sleeves: 16 inches long.
- Customization Ideas:
- Length Adjustment: Extend or shorten sleeve length to match your desired fit.
- Dramatic Sleeve Effects: Widen the sleeves to create a bell sleeve or an exaggerated puff sleeve look by adding extra clusters.
Additional Notes
- You can experiment with color, texture, or patterns within the rows for personal style (e.g., stripes, crocheted lace, or cable knit).
- Depending on the stitch, always maintain consistent clusters to ensure symmetry across the design.
Unlock the Meaning of Every Important Abbreviation
- Ch: Chain.
- Sc: Single Crochet.
- Dc: Double Crochet.
- Sc2tog: Single Crochet two together (decrease).
- Rep: Repeat.
- Sl st: Slip Stitch.
- St(s): Stitch(es).
- Cluster: Group of 3 double crochets worked into the same stitch/space.
Step-by-Step Instructions That Actually Work
Body Panels (Front and Back):
- Foundation Row:
- Ch 6.
- Row 1: Sc into the back bump of each chain, starting from the second chain. (5 Sts total).
- Row 2: Turn, ch 1. Sc into the first stitch, sc into the back loop of the next 3 stitches, sc into the last stitch.
- Repeat Row 2 until you have 36 rows of single crochet completed.
- This forms the initial base (approximately 7 inches wide).
- Transition to Granny Stitch Row:
- Change direction by working 36 single crochet stitches horizontally along the turning chains from your completed rows (1 Sc in each turning chain across).
- Mark this row as Row 0 (the foundation row for granny clusters).
- Granny Stitch Rows:
- Row 1: Ch 2, skip the first 2 stitches, work 3 Dc into the 3rd stitch. Skip 2 stitches and repeat clusters (3 Dc) across. End with 3 Dc in the last stitch.
- Row 2: Turn. Ch 2. Work 3 Dc into the spaces between previous-row clusters across.
- Continue repeating Row 2 until the panel height reaches 18 inches.
- Add more rows for different lengths. For medium size: approximately 15 repeated rows of granny clusters.
- Final Row:
- Sc across the top of the granny clusters (36 stitches total).
- Leave a 12-inch tail for seaming.
- Second Panel:
- Repeat the instructions above to create a second panel identical to the first.
Seaming Shoulder Panels:
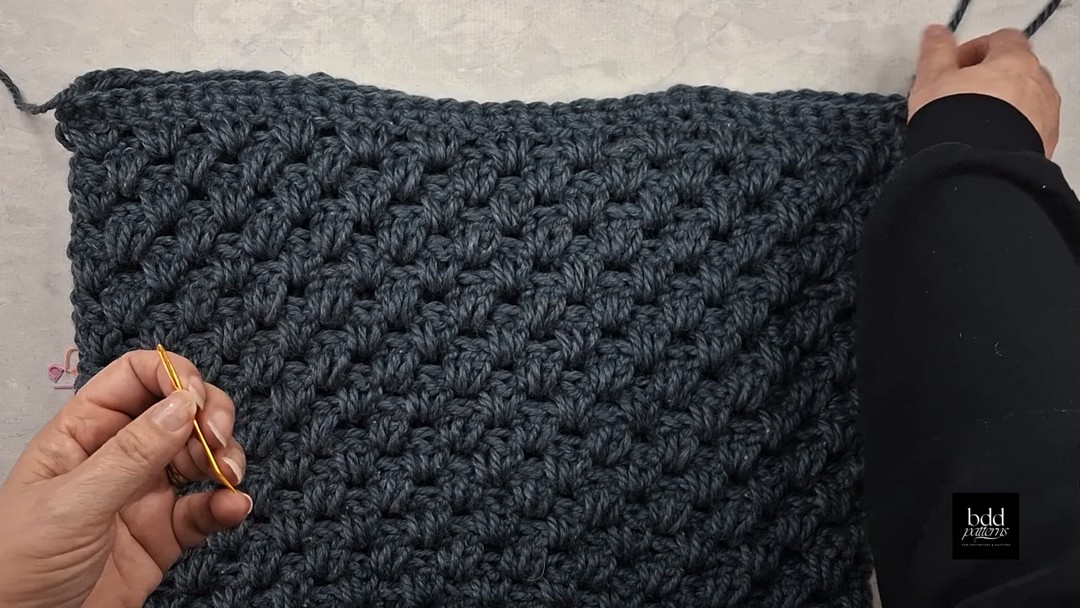
- Place panels right sides together.
- Use stitch markers to mark 8 stitches in from each side for shoulder seams. This leaves a neckline width of 12 inches.
- Use a whip stitch through each stitch to sew 8 stitches per seam. Reinforce the corners for stability.
Sleeves:
- Measure Sleeve Openings:
- Align panels and use stitch markers to measure 7 inches (armhole depth) along the sides. Use 5 cluster spaces for sleeves.
- Attach Yarn for Sleeves:
- Begin in the first marked space.
- Row 1: Work 3 Dc clusters into each cluster space (Total: 10 clusters per sleeve row).
- Repeat: Granny stitch rows until sleeve length reaches 16 inches (standard), approximately 17 rows.
- Decrease Rows:
- Add a single crochet row across. (30 single crochet stitches)
- Next row, Sc across while decreasing:
- Sc in 1 stitch, Sc2tog (single crochet 2 stitches together). Repeat across.
- Final stitch count = 20 stitches after row decrease.
- Ribbing:
- Ch 5: Work vertically along sleeve edge.
- Work 4 Sts per row in back loop only. Attach ribbing to sleeve edge using slip stitches into 2 stitches.
- Ribbing rows: Work across until the ribbing is complete (approx. 21 rows for standard sleeve size).
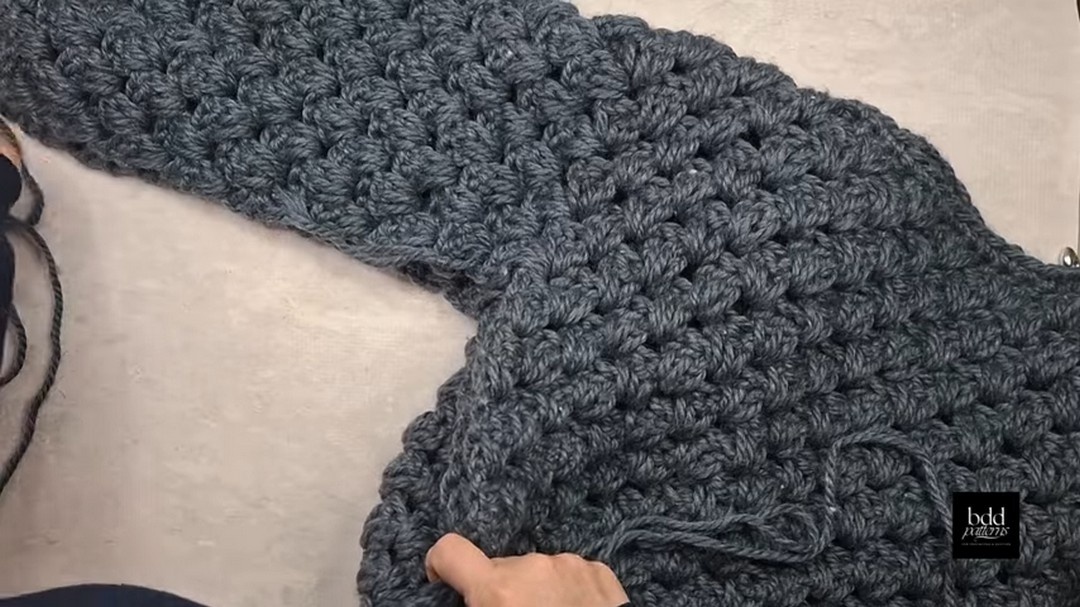
Side and Sleeve Seaming:
- Turn sweater wrong side out.
- Use a whip stitch to seam sleeves and side panels together, working from sleeve edges to the sides. Ensure clusters align for clean seams.
- Optional: Use safety pins or stitch markers to help align edges before sewing.
Finish Strong with These Expert Tips
- Weave in all ends: Use a yarn needle.
- Turn sweater right side out.
- Block the sweater (optional): Wet blocking ensures your stitches lay flat and even.
Customization Ideas:
- Colors: Add stripes or change colors every few rows to create a bold pattern.
- Length: Add more rows in the body for a tunic-style sweater.
- Neckline: Adjust neckline width by increasing/decreasing seam width.