Mini Crochet Santa Hat Applique Pattern for Beginners
Looking for a simple and fun way to bring the holiday spirit into your home? This Mini Crochet Santa Hat Applique is perfect.
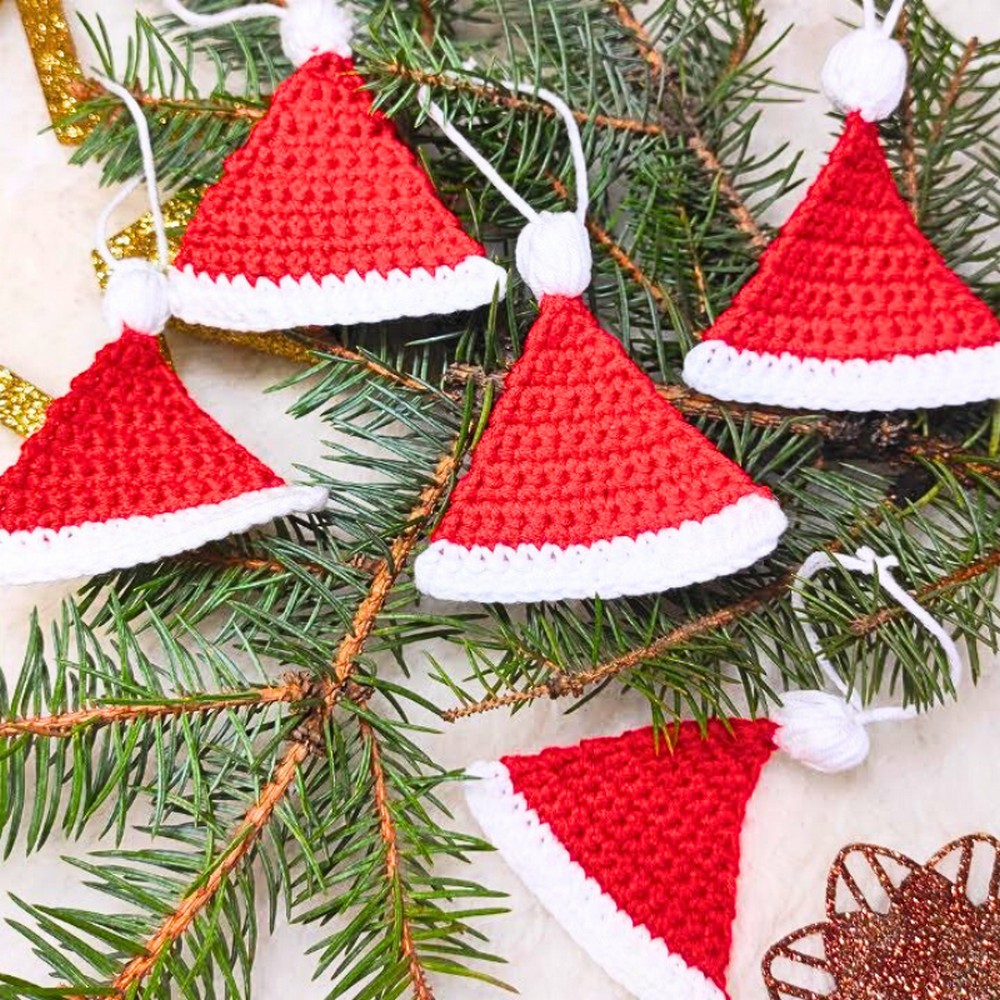
It’s a tiny Santa hat that’s cute, festive, and easy to make even for beginners. You can hang it on your Christmas tree, use it as a garland by stringing a few together. Or add it as a cheerful touch to hats, mittens, scarves, or socks for a festive look. Just view how charming these little crochet hats will look around your decorations.

Crochet Santa Hat Applique Pattern
This crochet pattern is designed for beginners, making it simple and stress-free. You only need two colors of yarn- red and white a crochet hook, and scissors. The process involves creating a small Santa hat shape, accenting the edge with a fluffy white border, and finishing it off with an adorable pom-pom on top. It’s quick to make and so satisfying when you see the final crochet piece come together.
Credit Ravella Design
Materials & Tools Needed
- Yarn:
- Red yarn: For the main part of the mini Santa hat.
- White yarn: For the border and pom-pom.
- Crochet hook: 3 mm hook.
- Scissors: To cut the yarn.
- Darning needle: To weave in the yarn ends.
Finished Size & Customization Ideas
- Finished Size:
After completing the pattern, the mini Santa hat applique features 15 stitches in its final row (before adding the white border and pom-pom). It is perfect for ornaments, garlands, or embellishments for garments. - Customization Ideas:
- Create a garland by connecting multiple appliques with a rope or chain stitch.
- Sew the applique onto garments such as scarves, socks, hats, mittens, or sweaters for a festive touch.
- Scale up the pattern by continuing the rows to make larger hats for other decor ideas (e.g., blankets or pillows).
- Use yarn in different colors or textures to personalize the design.
Pattern Abbreviations & Terminology
US Crochet Terminology:
- ch: chain
- sc: single crochet
- sl st: slip stitch
- st: stitch
- inc: increase (2 single crochets into the same stitch)
Step-by-Step Detailed Crochet Instructions
This step-by-step guide replicates the instructions from the tutorial exactly. Be sure to follow each numbered step carefully.
Foundation (Row 1):
- Start with a slip knot and place it onto your 3 mm hook.
- Ch 2 (chain 2).
- Work 2 sc into the first chain (ch 1). This is your first row.
- Ch 1 and turn your work to start Row 2.
Rows 2 to 7:
Each new row follows a simple repetitive pattern:
- Begin with ch 1 and turn your work.
- Work 1 sc into the first stitch.
- Continue with 1 sc into each stitch across until the last stitch.
- In the last stitch, increase by working 2 sc.
- Repeat this pattern as you progress through rows.
At the end of Row 7, count your stitches. You should have 8 stitches.
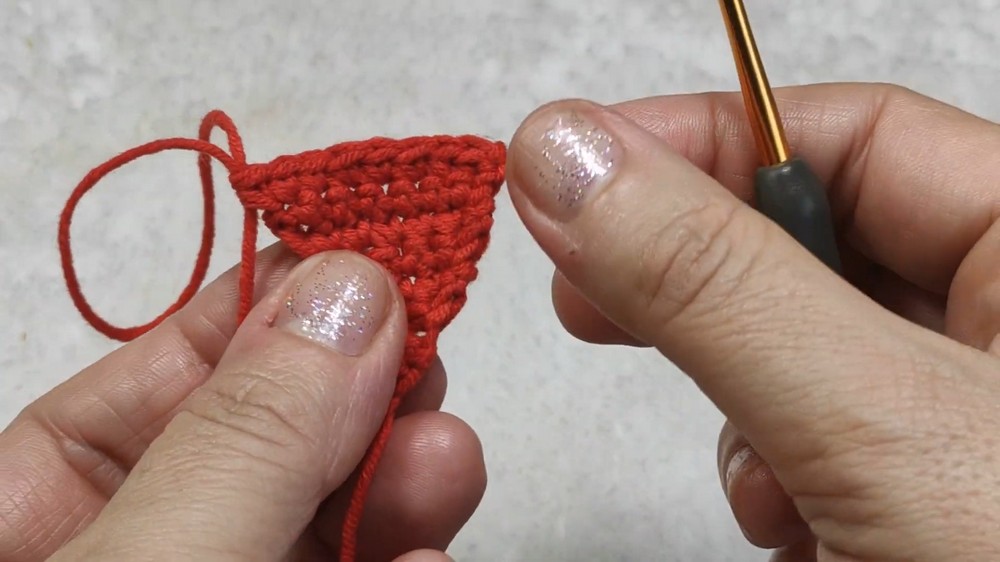
Continue increasing in every last stitch of each row until you reach a total of 15 stitches (Red section will end here).
Rows 8 to 15 (Increasing Red Section):
- Continue in the same pattern of incrementing in the last stitch of each row.
- At the end of Row 15, you should have 15 stitches.
- Finish by making ch 1 and cutting the yarn, leaving a short tail.
Adding the White Border:
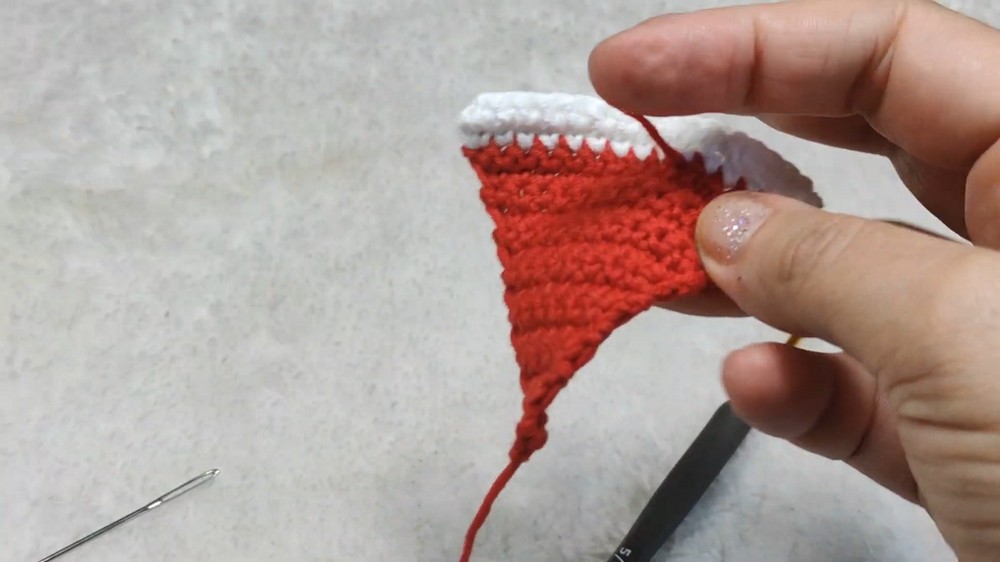
- Start by attaching the white yarn to the first stitch from the previous row.
- Fix the yarn by pulling it through and making 1 ch.
- Make 1 sc into the same stitch to secure the white yarn.
- Work 1 sc into each stitch across until the last stitch.
- In the last stitch, increase by working 2 sc.
- Ch 1, turn your work, and repeat for 1 more row.
- At the end, finish off by cutting the white yarn and weaving in the ends using the darning needle.
Pom-Pom on Top:
- Attach the white yarn at the tip of the hat.
- Make 1 chain to start the pom-pom base.
- Create loops for the pom-pom by doing the following:
- Yarn over and insert your hook into the same stitch.
- Yarn over and pull up a loop—keep the loop loose.
- Repeat this 4 times to create a cluster of loops.
- Yarn over and pull through all loops on the hook.
- To secure, make 1 sc into the base of the pom-pom cluster.
- Repeat the loop formation process one more time to add fullness to the pom-pom.
- Finish with 1 sl st, followed by ch 1, and cut the yarn.
- Weave in the yarn ends.
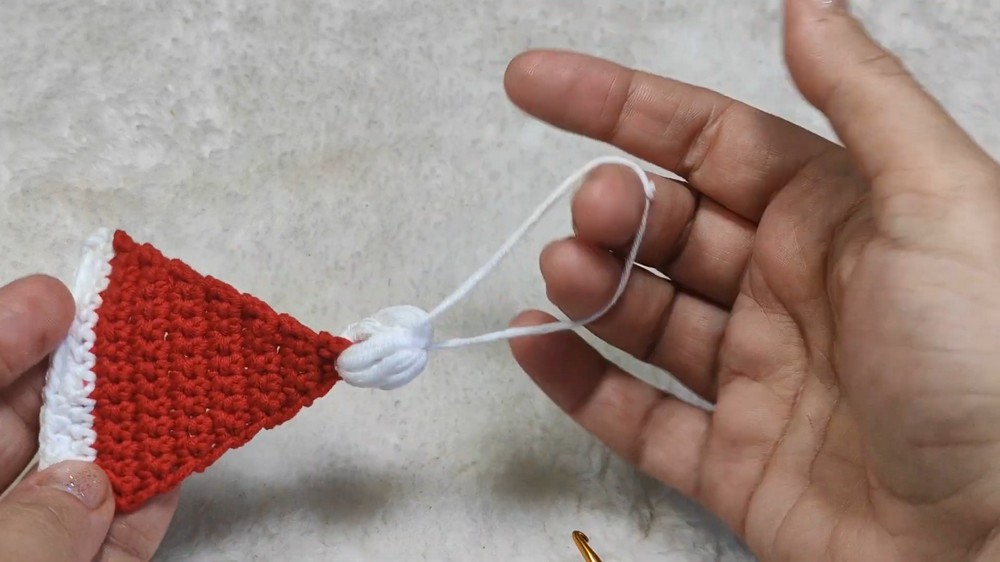
Final Steps:
- Use the white yarn to create a hanging loop at the top of the pom-pom.
- Thread the yarn through the pom-pom using a darning needle.
- Tie the loop securely and cut any excess yarn.
- Your Mini Crochet Santa Hat Applique is now ready!
Finished Project Notes
The hat is compact, elegant, and versatile. You can use it on Christmas trees, as garlands, or even sew it onto garments. It’s a beginner-friendly project that teaches how to increase rows, change colors, and make simple pom-poms.