How to Single Crochet for Beginners – Step-by-Step Guide
Build a neat single crochet swatch from a simple foundation chain, with clear guidance for keeping your stitches even, finding each V-shaped stitch, and controlling yarn tension.
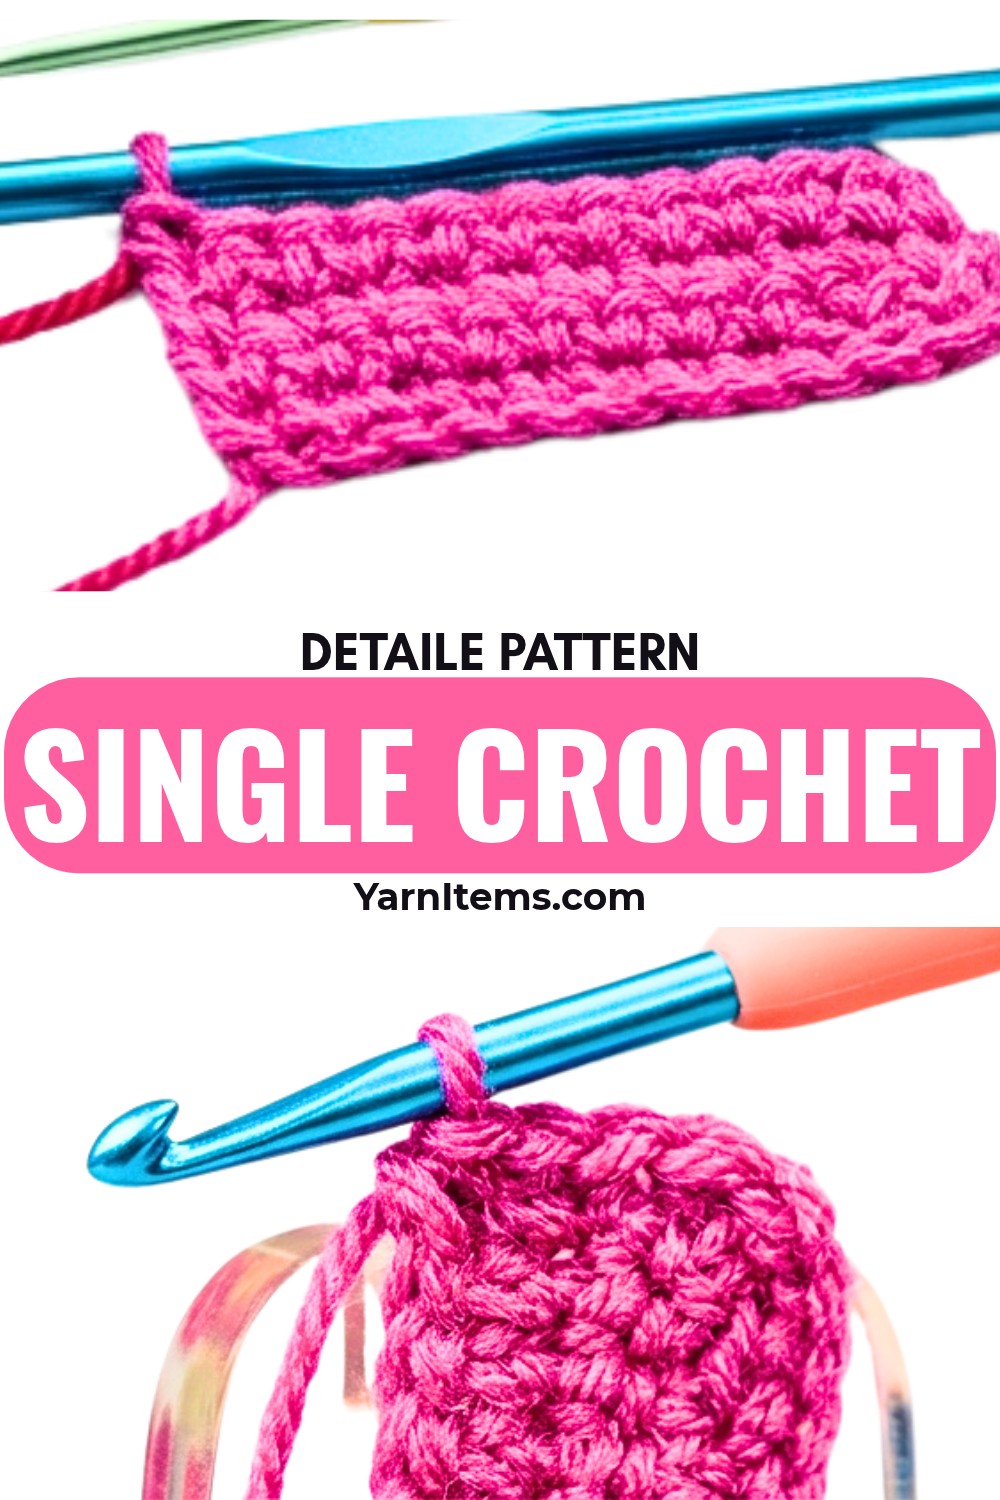
Few crochet stitches are as useful as the simple single crochet, and a small practice swatch gives you a chance to learn its movement without needing to manage a complicated pattern. With any yarn and a matching hook, you can see how a foundation chain turns into a firm, structured fabric one row at a time.
This tutorial walks you through making the first 12-stitch row, working the next row into the V-shaped stitches, and repeating the same rhythm until your fabric reaches the height you want. Along the way, you’ll learn how the ch-1, sc, and yo movements fit together, where the hook belongs, and how to keep your tension from making the crochet stitches unnecessarily tight.
Credit Goga Hook
Materials & Tools Needed
- Yarn: Any yarn of your choice. The tutorial uses a smooth, medium-weight practice yarn.
- Crochet Hook: A hook size that matches your chosen yarn.
- Your Hands: Your thumb and middle finger help hold the work close to the knot or stitch, while your index finger manages yarn tension.
Finished Size & Customization
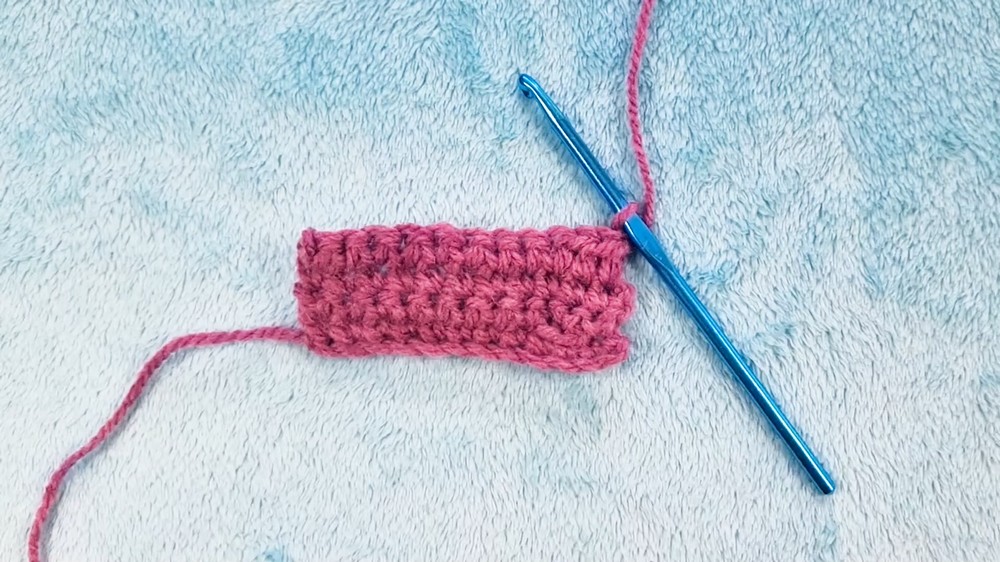
This tutorial creates a 12-stitch practice swatch across. Its final dimensions depend on the yarn weight, hook size, and number of rows you make.
You can change the width by starting with any number of chains. Your final stitch count per row will always be one stitch fewer than your starting chain.
For more length or height, simply continue adding rows. The same basic fabric can be used as practice for items such as scarves, washcloths, or blankets.
Pattern Abbreviations & Terminology
This tutorial uses US crochet terms.
- ch = Chain
- sc = Single crochet (US)
- yo = Yarn over
US vs. UK Terms: US single crochet is the same stitch called double crochet in UK terminology.
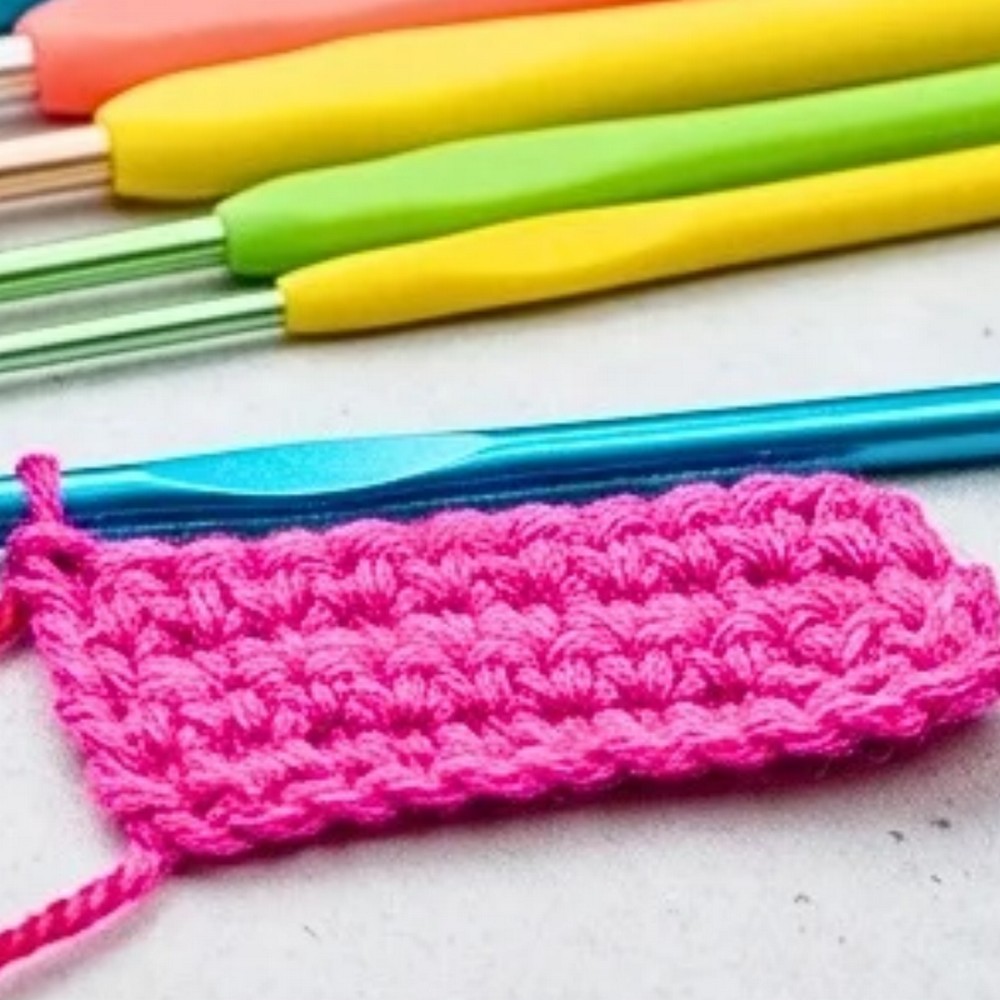
How to Crochet Single Crochet Step by Step
Foundation Chain: Make a slip knot and place it on your hook. Yarn over and pull through to create a chain, then continue making chains until you have 13 chains.
Keep the chain comfortable rather than pulling each loop extremely tight. You need to be able to see and work into the chain loops when you begin the first row.
Row 1: Skip the first chain from the hook, insert your hook into the second chain loop, yarn over and pull through the chain (2 loops on hook), yarn over again and pull through both loops; continue into each remaining chain to the end. (12 sc)
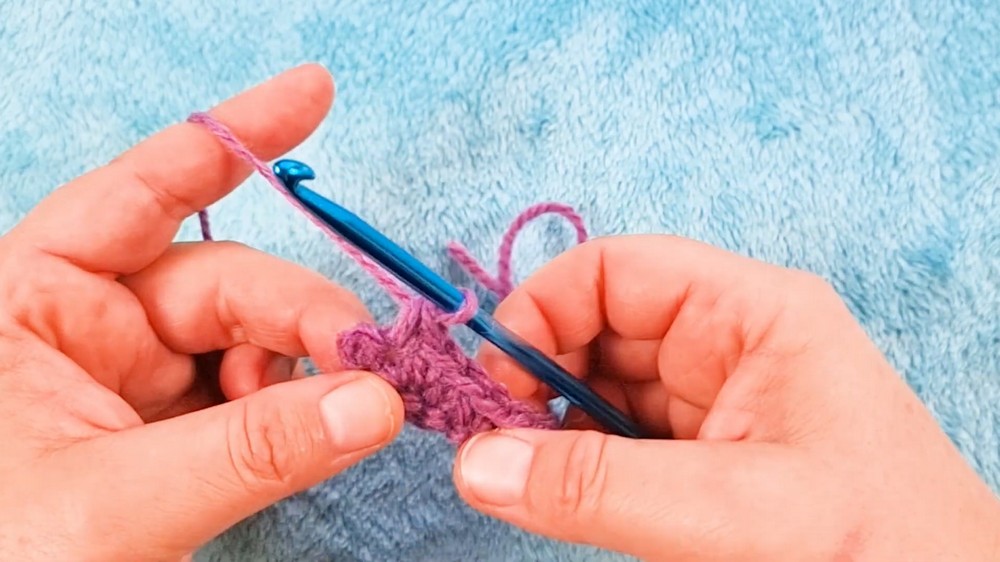
The first chain closest to the hook is skipped because the first single crochet is worked into the second chain from the hook. Once your hook enters that chain, the stitch follows the same two-stage movement: pull up a loop, then pull through both loops.
Tension Check: As you work across the foundation chain, slightly release the tension from your index finger when needed. If the yarn is pulled too tightly, it can make inserting the hook into the next chain more difficult.
At the end of Row 1, you should have 12 single crochet stitches.
Row 2: Ch 1, turn your work, insert your hook completely under the V-shaped top loops of the first stitch, yarn over and pull through the stitch (2 loops on hook), yarn over again and pull through both loops; continue under the V-shape of each stitch across. (12 sc)
The ch 1 at the beginning brings the work up to the proper height for the next row of single crochet.
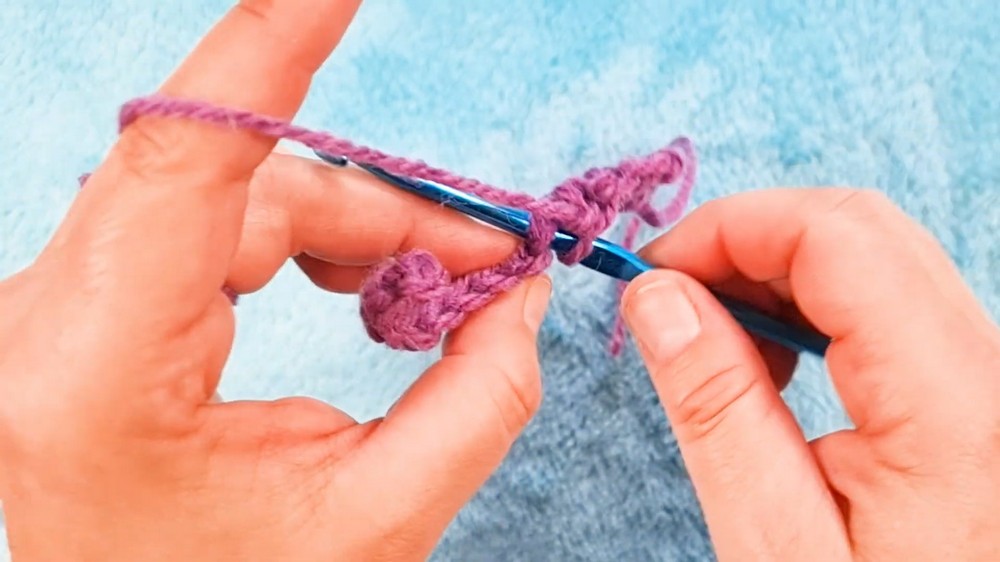
After turning, look closely at the top edge of the previous row. Each single crochet has a V-shape at the top. Your hook should pass completely underneath both parts of that V rather than catching only one strand.
Stitch Check: Row 2 should also contain 12 single crochets. Counting the stitches as you reach the end helps you notice a missed stitch before continuing.
Subsequent Rows
Rows 3 and onward: Ch 1, turn your work, insert your hook under the V-shaped top loops of the first single crochet, yarn over and pull through, yarn over again and pull through both loops; continue with 1 sc in each stitch across. (12 sc per row)
Repeat this same row until your fabric reaches your required length or height.
The important rhythm now stays consistent: ch 1, turn, find the first V, make a single crochet, then continue across every stitch. Keeping the same sequence makes the rows easier to recognize as your swatch grows.
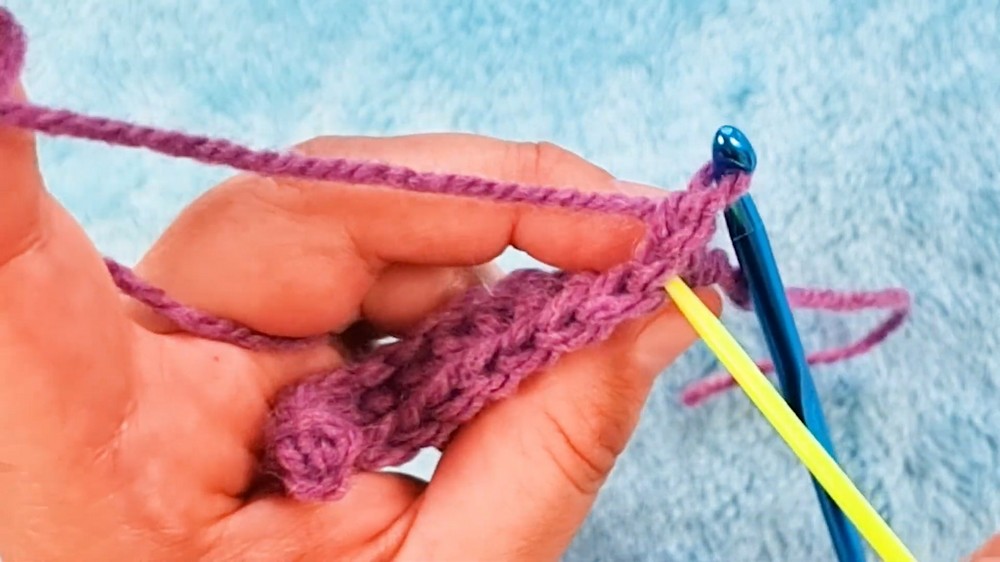
Practice Swatch Check
Before fastening off, look at the top edge and count the stitches in your final row. You should have 12 single crochets across.
If the stitch count has changed, check the first and last stitches of the previous row carefully. These edge stitches can be easy to overlook, especially while you are still becoming familiar with the V-shaped tops of single crochet stitches.
Once the swatch reaches your desired height, cut the yarn, pull the tail through the final loop to fasten off, and weave in your ends.
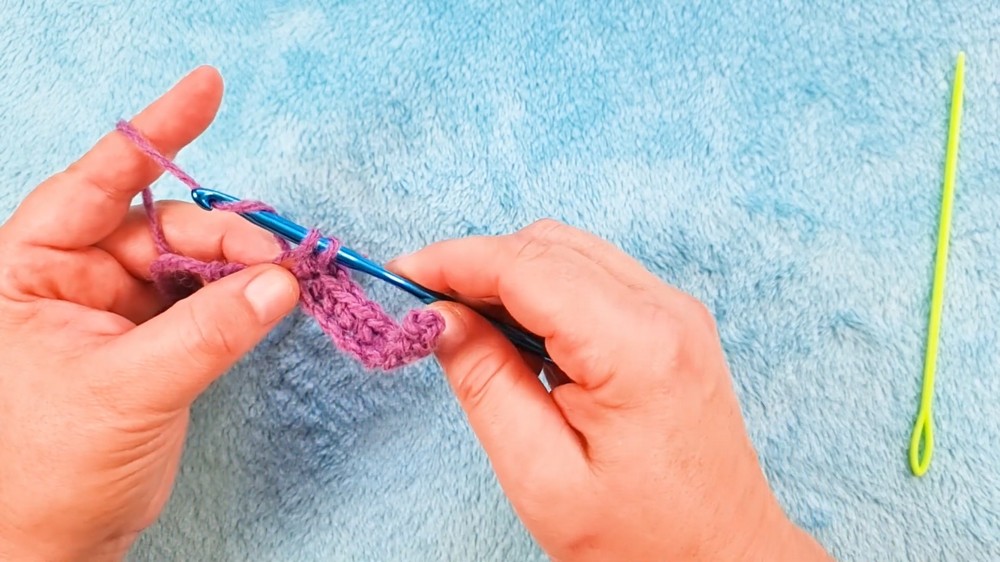
Why Single Crochet Is Worth Learning
Single crochet creates a firm, tight fabric and is one of the most commonly used crochet stitches. Once you are comfortable with the basic movement, the same stitch can become the foundation for many different crochet patterns and fabric shapes.
For a beginner, this practice swatch is useful because it lets you repeat the same stitch several times while learning three important habits at once: maintaining manageable tension, recognizing where the hook belongs, and keeping a consistent stitch count.