The Celtic Weave Stitch is a stunningly textured crochet pattern that uses front and back post double crochet to create an intricate braided effect, perfect for adding depth and sophistication to your patterns.

The Celtic Weave Stitch creates a stunning, crisscross texture that looks as intricate as woven fabric. It’s a strong, durable pattern with a beautiful, braided design, perfect for cozy blankets, scarves, or even stylish bags. If you’re making something for yourself or gifting it to someone special, this stitch brings a unique touch to your crochet design.
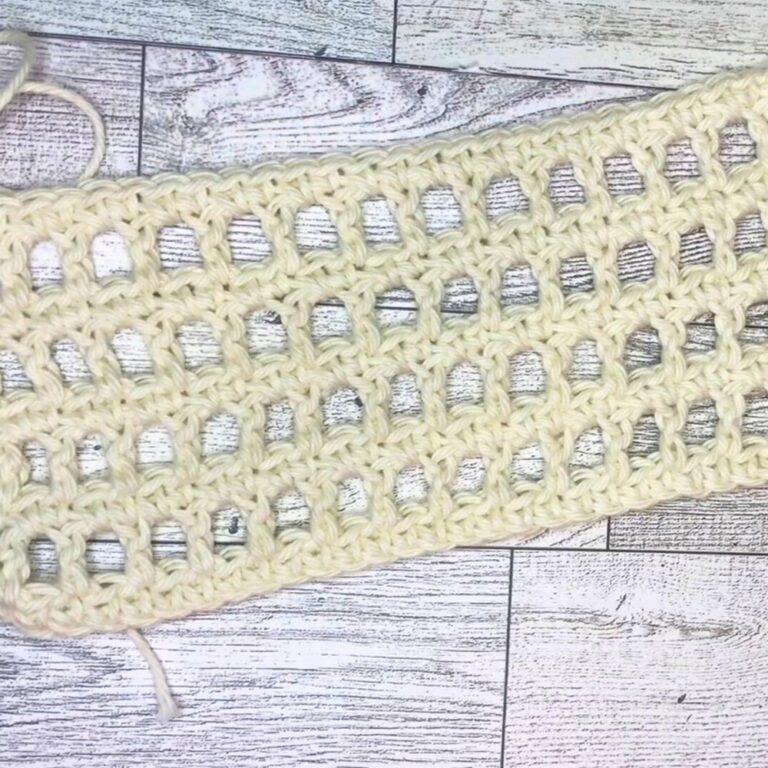
Crochet Celtic Weave Stitch Tutorial
What makes the Weave Stitch amazing is how much texture it adds to your work. Even though it looks detailed, it’s surprisingly easy once you understand the simple two-row repeat. This stitch uses front post and back post double crochet to create its signature braided look. You can start with small things like a dishcloth, or go big for cozy home decor like throws or pillows.
Credit Exquisite Crochet UK
Key Features of the Pattern:
- Foundation Setup: Begins with multiples of 4 stitches plus 2 to establish the base.
- Stitch Technique: Alternating rows of front post and back post double crochet, crossed over to form the woven design.
- Two-Row Repetition: The texture is constructed through a simple yet highly effective two-row sequence.
- Versatility: Can be used for various patterns, including blankets, dishcloths, or decorative items.
- Material Flexibility: Works well with bulky yarn for a more pronounced texture, but can be adapted for any yarn weight.
Starting the Celtic Weave Stitch involves building a base of foundation double crochet (or chains and double crochet) in multiples of 4 plus 2. The foundation double crochet method not only saves time but also eliminates the need to work into chains, a step many crocheters find tedious. If you’re swatching for the stitch, aim for 20 stitches (4 x 5 repeats) plus 2, making it an ideal size for small patterns like dishcloths or practice pieces.

Once your foundation is ready, the real fun begins with the first row of front post double crochet (FPdc). This unique technique involves inserting your hook around the post instead of the usual top loops, creating a beautifully raised texture. You skip the first two stitches, and work FPdc into the third and fourth stitches, then cross back to work FPdc into the first two skipped stitches. This crisscross action is the secret to the braided appearance of the pattern! The row ends with a standard double crochet for clean edges, giving structure and stability to your work.

The second row shifts gears with back post double crochet (BPdc), which works from the reverse side to create depth in the weave. Like the previous row, this involves skipping two stitches and working BPdc into the next two posts, then crossing back to work BPdc into the skipped posts. The technique can feel tricky at first, but isolating the skipped stitches with your fingers makes it much easier to access and crochet around the posts. As with the FPdc row, this row begins and ends with a double crochet for alignment.

Once you’ve completed these rows, the beauty of the Celtic Weave begins to emerge. The pattern alternates between FPdc and BPdc rows, repeating the same crossing motions to form the stunning woven design. The addictive two-row sequence delivers a surprisingly elegant result with relatively minimal effort, making this stitch perfectly suited for large patterns like blankets or throws.
Video Tutorial
Step-by-Step Pattern
Materials
To get started with the Celtic Weave Stitch, you’ll need the following:
- Yarn: A bulky-weight yarn (or your desired yarn for the pattern). Bulky yarn makes the stitch texture more pronounced.
- Hook: Crochet hook size recommended for your chosen yarn (e.g., 6.5mm or larger for bulky yarn).
- Scissors: For cutting the yarn at the end of your pattern.
- Tapestry Needle: For weaving in ends.
- Optional: A stitch marker (helpful for tracking rows).

Pattern Instructions
Let’s now break the process down step-by-step.
Step 1: Foundation Row
- Start with Foundation Double Crochet (Fdc):
- Begin with a slip knot.
- Chain 2, yarn over, and insert your hook into the 2nd chain from the hook. Yarn over, pull up a loop (three loops on the hook).
- Yarn over, pull through one loop (this creates the chain), and then yarn over, pull through two loops twice to complete the double crochet.
- Repeat the process to create the desired number of stitches in multiples of 4, plus 2 more.
- Example: For a small swatch, work 22 foundation stitches (20 + 2).
Alternate: Create a starting chain in multiples of 4 + 2, then work double crochet stitches across the row.
Step 2: Row 1 (Foundation Setup)
- Chain 2 (does not count as a stitch).
- Work 1 double crochet (dc) into the first stitch.
- Continue working foundation double crochets (if not already done) until you reach your desired stitch count.
- Turn your work.
Step 3: Row 2 (Front Post Double Crochet Row)
- Chain 2, and work 1 double crochet into the 1st stitch.
- Skip the next 2 stitches.
- Work 1 front post double crochet (fpdc) around the 3rd and 4th stitches from the hook.
- Go back to the 1st and 2nd skipped stitches, and work front post double crochet (fpdc) around them, crossing over the stitches just worked.
- Repeat this process across the row:
- Skip 2 stitches, work fpdc around the next 2 stitches, then fpdc into the 2 skipped stitches.
- End the row with a double crochet in the last stitch.
- Turn your work.
Step 4: Row 3 (Back Post Double Crochet Row)
- Chain 2, and work 1 double crochet into the 1st stitch.
- Skip the next 2 stitches.
- Work 1 back post double crochet (bpdc) around the 3rd and 4th stitches from the hook.
- Go back to the 1st and 2nd skipped stitches, and work back post double crochet (bpdc) around them, crossing over the stitches just worked.
- Repeat this process across the row:
- Skip 2 stitches, work bpdc around the next 2 stitches, then bpdc into the 2 skipped stitches.
- End the row with a double crochet in the last stitch.
- Turn your work.
Step 5: Repeat Pattern
Continue repeating Row 2 (fpdc) and Row 3 (bpdc) until your pattern reaches the desired length.
Final Tips and Decorative Touches
- Edge Finishing: Add a single crochet or simple border around your pattern for a clean, polished look.
- Yarn Color Variations: Experiment with color changes to add stripes or ombre effects to your pattern.

Pattern Question
Question: How do I ensure my fabric doesn’t become too tight while working the Celtic Weave Stitch?
Answer: Work your front and back post double crochets slightly looser than usual to prevent the fabric from pulling in. This helps maintain the stitch’s intricate look without distorting the pattern.
Troubleshooting and Suggestions:
- Common Issues:
- Tight Stitches: Post stitches can easily tighten your fabric, distorting the weave. Be mindful to crochet loosely to prevent puckering and uneven texture.
- Skipped Stitch Accuracy: Missing a stitch when crossing over can unravel the weave effect. Isolate skipped stitches with your fingers to keep them accessible for the next step.
- Edge Consistency: Ensure you work standard double crochet stitches at the start and end of each row to create clean, sturdy edges.
- Creative Modifications:
- Play with color changes to highlight the woven texture—try alternating two complementary tones every few rows for a dramatic effect.
- Use finer yarn to adapt the stitch to lighter-weight patterns, such as scarves, shawls, or even decorative pillow covers.
- For a luxurious finish, embellish the finished piece with fringes at the edges, or add a border using a simple single crochet or shell stitch pattern.