How to Double Crochet (US Terms) Step by Step
Learn the double crochet from the first yarn over to the finished fabric, then use the same stitch to build scarves, blankets, dishcloths, and more.
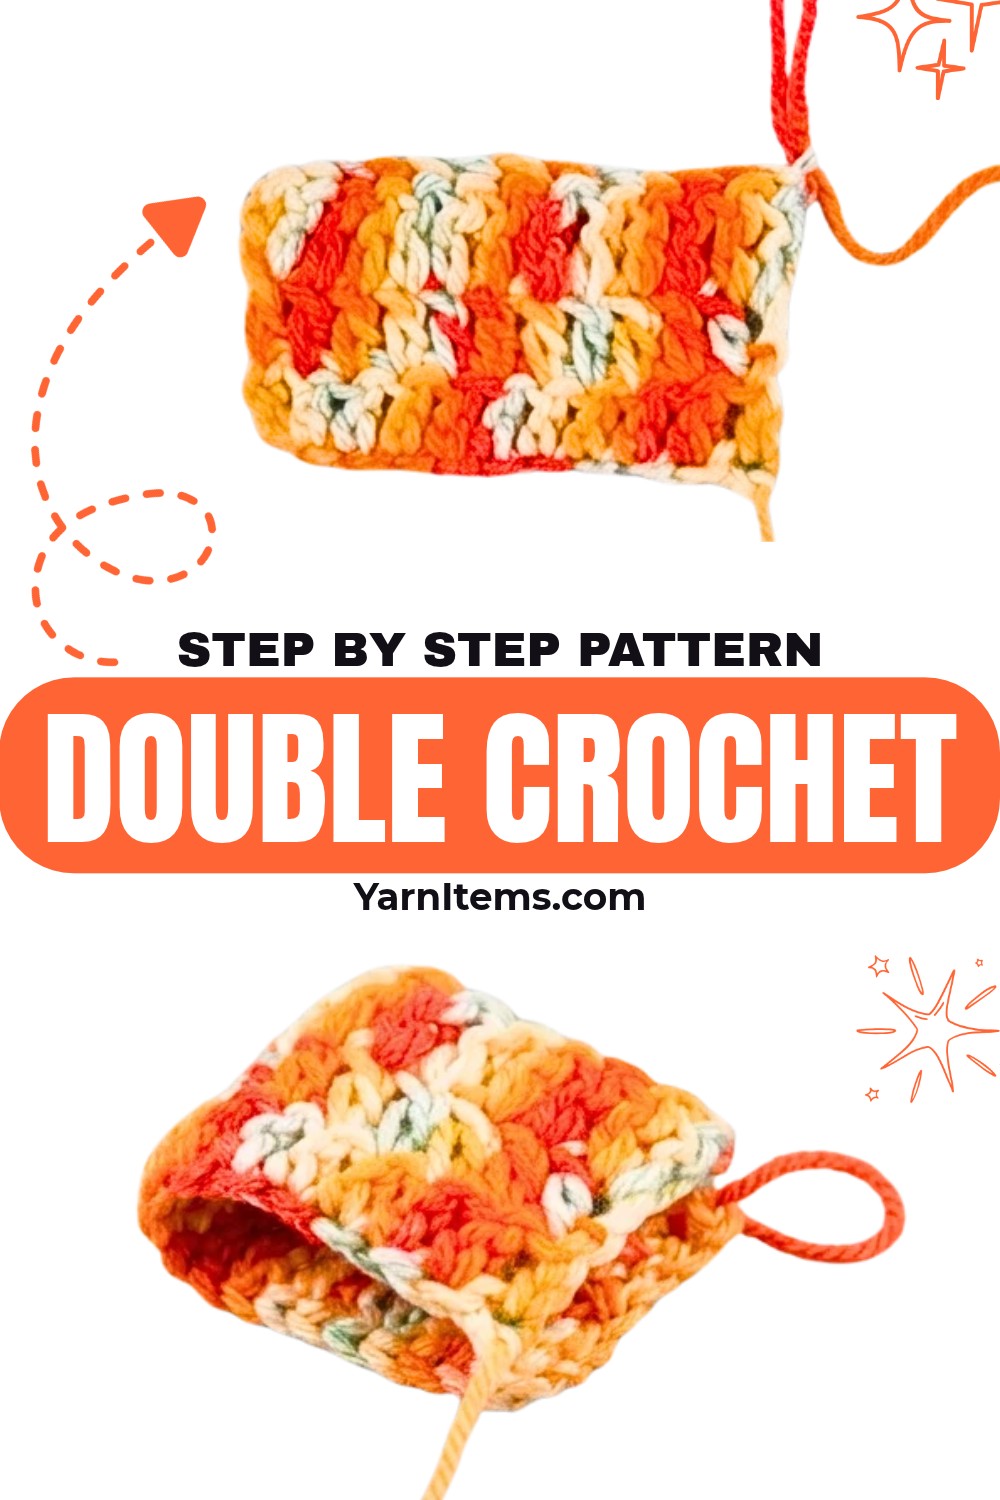
Tall stitches can feel confusing at first because one double crochet is built through several loop movements, but the motion becomes much easier once each part is separated into a clear sequence.
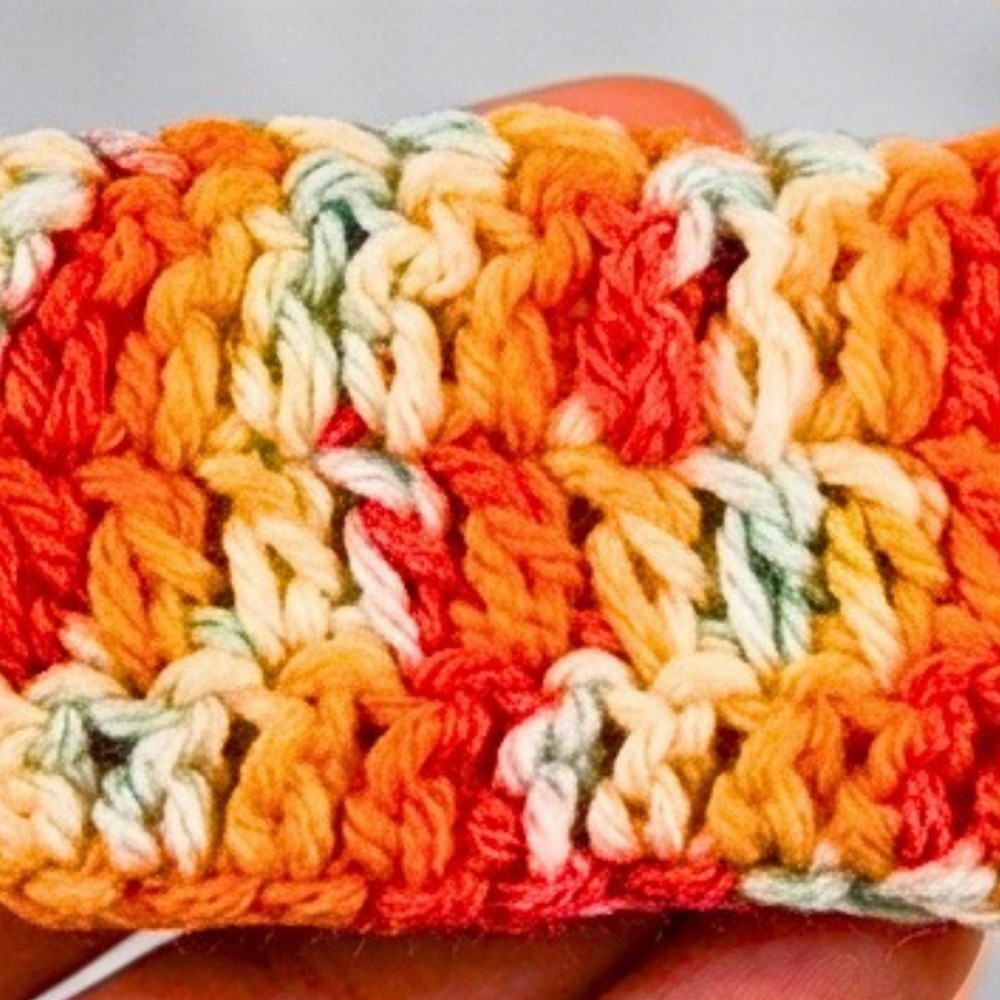
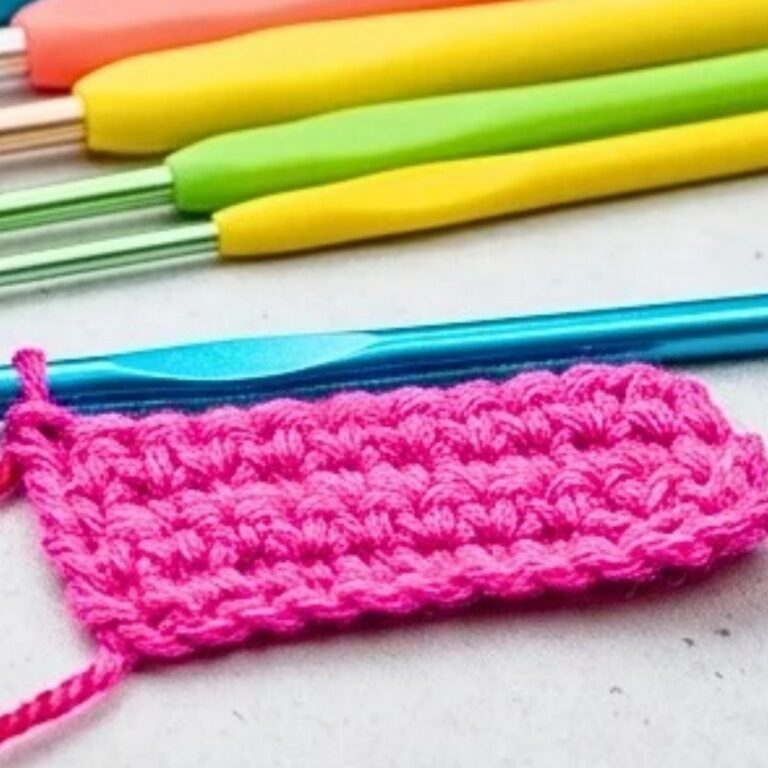
This practice swatch lets you see how the yarn over, loop count, and final pull-throughs work together to create the taller, flexible fabric of a double crochet.
As you work through the rows, you’ll learn where the first crochet stitch belongs, how the turning chain changes your working height, and how to recognize the top V of each stitch.
The small checks along the way also help you catch skipped stitches, misplaced hooks, or incorrect counts before those mistakes spread across the rest of your fabric.
Credit Goga Hook
Materials & Tools
- Yarn: Any weight yarn of your choice
- Crochet Hook: A hook size appropriate for your chosen yarn
- Scissors
- Yarn Needle: For weaving in ends
Finished Size & Customization
The tutorial creates a 10-stitch practice swatch. Its exact measurements will vary depending on your yarn weight, hook size, and personal tension.
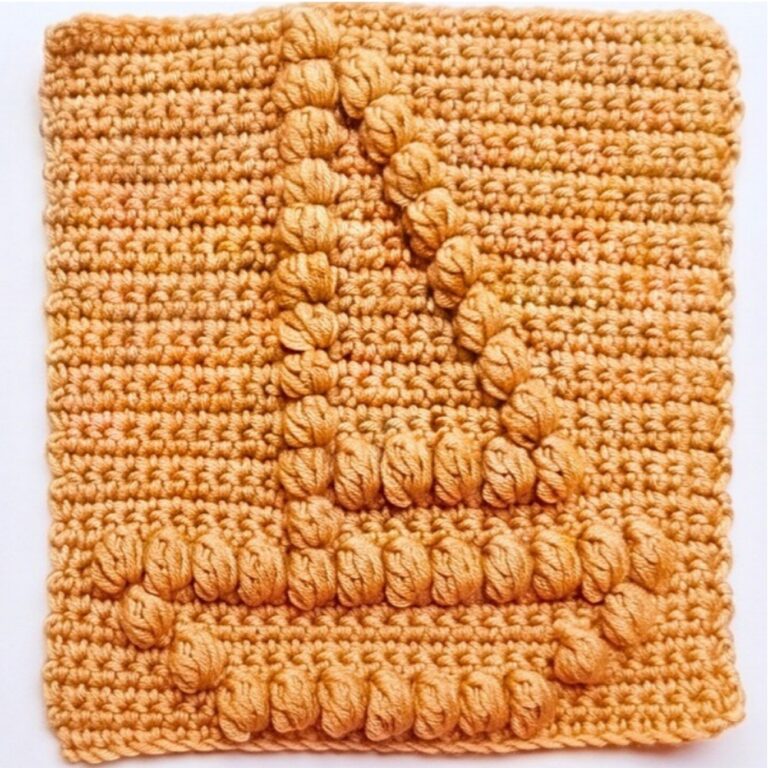
Once the double crochet feels comfortable, you can use the same stitch for larger pieces. Chain to your desired width for a scarf, blanket, or dishcloth, then repeat the double crochet rows until you reach the desired length.
Pattern Abbreviations & Terminology
US crochet terms are used throughout.
- ch: Chain
- dc: Double Crochet
- yo: Yarn Over
- st(s): Stitch(es)
- sk: Skip
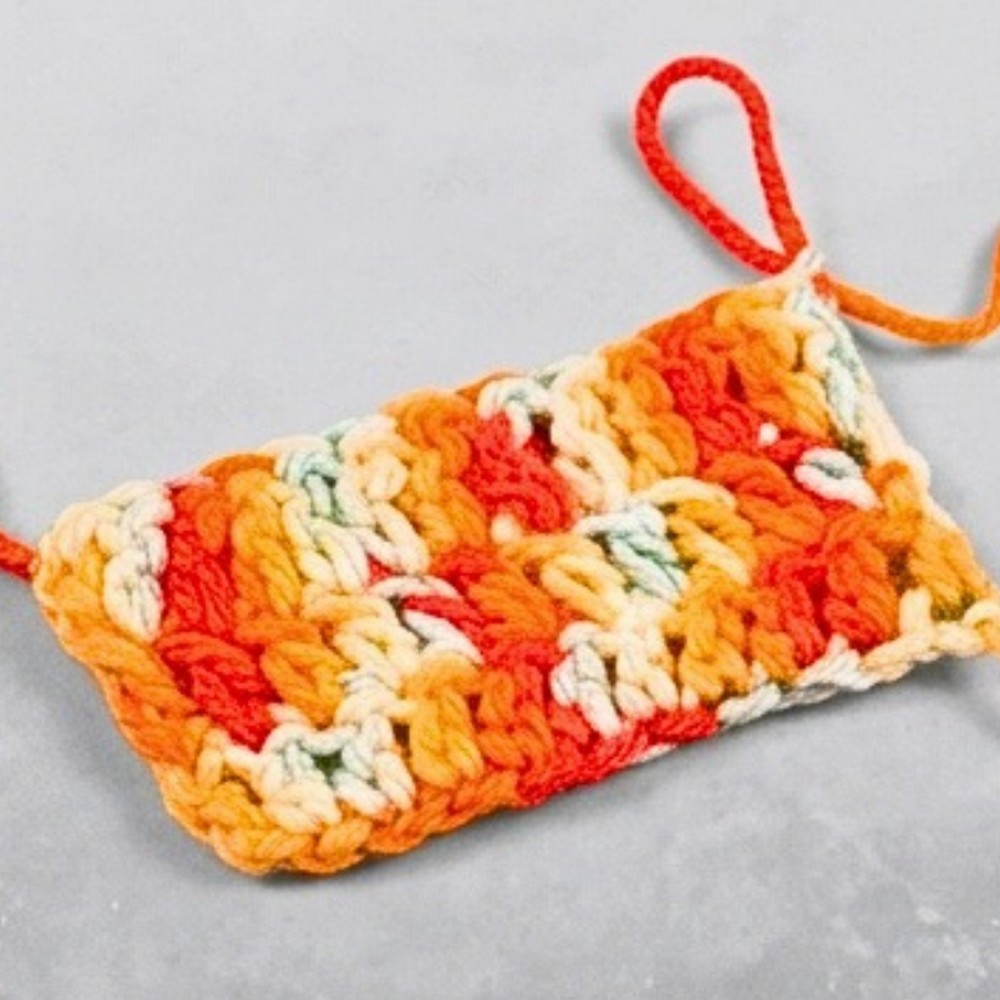
Make the Foundation Chain
Create a slip knot and place it on your hook.
Foundation: Ch 10 to form the main foundation, then ch 3 more to begin the sequence. The additional ch-3 acts as the turning chain and brings the yarn up to the height of a double crochet.
Teaching Guide: Keep the Foundation Flexible
Do not pull the foundation chains extremely tight. If the chain is much tighter than the stitches you work into it, the first row can become difficult to insert your hook into and may curl or pull inward.
If you tend to crochet tightly, let the chain sit naturally on the hook rather than tightening each loop after making it.
Work the First Double Crochet Row
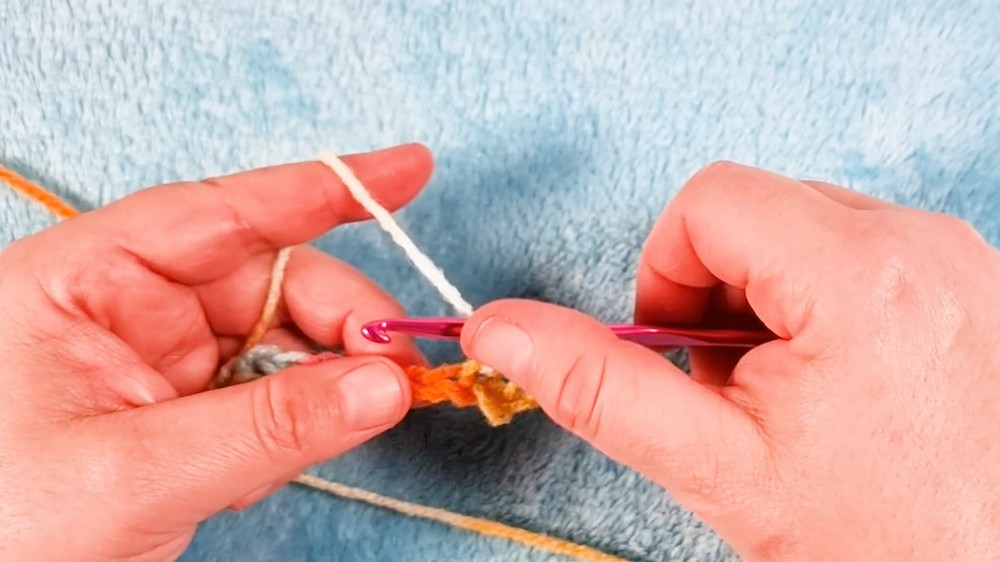
Row 1: Yo. Sk the first 3 chains and insert your hook into the 4th ch from the hook. Yo and pull the yarn through the chain. (3 loops on hook) Yo and pull through the first 2 loops only. (2 loops remain on the hook) Yo again and pull through the remaining 2 loops. This completes your first dc.
Continue across: Yo, insert your hook into the next ch, yo and pull up a loop, yo and pull through 2 loops, yo and pull through 2 loops.
Repeat this sequence in every chain stitch until you reach the end of the row. (10 dc, plus the initial ch-3)
Teaching Guide: Check the Three-Loop Stage
The easiest way to slow down this stitch is to pause after pulling up the loop from the foundation chain. You should have 3 loops on your hook.
From there, the stitch is completed by working through two loops twice.
If you pull through all three loops at once, you will not have made a double crochet. If you accidentally pull through only one or two loops incorrectly, undo back to the point where the loop count went wrong and repeat the stitch.
Common Mistake: Starting in the Wrong Chain
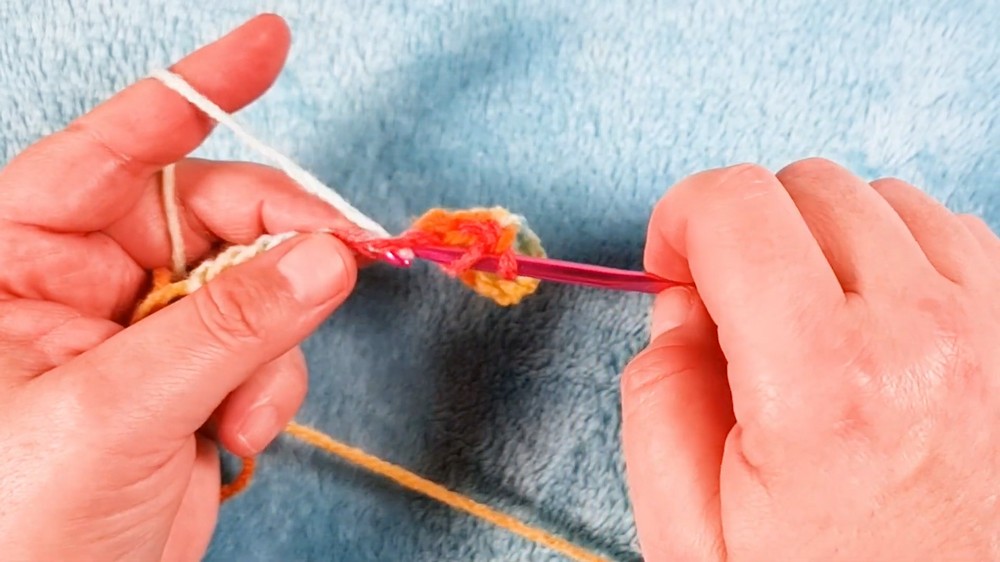
The first 3 chains are skipped, and the hook enters the 4th chain from the hook for the first dc.
If your first row has the wrong stitch count, check this placement first. Starting in the wrong chain can shift the entire row and make the final count incorrect.
Build the Fabric With Row 2
At the end of Row 1, turn your work.
Row 2: Ch 3 and turn your work around. Yo and insert your hook into the first dc stitch from the row below, directly under the top V-shape of the stitch. Yo and pull up a loop. (3 loops on hook) Yo and pull through 2 loops, yo and pull through the last 2 loops.
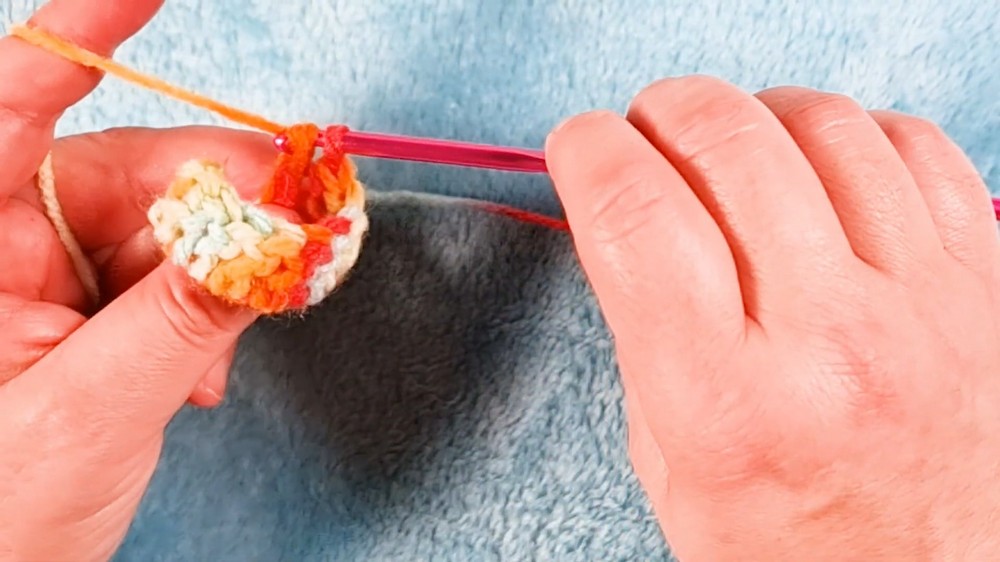
Continue across by working 1 dc under the top V-shape of each stitch across the entire row. (10 dc)
Teaching Guide: Find the Top V
Look along the upper edge of the row underneath. Each dc has two top loops that form a small V.
For the standard stitch placement used here, your hook goes underneath both loops of that V.
If you only catch one loop, you will create a different texture and may make the edge look uneven. If you are unsure, stop and look at the top edge before making the next stitch rather than guessing where the hook should enter.
Check Your Stitch Count
At the end of Row 2, count your double crochets. You should have 10 dc.
If you have fewer stitches, you may have accidentally skipped a V or missed the final stitch. If you have more, you may have worked an extra stitch into the turning-chain area.
Fixing the count at the end of the current row is much easier than discovering several rows later that the fabric has gradually become wider or narrower.
Continue With Row 3 and Beyond
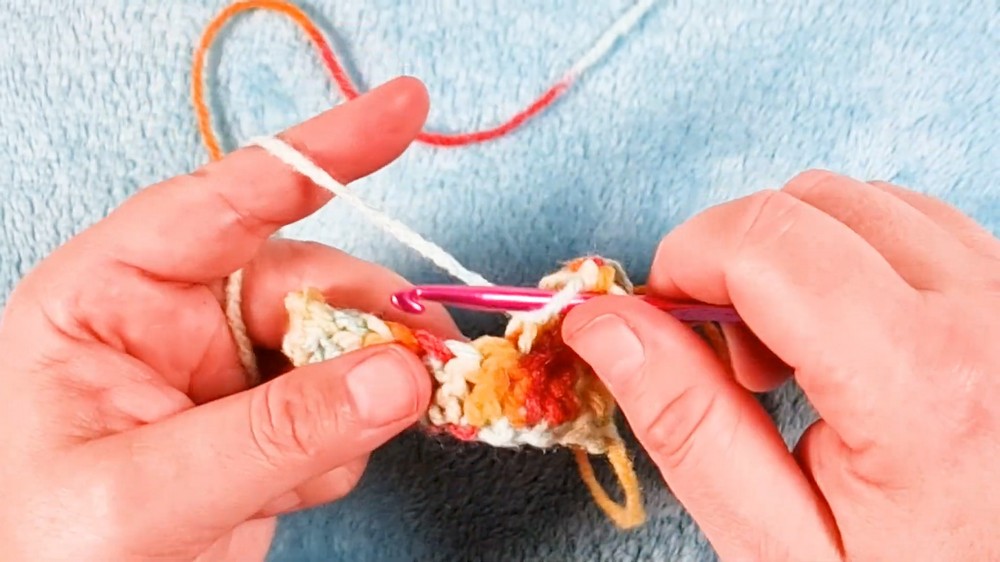
Row 3 and Beyond: Ch 3 and turn your work around. Work 1 dc under the V shape of each st in the row underneath.
Repeat this row consecutively until your fabric reaches your desired length.
Teaching Guide: Watch the First and Last Stitch
The edges are where beginners most often gain or lose stitches. After making the ch 3 and turning, identify the first actual dc below before inserting your hook. At the other end, look carefully for the final V rather than assuming the last visible space is the final stitch.
Keeping 10 dc across every row will help the practice swatch stay rectangular.
If Your Edges Are Slanting
A gradually narrowing edge usually means a stitch has been missed, while an edge that grows wider often means an extra stitch has been added.
Before undoing several rows, compare the current row with the previous one and count the dc stitches. Once you find the row where the count changed, correct the mistake there and continue.
Finish the Double Crochet Swatch
No assembly is required because this tutorial is worked flat in turning rows.
Once you reach the end of your final row, cut your yarn leaving a 4–6 inch tail. Yo and pull the tail completely through the loop on your hook to secure it.
Thread the tail onto a yarn needle and weave it back and forth through the stitches to hide the end.
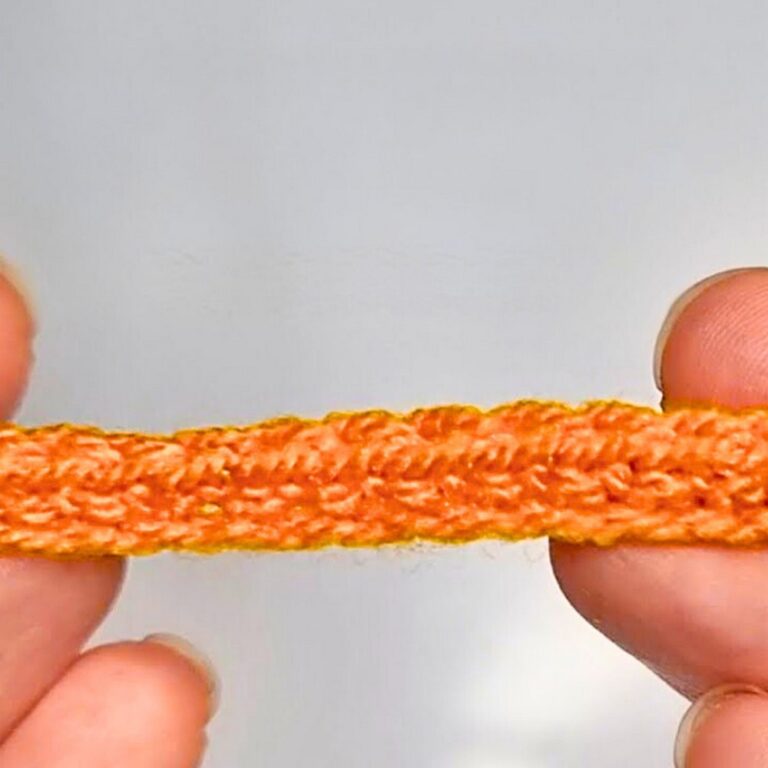
Your practice swatch now shows the characteristic qualities of double crochet: a taller stitch, a more open fabric, and a flexible drape compared with denser stitches such as single crochet. Once the movement feels familiar, the same row can be repeated at almost any width or length to create a much larger crochet piece.