Crochet Heart Lace Edging Pattern for Decorative Border
Need a delicate crochet border with tiny hanging hearts? This pretty lace edging adds a romantic handmade detail to blankets, towels, garments, and more.
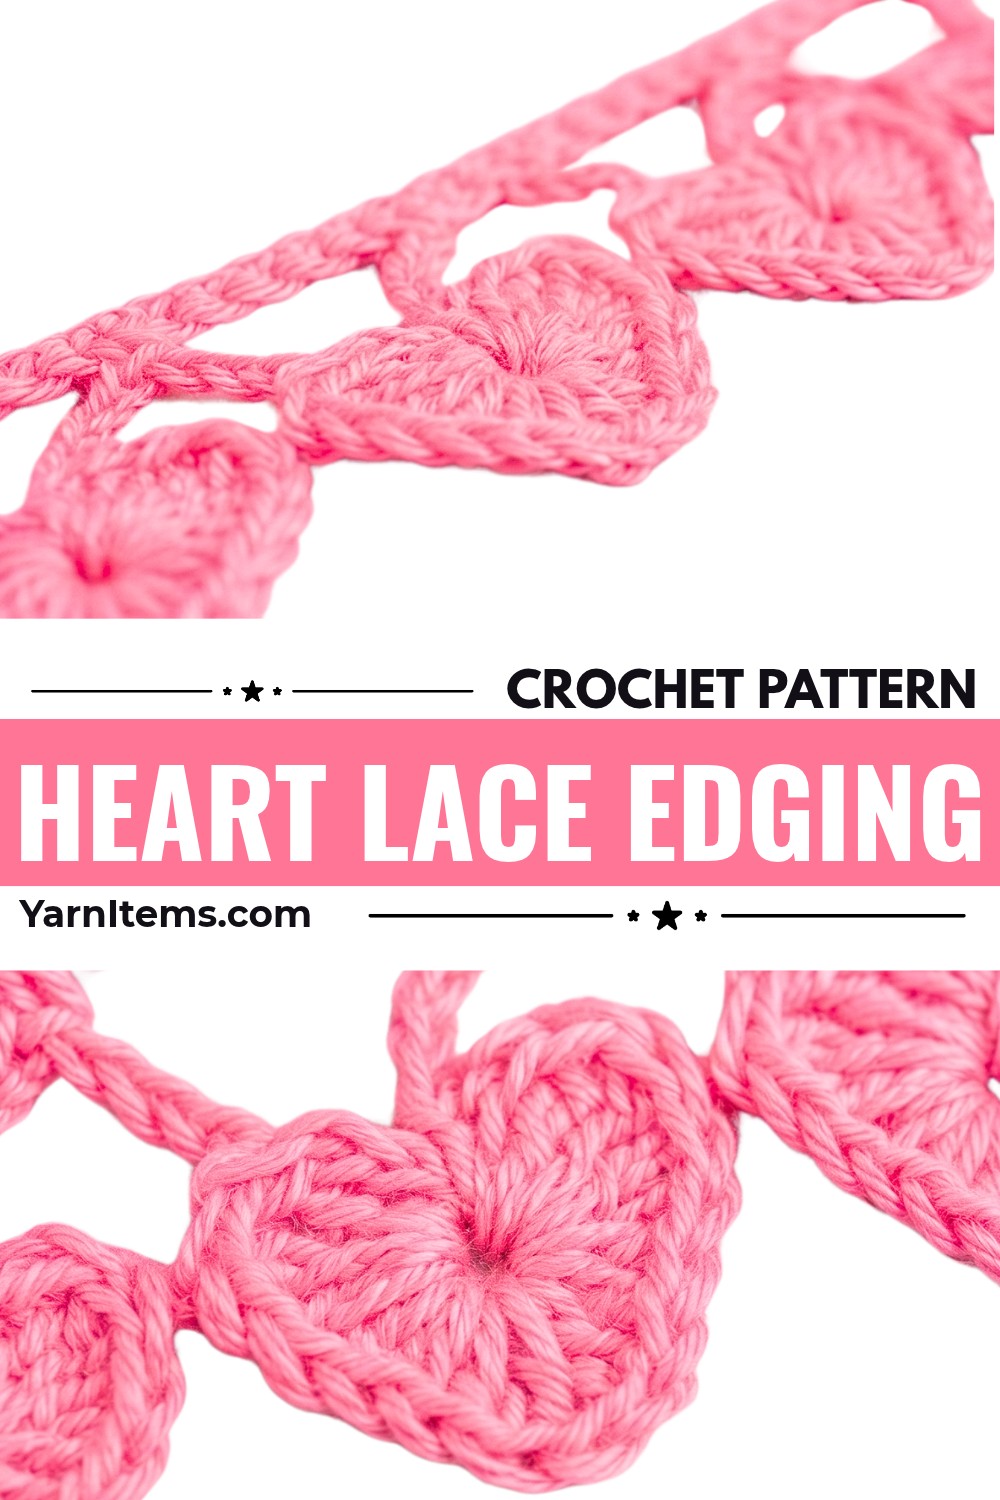
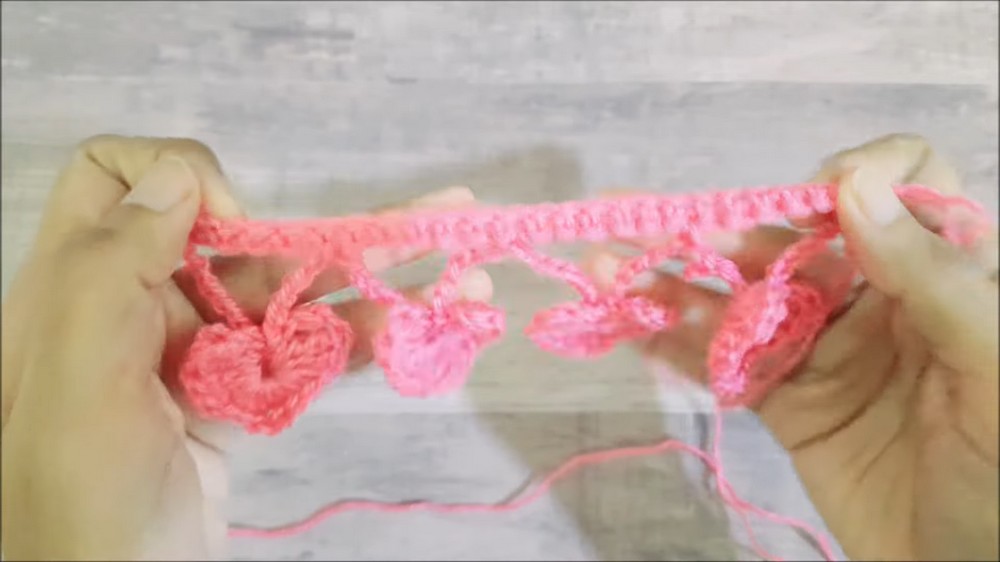
Tiny crochet hearts suspended between open chain arches give this edging a light, decorative finish. The repeating crochet hearts look lovely along the edge of a baby blanket, tea towel, pillowcase, or cardigan, and you can make the design in soft neutrals, romantic pinks, or bright seasonal colors.
The pattern begins with a simple single-crochet base, followed by a continuous row of heart motifs made with treble, double, and half-double crochet stitches. Each heart is shaped inside a small ring, then connected to the next with a chain arch and anchored back to the base, creating a pretty border without separate sewing.
Credit Crochet With Samra
Materials & Tools Needed
- Yarn: Light worsted / DK weight cotton or acrylic yarn. Sport weight or crochet thread also works well for delicate borders.
- Crochet Hook: Size 2.5 mm–3.0 mm, or a hook size matched to your selected yarn weight.
- Tapestry / Yarn Needle: For weaving in loose yarn tails.
- Scissors: For trimming yarn.
- Measuring Tape / Ruler: To gauge edge length.
Finished Size & Customization Ideas
Finished Size: The height of the edging is approximately 1.25 inches to 1.5 inches (3–4 cm), depending on yarn weight and tension. Each heart repeat spans approximately 1 to 1.2 inches along the edge.
Customization Ideas:
- Blanket or Towel Border: Work directly into an existing foundation row or hemstitch along fabric, tea towels, baby blankets, or pillowcases.
- Two-Tone Effect: Work Rows 1 and 2 in a neutral foundation color, such as white or cream, then switch to pink or red for the Heart Border Row.
- Garment Accent: Add this edging around necklines, cardigan hems, cuffs, or sock tops for a scalloped, romantic finish.
- Ribbon Weaving: The chain-6 arches provide an open lacework space where thin satin ribbon can be threaded through behind or below the hearts.
Pattern Abbreviations & Terminology
US Crochet Terms are used throughout the pattern.
- ch: Chain stitch
- sc: Single crochet
- hdc: Half double crochet
- dc: Double crochet
- tr: Treble (triple) crochet
- sl st: Slip stitch
- st(s): Stitch(es)
- rep: Repeat
- sk: Skip
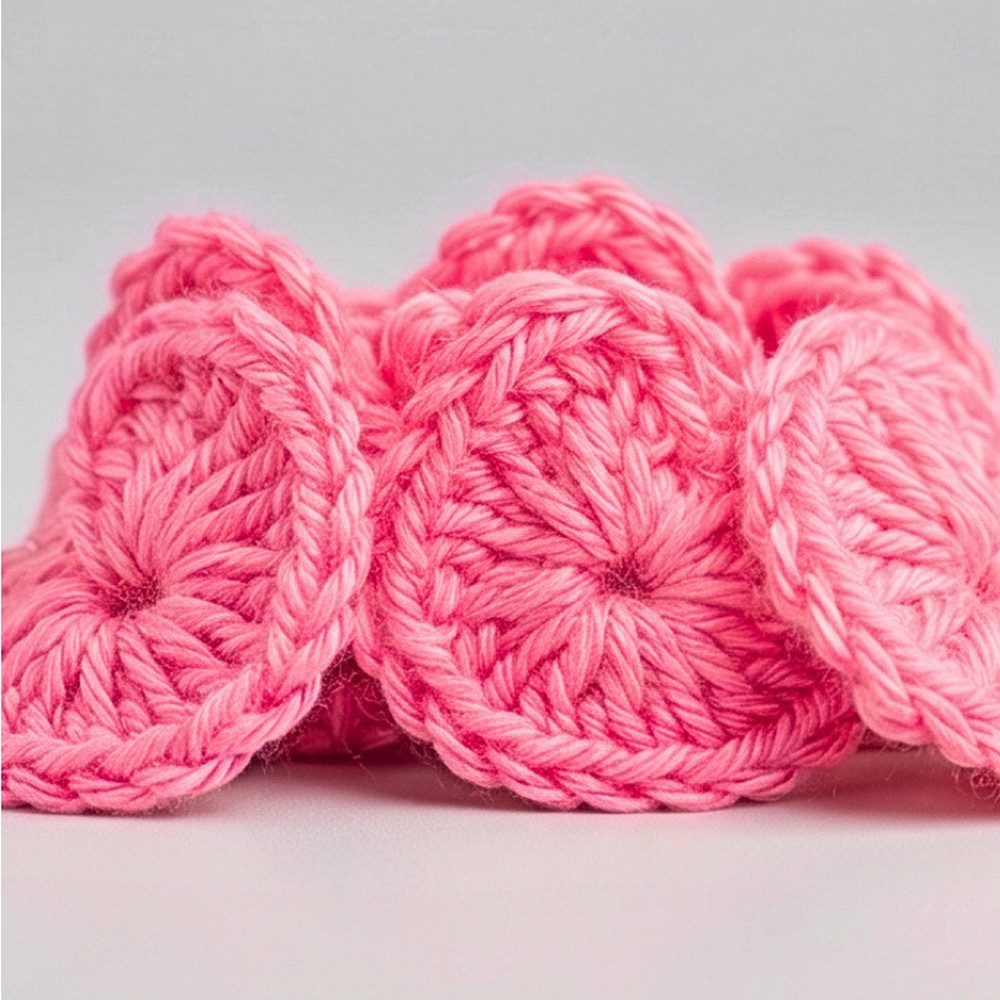
Step-by-Step Detailed Crochet Instructions
Foundation & Base Band
The edging starts with a foundation chain and two simple rows that create a firm base for the hanging heart motifs. Keep your single crochet stitches even so the decorative row has a stable edge to attach to.
Foundation Chain:
- Work a slip knot and chain in multiples of 6 + 2.
- For a sample swatch of 4 hearts, chain 26 (
[4 × 6] + 2).
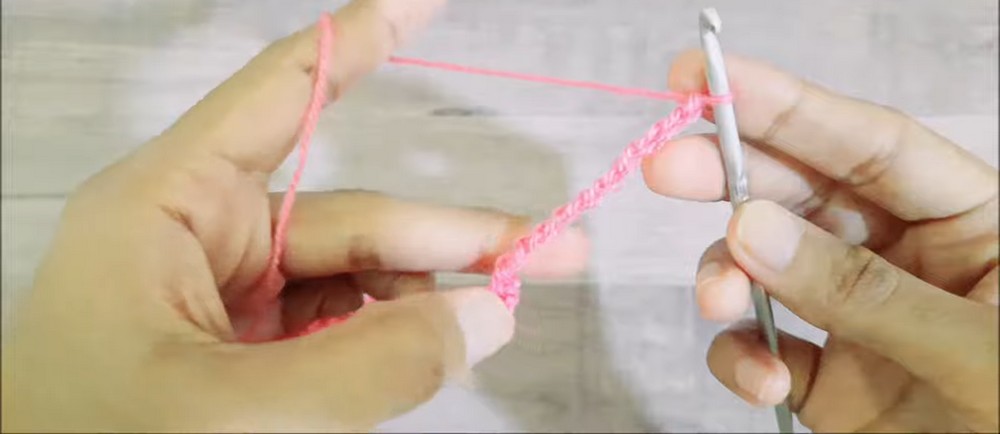
Row 1 (Foundation Base):
- Insert hook into the 2nd ch from hook and work 1 sc.
- Work 1 sc into each chain across to the end.
- Total stitch count: 25 sc (for a 26-ch foundation).
- Turn your work.
Row 2 (Turning Row):
- Ch 1 (does not count as a stitch).
- Work 1 sc directly into the very first sc stitch.
- Do not turn; begin the heart motifs immediately from this point.
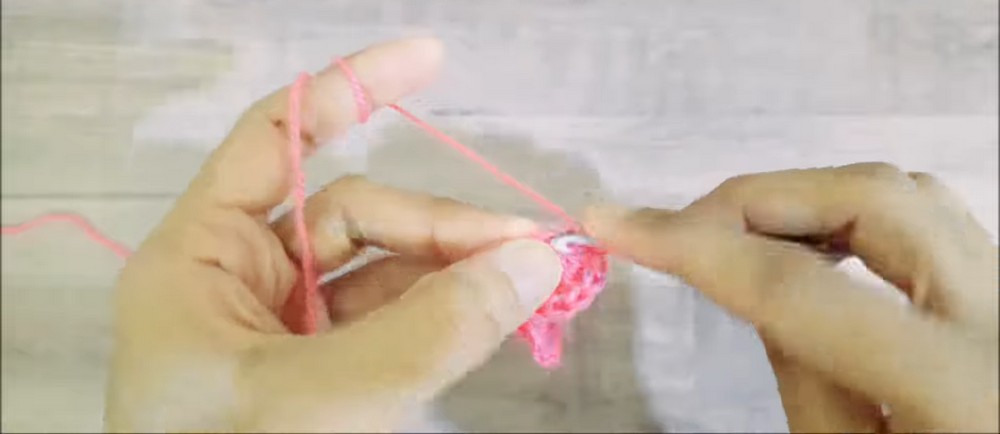
Heart Lace Row
The heart motifs are worked continuously along the base. Each one is made inside a small ring, using taller stitches on the upper curves and a chain at the lower point to create the heart shape.
Work the following complete sequence across the entire row:
- Stem Chain: Ch 10.
- Ring Creation: Insert hook into the 4th ch from the hook, yarn over, and pull through to make a slip stitch (sl st).
- This forms a working center ring with 6 unworked stem chains leading back down to the base.
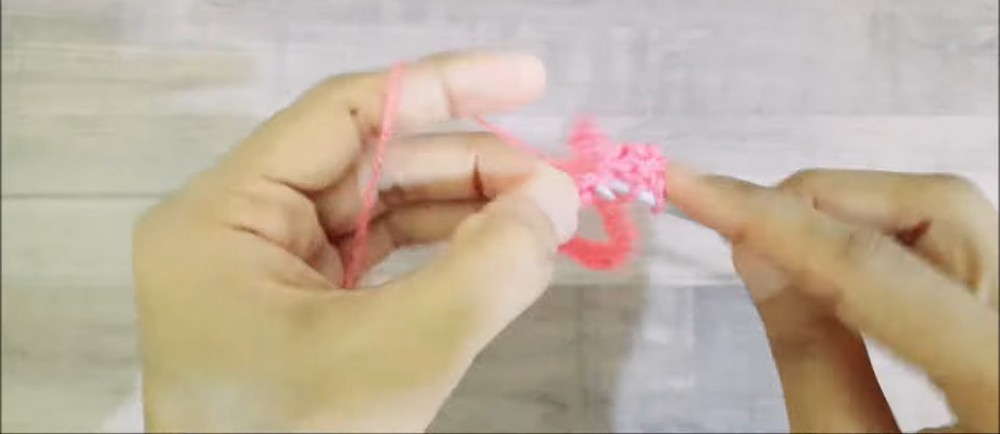
- Heart Motif (Worked completely into the ring):
- Step 3a: Ch 2.
- Step 3b: Work 2 tr into the ring.
- Step 3c: Work 2 dc into the ring.
- Step 3d: Work 2 hdc into the ring.
- Step 3e: Work 1 dc into the ring.
- Step 3f: Ch 1. This forms the lower tip/point of the heart.
- Step 3g: Work 1 dc into the ring.
- Step 3h: Work 2 hdc into the ring.
- Step 3i: Work 2 dc into the ring.
- Step 3j: Work 2 tr into the ring.
- Step 3k: Ch 2.
- Step 3l: Sl st into the ring to close and cinch the heart shape.
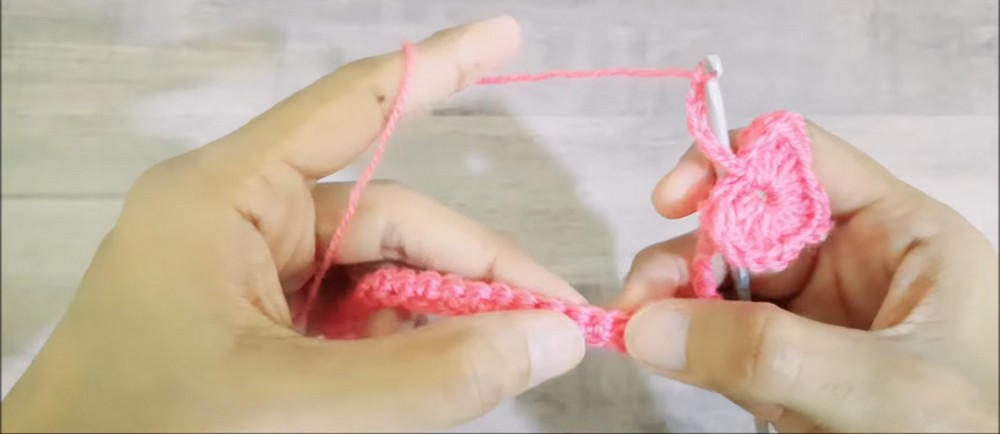
- Bridge Chain: Ch 6.
- Anchor to Base:
- Skip the next 5 sc on the base row.
- Work 1 sc into the 6th sc to anchor both the heart stem and bridge arch.
- Repeat: Repeat steps 1 through 5 across the row until all foundation stitches are worked.
Assembly & Finishing Techniques
The hearts and connecting arches are made as one continuous lace row, so there is no need to sew individual motifs together. Once the final heart is complete, finish the edge neatly and shape the lace with gentle blocking.
- No Separate Sewing Needed: The hearts and connecting arches are worked continuously in a single pass without cutting the yarn between motifs.
- Joining New Colors (Optional): If switching colors for the hearts, complete the final yarn over of the first sc in Row 2 with your new color, draw through, and begin the ch-10 stem sequence.
- Fastening Off: After placing the final single crochet at the very last stitch of the row, chain 1, cut yarn leaving a 4–5 inch tail, and pull through securely.
- Blocking (Recommended): Wet block or steam block the hearts gently using blocking pins. Pin out each heart lobe and the bottom chain-1 tip so they lay completely flat and open without curling forward.
- Weaving Tails: Using a yarn needle, weave the starting and ending tails back through the solid single crochet base row on the wrong side.
Conclusion
This crochet heart edging creates a delicate, suspended heart lace pattern that elevates simple fabric borders, blankets, and garments. By working the hearts directly off the chain loops in an unbroken continuous thread, it eliminates yarn joins while keeping the scalloped hearts crisp, symmetrical, and beautifully defined.