Crochet Dog Bookmark Pattern with Ears, Feet and Bow
Need a cute handmade bookmark? Crochet this flat dog silhouette with floppy ears, tiny feet, a collar, and an optional bow for a playful page marker.
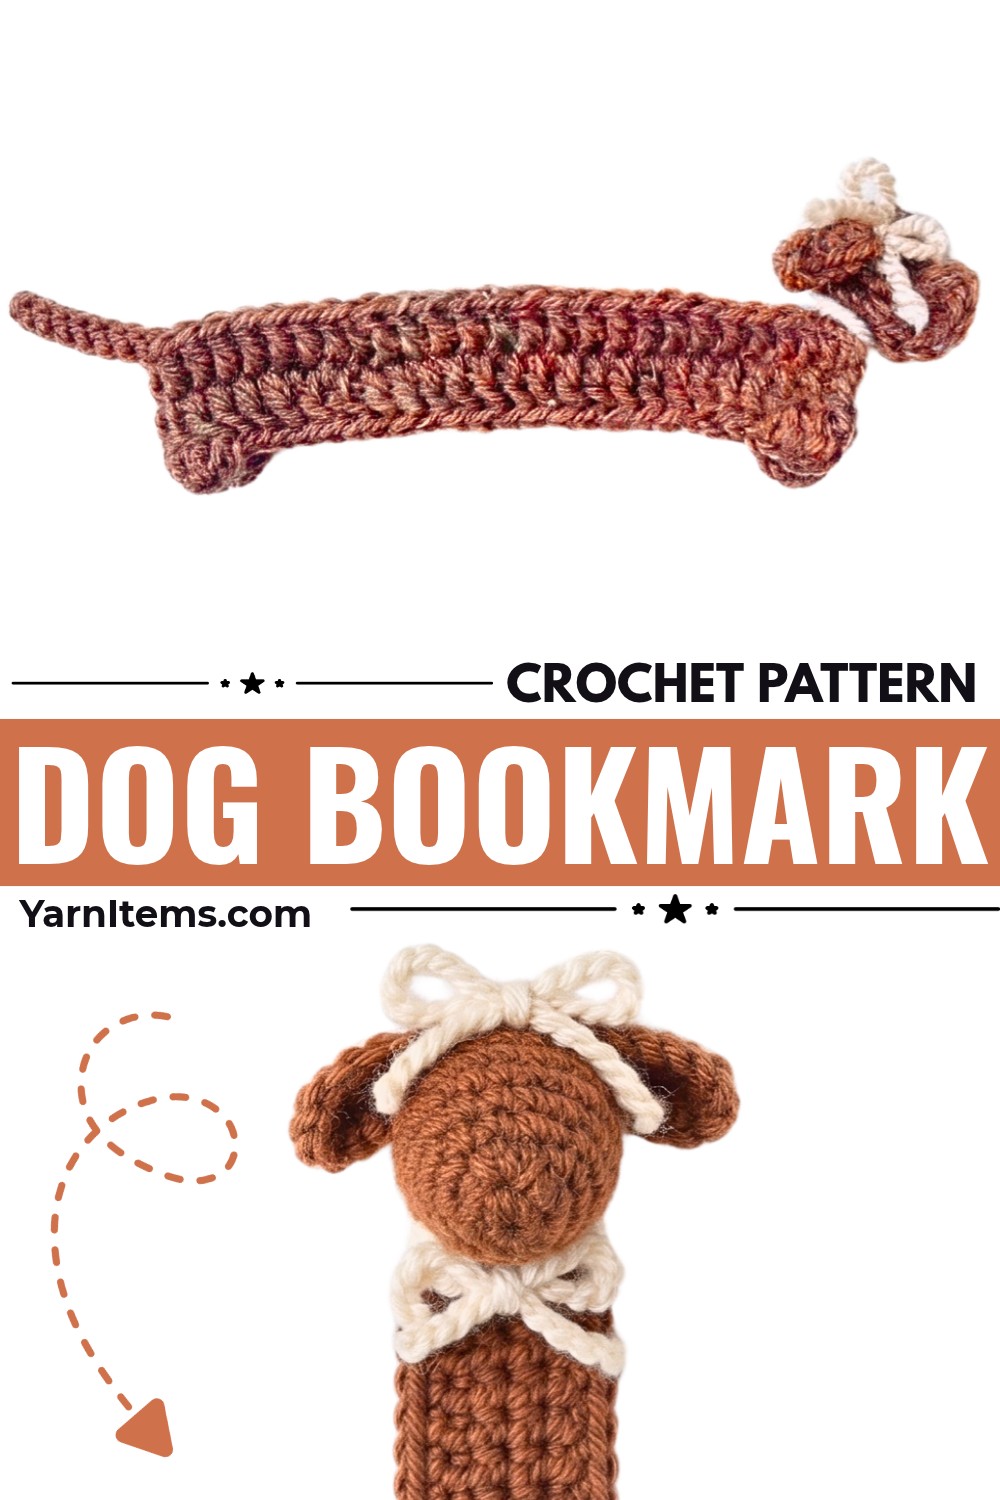
Playful enough to make you smile every time you open your book, this crochet bookmark turns a simple strand of yarn into a flat little pup. The long body slips neatly between pages, while the head, ears, feet, and collar add plenty of personality without making the bookmark bulky.
Start with the crochet dog’s head and ears, then build the long body around one foundation chain so it stays flat. The pattern uses simple stitches and very little sewing, with easy ways to change the ear color, collar, or bow when you want a different-looking pup.
Credit Crochet with ice
Materials & Tools Needed
- Yarn: Two colors of medium/DK weight yarn; use one for the dog and another for the collar or bow
- Crochet Hook: 3.5 mm (E/4)
- Scissors
- Yarn or Tapestry Needle: For sewing pieces together and weaving in ends
Finished Size & Customization
With a 3.5 mm hook, the bookmark reaches a standard length suitable for most paperback and hardcover books. The 50-stitch body primarily determines its length.
Personalize the dog by changing the ear color for a spotted or two-tone look. You can make the collar in a contrasting yarn, and replace the small bow with a different color, miniature ribbon, or another tiny decorative accent.
Pattern Abbreviations
- MR – Magic Ring
- ch – Chain
- st(s) – Stitch(es)
- sl st – Slip Stitch
- sc – Single Crochet
- hdc – Half Double Crochet
- dc – Double Crochet
- inc – Increase
Crochet Dog Head
Use your main dog color.
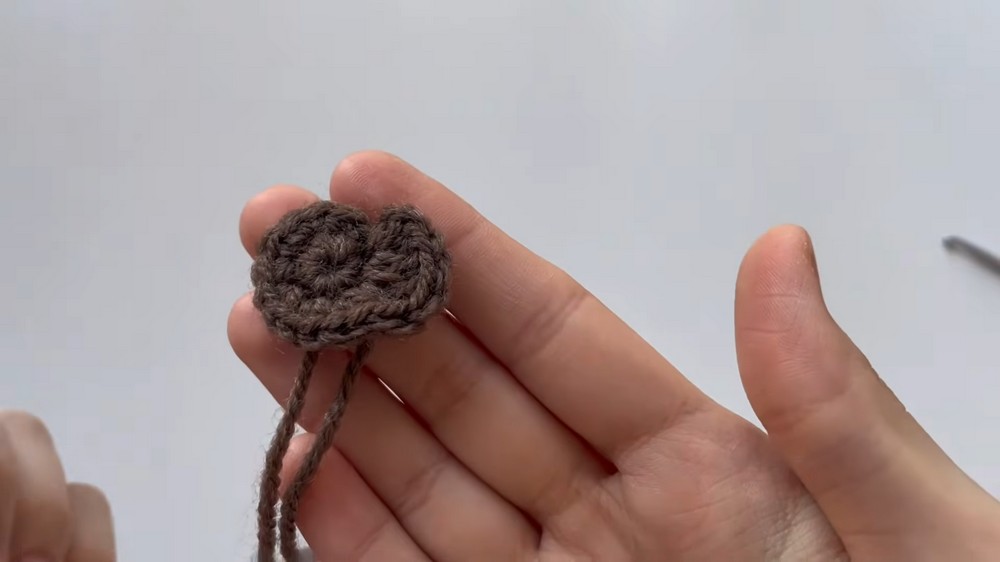
Round 1: Create a magic ring, ch 1, work 8 sc into the magic ring, then pull the yarn tail tight to close. [8 sts]
Round 2: Work an inc in each of the first 6 sts, work 2 dc in the 7th st, then work 1 dc followed by 1 hdc in the 8th st; ch 2, then sl st back into the exact same chain/stitch where the hdc was placed to form the pointed nose. [14 sts]
Fasten off, leaving a long yarn tail for attaching the head to the body.
Nose tip: The final hdc, followed by the short ch-2 and slip stitch, creates the pointed end of the dog’s muzzle. Keep this section facing outward when you later position the head.
Crochet Dog Ear
Work the ear in your chosen dog color. Use the main color, or switch to a contrasting shade for a spotted look.
Row 1: Ch 5.
Row 2: Starting in the 2nd ch from the hook, work 4 hdc down the chain. [4 sts]
Ch 1 to fasten off, leaving a long tail for sewing.
The ear is intentionally small and flat. You’ll set its final angle and position during assembly, so you don’t need to force it into a particular shape while crocheting.
Crochet the Long Body and Tail
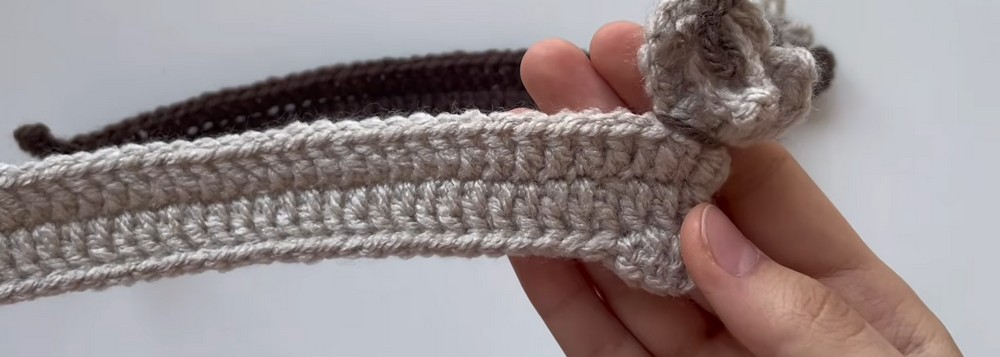
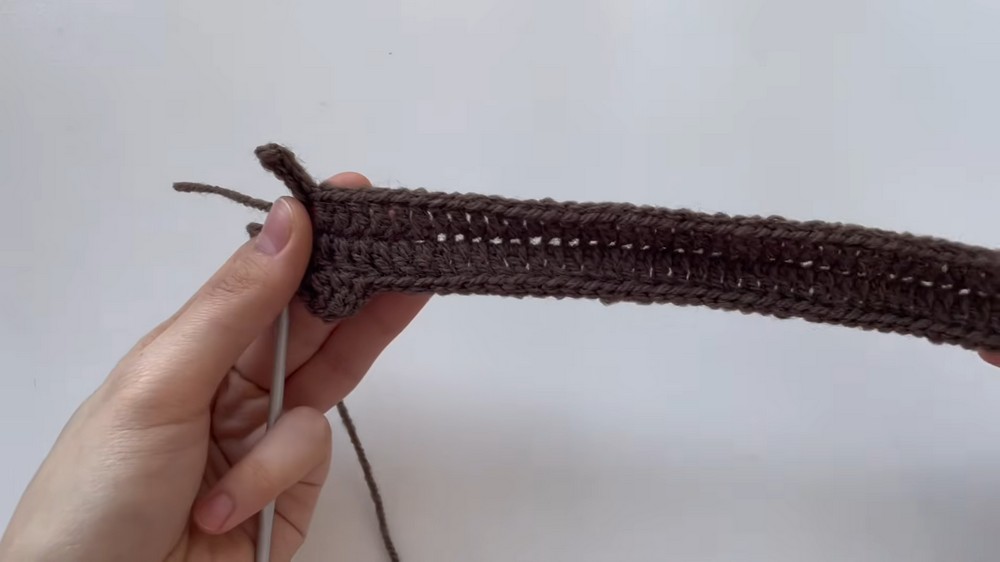
The long body is worked around both sides of the foundation chain. This is what gives the bookmark its flat, narrow shape.
Row 1 – Foundation: Ch 52. This chain determines the main length of the bookmark.
Row 2: Starting in the 3rd ch from the hook, work 50 dc down the chain. [50 sts]
Form the Tail
At the end of the 50-dc row, ch 5. Starting in the 2nd ch from the hook, work 4 sl st back down the tail chain. Ch 2, then sl st into the base of the final dc made in Row 2.
The short chain should now extend from the body as the dog’s tail. Keep the joining slip stitch secure because Row 3 immediately turns back along the opposite side of the foundation chain.
Row 3: Ch 2, turn your work slightly so you can crochet along the opposite side of the foundation chain, then work 50 dc across this side. [50 sts]
Flat-body check: At this point, the bookmark should be long and relatively narrow, with double crochet running along both sides of the original foundation chain. If the chain twists, straighten it before continuing so the finished body does not curl into a loop.
Shape the Feet
Row 4 creates the two little feet at opposite ends of the body. The long middle section is mostly made from slip stitches, which keeps the bookmark slim.
Row 4: Ch 2 and flip/turn your work over; for the first foot, work 1 dc into each of the first 2 sts, work 1 sl st into each of the next 46 sts, leaving exactly 2 sts remaining, then ch 1 and work 1 dc into each of the final 2 sts; ch 2, sl st into the exact same stitch where the final dc was made, then fasten off and weave in the body ends.
Count check: The 46 slip stitches are important because there must be exactly 2 stitches left for the second foot. If you reach the end too early or have more than 2 stitches remaining, recount before forming the final foot.
Assemble the Dog Bookmark
Attach the Ear
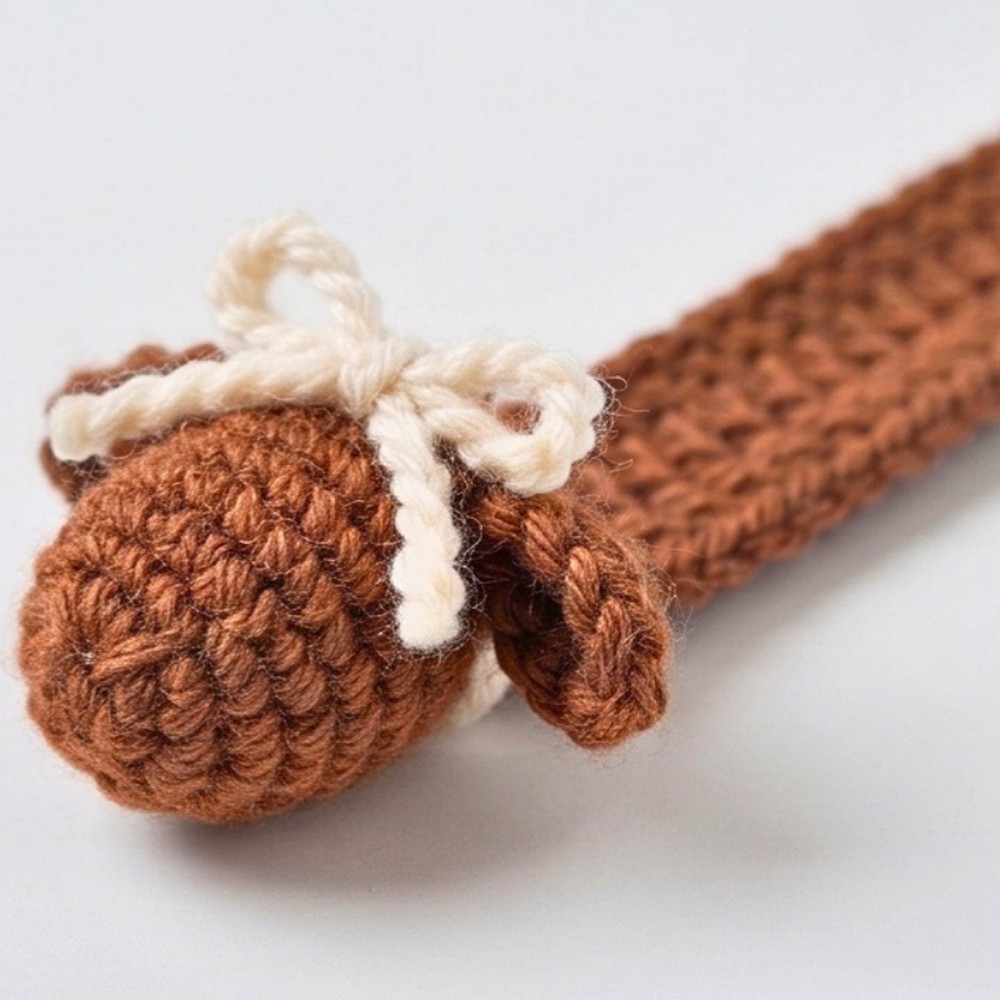
Use the long yarn tail left on the ear to sew it onto the head. The tutorial places the ear around the 3rd stitch of Round 2, but you can adjust the placement slightly for a different expression.
Secure the ear firmly, keeping its lower edge neatly attached to the head.
Attach the Head
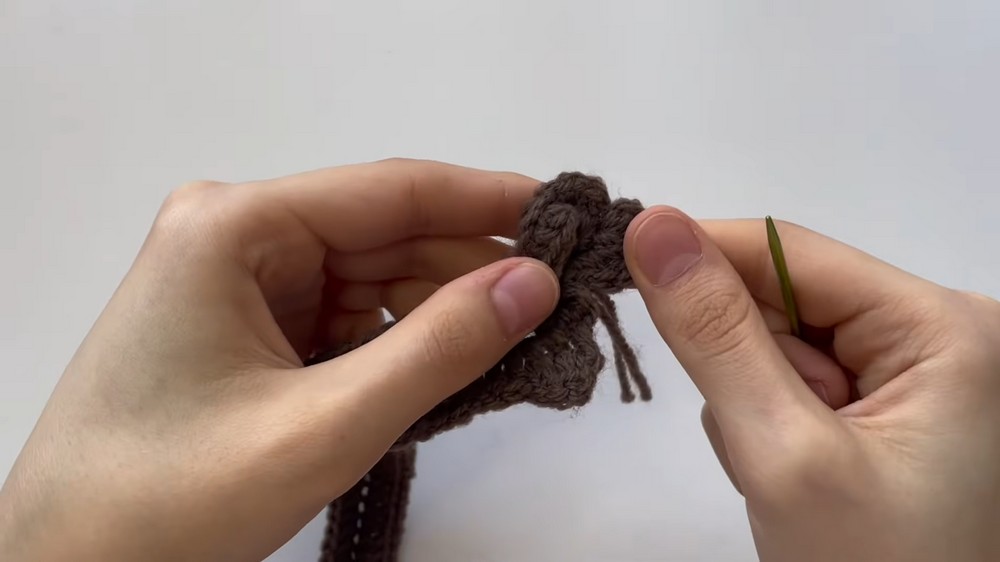
Use the long tail from the head to sew it onto the body’s top edge. Stitch through the top 3 stitches of the body piece to secure the head directly to the bookmark’s upper end.
Before tightening the final stitches, check that the dog’s nose points outward and the head is centered over the body.
Add the Collar
Cut a short strand of contrasting yarn, such as beige. Wrap it around the neck area where the head meets the body and tie a simple, secure knot.
Trim the excess yarn close to the knot.
Add the Optional Bow
For a little extra personality, pull a small piece of yarn completely through a stitch on the ear using either your crochet hook or sewing needle.
Tie the two ends together into a tiny bow, tighten it into shape, and trim the excess.
Final Shape Check
Lay the completed bookmark flat on a table and gently straighten the long body. The dog’s head should sit securely at one end, the tail should remain visible at the opposite end, and the two small feet should frame the lower edge.
Slide the body between a few pages to make sure it stays comfortably flat. The simple silhouette and narrow center mark your place without adding a bulky layer inside the book.