Free Crochet Christmas Tree Drawstring Bag Pattern
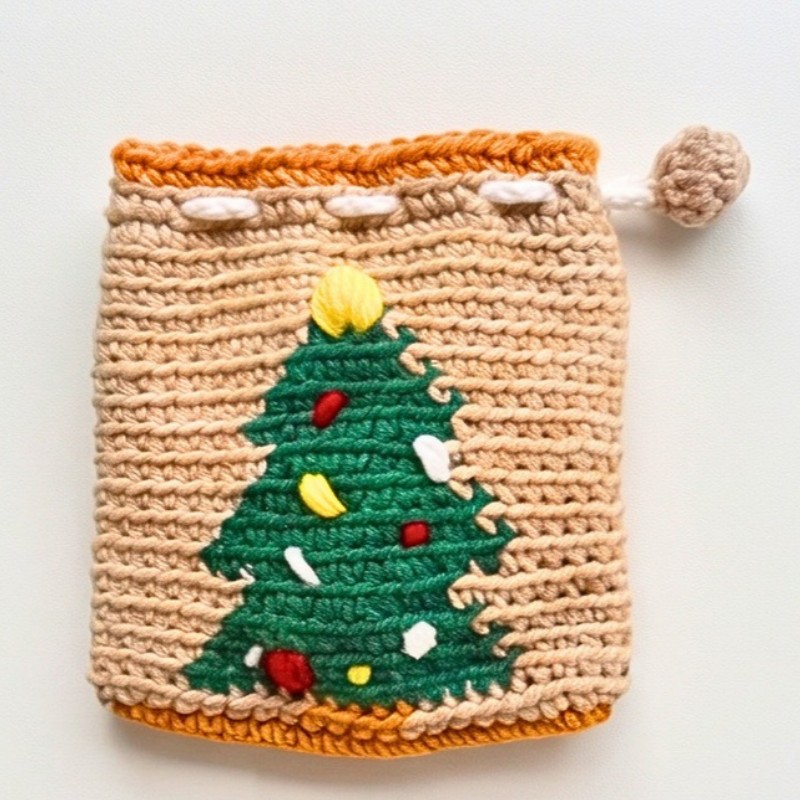
Need a festive little crochet pouch? This Christmas tree drawstring bag pairs a colorful holiday motif with a handy closure for gifts, treats, jewelry, or small essentials.
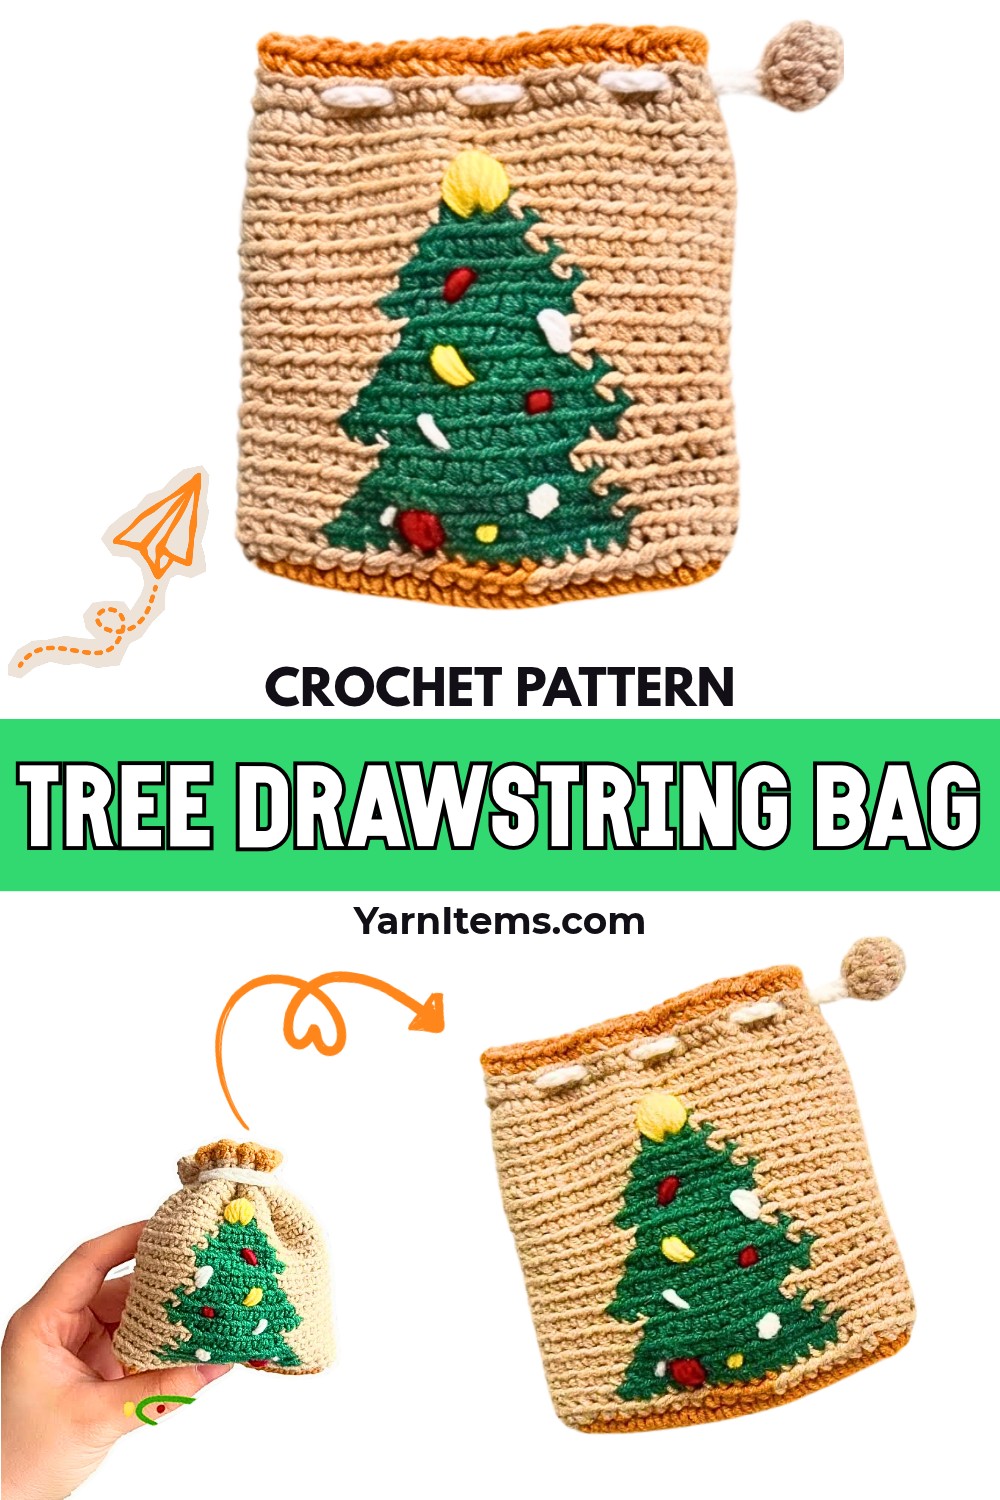
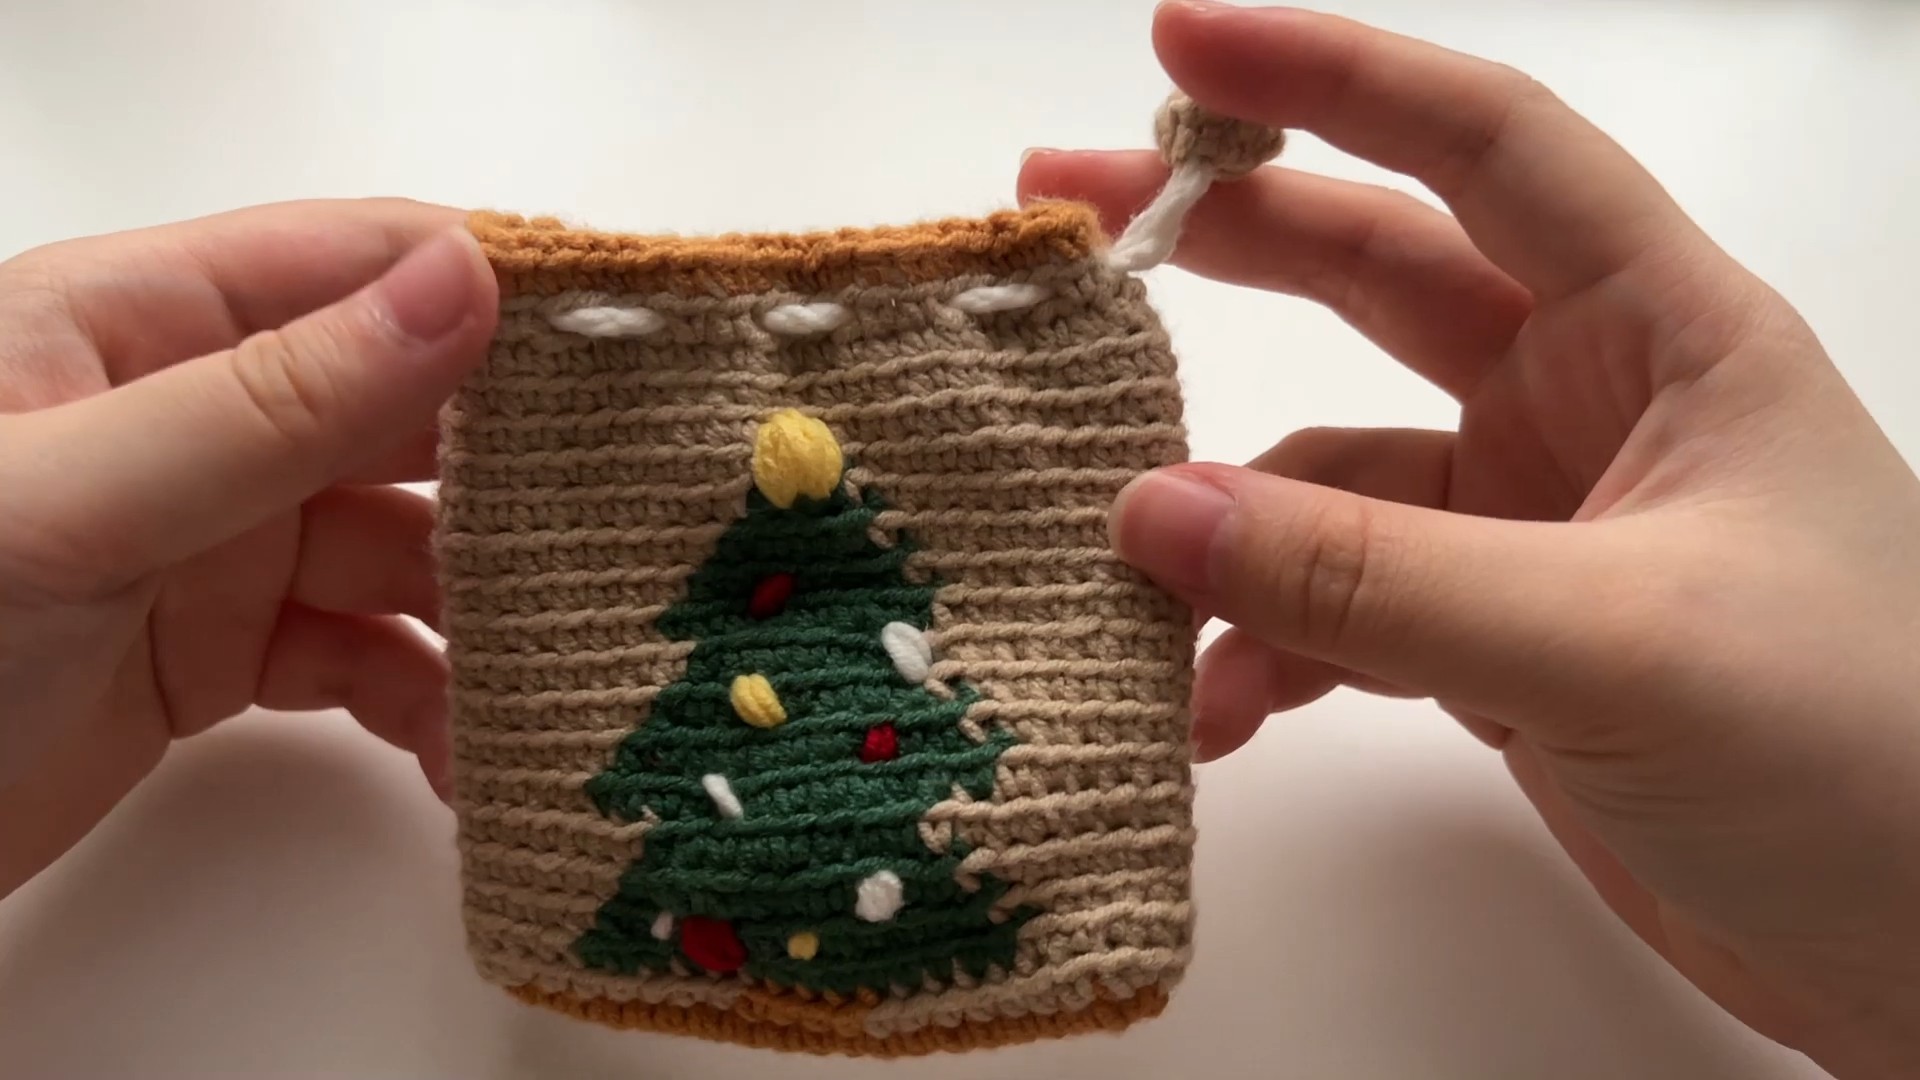
Festive details can turn a simple little crochet pouch into something worth keeping long after the holidays. This crochet Christmas Bag uses a beige base to frame a green tree, with a gold rim, white drawstring, and tiny embroidered ornaments for a cheerful seasonal finish.
Starting at the oval base, you’ll build the tree with simple tapestry crochet color changes, then finish the upper body and drawstring eyelets. The pattern also includes a small yellow tree topper and clear assembly steps, so you can see exactly where each decorative detail belongs.
Credit Crochetbynisa
Materials & Tools Needed
- Yarn: Size 4 medium/worsted weight in:
- Beige for the main bag
- Green for the Christmas tree
- Yellow for the tree topper
- White for the drawstring and ornaments
- Red for the ornaments
- Mustard/Gold for the top rim
- Crochet Hook: 3.0–4.0 mm, or a size appropriate for your yarn
- Stitch Marker: For marking the first stitch of each round
- Tapestry Needle: For sewing and weaving in ends
- Scissors
Finished Size & Customization
The finished bag is a small, functional drawstring pouch that works well for gift cards, jewelry, AirPods, holiday treats, and other small items.
For a different seasonal look, replace the beige background with snowy white or deep holiday red. Instead of embroidered French knots, you can sew on small beads, sequins, or tiny buttons for a more sparkly tree.
Pattern Abbreviations
- ch: Chain
- sc: Single crochet
- inc: Increase – 2 sc in the same stitch
- sl st: Slip stitch
- BLO: Back Loop Only
- sk: Skip
- st/sts: Stitch/Stitches
- rep: Repeat
- [ ]: Repeat the instructions inside the brackets as directed
Before You Begin
Every round from Round 1 through Round 20 is joined with a slip stitch into the first stitch, followed by ch 1. The ch 1 does not count as a stitch.
Place a stitch marker in the first sc of each round. This is particularly helpful once the green tree motif begins because the color sections need to remain aligned from one round to the next.
Changing Colors in Tapestry Crochet
When a color change is called for, work the final sc of the old color until you have two loops remaining on the hook. Yarn over with the new color and pull through those final two loops. Carry the unused yarn along the back of the work and crochet over it as you continue.
Keep the carried yarn relaxed. Pulling it too tightly can make the fabric pucker and can distort the Christmas tree motif.
Crochet Christmas Tree Bag Base
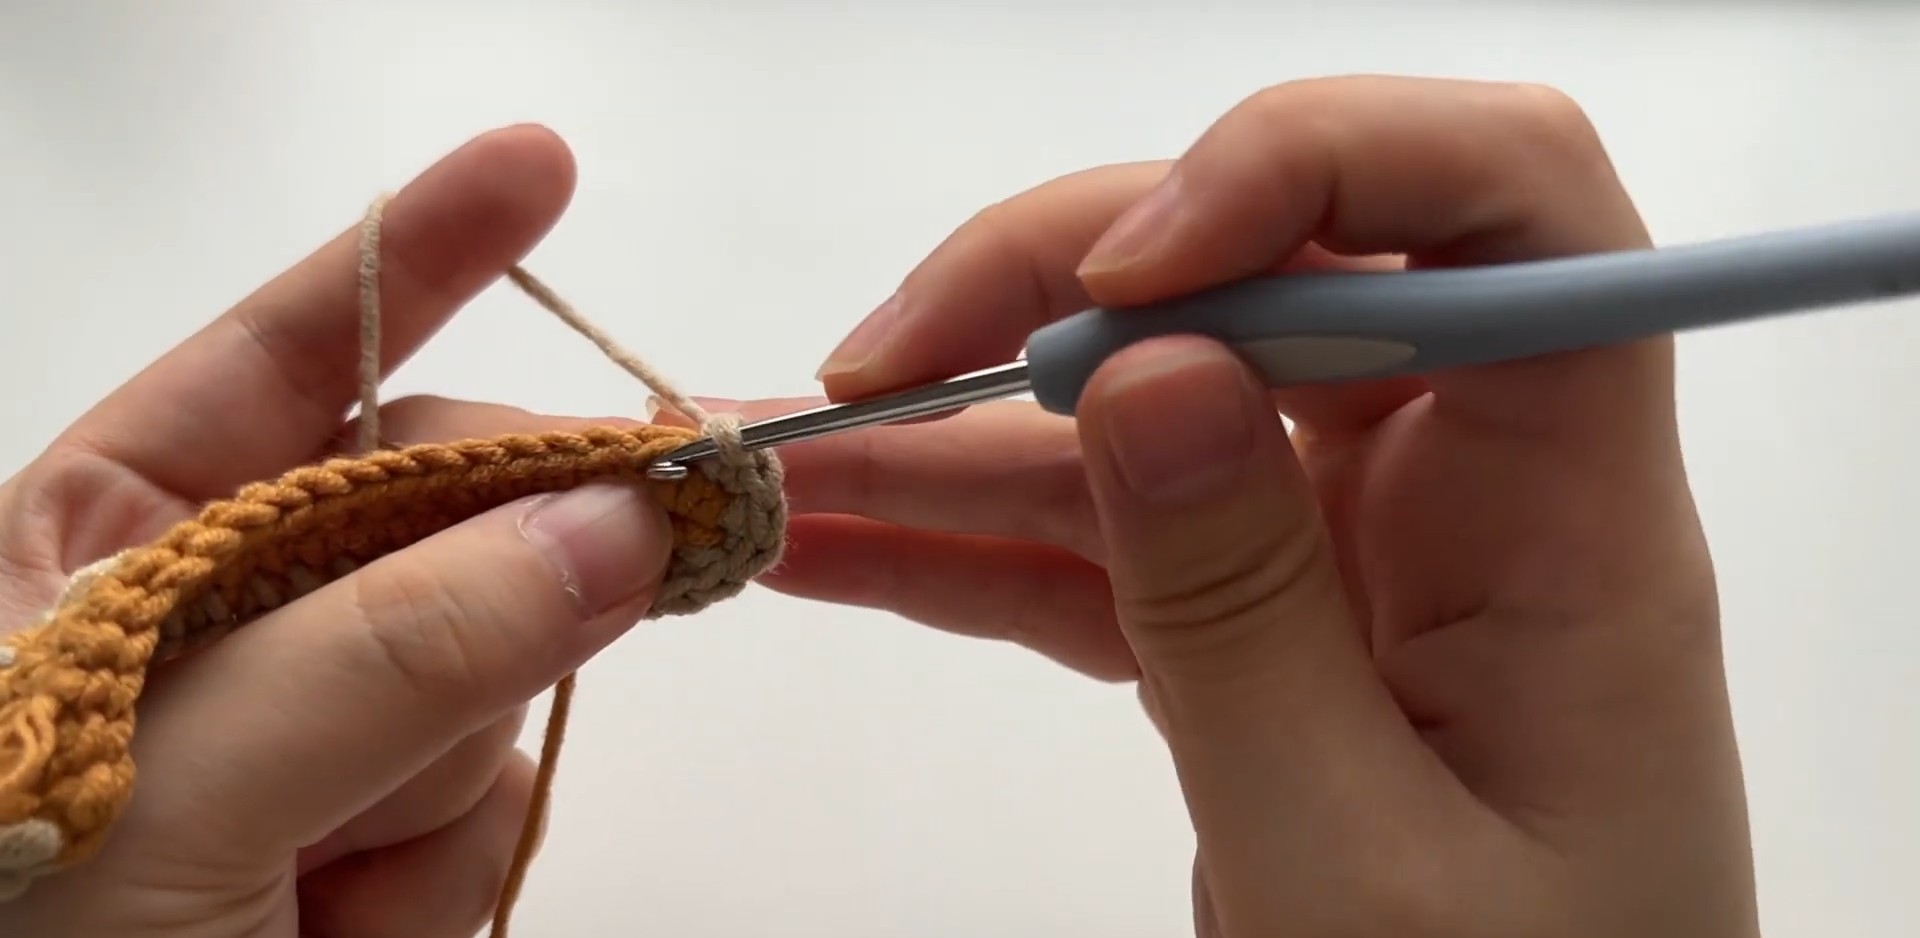
Begin with Beige yarn. The first two rounds establish the oval base, so pay close attention to the stitches worked at each end of the starting chain.
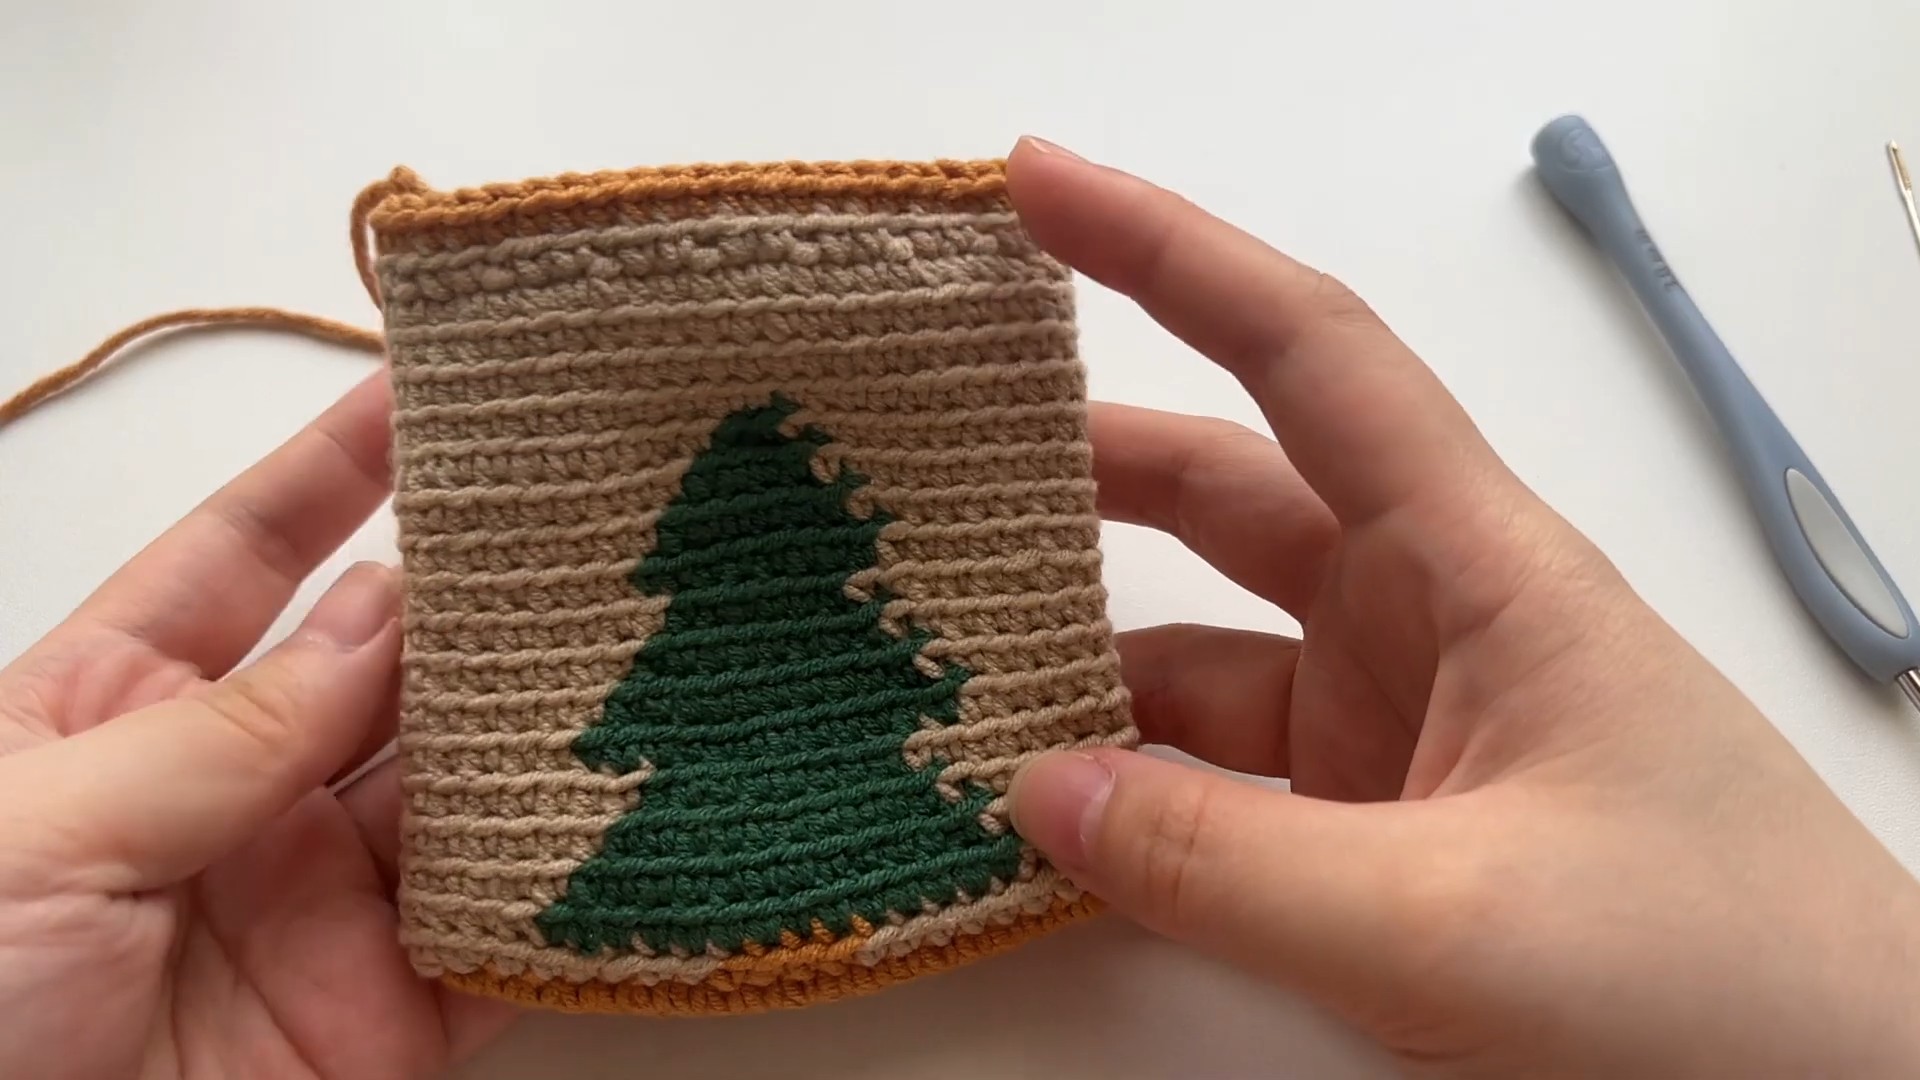
Round 1: Start with a slip knot, ch 20, starting in the 2nd ch from the hook, work 18 sc into the left loops of the chain, 3 sc in the last chain, continue along the opposite side of the chain with 17 sc, then 1 inc in the very last stitch, join with a sl st, ch 1. [40 sts]
Round 2: 1 inc, 17 sc, 3 inc, 17 sc, 2 inc, join with a sl st, ch 1. [46 sts]
At the end of Round 2, the base should lie relatively flat. The increases at both ends give the bag enough width to transition from the oval bottom into its upright sides.
Build the Christmas Tree Motif
The tree is formed through color changes rather than separate appliqué pieces. Round 3 is worked in BLO, while the remaining motif rounds return to both loops.
Round 3: Work entirely in BLO: 27 sc Beige, switch to Green for 14 sc, switch back to Beige for 5 sc, join with a sl st, ch 1. [46 sts]
This BLO round creates the flat-to-upright transition at the base of the bag. Make sure your color change occurs at the stated stitch so the green section begins in the correct position.
Round 4: Work in both loops: 28 sc Beige, 12 sc Green, 6 sc Beige, join with a sl st, ch 1. [46 sts]
Round 5: 29 sc Beige, 10 sc Green, 7 sc Beige, join with a sl st, ch 1. [46 sts]
Round 6: 30 sc Beige, 8 sc Green, 8 sc Beige, join with a sl st, ch 1. [46 sts]
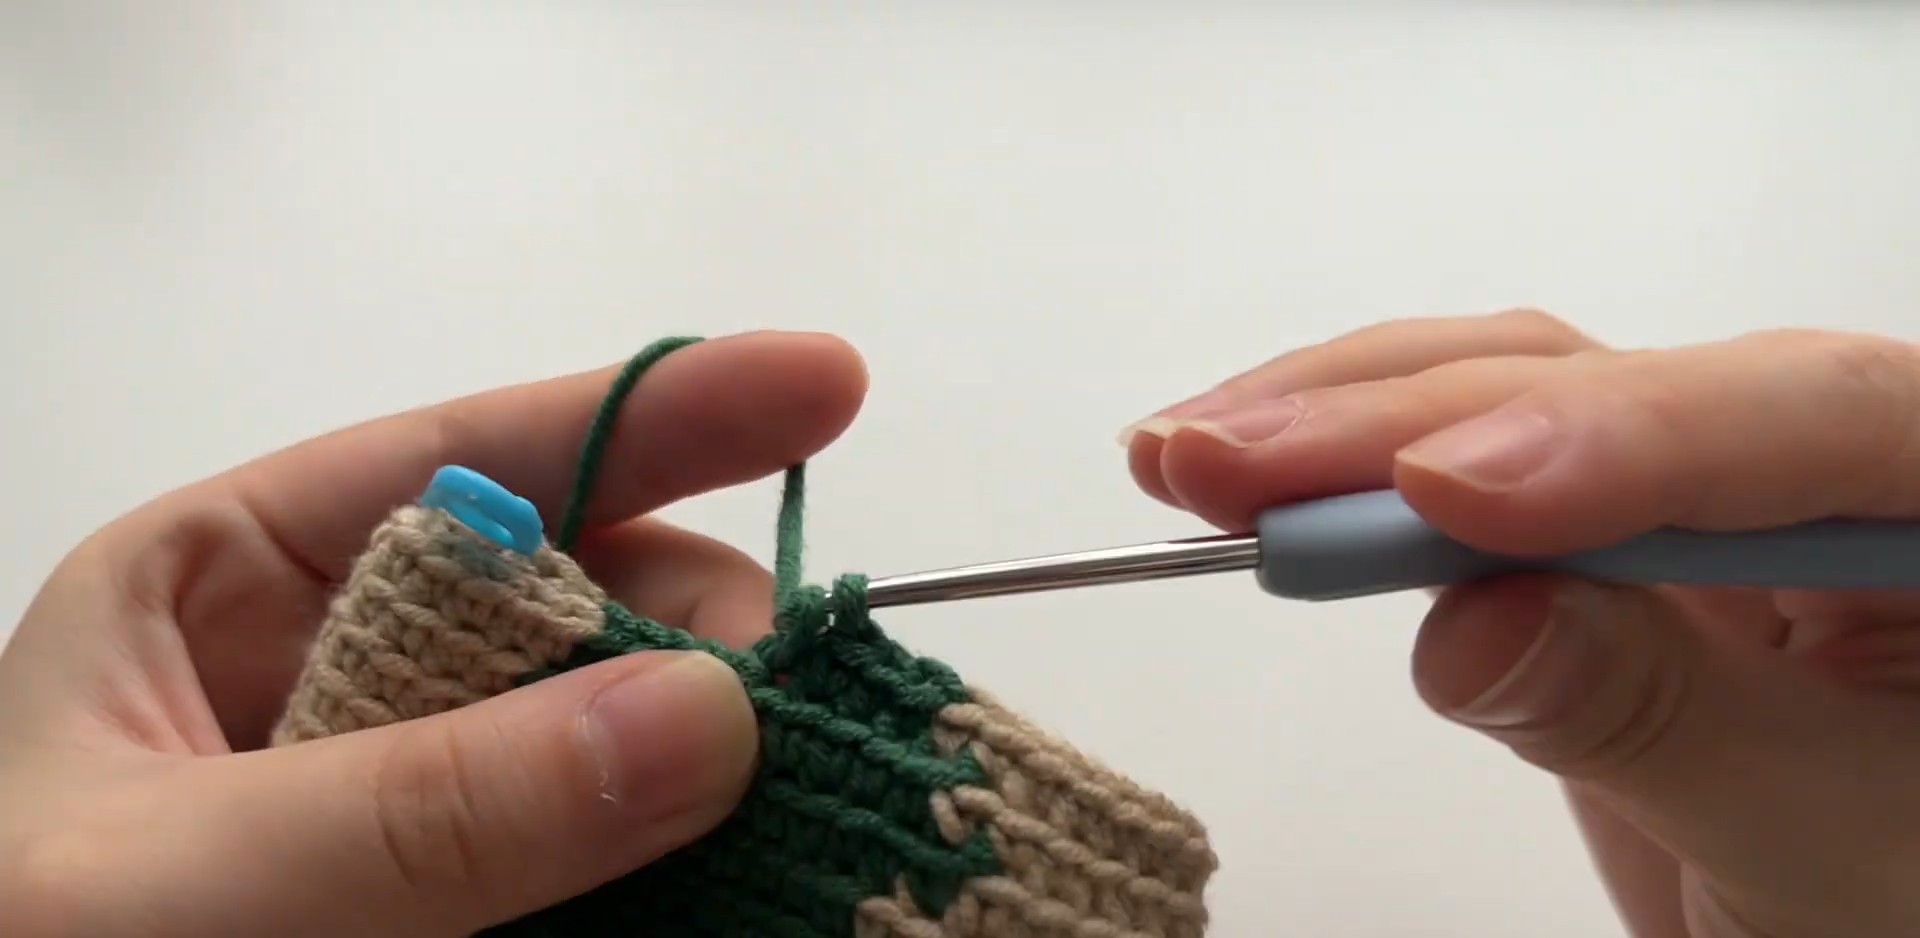
Round 7: 28 sc Beige, 12 sc Green, 6 sc Beige, join with a sl st, ch 1. [46 sts]
Round 8: 29 sc Beige, 10 sc Green, 7 sc Beige, join with a sl st, ch 1. [46 sts]
Round 9: 30 sc Beige, 8 sc Green, 8 sc Beige, join with a sl st, ch 1. [46 sts]
Round 10: 31 sc Beige, 6 sc Green, 9 sc Beige, join with a sl st, ch 1. [46 sts]
Round 11: 30 sc Beige, 8 sc Green, 8 sc Beige, join with a sl st, ch 1. [46 sts]
Round 12: 31 sc Beige, 6 sc Green, 9 sc Beige, join with a sl st, ch 1. [46 sts]
Round 13: 32 sc Beige, 4 sc Green, 10 sc Beige, join with a sl st, ch 1. [46 sts]
Round 14: 33 sc Beige, 2 sc Green, 11 sc Beige, join with a sl st, ch 1. [46 sts]
You can cut the Green yarn after Round 14.
Motif check: The green section narrows as you move toward the top, creating the tapered Christmas tree shape. If the tree looks wider on one side, check that each round begins at the correct marked stitch before continuing.
Upper Body and Drawstring Opening
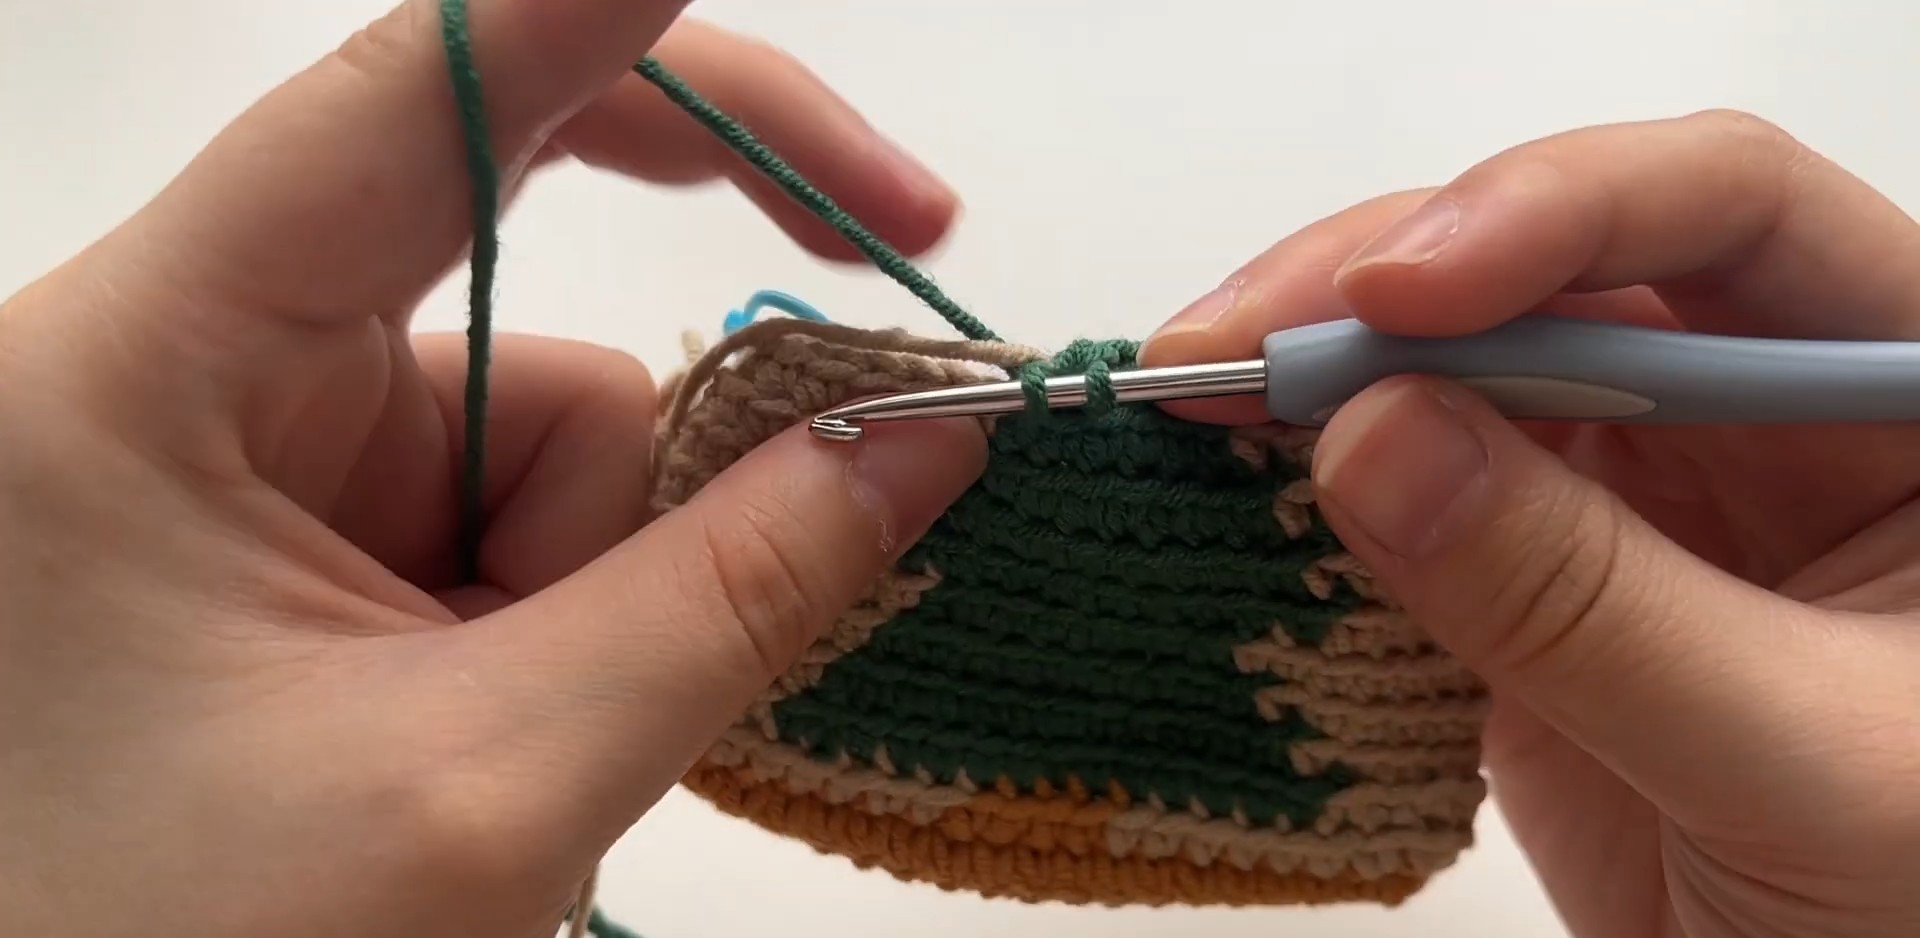
Continue with Beige yarn.
Rounds 15–18: 46 sc around, joining with a sl st and ch 1 at the end of every round. [46 sts]
These rounds give the bag some plain height above the tree before the drawstring opening is added.
Round 19: 1 sc, ch 1, sk 1 st; repeat [2 sc, ch 1, sk 1 st] around to the end, join with a sl st, ch 1.
The skipped stitches and chain spaces create the holes through which the drawstring will pass. Keep the chain spaces open and evenly spaced so the finished cord can slide through without catching.
Round 20: Switch to Mustard/Gold yarn and work 46 sc around, placing 1 sc in each sc and 1 sc into each ch-1 space from Round 19. Join with a sl st, ch 1. Cut the yarn and pull through to fasten off. [46 sts]
The gold round gives the top edge a defined finish while also closing over the drawstring eyelet round.
Make the Drawstring
Use White yarn.
Drawstring: Leave a yarn tail, ch 55, cut the yarn leaving another short tail, then pull through the final loop to secure.
Set the finished chain aside until the bag body and top rim are complete.
Make the Yellow Tree Topper
Use Yellow yarn.
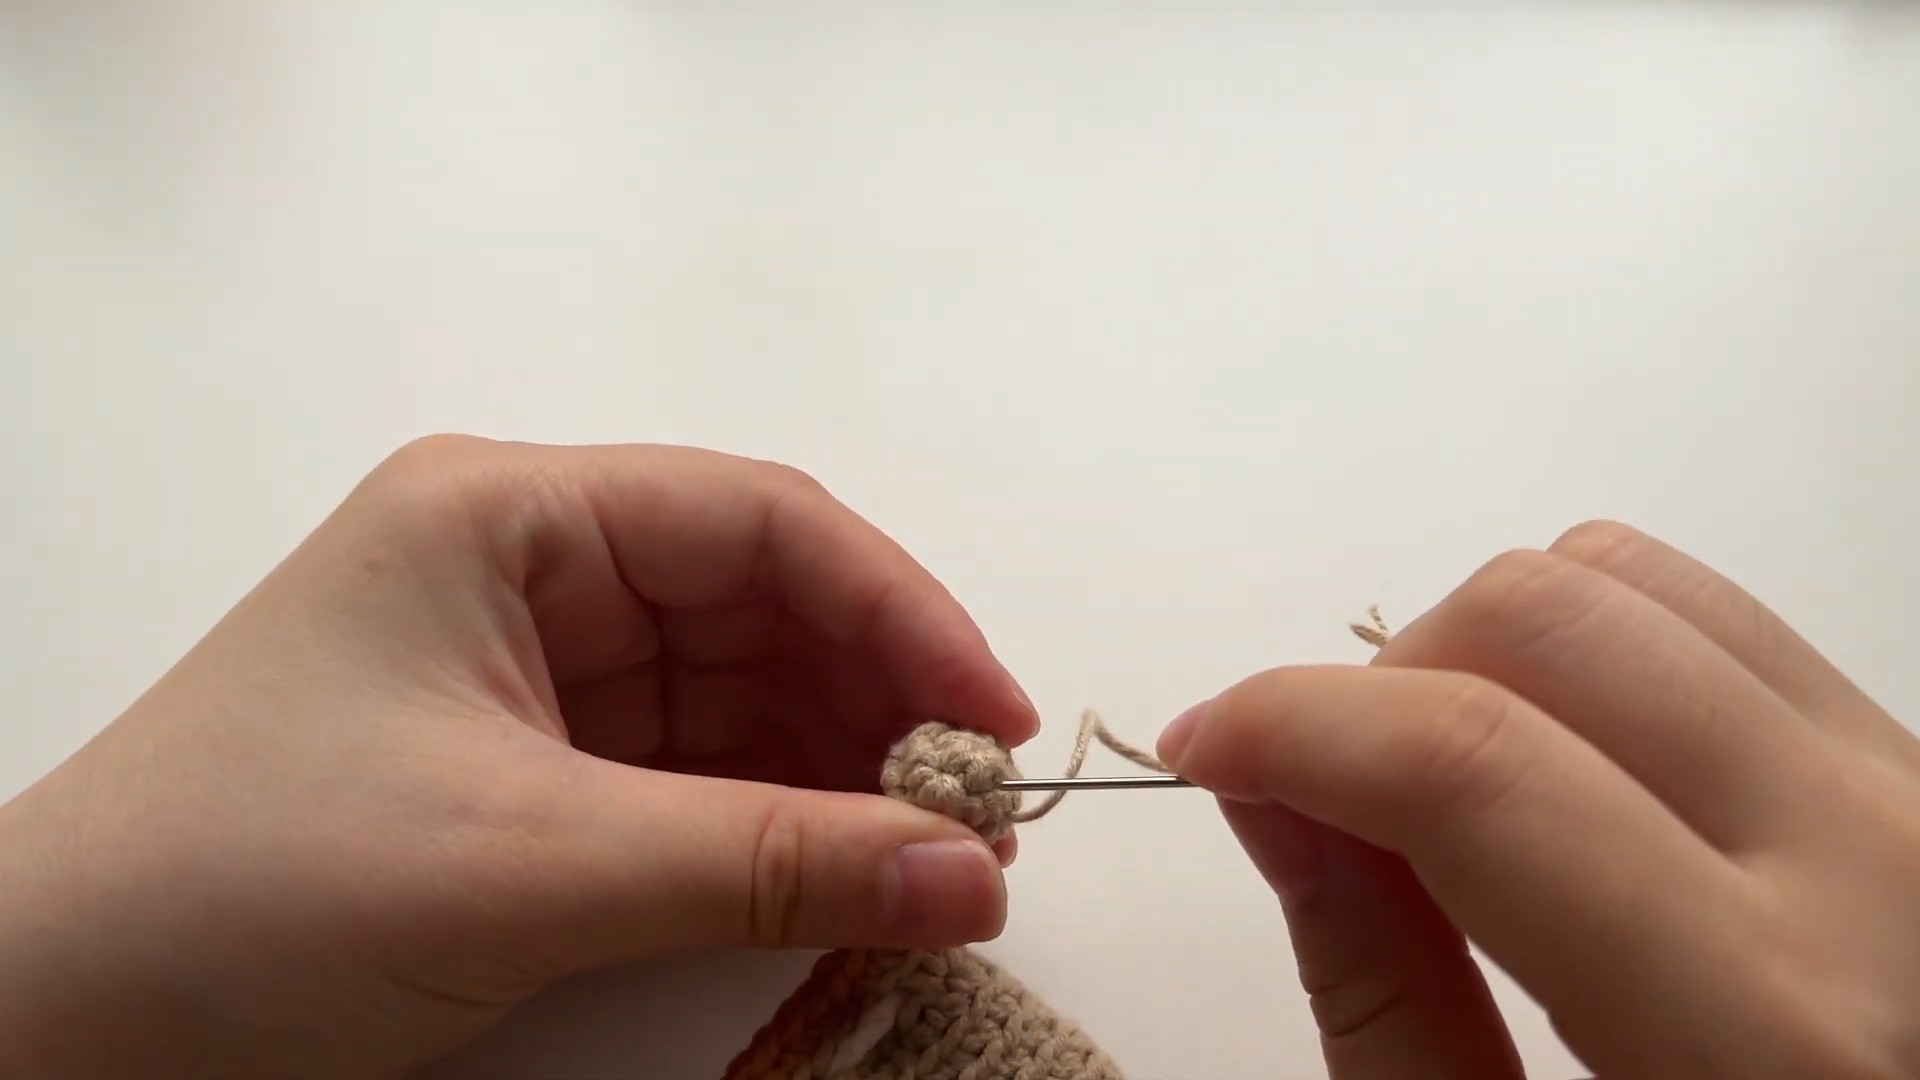
Round 1: Create a magic ring and work 6 sc into the ring. [6 sts]
Round 2: Repeat [1 sc, 1 inc] 3 times. [9 sts]
Round 3: 9 sc around, join with a sl st, ch 1, cut the yarn leaving a long tail for sewing. [9 sts]
This small rounded piece becomes the topper at the tip of the embroidered Christmas tree.
Finishing and Assembly
Hide the Color-Change Tails
Turn the bag inside out and use a tapestry needle to weave in the yarn tails from the Beige and Green color changes. Secure the ends well so they cannot work loose through the inside of the pouch.
Thread the Drawstring
Take the 55-chain White drawstring and weave it in and out through the eyelet holes created by Round 19.
Continue around the entire opening until both ends return to the front. Pull the cord gently to test the closure, then optionally tie small knots at the ends.
Drawstring check: The cord should move through all the eyelets smoothly. If it catches, inspect the Round 19 chain spaces for a stitch that may have been worked too tightly.
Attach the Tree Topper
Thread the long Yellow tail from the small ball onto your tapestry needle. Position the ball at the top tip of the Green tree and sew it securely to the front of the bag.
Embroider the Christmas Ornaments
Use strands of Red, White, and Yellow yarn to add small French knots across the Green tree.
Scatter the knots rather than placing them in a perfectly regular pattern. This gives the tree a more natural decorated appearance.
Secure the embroidery knots on the inside of the bag and weave in the remaining tails.
A Few Easy Customization Ideas
- Snowy version: Use White instead of Beige for the background.
- Traditional holiday version: Try a deep Red background with the same Green tree.
- Sparkly tree: Replace some French knots with tiny sequins or beads.
- Gift pouch: Use the finished bag for a gift card, candy, or another small holiday surprise.
- Everyday pouch: Skip the seasonal embroidery and use a single-color motif for a year-round drawstring bag.