How to Crochet a Cute Baby Hat (0–3 Months)
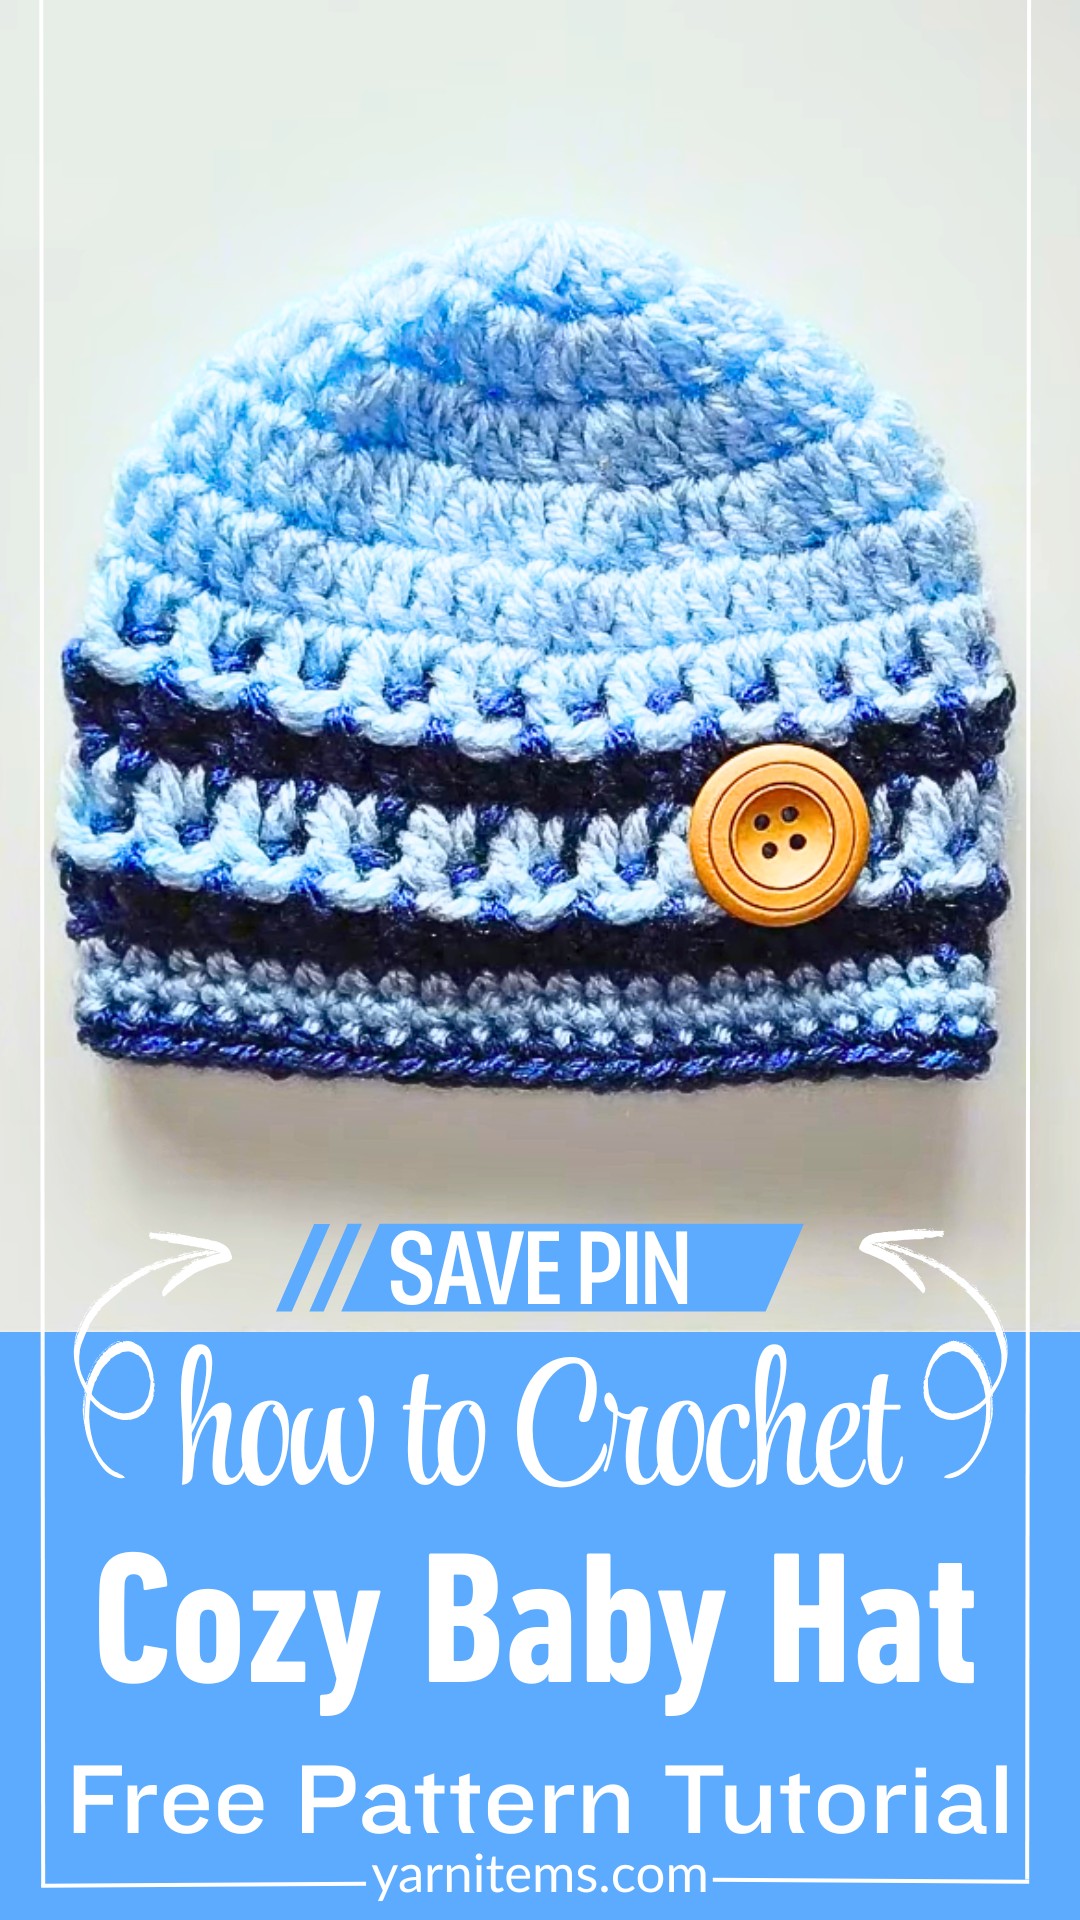
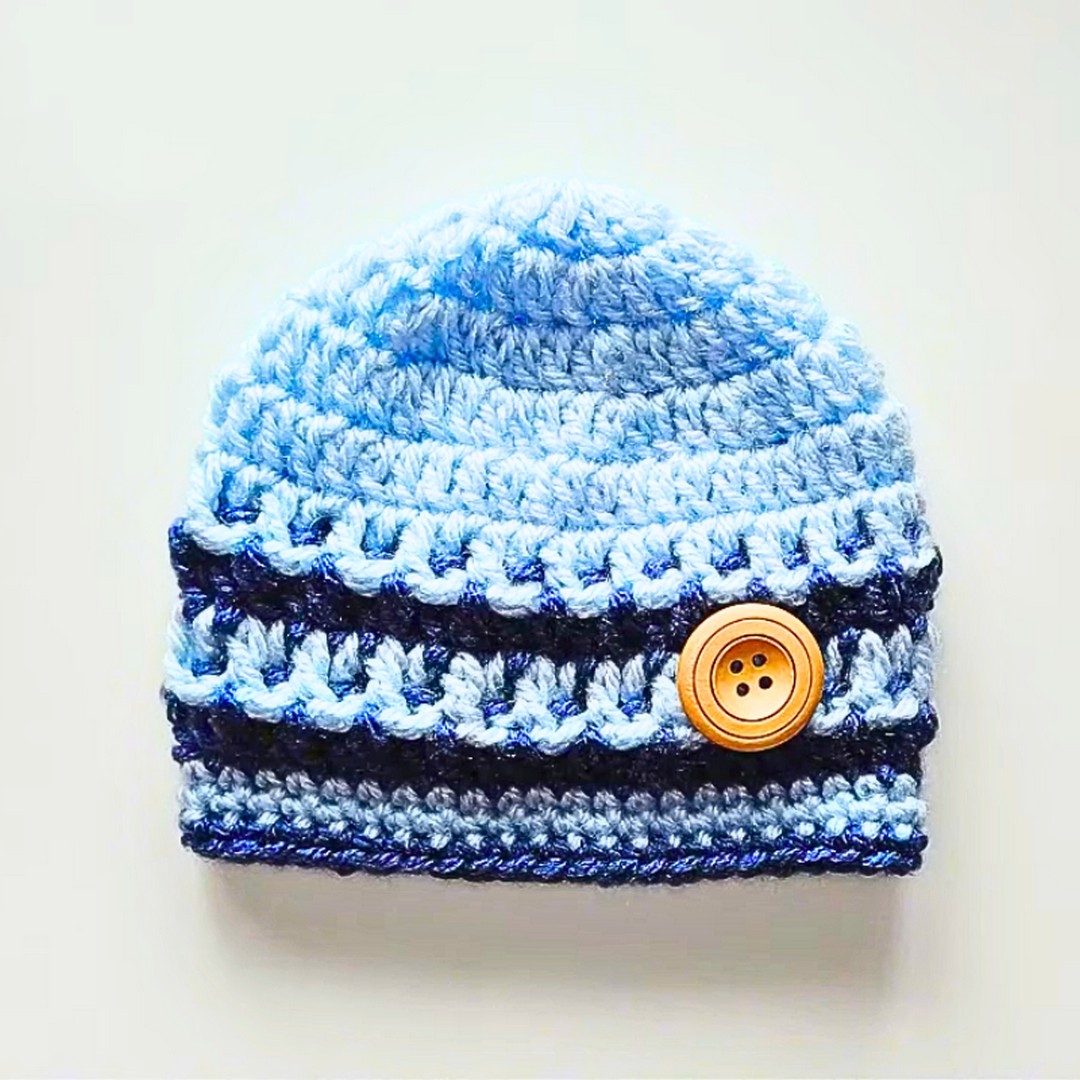
A tiny handmade crochet baby hat can become one of the sweetest keepsakes a family will treasure for years. Soft yarn, gentle textures, and classic stripes come together to create a charming piece made especially for newborns.
Designed for babies aged 0–3 months, this cozy item offers warmth, comfort, and timeless style. The carefully arranged stitches also add beautiful texture without making the crochet design feel complicated.
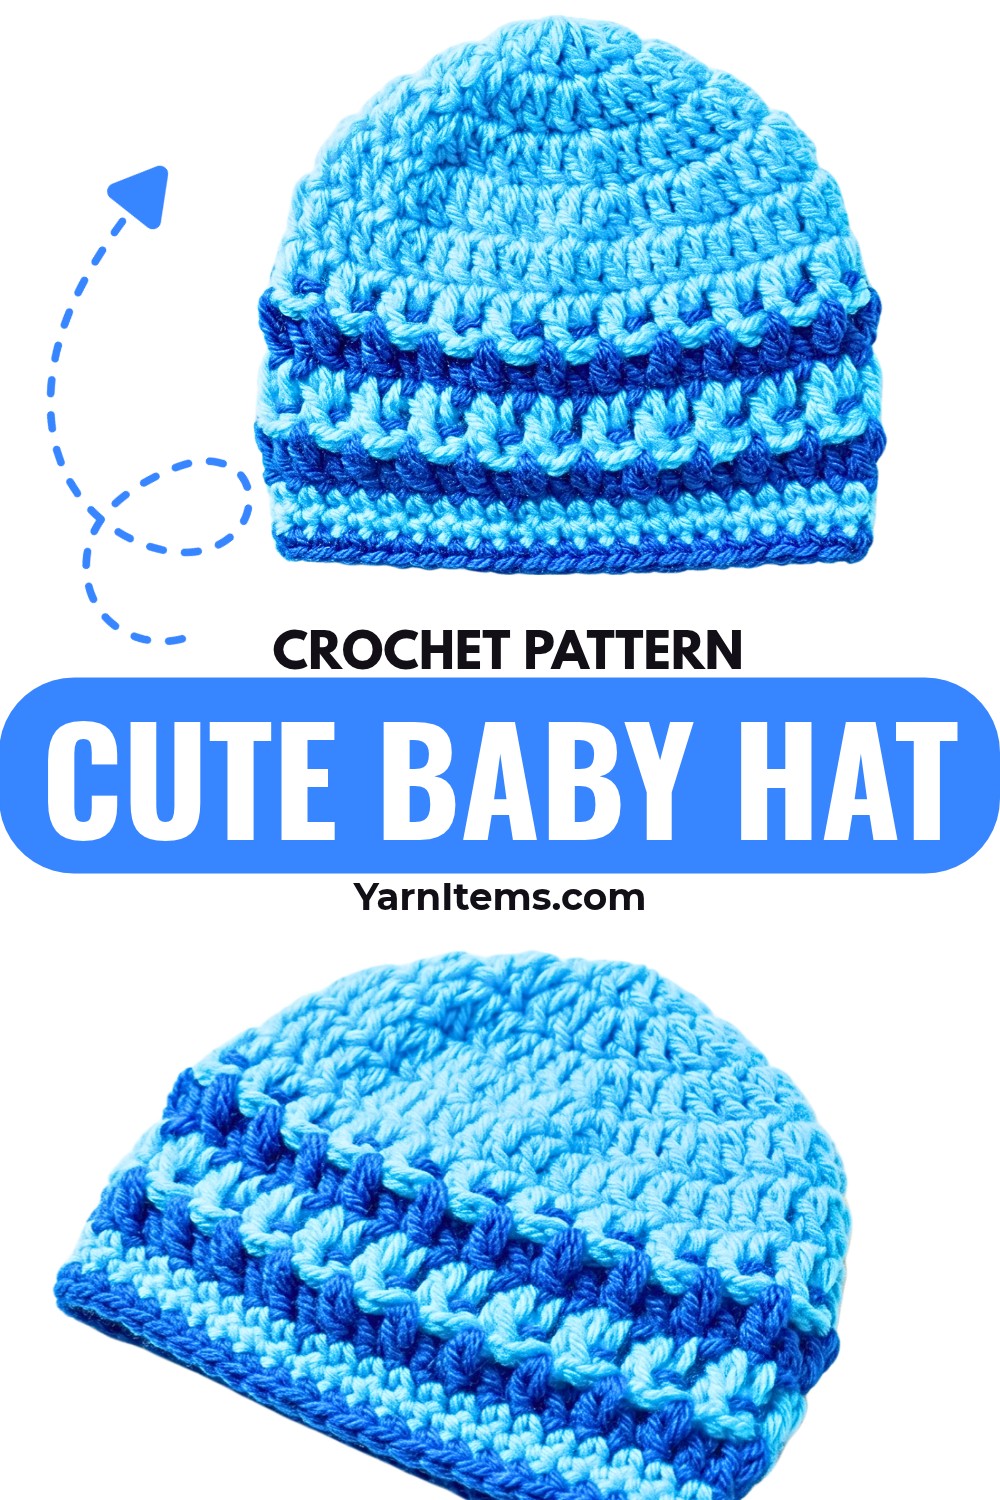
Nothing feels more rewarding than watching simple stitches transform into an adorable baby essential. This lovely crochet piece combines a snug fit with textured details, making it both practical and eye-catching for everyday wear. With easy color changes and plenty of ways to personalize the design, it can be made to match any baby’s wardrobe or special occasion. Every round builds a soft, comfortable finish that is as enjoyable to create as it is to gift.
Credit Crochet With Anna
Everything You Need Before You Crochet Your First Stitch
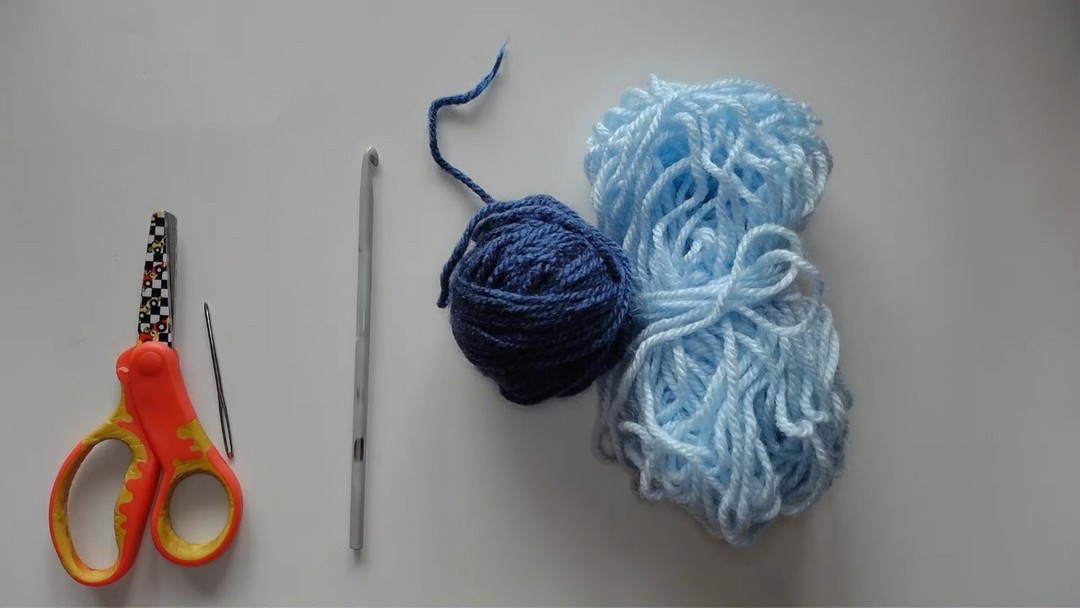
- Yarn: Medium-weight yarn in two colors (e.g., light blue and another contrasting color for customization).
- Hook: 5 mm crochet hook.
- Other tools:
- Yarn needle (for weaving in ends).
- Scissors (for cutting yarn).
The Perfect Newborn Fit Plus Creative Ways to Make It Extra Special
- The finished hat is sized for 0–3 months.
- Customization ideas:
- Use different colors of yarn for the stripes.
- Add appliqués or a button.
- Use different textures of yarn for a unique look.
Don’t Start Until You Read These Time-Saving Crochet Tips
- Stitch Counts Matter:
Carefully track your stitch counts as they may change from round to round. - Chain 2 Does Not Count:
The chain 2 at the start of each round is not considered a stitch. - Joining Rounds:
Each round ends by joining with a slip stitch into the first stitch. - Weaving in Ends:
For a polished finish, always weave in your ends neatly.
These Simple Crochet Terms Will Make Every Step Easier
- ch: Chain
- sl st: Slip Stitch
- dc: Double Crochet
- bpdc: Back Post Double Crochet
- sc: Single Crochet
Easy Design Tricks That Make This Baby Hat Look Even More Adorable
- Colorful Stripes:
- Alternate between bright or contrasting yarns every few rows to add a playful or dynamic look.
- Try using self-striping or gradient yarns for effortless color transitions.
- Embellishments:
- Stitch on decorative elements like bows, pom-poms, or buttons for extra flair.
- Consider customizing with appliqués, embroidery, or beadwork for intricate designs.
- Bulkier Yarn for Warmth:
- Use chunky or super-bulky yarn to create a thicker version, ideal for colder weather.
- Select textured or fluffy yarn to give the pattern a cozy vibe.
Follow These Easy Rounds to Create a Beautiful Baby Hat
Round 1: Foundation
- Start with light blue yarn.
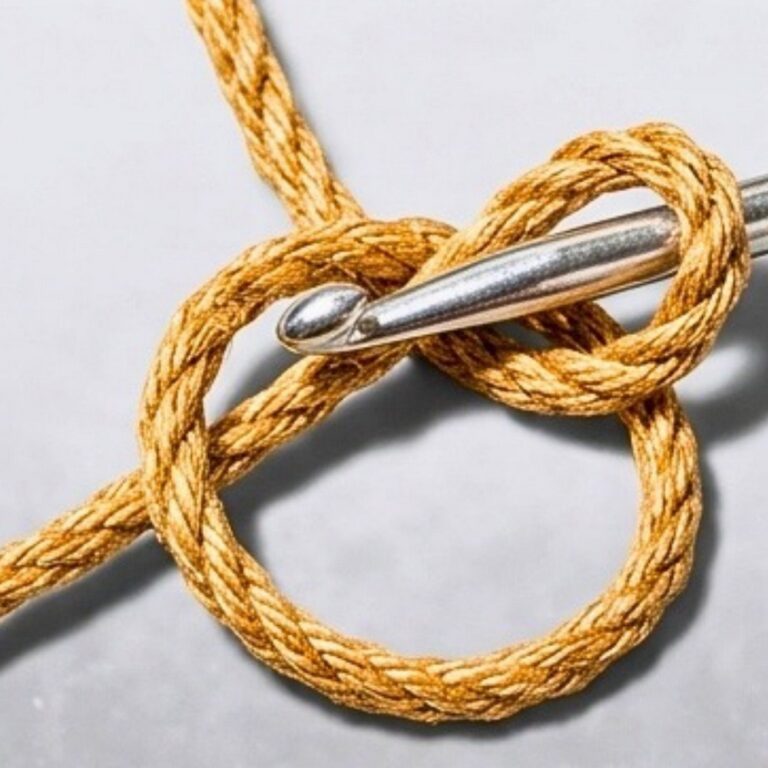
- Create a slip knot and chain 3.
- Join to the first chain with a slip stitch, forming a small ring.
- Chain 2, then make 11 dc inside the ring.
- Once finished, join to the first dc with a sl st.
- Stitch count: 11.
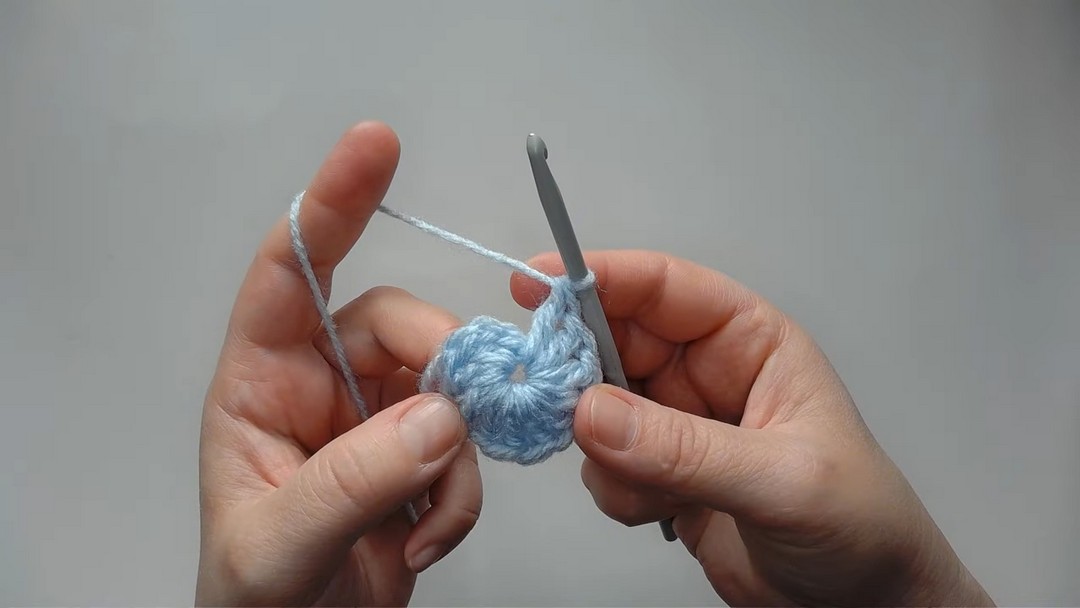
Round 2: Increase Round
- Chain 2.
- Make 2 dc in each stitch around.
- At the end of the round, join to the first stitch with a sl st.
- Stitch count: 22.
Round 3: Gradual Increase
- Chain 2.
- Alternate stitches:
- 1 dc in the first stitch.
- 2 dc in the next stitch.
- Repeat this pattern all the way around.
- Join to the first stitch with a sl st.
- Stitch count: 33.
Round 4: Final Increase Round
- Chain 2.
- Alternate stitches:
- Make 1 dc in each of the first two stitches.
- Make 2 dc in the third stitch.
- Repeat this pattern all the way around.
- Join to the first stitch with a sl st.
- Stitch count: 44.
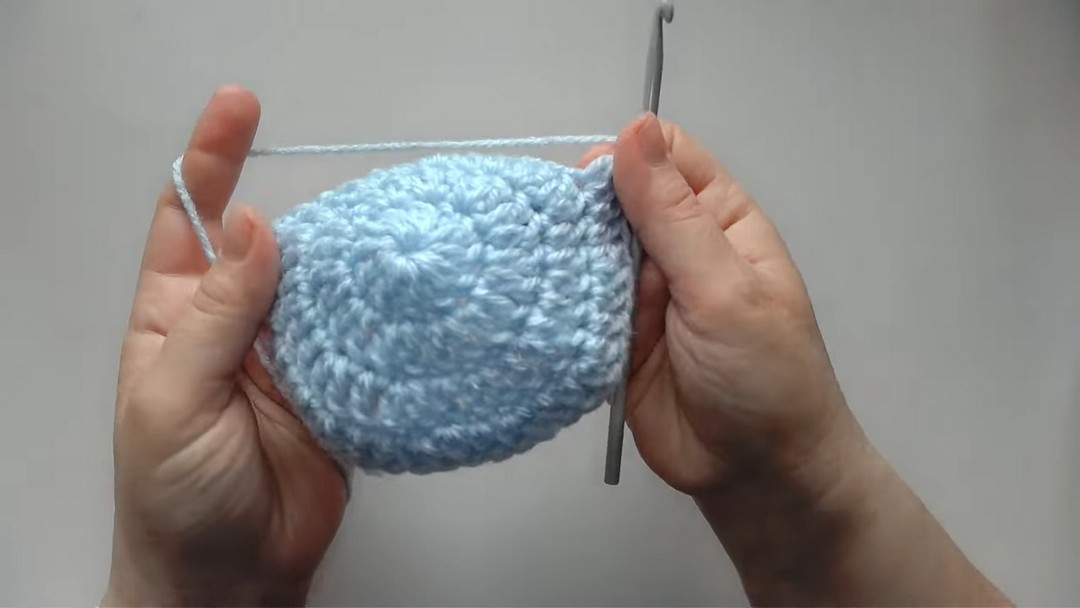
- From this point forward, stop increasing.
Round 5 and Round 6: Regular Rounds
- Chain 2.
- Make 1 dc in each stitch around.
- At the end of each round, join to the first stitch using a sl st.
- Repeat these rounds with light blue yarn.
- Stitch count (each round): 44.
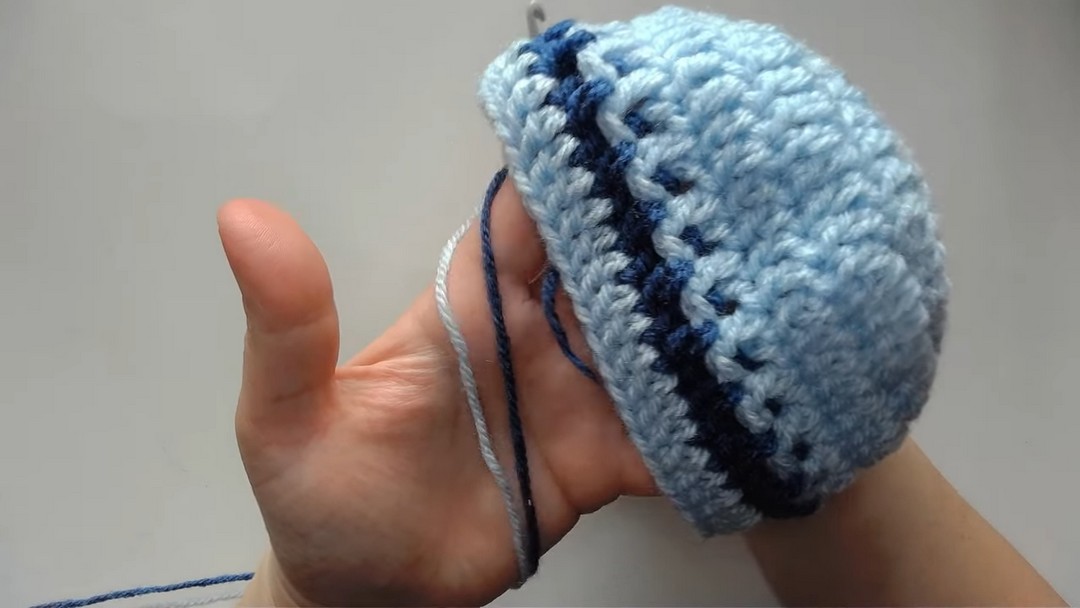
Round 7: Textured Stripe
- Switch to the second yarn color.
- Chain 2.
- Work in alternating stitches:
- Make 1 bpdc (back post double crochet) around the first stitch.
- Make 1 dc in the next stitch.
- Repeat this pattern all the way around.
- Finish the round with 1 dc in the last stitch.
- Join to the first stitch with a sl st.
Round 8: Solid Round
- Switch back to the first yarn color.
- Chain 2.
- Make 1 dc in each stitch around.
- At the end of the round, join to the first stitch with a sl st.
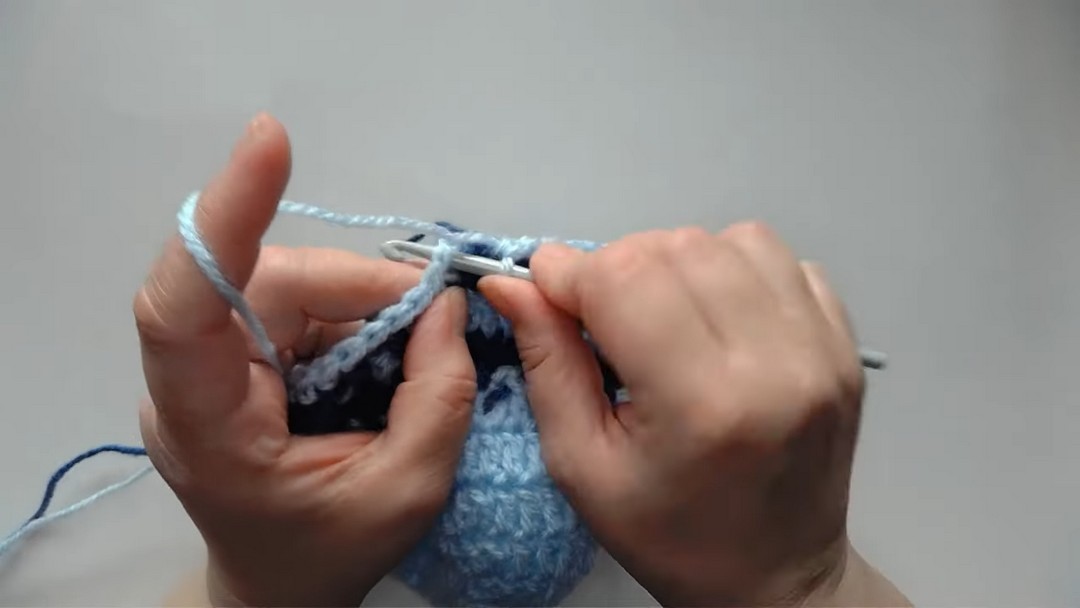
Round 9: Textured Stripe (Repeat)
- Switch to the second yarn.
- Chain 2.
- Work in alternating stitches again:
- 1 bpdc around the first stitch.
- 1 dc in the next stitch.
- Repeat all the way around.
- Finish with 1 dc in the last stitch.
- Join to the first stitch with a sl st.
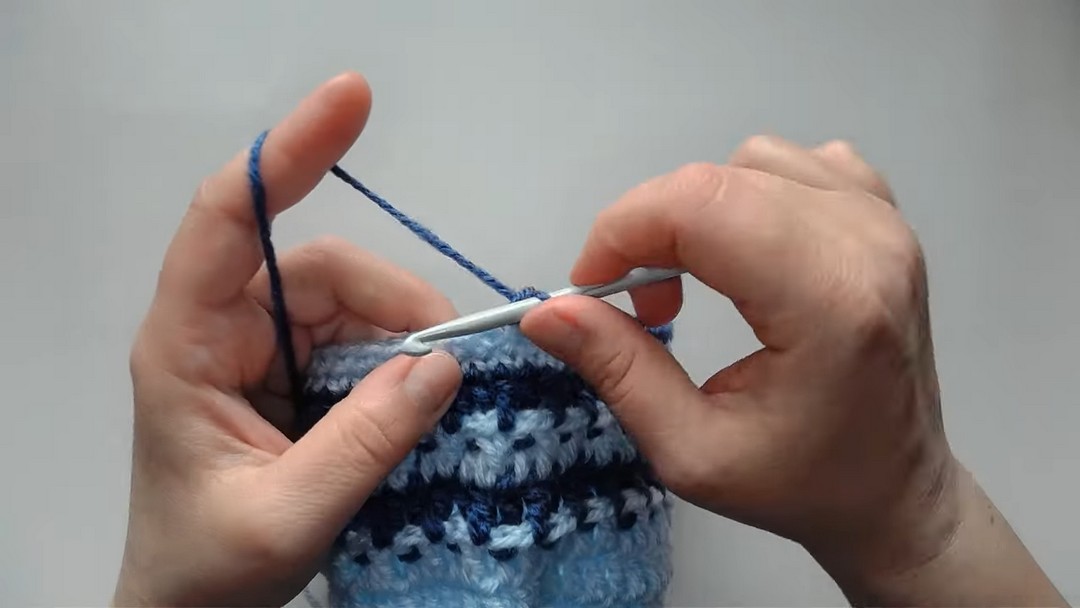
Rounds 10–12: Finishing Rounds
Round 10:
- Switch back to the first yarn.
- Chain 1.
- Work 1 sc in each stitch around.
- Join to the first stitch with a sl st.
Round 11:
- Repeat the previous round using 1 sc in each stitch.
- Join to the first stitch with a sl st.
Round 12:
- Switch to the second yarn.
- Chain 1.
- Make 1 sc in each stitch around.
- Once complete, cut the yarn, leaving a small tail.
- Weave in all ends using a yarn needle.
The Last Few Details That Give Your Baby Hat a Professional Finish
- Sew a decorative button or embellishment onto the hat using matching thread or yarn.
- Smoothly shape the hat by hand to ensure a neat fit.
Creative Finishing Touches That Make Every Hat One of a Kind
Here are some creative finishing touches to make every hat truly one of a kind:
1. Unique Edging
- Decorative Stitch Patterns: Incorporate a scalloped edge, picot bind-off, or other textured stitch patterns.
- Ribbon or Trim: Sew decorative ribbons, lace, or fringe onto the brim.
- Contrasting Colors: Add a pop of color with a contrasting border or edge.
2. Shape Customization
- Brim Shapes: Experiment with sloped brims, wide flares, or asymmetric curves.
- Slouchy vs Fitted: Adjust the crown height for a loose slouchy hat or a snug-fitting beanie.
- Ear Flaps or Accessories: Add functional elements like earflaps, ties, or pompoms.
3. Personal Message
- Embroidery: Hand-stitch flowers, geometric patterns, or meaningful symbols directly onto the hat.
- Initials: Use duplicate stitch or embroidery to personalize your hat with initials or names.
- Colorwork: Integrate motifs like hearts, animals, or custom designs using stranded or intarsia knitting.
4. Texture Enhancements
- Cable Knits and Bobbles: Add intricate cable or bubble designs to enhance texture.
- Buttons and Charms: Attach whimsical buttons or charms to the hat for added personality.
- Appliqué: Sew small fabric appliqués or patches onto plain areas.
5. Seasonal Styles
- Winter Themes: Add snowflake or pine tree motifs for a festive feel.
- Summer Boho: Incorporate lightweight fabrics, beads, or feathers into the design.
- Holiday Decorations: Customize with festive elements like tiny bells or sparkly yarn.
6. Material Variation
- Felted Wool: Create a softer look by felting wool hats and play with color blocking afterward.
- Multi-Fiber Yarns: Combine luxury yarns (e.g., silk, alpaca) with vibrant blends to create depth.
7. Practical & Fashion Details
- Hidden Pockets: Add small, hidden pouches for convenience.
- Convertible Designs: Design interchangeable accessories, such as removable pom-poms or flaps.
- Reflective Threads: Ideal for nighttime wear, weave reflective yarns into the fabric for a sleek finish.
Each of these ideas gives your hat design a personal touch that elevates it from ordinary to extraordinary!
Keep Your Handmade Baby Hat Looking Beautiful for Years
Storage & Organization Tips:
- Protect Your Finished Pieces:
Store finished hats in a sealed bag to keep the yarn safe from dust and damage. - Organize Your Tools:
Keep your crochet hooks, scissors, and other tools in a pouch or basket for easy access. - Label Leftover Yarn:
Label any leftover yarn with details like brand, color name/number, or weight to make future patterns or color matching easier.
Show Off Your Beautiful Baby Hat Like a Pro on Social Media
- Take well-lit photos of the hat on a baby mannequin or flat surface.
- Share your photos on social media with engaging captions.
- Example: Just finished this adorable baby hat for a little one! Love the textured stripes!
- Tag your favorite yarn brands and use hashtags like #CrochetBabyHat #HandmadeWithLove.
Your Cozy Handmade Baby Hat Is Ready to Be Loved
This stylish and cozy baby hat is a perfect gift for newborns and can easily be customized with different yarn colors or embellishments. Follow the detailed instructions, and enjoy crocheting a practical and beautiful accessory for little ones!