Mini Crochet Graduation Cap Pattern – Free Mortarboard
Turn a few strands of black and yellow yarn into a tiny crochet graduation cap, complete with a raised round crown and a cheerful tassel.
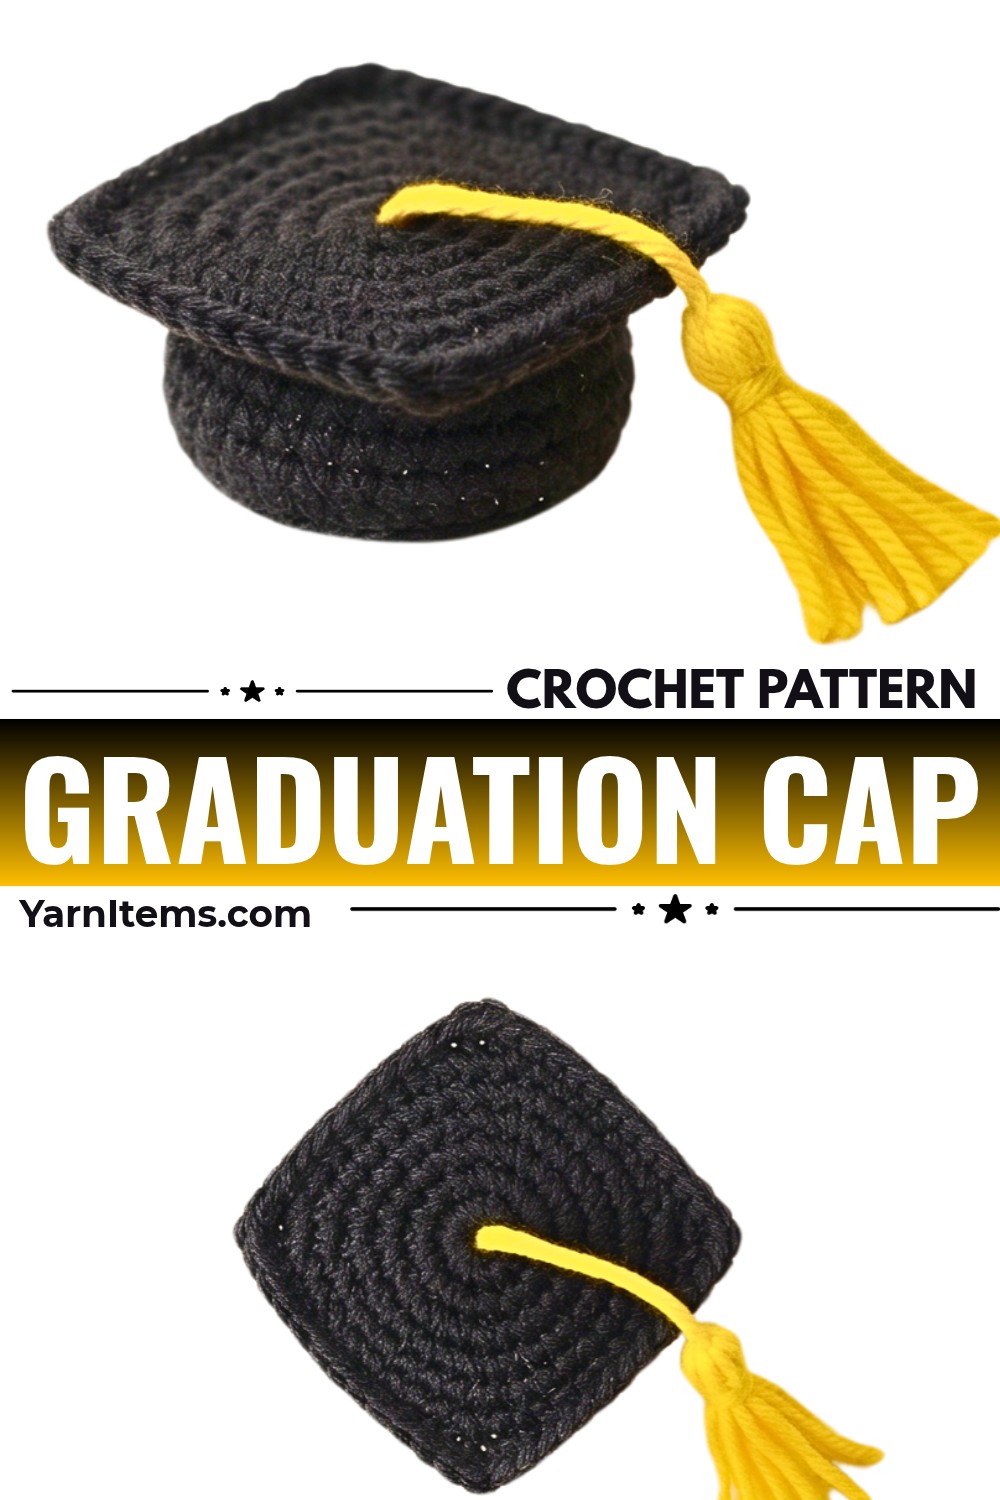
Graduation celebrations become even more memorable with little handmade keepsakes. This miniature crochet mortarboard has a neat black square top, a rounded cap base, and a bright yellow tassel that gives it the familiar look of a graduation crochet hat. Its small size makes it a lovely detail for a graduation gift or a handmade celebration accessory.
From shaping the square top to crocheting the round crown, each part has its own simple instructions. You’ll also learn to make the tassel, add the border, and join the crochet pieces in the right places to finish the miniature hat neatly.
Credit CC Craft Corner
Why You’ll Love This Pattern
- Recognizable Graduation Style: A square mortarboard, rounded crown, and hanging tassel give this miniature hat its classic graduation appearance.
- Small and Versatile: Its miniature size makes it suitable for keychains, bookmarks, graduation gifts, and celebratory charms.
- Easy to Personalize: Changing the tassel color lets you match school colors or create a keepsake for a particular graduate.
- Simple Separate Pieces: TYou make thesquare, crown, and tassel andividually before bjoining them
Materials & Tools
Yarn
- Black yarn: Cap crown and mortarboard.
- Yellow yarn: Tassel.
Crochet Hook
- Appropriate crochet hook size. The video demonstrates a 3.0 mm purple hook.
Notions
- Tapestry or darning needle
- Scissors
- Stitch markers
Finished Size & Customization
This pattern creates a miniature graduation cap (mortarboard), suitable for:
- Keychains
- Graduation gifts
- Bookmarks
- Celebratory charms
You can personalize the tassel by replacing yellow with school colors such as blue, red, or white. To turn the finished cap into a keychain, attach a small ball chain or ribbon loop to one top corner.
Pattern Abbreviations
- ch: Chain
- sc: Single crochet
- dc: Double crochet
- sl st: Slip stitch
- inc: Increase (2 sc in the same stitch)
- BLO: Back Loops Only
- st(s): Stitch(es)
- R / Row: Round or Row

Make the Yellow Tassel
Start with yellow yarn. This part is made separately so it can be attached to the mortarboard after the crochet pieces are ready.
1. Wrap the Yarn
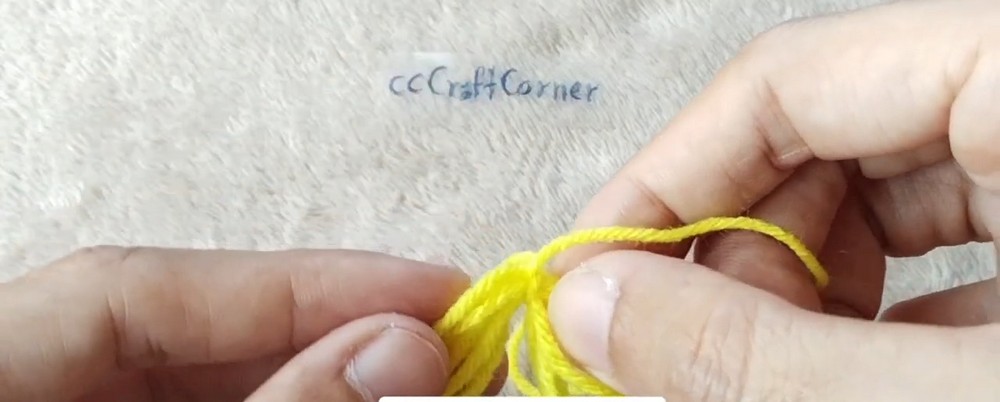
Wrap the yellow yarn around three fingers a few times. Keep the loops together and make them long enough to form the hanging fringe of the tassel.
2. Tie the Top
Carefully slide the yarn loops off your fingers without letting them unravel. Take a separate small piece of yellow yarn and tie a tight knot around the upper portion of the loops. This creates the rounded head of the tassel.
3. Wrap the Neck
Take the initial yarn tail and wrap it snugly around the yarn bundle a few times, just below the tied head. Thread the tail through a darning needle, secure the wrap, and tie another knot to hold it in place.
4. Cut the Fringe
Use scissors to cut through the bottom loops of the wrapped yarn. This releases the hanging strands. Trim the ends evenly to create a tidy fringe.
Keep a long yarn tail attached for sewing the tassel onto the mortarboard later.
Crochet the Square Mortarboard
Use black yarn and the 3.0 mm hook. Work the square top in rows, turning at the end of each row.
Row 1: Chain 8. Make 1 sc in the 2nd chain from the hook, then continue making 1 sc in each remaining chain across. [7 stitches]
Rows 2-7: Ch 1, turn. Work 1 sc in each stitch across the row. [7 stitches per row]
After Row 7, you will have a 7 × 7 square block.
Add the Border
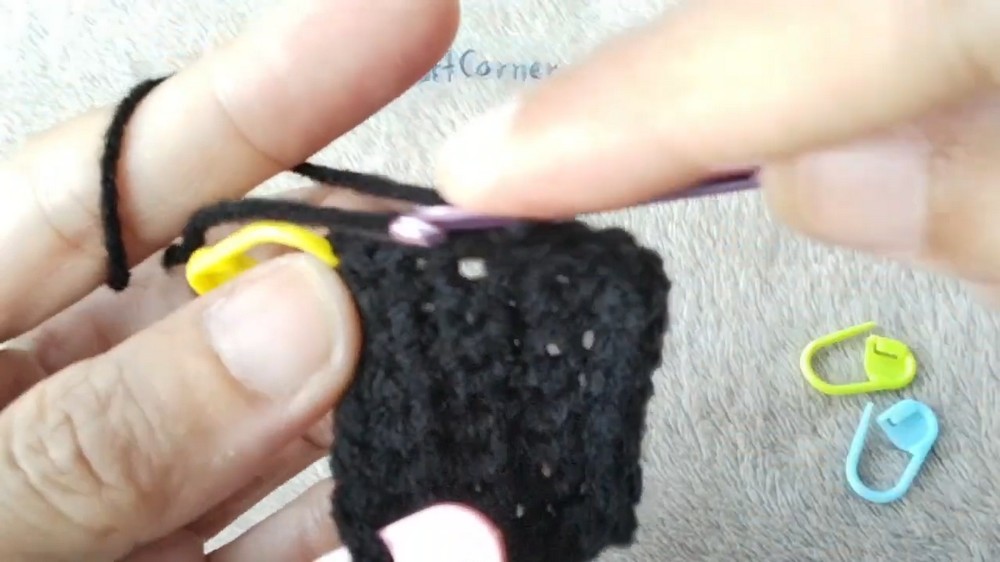
Work single crochet stitches all the way around the perimeter of the square.
At each of the 4 corners, make 2 sc in the same corner to help the border turn neatly around the square.
Once the full edge is complete, fasten off, leaving a long yarn tail for assembly.
Corner tip: Keep the square flat as you work around its edges. Making 2 sc in each corner gives the border room to turn without pulling the corners inward.
Crochet the Round Cap Crown
Use black yarn and the same 3.0 mm hook. Work in joined rounds, closing each round with a slip stitch and beginning the next with a chain 1 where instructed.
Round 1: Create a magic ring, work 6 sc into the ring, sl st to join, and ch 1. [6 stitches]
Round 2: Work an inc (2 sc) in every stitch around, sl st to join, and ch 1. [12 stitches]
Round 3: Work [1 sc in each of the next 3 stitches, 1 inc] repeat around, sl st to join, and ch 1. [15 stitches]
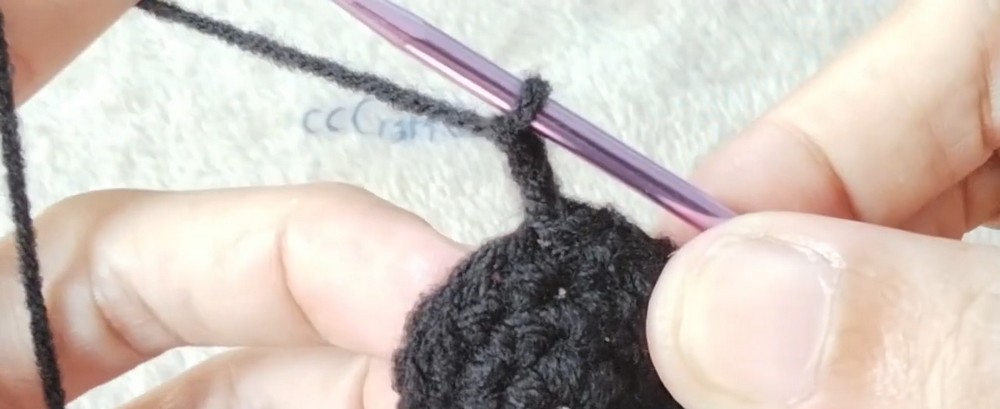
Round 4 (BLO): Work this round in the Back Loops Only. Make a sl st in the first stitch, ch 2 (this ch 2 does not count as a double crochet), then crochet 1 dc in the same stitch. Continue crocheting 1 dc in each stitch around, and sl st to join. Fasten off, leaving a long tail. [16 stitches]
Round 4 Technique Guide
For this round, insert your hook under the back loop only rather than through both loops of each stitch. The chain 2 is only for height and does not count as a double crochet.
The supplied instructions specify 16 dc, so check the stitch placement as you work around the crown. Do not count the slip stitch or the chain 2 as a dc. If your count does not match 16, revisit the first stitch and the remaining stitch placements before fastening off. Keep the tutorial’s stated count rather than adding stitches randomly.
Assemble the Graduation Cap
Once the yellow tassel, black square, and round crown are complete, join the pieces to create the finished mortarboard.
Attach the Crown to the Mortarboard
- Thread the long black yarn tail from the crown onto your darning needle.
- Turn the flat square mortarboard over to find its underside.
- Position the rounded crown centrally on the underside of the square.
- Check that the crown sits in the middle and that the square extends evenly around it.
- Sew the crown securely in place using the black yarn tail.
Attach the Tassel
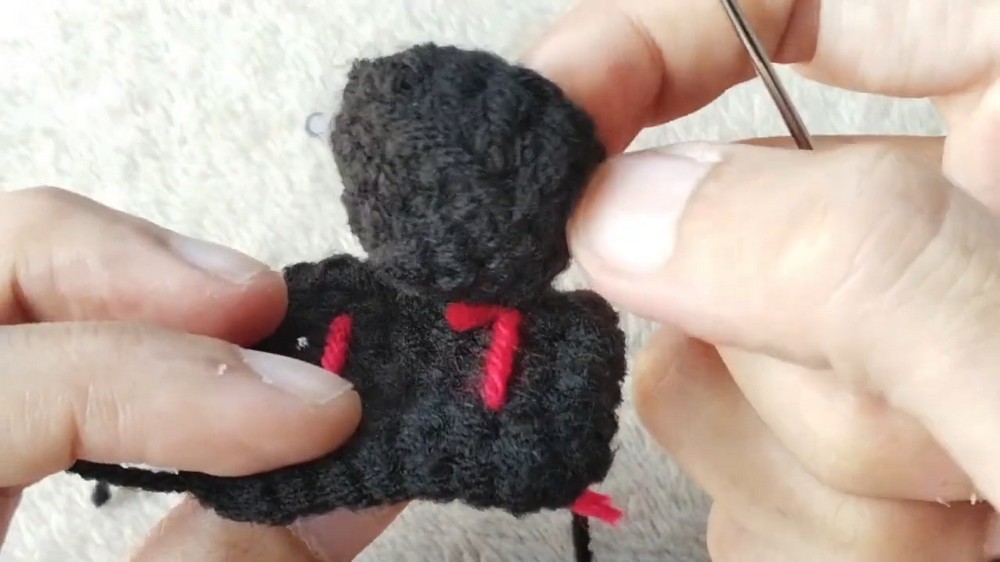
- Thread the tassel’s long yellow yarn tail onto your darning needle.
- Position the tassel at the center top of the square mortarboard.
- Push the needle down through the center of the square.
- Secure the yarn firmly on the underside.
- Trim any excess yarn after fastening.