Crochet Star Plush Amigurumi Keychain Pattern
Looking for a sweet little crochet star to brighten your keys or bag? This plush charm combines soft pastel colors, a cute face, and five defined points.
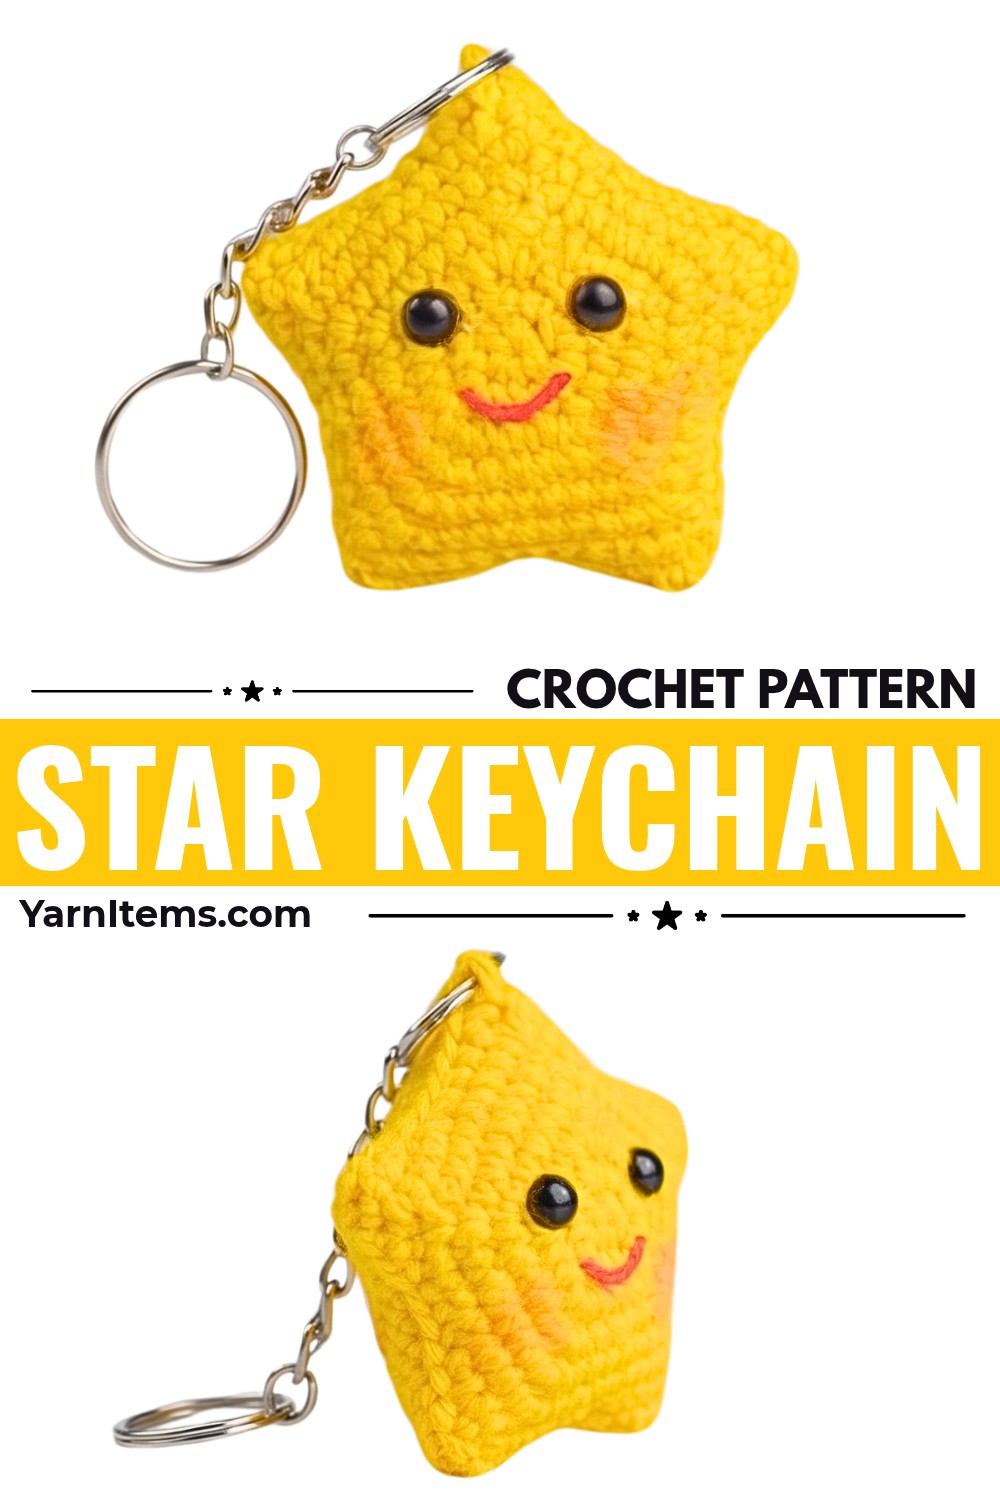
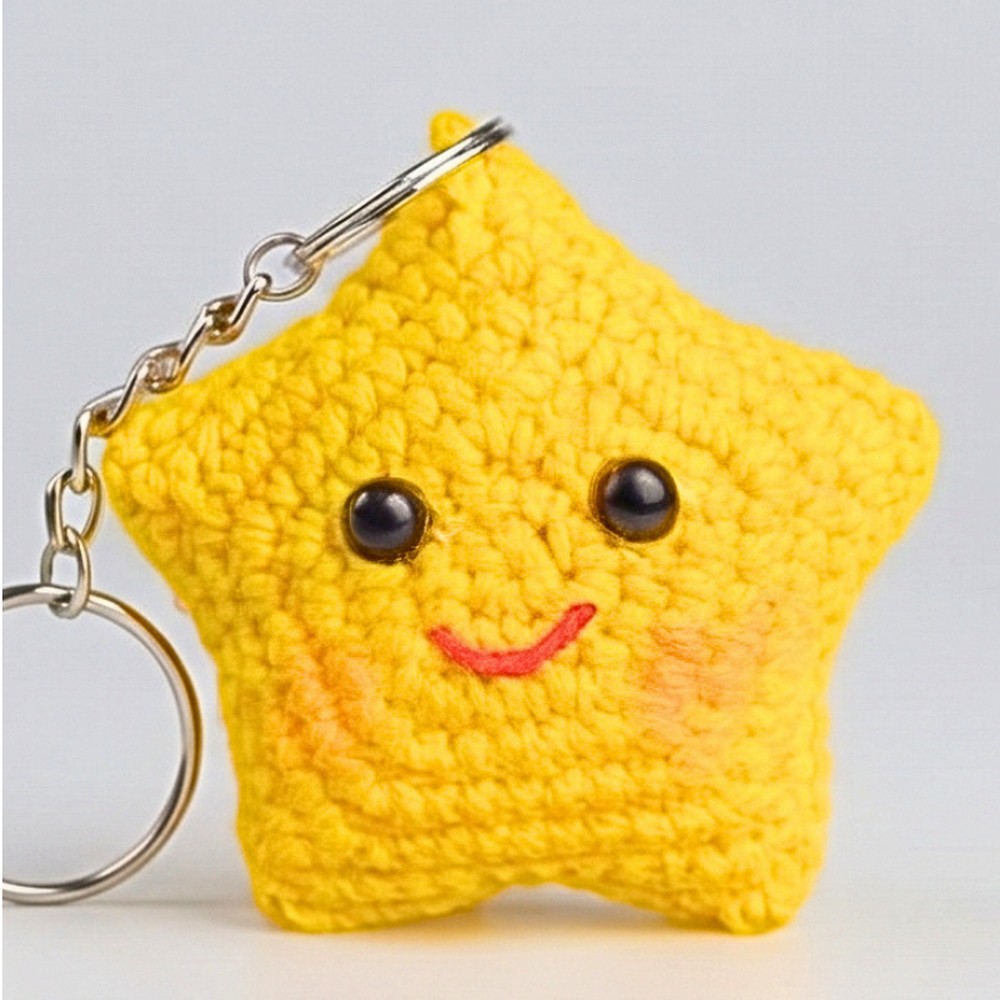
With its rounded center, five neatly shaped points, and cheerful embroidered face, this crochet star makes an adorable little companion for keys, backpacks, and purses. Its small size also makes it a lovely handmade gift, and different yarn colors and facial details let you create a collection of crochet stars, each with its own personality.
Each star is made from two matching crochet panels, shaped with increases, corner spaces, and carefully placed decreases to form the five points. Once both crochet pieces are ready, add the facial details, join the panels, lightly stuff the star, and attach the keychain hardware to finish the plush charm.
Credit AN’S CROCHET
Materials & Tools Needed
- Yarn: 4-ply combed cotton or DK-weight yarn in your desired base color (pastel yellow, lavender, or mint), plus scrap yarn in black and pink/red for facial details.
- Crochet Hook: 2.5 mm hook.
- Safety Eyes: 1 pair of 5 mm or 6 mm black safety eyes with plastic backings, or black embroidery thread if you prefer embroidered eyes.
- Fiberfill Stuffing: Polyester hobby fill.
- Tapestry / Yarn Needle: Blunt needle for sewing edges, weaving in ends, and embroidering details.
- Stitch Marker: Plastic locking marker or contrasting scrap yarn to mark the first stitch of each round.
- Keyring Hardware: Metal split ring, jump ring, or lobster claw clasp for attaching to a keychain.
- Scissors.
- Blush / Pastel & Cotton Swab (Optional): For adding rosy cheeks.
Finished Size & Customization Ideas
Finished Size: Approximately 2.5 to 3 inches (6.5 to 7.5 cm) across from point to point when using a 2.5 mm hook and 4-ply/DK cotton yarn.
Customization Ideas:
- Bag Charm or Bag Tag: Skip the facial embroidery and add wooden beads onto the keychain cord.
- Holiday Ornament: Crochet in bright red, emerald green, or metallic thread, adding a chain loop at the top point for hanging on a tree.
- Pastel Sleepy Star: Embroider closed, curved sleeping eyes with eyelashes instead of using plastic safety eyes.
- Two-Tone / Border Star: Crochet the front and back panels in two complementary pastel tones, such as butter yellow and baby blue, and join them using white yarn.
Pattern Abbreviations & Terminology (US Terms)
- MR: Magic Ring
- ch: Chain
- sc: Single crochet
- inc: Increase (2 single crochet stitches in the designated stitch)
- 3-sc inc: Triple increase (3 single crochet stitches worked into the same stitch or chain space)
- dec: Decrease (single crochet two together / invisible decrease)
- sl st: Slip stitch
- sk: Skip
- ch-sp: Chain space
- st(s): Stitch(es)
- [ … ] x N: Repeat instructions inside brackets N times
- ( … ): Worked into the same stitch or notes on total stitch counts
Step-by-Step Detailed Crochet Instructions
Note: Work in continuous spiral rounds unless joining is specified. Place a stitch marker in the first stitch of each round to avoid losing track of the five-corner pentagon alignment.
Star Panels (Make 2 Identical Pieces)
You’ll need two matching star panels to create the padded shape. Crochet both pieces using the same yarn and stitch instructions. The first panel will have a short finishing tail, while the second needs a longer tail for joining if you choose the needle-seaming method.
Round 1: Foundation Ring
- Make a Magic Ring (MR).
- Work 5 sc directly into the ring.
- Pull the yarn tail firmly to close the center hole.
- Sl st into the very first sc to join.
- Stitch Count: 5 sts
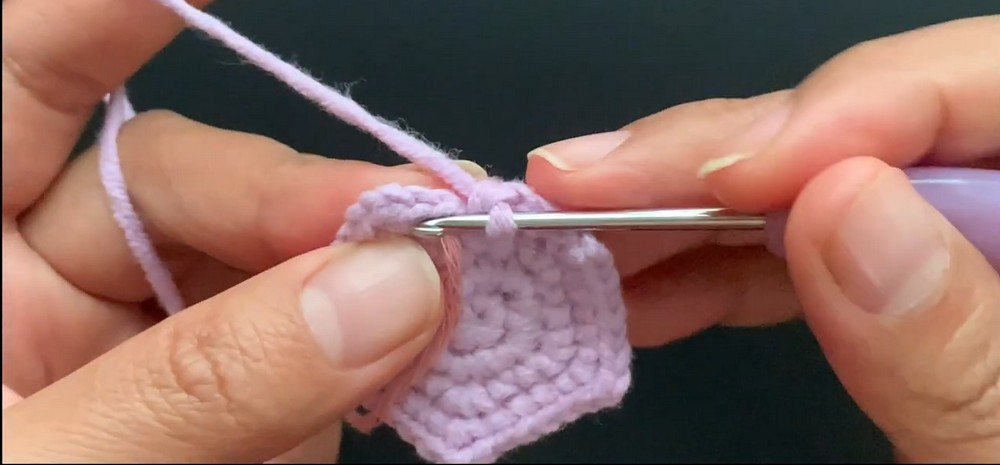
Round 2: Pentagon Corner Base
- Work 3 sc into each stitch around (5 triple increases).
- Insert a stitch marker into the 1st stitch of this round.
- Stitch Count: 15 sts
Round 3: Widening the Base
- [(3 sc in next st), sc in next 2 sts] x 5.
- Stitch Count: 25 sts (5 points of 5 stitches each)
Round 4: Creating Star Corner Spaces
- Work 1 sc in the first stitch.
- [(1 sc, ch 2, 1 sc) all into the corner st, sc in next 4 sts] x 4.
- For the 5th point: Work (1 sc, ch 2, 1 sc) into the corner st, then sc in the remaining 3 sts.
- Stitch Count: 30 sc + 5 ch-2 spaces
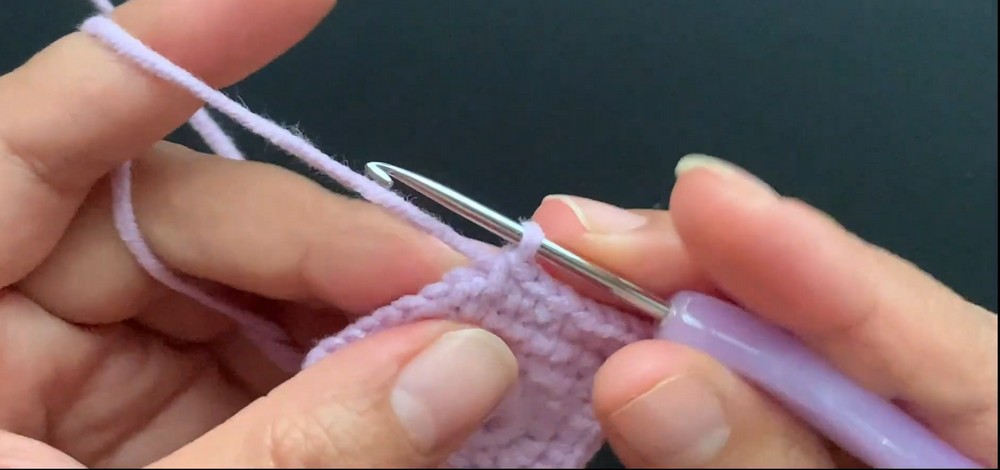
Round 5: Defining Points and Indentations
- Work 2 sc in the first 2 sts.
- [(2 sc, ch 1, 2 sc) in the ch-2 corner space, sc in next 2 sts, 1 dec over next 2 sts, sc in next 2 sts] x 4.
- For the 5th point: Work (1 sc, ch 2, 1 sc) in the corner space, sc in next 2 sts, 1 dec.
- Stitch Count: 35 sc + corner chain spaces
Round 6: Elongating the Star Points
- Work 4 sc in the first 4 sts.
- [(1 sc, ch 2, 1 sc) into the corner space, sc in next 4 sts, 1 sl st into the center valley/indentation st, sc in next 4 sts] x 4.
- For the 5th point: Work (2 sc, ch 1, 2 sc) into the corner space, sc in next 4 sts, 1 sl st.
- Stitch Count: 45 sts (including corner stitches and valley slip stitches)
Round 7: Sharpening the Points & Perimeter Border
- [sc in next 5 sts, 3 sc in the tip/corner ch-space, sc in next 5 sts, skip the center slip stitch] x 5.
- Sl st into the first st of the round to finish cleanly.
- Cut yarn:
- For Panel 1: Fasten off leaving a short tail and weave it securely into the back (wrong side).
- For Panel 2: Cut yarn leaving a long tail (approx. 18–24 inches / 45–60 cm) if joining with a tapestry needle, or leave attached to crochet together.
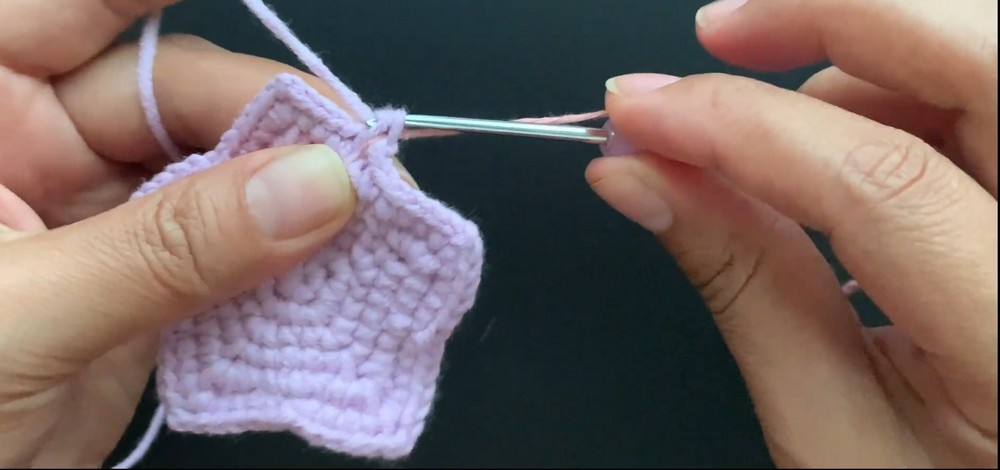
Assembly & Finishing
Once both star panels are complete, you can add the face to the front, align the points, and join the pieces. Stuffing is added before the final opening is closed so the star becomes softly padded.
1. Attaching Facial Details (Front Panel Only)
Add the facial features to just one panel before joining the two pieces. This makes it easier to position the eyes and embroider the mouth neatly.
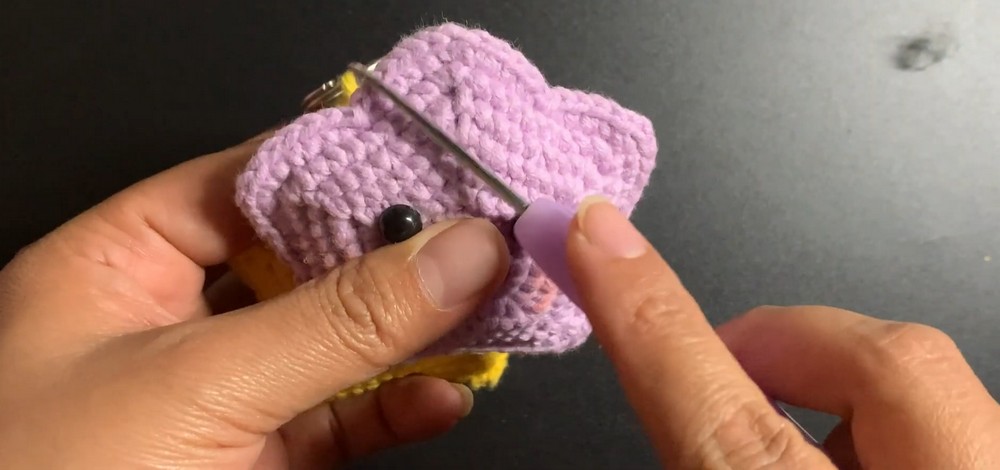
- Safety Eyes: Insert safety eyes between Rounds 3 and 4, placing them approximately 3 to 4 stitches apart on the front panel. Fasten the safety washer securely on the wrong side.
- Mouth: Thread a tapestry needle with scrap red/pink embroidery yarn or floss. Embroider a small “V” or delicate curved smile centered between and slightly below the eyes.
- Cheeks: Using a cotton swab or small brush, gently apply pink blush or soft pastel pigment directly under each eye.
2. Panel Alignment & Joining
- Lay both star panels flat with their wrong sides facing each other and the right sides facing out.
- Match up all 5 corresponding points and valley indentations.
- Seaming Method (Whipstitch / Needle Join):
- Thread your long tail into a yarn needle.
- Insert the needle through both top loops of Panel 1 and Panel 2 along the edge, sewing stitch-by-stitch around the perimeter.
- Keep the tension even to prevent the star edges from puckering.
- Optional Crochet Join Method: If using a hook, sc through both loops of both panels around the perimeter, placing 3 sc in each corner point tip and 1 sl st in each valley indent.
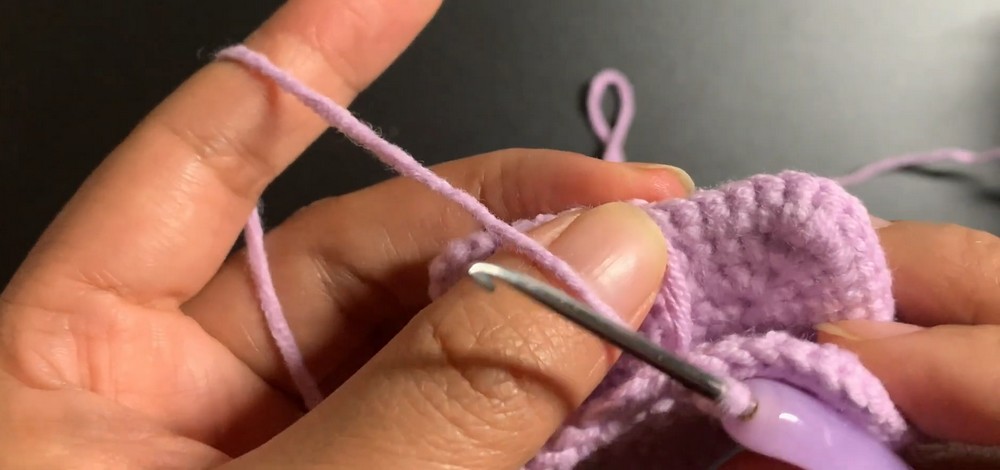
3. Stuffing
- Continue joining until 4 of the 5 points are completely sewn together.
- Take small pinches of polyester fiberfill and gently push it into each point using the back of your crochet hook.
- Fill the center moderately so the star looks plump and dimensional without stretching the stitches or showing the stuffing through the holes.
- Sew/crochet the remaining gap closed.
- Secure with a knot, insert the needle into the body, pull it out from the opposite side, pull taut, snip flush, and allow the tail to retract inside.
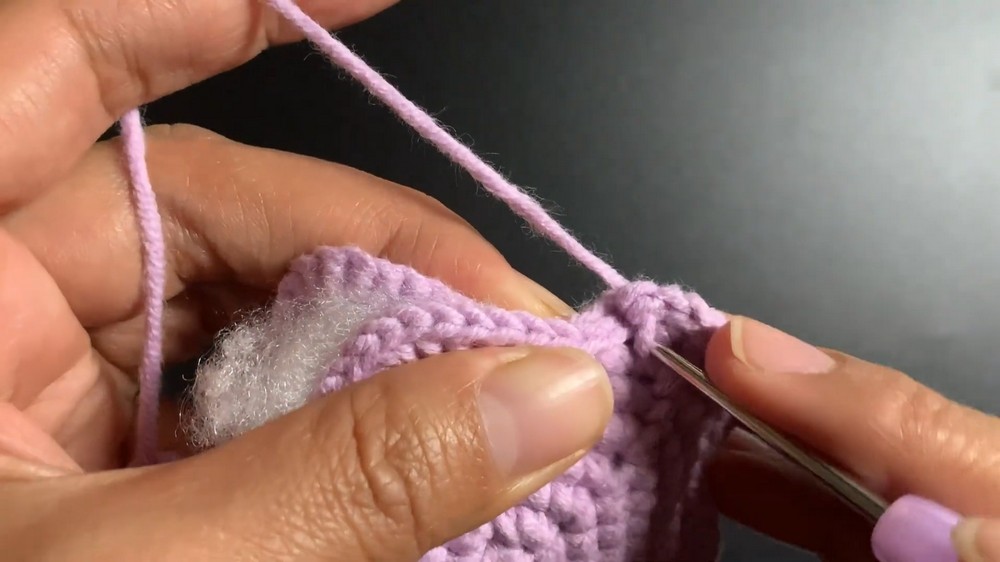
4. Attaching Keychain Hardware
- Thread a 4-inch piece of main-color yarn through a tapestry needle.
- Pass the needle through the top tip of one star point.
- Thread the yarn through the base ring of your keychain hardware or jump ring.
- Loop through 2–3 times for strength, knot securely, and hide the yarn tail inside the star.
Conclusion
You now have a completed, three-dimensional crochet star plush keychain. Its sturdy, multi-round pentagon construction prevents the points from drooping, making it resilient enough for daily use on key rings, backpacks, and purses. Repeat the pattern in soft pastels or vibrant primaries to build a full set of matching charms.