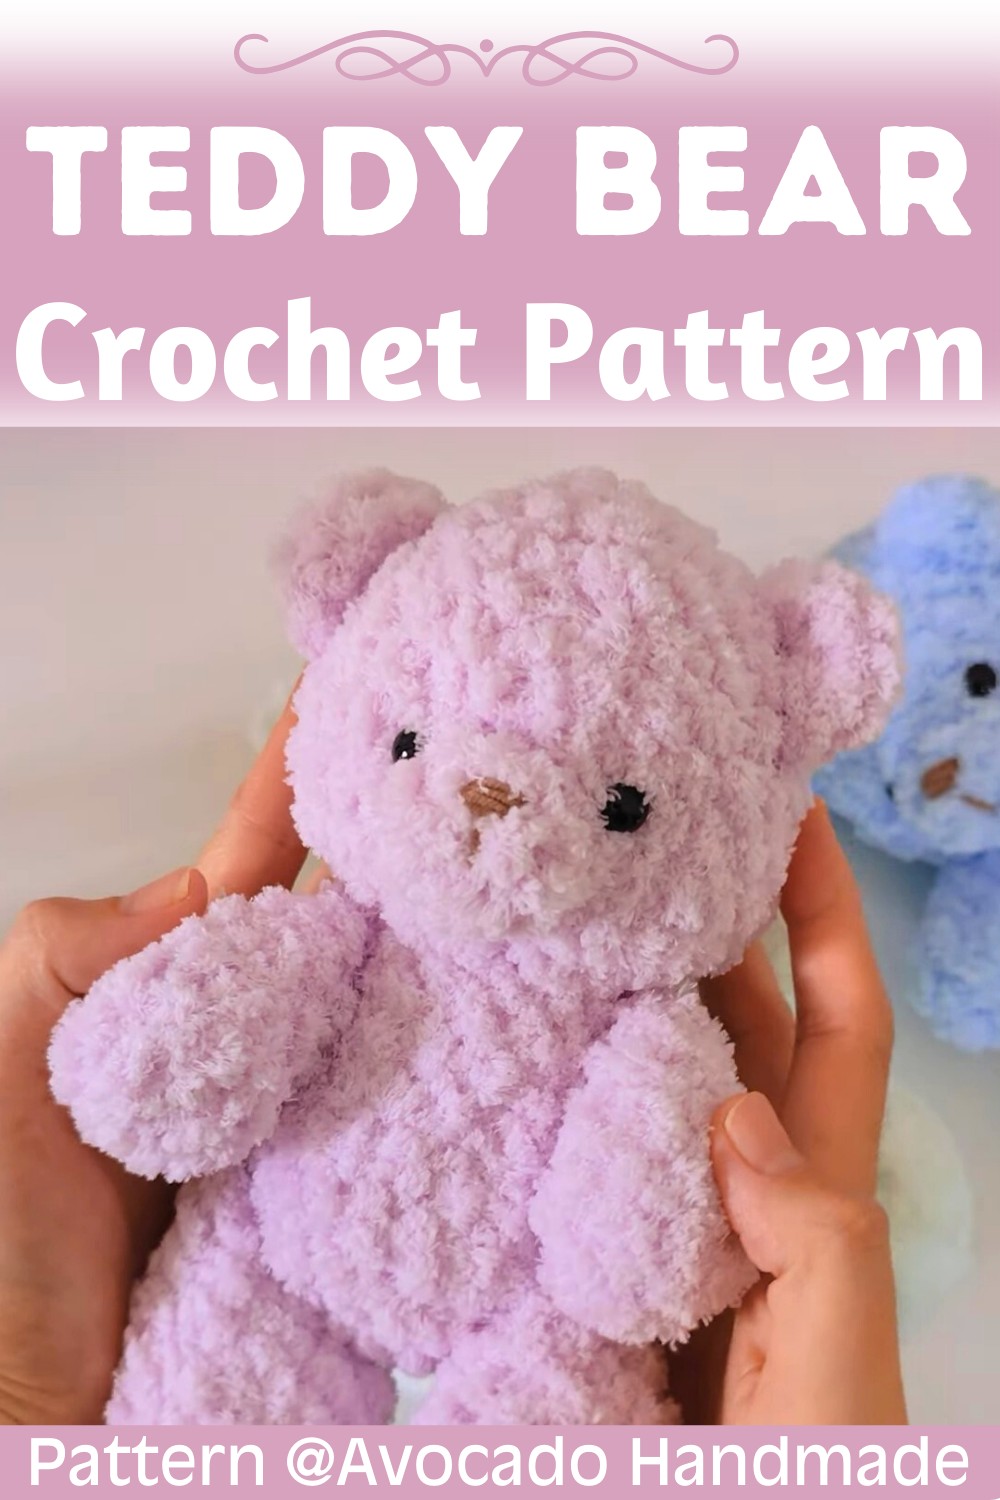
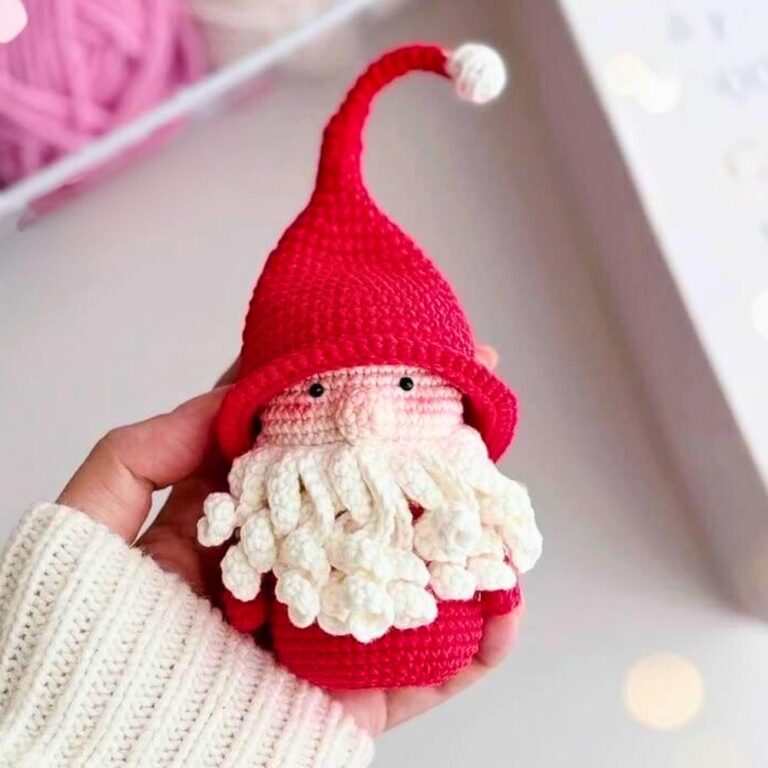
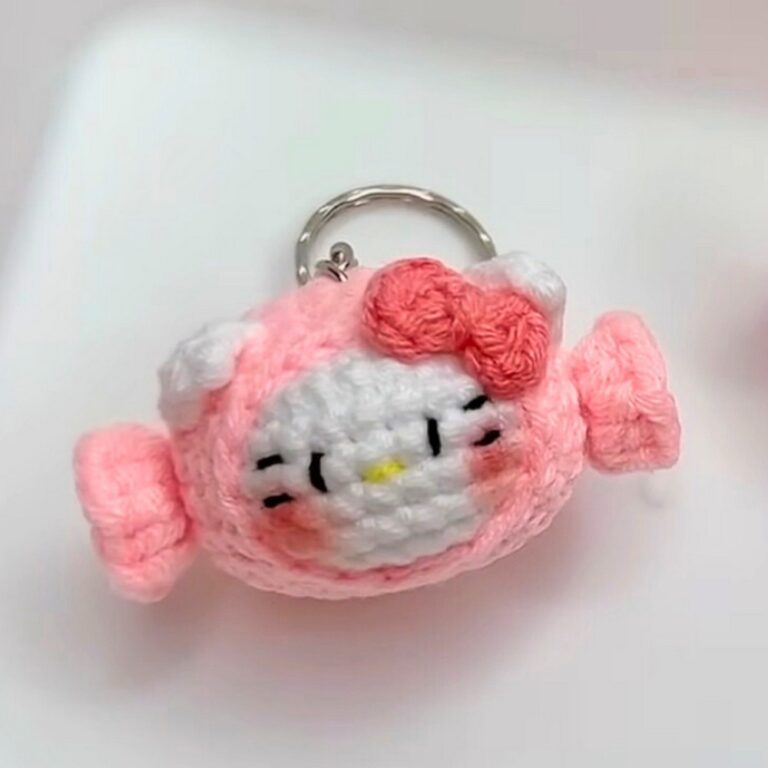
How to Make a Light Purple Crochet Bear – Fun and Easy Tutorial
A light purple crochet bear brings a playful splash of color to a timeless handmade toy. Its gentle shade and sweet little features make it just as lovely on a nursery shelf as it is tucked into a child’s arms.
If you’ve been looking for a charming piece without feeling overwhelmed, this crochet pattern is a wonderful place to begin.

This step-by-step guide shows how each crochet piece comes together in a simple, easy-to-follow order. You’ll crochet the body, head, ears, arms, and legs before assembling everything into one adorable bear. By the end, you’ll have a handmade companion that’s easy to personalize with your favorite details and ready to gift, display, or treasure for years.
Credit Avocado Handmade
Materials & Tools Needed
- Yarn:
- Super Baby Ron (80g) from Wool Club. (Light purple or any preferred color)
- Soft and smooth textured yarn with a slight fuzz. Thin cotton yarn recommended for assembling.
- Crochet Hook: 6.0mm crochet hook.
- Sewing Tools:
- Sewing needle.
- Thin thread for assembling or sewing parts.
- Eyes:
- Use safety sewing eyes for better visibility with fuzzy yarns.
- Stuffing:
- Fiberfill or other suitable toy stuffing.
- Scissors: For trimming yarn ends.
Finished Size & Customization Ideas
- Approximate size: The bear size depends on the yarn and hook used. This pattern was made with a 6.0mm hook, and the finished piece is small but proportionate.
- Customization:
- Use different yarn colors for the bear, including pastels or mixed tones.
- Add accessories (a tiny scarf, bow, or hat) to personalize.
- Customize eyes and muzzle embroidery for a unique expression.
Pattern Abbreviations & Terminology
The pattern uses US crochet terminology.
- sc: Single Crochet
- inc: Increase (2 sc in one stitch)
- dec: Decrease (2 sc together)
- (…): Instructions in parentheses are to be repeated.
- R: Round

Step-by-Step Detailed Crochet Instructions
Head
- R1: Make a magic ring. Work 6 single crochets (sc) into the ring. [6 stitches]
- R2: Work 6 increases (2 sc in each stitch). [12 stitches]
- R3: (1 sc, inc) repeat 6 times. [18 stitches]
- R4: (2 sc, inc) repeat 6 times. [24 stitches]
- R5-R6: Single crochet in each stitch for 2 rounds.
- R7: (3 sc, inc) repeat 6 times. [30 stitches]
- R8-R10: Single crochet in each stitch for 3 rounds.
- R11: Work 15 decreases (dec) around. This will leave you with [15 stitches].
- Cut the yarn and make a slip stitch.
- Stuff the head firmly with fiberfill.

Body
- R1: Make a magic ring. Work 6 single crochets into the ring. [6 stitches]
- R2: Work 6 increases (2 sc in each stitch). [12 stitches]
- R3: (1 sc, inc) repeat 6 times. [18 stitches]
- R4: (2 sc, inc) repeat 6 times. [24 stitches]
- R5-R6: Single crochet in each stitch for 2 rounds.
- R7: (4 sc, dec) repeat 4 times. [20 stitches]
- R8: Single crochet in each stitch.
- R9: (2 sc, dec) repeat 5 times. [15 stitches]
- R10: Single crochet in each stitch.
- Cut the yarn and leave a long tail for sewing.
- Stuff firmly and secure with a slip stitch.

Legs (Make 2)
- R1: Make a magic ring. Work 6 single crochets into the ring. [6 stitches]
- R2: Work 6 increases. [12 stitches]
- R3-R4: Single crochet in each stitch for 2 rounds.
- R5: (2 sc, dec) repeat 3 times. [9 stitches]
- R6-R7: Single crochet in each stitch for 2 rounds.
- R8: (1 sc, dec) repeat 3 times. [6 stitches]
- Cut the yarn, stuff lightly, and close the opening. Hide the tail.
Arms (Make 2)
- R1: Make a magic ring. Work 6 single crochets into the ring. [6 stitches]
- R2: (1 sc, inc) repeat 3 times. [9 stitches]
- R3: Single crochet in each stitch.
- R4: (1 sc, dec) repeat 3 times. [6 stitches]
- R5-R6: Single crochet in each stitch for 2 rounds.
- Cut the yarn and close the opening. Hide the tail.\

Ears (Make 2)
- Make a magic ring. Work 6 single crochets into the ring. [6 stitches]
- Leave a long tail for sewing and cut the yarn.
Muzzle
- Make a magic ring. Work 8 single crochets into the ring. [8 stitches]
Assembly Instructions
- Step 1: Stuff each part (Head, Body, Arms, Legs) as mentioned in their instructions.
- Step 2: Sew the head to the body using a strong, thin thread.
- Step 3: Attach the legs and arms to make them movable or stationary, depending on your preference. Movable parts can be achieved with loose sewing.
- Step 4: Sew the ears on the top of the head, evenly spaced.
- Step 5: Attach the muzzle to the front of the head. Use embroidery to add a nose and mouth.
- Step 6: Add the eyes. Use sewing safety eyes or embroider them if using fuzzy yarn. Ensure symmetry for a cute appearance.
- Step 7: Hide any remaining thread tails securely.

Finishing Tips
- Use a thin thread for assembling the parts, especially if the yarn is thick and fuzzy.
- The arms and legs can be sewn to allow movability or fixed tightly, based on your requirement.
- If beginners find the fuzzy yarn difficult to handle, switch to a smoother cotton yarn for better visibility.