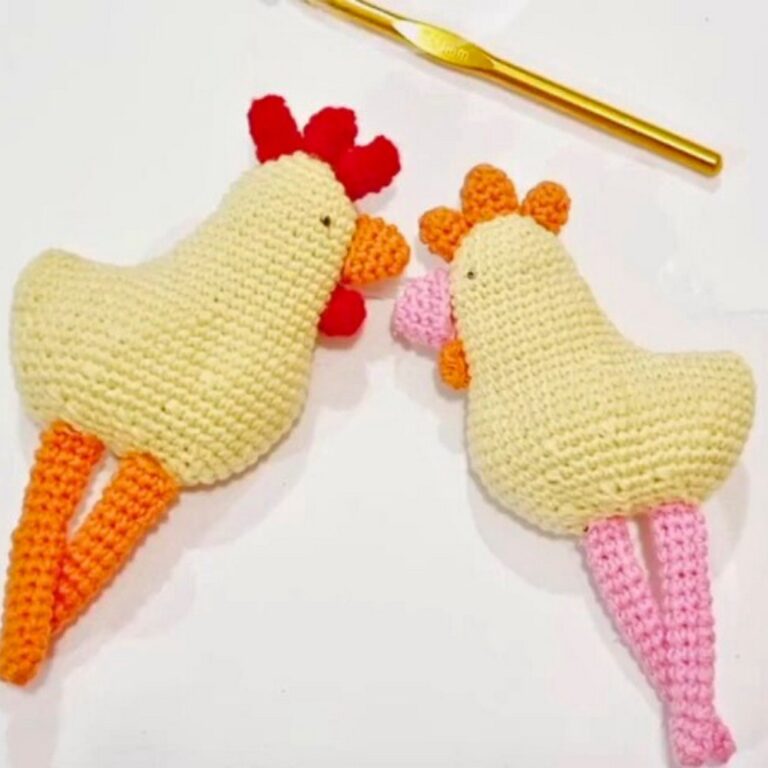
Crochet Chick with Egg Pattern | Easy Easter Amigurumi
Here’s how to crochet a sweet chick tucked inside its own egg, from shaping the tiny body and adding its features to creating the opening shell and finishing the Easter-ready look.

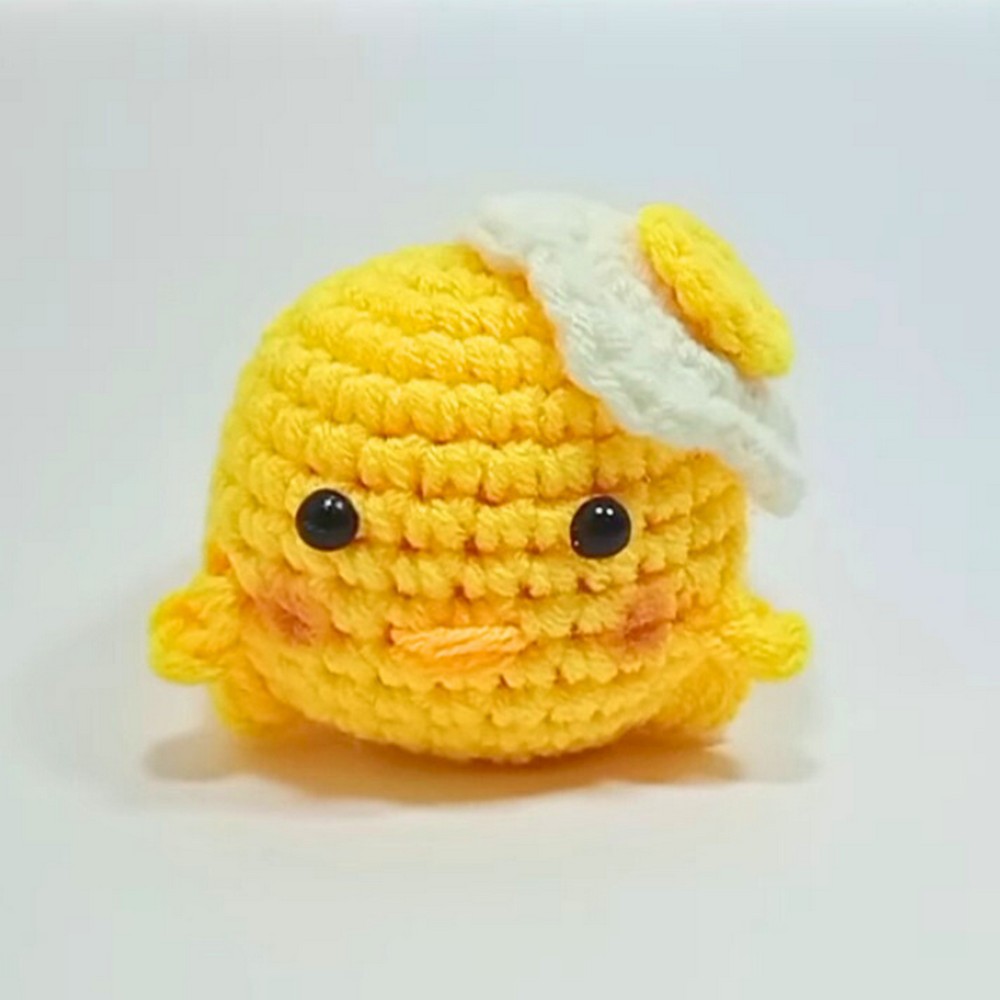
Spring crochet feels especially fun when one small design gives you two pieces to make. This crochet chick fits snugly inside its matching egg cover, creating an adorable little surprise that works beautifully for Easter displays, gifting, or pocket-sized play. Simple shaping keeps this crochet pattern approachable while small finishing details give chick its personality.
You will first shape chick in continuous rounds, add its facial details and feet, then crochet white egg cover with its unusual opening flap. Once both crochet pieces are finished, nesting chick inside shell creates final peek-out effect without requiring complicated assembly.
Credit Shine Hook
Materials and Tools for Chick and Egg
Prepare supplies before beginning so color changes, stuffing, facial details, and finishing can be handled without interrupting your rounds.
Yarn and Hooks
- Yellow worsted weight yarn: Main color for chick
- White worsted weight yarn: Main color for egg cover
- 3.75 mm crochet hook: Used for chick
- 4.0 mm crochet hook: Used for egg cover
Finishing Supplies
- Two 6 mm safety eyes
- Embroidery floss for beak and feet
- Polyester fiberfill stuffing
- Tapestry needle
- Scissors
- Contrast yarn or stitch markers for tracking beginning and ending of rounds
Finished result is designed as cute, pocket-sized amigurumi chick that fits snugly inside matching opening egg shell cover.
For variety, experiment with different pastel worsted weight yarns to create colorful spring or Easter eggs. You can also add keychain loop to top of egg shell for bag charm or backpack accessory.
Crochet Abbreviations
- st(s): Stitch(es)
- ch: Chain
- sc: Single crochet
- inc: Increase — work 2 single crochets in same stitch
- dec / inv-dec: Decrease / invisible decrease — insert hook into front loops only of next two stitches, yarn over, pull through both loops, yarn over, and pull through two remaining loops
- Rnd(s): Round(s)
- FO: Fasten Off
Crochet Chick Body First
Use 3.75 mm hook and yellow yarn. Chick is worked in continuous rounds, beginning with magic ring and gradually increasing, maintaining, then decreasing stitch count.
Shape Lower Body
Rnd 1: Start with magic ring. Work 6 sc into ring. Pull non-working tail tight to close circle. (6 sts)
Rnd 2: Work inc in every st around. (12 sts)
Rnd 3: Repeat (inc, sc 1) 6 times around. (18 sts)
Rnds 4–5: Sc in all 18 sts. (18 sts)
Rnd 6: Repeat (inc, sc 2) 6 times around. (24 sts)
Rnds 7–8: Sc in all 24 sts. (24 sts)
Place Safety Eyes Before Closing Shape
Insert 6 mm safety eyes between Rnds 6 and 7, spacing them approximately 5 stitches apart.
Secure plastic backings inside body before continuing.

Continue Chick Shape
Rnd 9: Repeat (inc, sc 7) 3 times around. (27 sts)
Rnds 10–12: Sc in all 27 sts. (27 sts)
Rnd 13: Sc 1, [inv-dec, sc 2] repeat 6 times, finish with 1 inv-dec. (20 sts)
Rnd 14: Sc in all 20 sts. (20 sts)
Rnd 15: Sc 1, [inv-dec, sc 1] repeat 6 times, finish with 1 sc. (14 sts)
Stuff Before Final Closure
Firmly stuff chick body with polyester fiberfill.
Keep stuffing full and shapely without stretching individual stitches. This gives chick enough body to sit inside egg cover while preserving stitch definition.
Rnd 16: Work 7 inv-dec back-to-back, decreasing down to 7 sts. (7 sts)
Cut yarn, leaving tail.
Thread tail through tapestry needle. Create false stitch to close opening neatly, then weave through remaining front loops. Pull tightly to cinch opening completely closed and bury yarn tail inside body.
Crochet Matching Egg Cover
Switch to 4.0 mm hook and white yarn. Egg cover follows similar shaping through early rounds, then introduces opening flap that lets chick peek outside.
Build Egg Base
Rnd 1: Begin with magic ring and work 6 sc into ring. Pull tight to close. (6 sts)
Rnd 2: Work inc in every st around. (12 sts)
Rnd 3: Repeat (inc, sc 1) 6 times around. (18 sts)
Rnds 4–5: Sc in all 18 sts. (18 sts)
Rnd 6: Repeat (inc, sc 2) 6 times around. (24 sts)
Rnds 7–8: Sc in all 24 sts. (24 sts)
Rnd 9: Repeat (inc, sc 7) 3 times around. (27 sts)
Rnd 10: Sc in all 27 sts. (27 sts)

Create Opening Flap in Egg Shell
Rnd 11 changes from ordinary continuous stitching because this round creates opening span.
Work Opening Flap
Rnd 11: Sc 1, chain 25, skip 25 stitches of previous row, then sc 1 into final stitch to complete span.
On subsequent pass, twist and work sc back along back humps of chain to maintain count. (27 sts)
This opening becomes space through which finished chick will peek.
Finish Egg Cover Shape
Continue Even Rounds
Rnds 12–16: Sc in all 27 stitches per round. (27 sts)
Begin Closing Decreases
Rnd 17: Sc 1, [inv-dec, sc 2] repeat 6 times, finish with 1 sc. (20 sts)
Rnd 18: Sc in all 20 sts. (20 sts)
Rnd 19: Sc 1, [inv-dec, sc 1] repeat 6 times, finish with 1 sc. (14 sts)
Rnd 20: Work 7 inv-dec to decrease down to 7 sts. (7 sts)
Fasten off with yarn tail.
Replicate false-stitch closing method through remaining front loops. Pull tightly, then weave ends securely into interior lining of egg.
Turn egg right-side out.

Add Chick’s Face and Tiny Feet
With chick body complete, use embroidery floss and tapestry needle for small details.
Stitch Beak
Create small triangular beak centered just below safety eyes.
Add Feet
Use back stitches to create feet near bottom front base of chick body.
Keep facial and foot details securely stitched before placing chick inside shell.
Give Chick Its Fluffy Hair Tuft
Cut short strand of yellow yarn.
Using crochet hook, pull strand through very top center of chick head.
Secure it with lark’s head knot.
Trim yarn, then gently unravel or frizz yarn ends to create fluffy appearance.
This small detail gives finished chick its playful expression without requiring extra crocheted pieces.

Nest Chick Inside Egg
Open flap on white egg cover.
Slide finished chick inside so chick can peek through shell opening.
Check that chick sits snugly within shell and remains visible through opening. For alternate use, add keychain loop to top of egg shell and turn finished piece into bag charm or backpack accessory.
Your Crochet Chick with Egg is now complete, with soft yellow chick peeking through its matching white shell, tiny stitched features, and fluffy top tuft ready for spring or Easter display.