Crochet Sunflower Coaster Pattern – Step-by-Step
Want cheerful floral table décor with practical everyday use? This crochet sunflower coaster combines cotton yarn, leafy green edging, and 12 tiny sunflowers for a bright handmade finish.
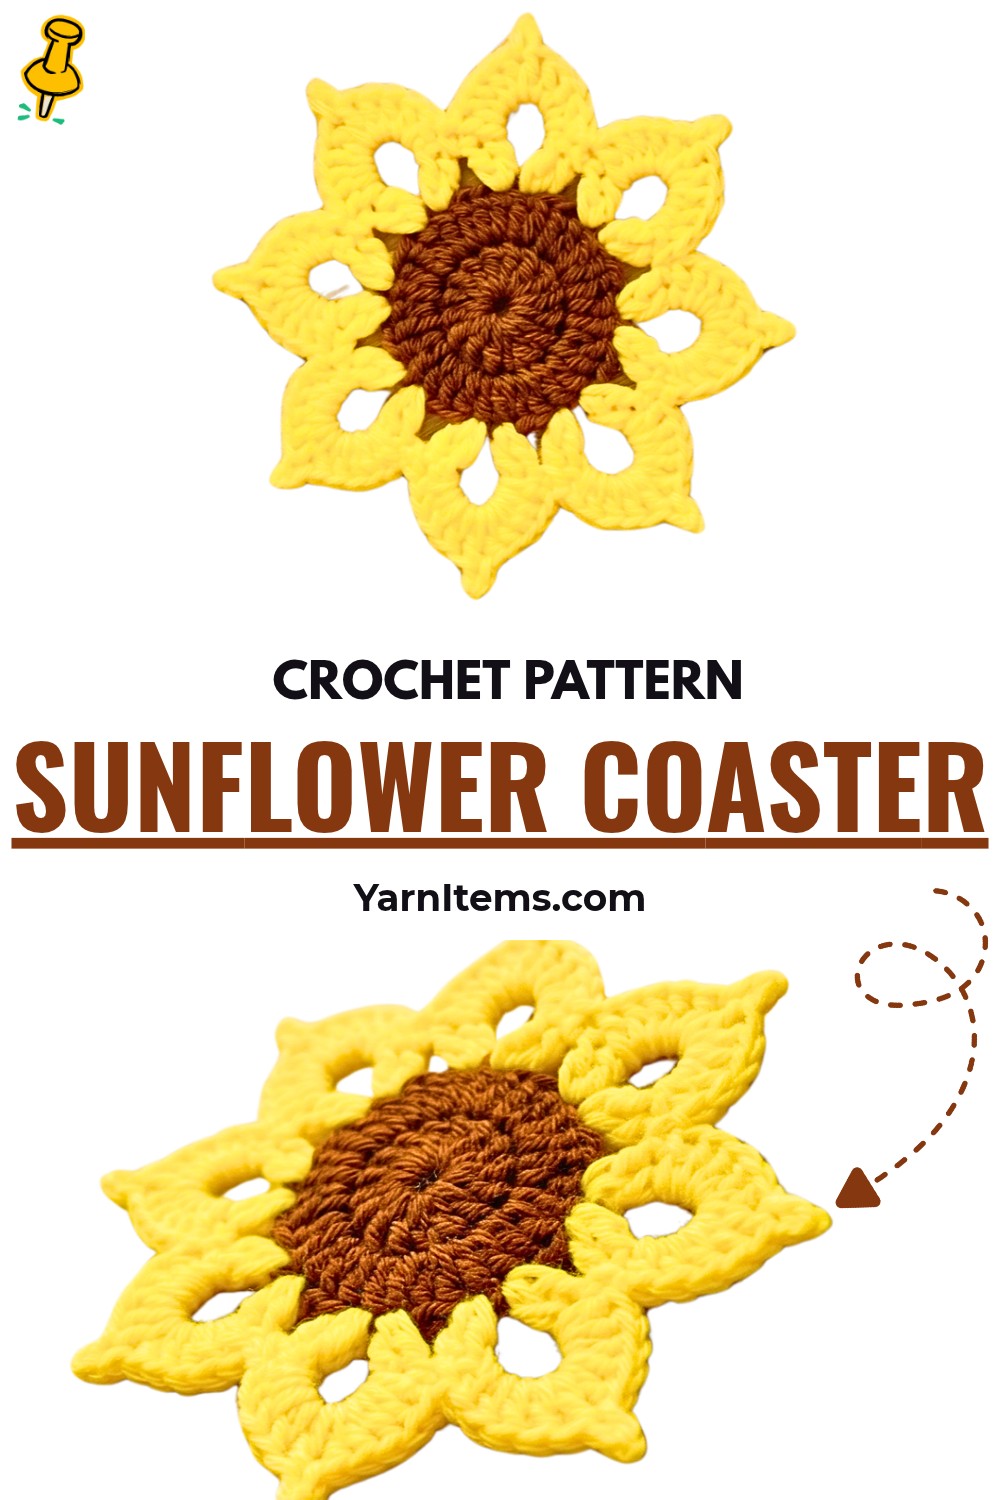
Sunflower details bring instant warmth to table settings, while cotton yarn keeps this crochet Coaster suited for mugs and glasses. For crocheters who enjoy decorative pieces, layered flowers and leafy edging create plenty of visual interest without complicated shaping.
This crochet tutorial takes you from circular white center through green leaf border and individual sunflower motifs, then guides you through secure placement of all 12 flowers. You’ll also find clear stitch counts, color guidance, and finishing details so crochet construction stays easy to follow from beginning to end.
Credit Chapa crochet & craft
Materials & Tools Needed
- Yarn: 100% cotton yarn, recommended for heat resistance.
- White: Center base
- Green: Outer border and leaves
- Yellow: Sunflower petals
- Brown: Sunflower centers
- Crochet Hook: 3.0 mm crochet hook
- Notions: Scissors, darning needle, and stitch marker
Finished Size & Gifting Ideas
- Finished Size: Standard drink coaster dimensions suitable for mugs and glasses.
- Bouquet Presentation: Fold coaster in half once, fold it again, then wrap with string to create miniature flower-bouquet gift.
- Coaster Set: Place finished coaster inside matching handmade crochet basket for coordinated presentation.
Pattern Abbreviations & Terminology
- st / sts: Stitch / Stitches
- ch: Chain
- sc: Single Crochet
- dc: Double Crochet
- inc: Double Crochet Increase – work 2 double crochets into same stitch
- sl st: Slip Stitch
- BLO: Back Loop Only
- MR: Magic Ring / Magic Circle
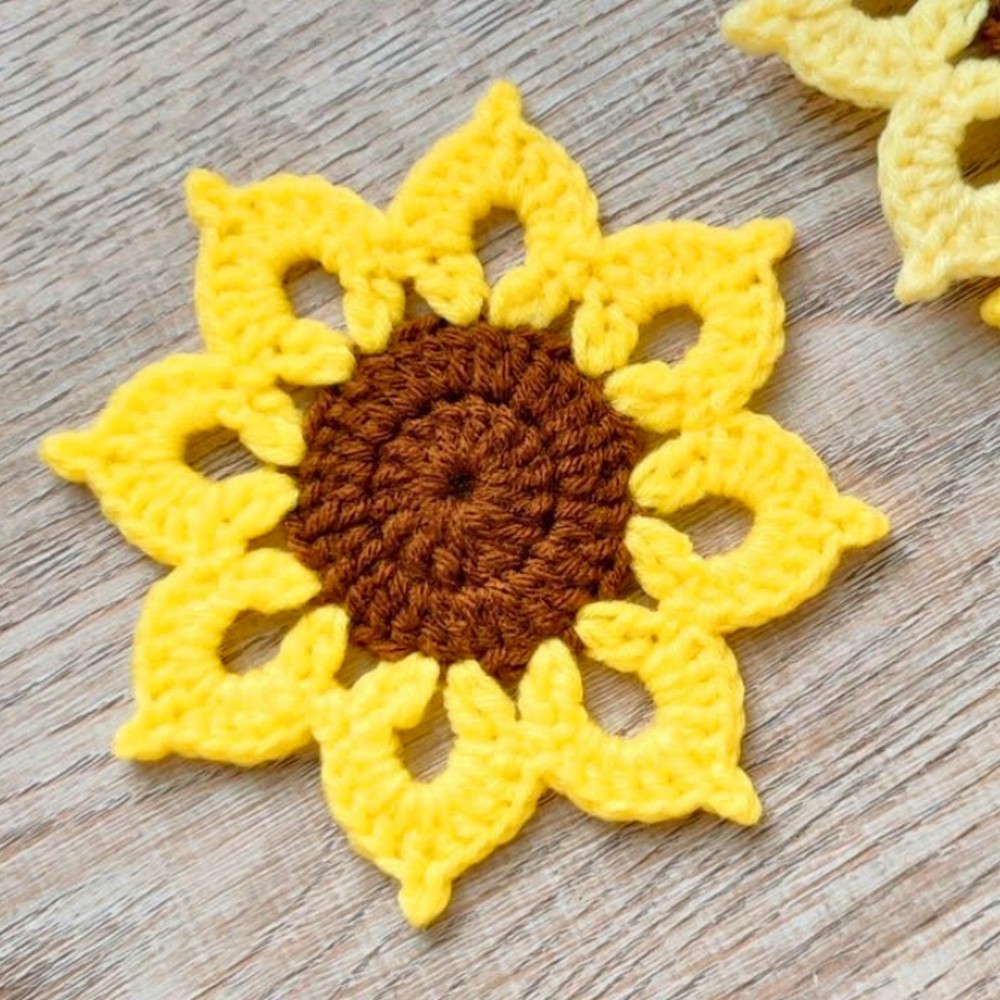
How to Crochet Sunflower Coaster
Part 1: Crochet White Coaster Center
Round 1 – Form Magic Ring
Create MR with white yarn.
Work 1 standing dc, followed by 11 regular dc into ring.
Pull MR tight to close center.
Join with sl st into top of first standing dc.
Place stitch marker into last dc made.
Stitch count: 12 sts
Teaching check: Center should close neatly, with 12 stitches sitting evenly around ring.
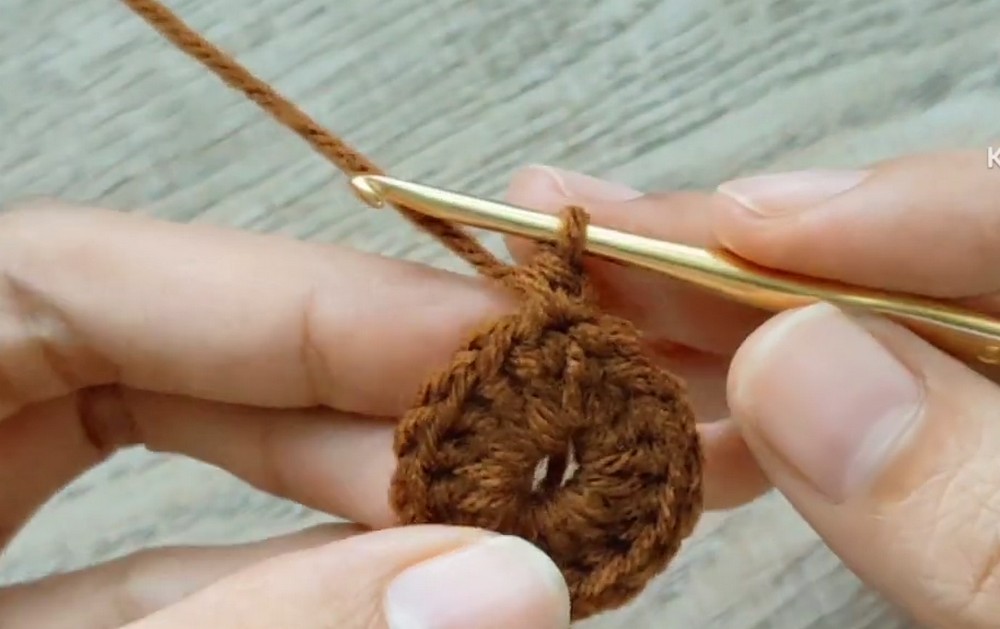
Round 2 – Increase Around Circle
Work standing dc into same space as slip stitch.
Work 1 regular dc into same stitch to create first increase.
Continue with dc inc in every stitch around.
Join with sl st to first standing dc.
Place stitch marker into final dc.
Stitch count: 24 sts
Result check: Circle should remain reasonably flat. Keep tension relaxed if edge begins pulling upward.
Round 3 – Alternate DC and Increase
Work standing dc increase into starting space.
Continue this sequence around: 1 dc in next st → 1 dc inc in following st
Repeat pattern around full round.
Finish with dc inc in stitch containing stitch marker.
Join with sl st and reposition stitch marker.
Stitch count: 36 sts
Round 4 – Continue Circular Expansion
Work this sequence around: 1 dc in first st → 1 dc in second st → 1 dc inc in third st
Repeat until reaching marked stitch.
Finish with dc inc in marked stitch.
Join with sl st and place stitch marker into final slip stitch.
Stitch count: 48 sts
Teaching focus: Even increase spacing keeps circular center smooth and gives green border stable support.
Round 5 – Add Soft Finishing Edge
Work loose sl sts into every stitch around.
Avoid pulling tension too tightly.
Join at end and fasten off, leaving yarn tail.
Use darning needle to weave in and conceal loose yarn ends.
Result check: White center should lie flat and form clean circular foundation for green edging.
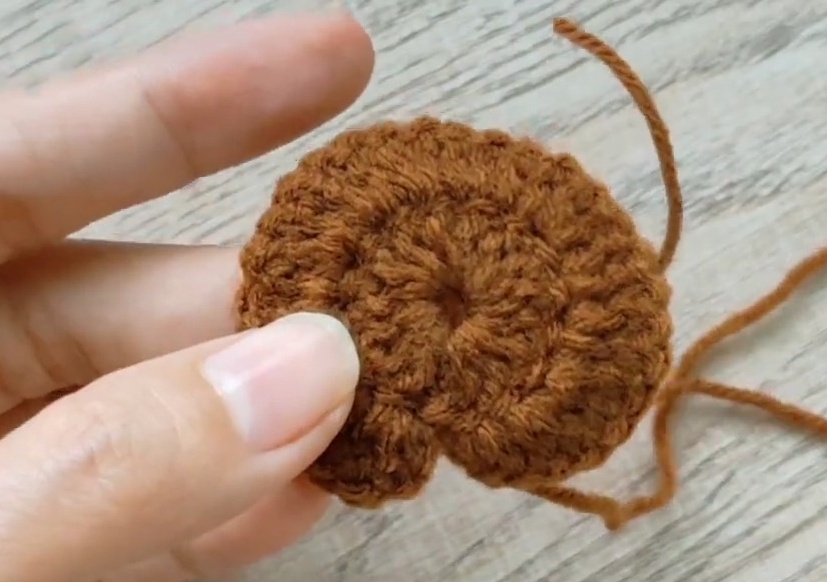
Part 2: Crochet Green Outer Border and Leaves
Round 1 – Create Green Chain Spaces
Attach green yarn with sl st into BLO of any stitch on white base.
Chain 6.
Skip next 3 back loops.
Work 1 dc into 4th back loop.
Continue around using: ch 4 → skip 3 back loops → 1 dc into 4th back loop
Join with sl st into starting chain space.
Teaching focus: Keep each chain space open and similar in size because these spaces will hold leaf pairs during next round.
Round 2 – Form First Leaf
Work directly into first chain-4 space.
Chain 3.
Work sl st into 2nd chain from hook.
Work sc into 3rd chain.
Then work sl st back down into same chain-4 space.
Leaf 1 is complete.
Result check: Leaf should form small pointed shape extending upward from chain space.
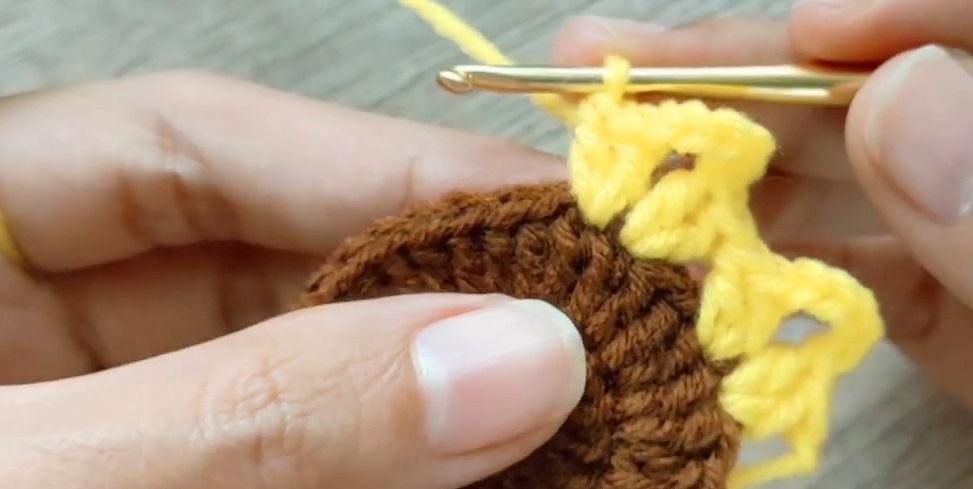
Form Second Leaf
Chain 3.
Work sl st into 2nd chain from hook.
Work sc into 3rd chain.
Work sl st back into same chain-4 space.
Leaf 2 is complete.
Move to Next Chain Space
Work 3 slip stitches to reach next chain space:
- 1 sl st into adjacent dc
- 1 sl st into space underneath
- 1 sl st into next chain space
This movement places yarn correctly for next pair of leaves.
Repeat Leaf Pairs
Repeat both leaf sequences in every chain-4 space around coaster.
Fasten off.
Weave in all ends securely with darning needle.
Result check: Green edging should now show repeated pairs of small leaves around white center.
Part 3: Crochet 12 Sunflowers
Each sunflower has brown center with 9 yellow petals. Complete all 12 flowers before beginning attachment.
Create Brown Center
Form Magic Ring
Create MR with brown yarn.
Work 9 sc into ring.
Pull ring tight to close.
Join with sl st into first sc.
Cut yarn short and pull through.
Stitch count: 9 sc
Teaching focus: Keep brown center compact so yellow petals remain evenly arranged around it.
Add Yellow Petals
Attach Yellow Yarn
Attach yellow yarn to same stitch where brown slip stitch was made.
For first petal, work: ch 2 → sl st back into same stitch
This creates one small rounded petal.
Repeat Around Center
Continue same instruction in each of 9 stitches: ch 2 → sl st back into same stitch
Repeat through all 9 stitches.
This produces 9 total petals.
Slip stitch into first base stitch to close.
Fasten off.
Weave in all loose yarn ends except one brown tail, which will be used for sewing.
Result check: Finished sunflower should have compact brown center with 9 evenly spaced yellow petals.
Repeat until 12 sunflowers are complete.
Part 4: Attach Sunflowers to Coaster
Arrange All 12 Flowers
Place all 12 finished sunflowers around coaster before sewing.
Align each flower directly over chain-1 spaces nestled between green leaf clusters.
Teaching focus: Arrange everything first so spacing can be adjusted before any flower becomes permanently secured.
Sew First Sunflower
Thread reserved brown yarn tail onto darning needle.
Pass needle down through chain space toward reverse side of coaster.
On reverse side, catch secure strand to anchor sunflower.
Pull gently so flower sits firmly without flattening yellow petals.
Secure and Hide Brown Tail
Create secure knot by wrapping yarn into small loop and pulling tail through.
Thread remaining tail underneath brown center stitches.
Pull through neatly.
Trim excess yarn.
Result check: Sunflower should remain firmly attached while retaining its raised petal shape.
Repeat for Remaining Flowers
Repeat same placement and sewing process for remaining 11 sunflowers.
Continue checking spacing as each flower is added so floral border remains balanced.
Once all 12 flowers are attached, inspect reverse side and secure any loose yarn ends.
Finish and Present Your Sunflower Coaster
With all 12 sunflowers securely attached to green leaf border, coaster is ready for use.
For gift presentation, fold coaster in half once, fold it again, then wrap it with string to create miniature flower-bouquet gift.
For coordinated gifting, place finished coaster inside matching handmade crochet basket.
Use finished cotton coaster beneath mugs or glasses, or crochet several matching pieces for complete floral coaster set.