Free Crochet Christmas Candy Cane Coaster Pattern
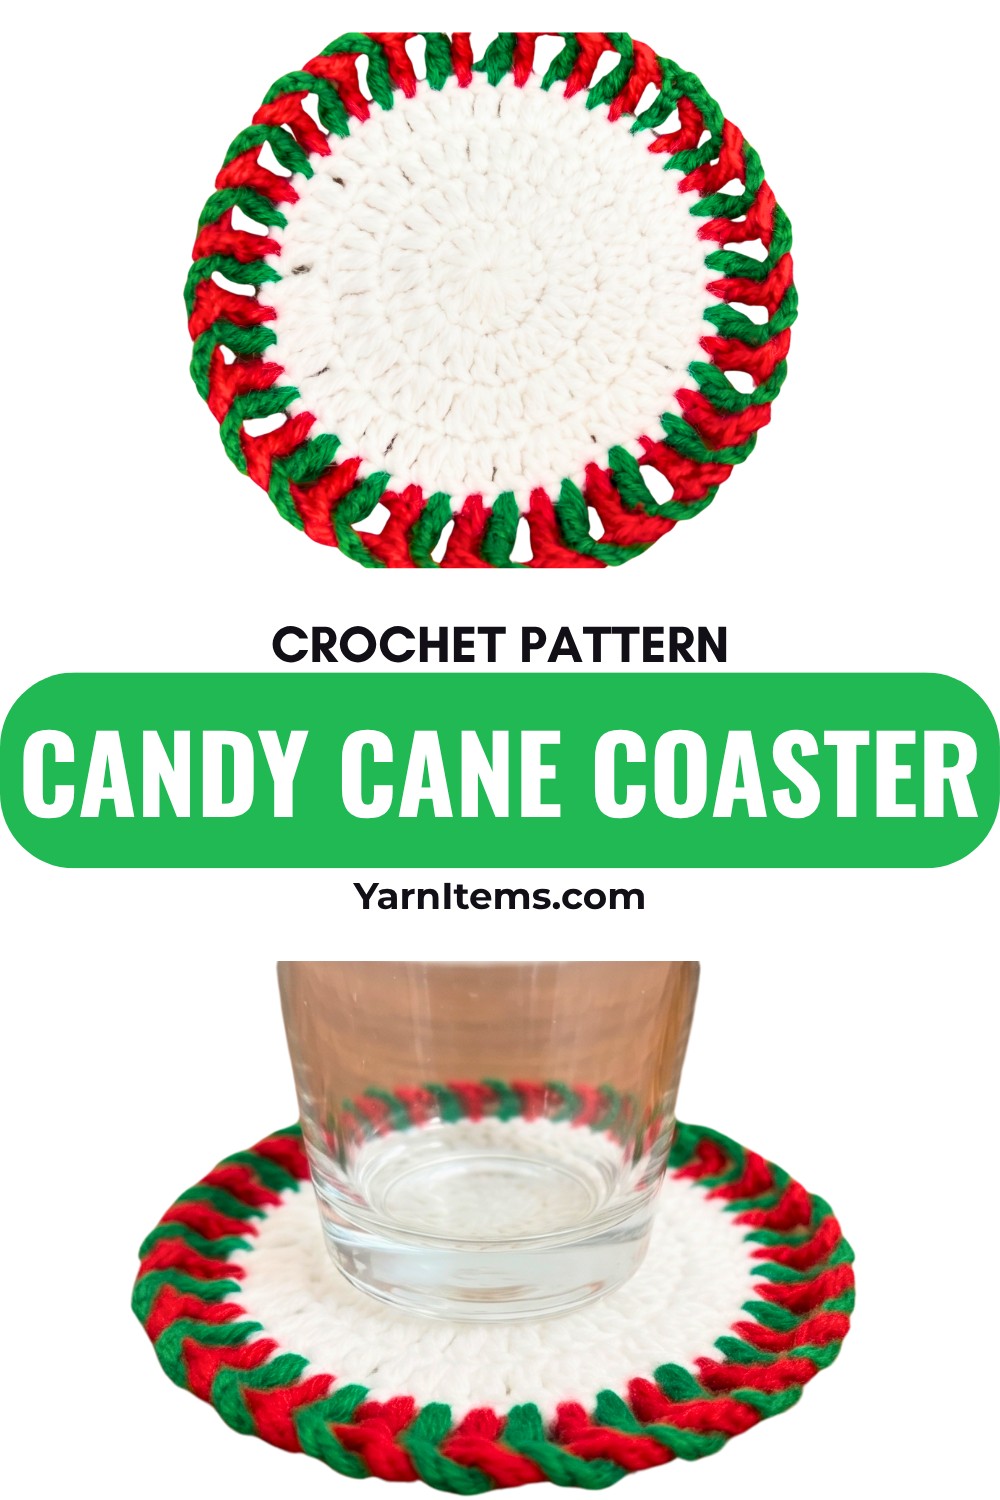
Bring a festive touch to your holiday table with this crochet Christmas coaster, featuring a crisp white center and playful red-and-green edging inspired by candy-cane stripes.
Crochet Christmas Candy Cane Coaster Pattern
A simple white crochet circle becomes a festive Christmas coaster as two colorful edging rounds are layered around its edge. The white center provides the foundation, while the red treble-crochet framework creates the first open border and the green stitches weave through it for the final decorative effect.
The most important part comes when the green edging is added over the red round. The stitches need to pass through the existing framework in the intended sequence, so keeping the red spokes and chain spaces easy to identify will make the final twist crochet pattern much easier to follow.
Credit ChillAsianGirl
Materials & Tools Needed
- White yarn for the center circle
- Red yarn for the first decorative edging
- Green yarn for the final edging
- 2.5 mm crochet hook
Pattern Abbreviations & Terminology
US crochet terminology is used throughout.
- ch – Chain
- dc – Double Crochet
- tr – Treble Crochet
How to Crochet the White Center
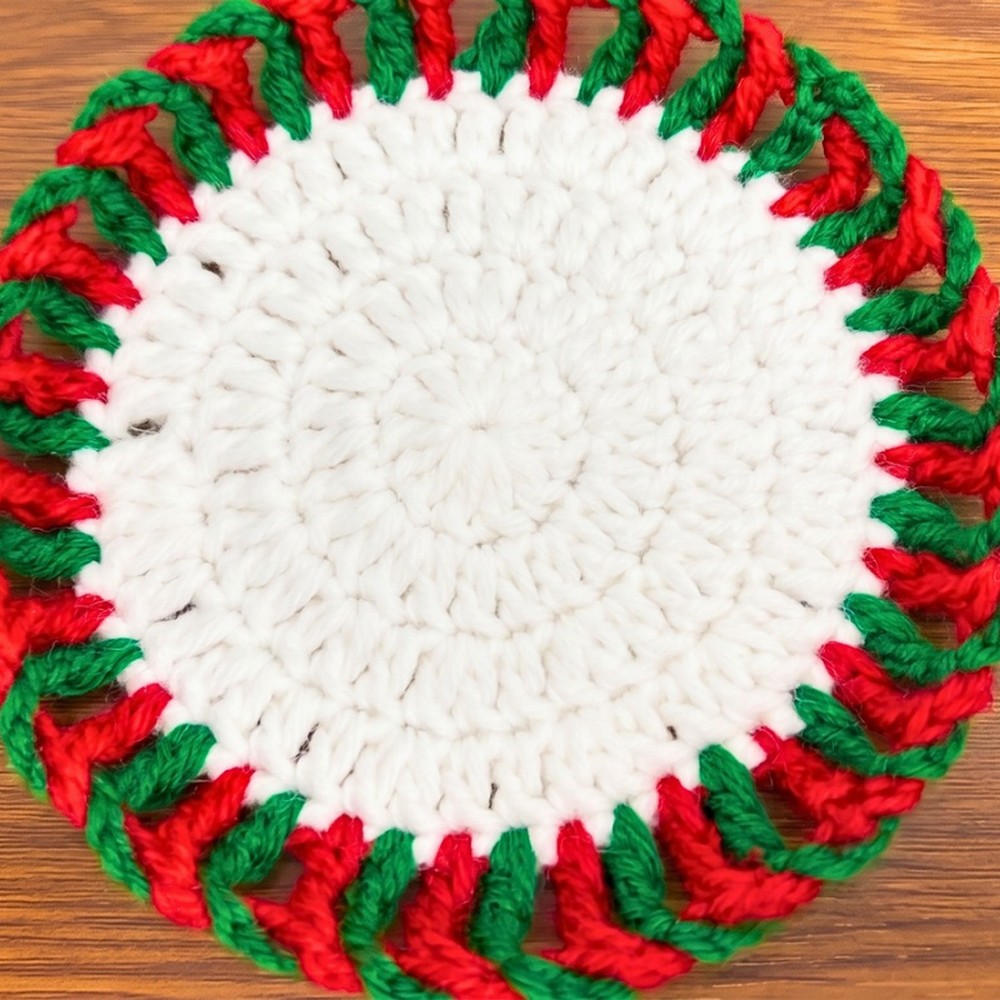
Three rounds of double crochet form the center of the coaster. The increases gradually expand the circle so the outer edge is ready for the decorative rounds.
Round 1: With white yarn, make a magic ring. Ch 2; this does not count as a dc. Work 12 dc into the magic ring, pull the starting tail to close the center, and join with a sl st if following a joined-round method. (12 dc)
Round 2: Ch 2; this does not count as a dc. Work 2 dc in the same stitch, then work 2 dc in every stitch around. (24 dc)
Round 3: Ch 2; this does not count as a dc. Work 2 dc in the first stitch, then repeat 1 dc in the next stitch, 2 dc in the following stitch around. Fasten off the white yarn.
The third round completes the circular base and prepares its outer stitches for the red decorative border.
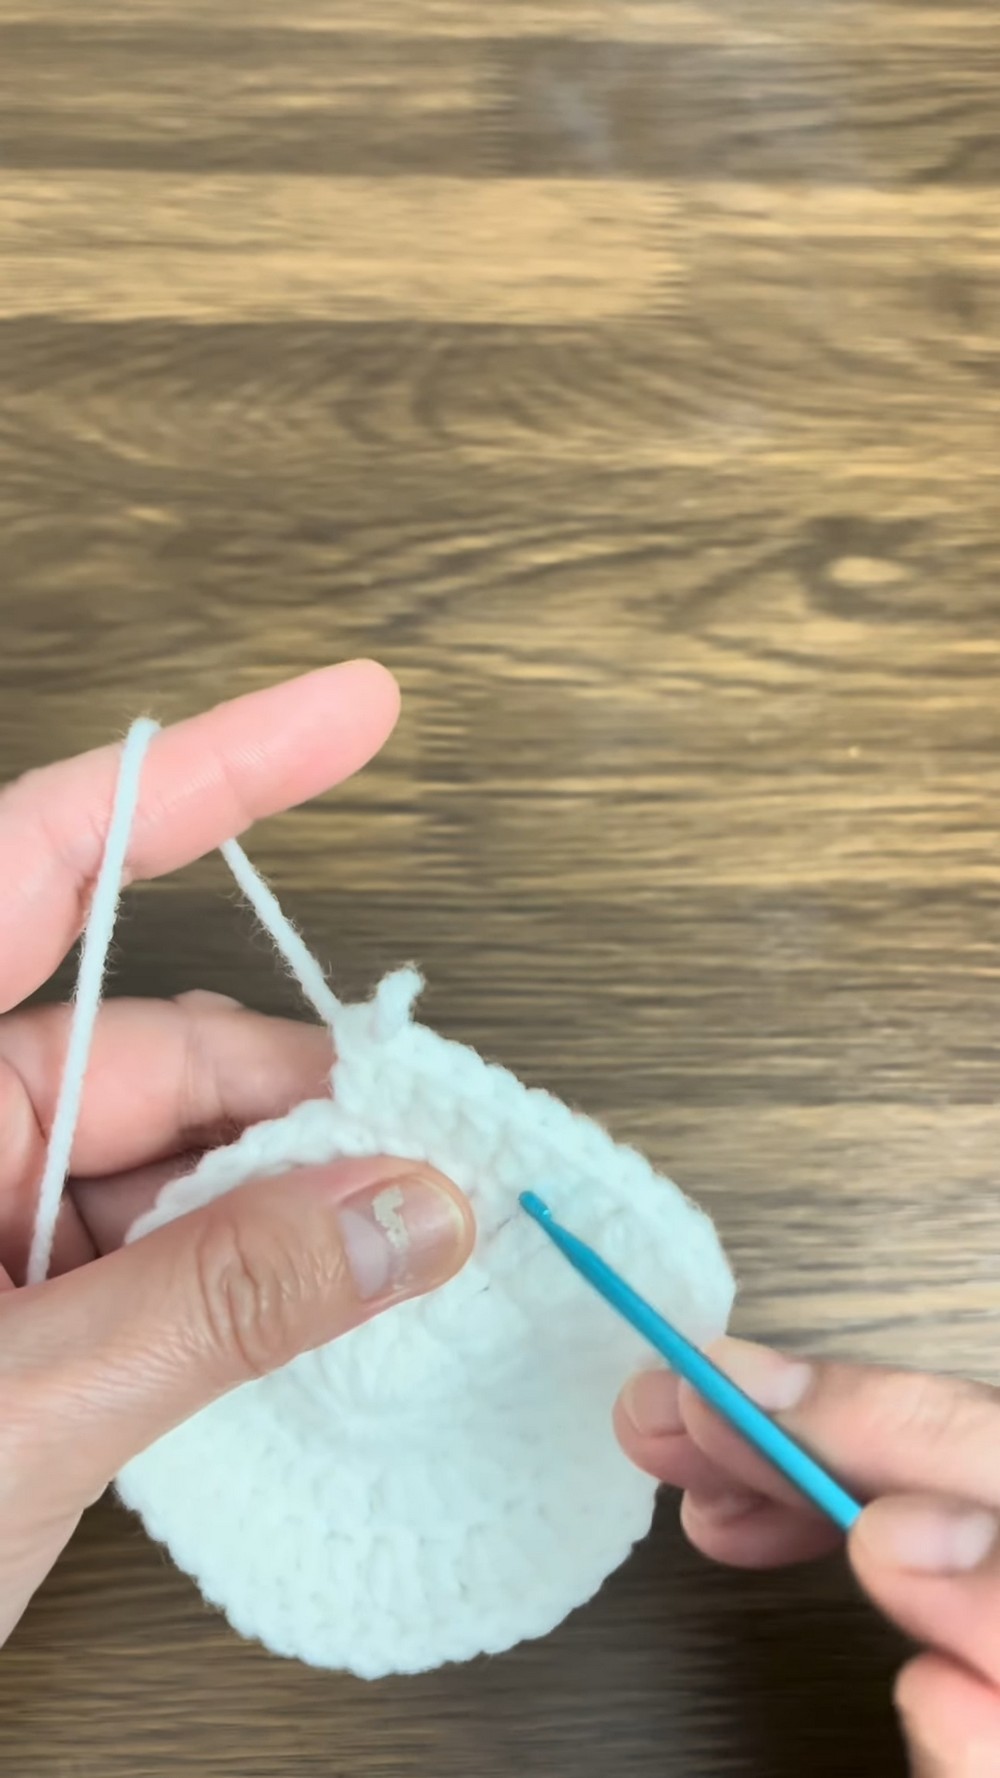
Add the Red Decorative Edge
The red round creates an open treble-crochet framework around the white center. Its chain spaces are important because the following green round will work in relation to this layer.
Round 4: Join red yarn. Ch 4, counting as 1 tr and 3 ch. Skip the first tr space, then work 1 tr into the next stitch. Ch 3. Repeat 1 tr, 3 ch around, skipping 1 stitch at the base each time to create the red mesh/spoke framework. Fasten off the red yarn.
Keep the chain spaces open as you work. They form the visible gaps between the red treble stitches and provide the structure used by the final green edging.
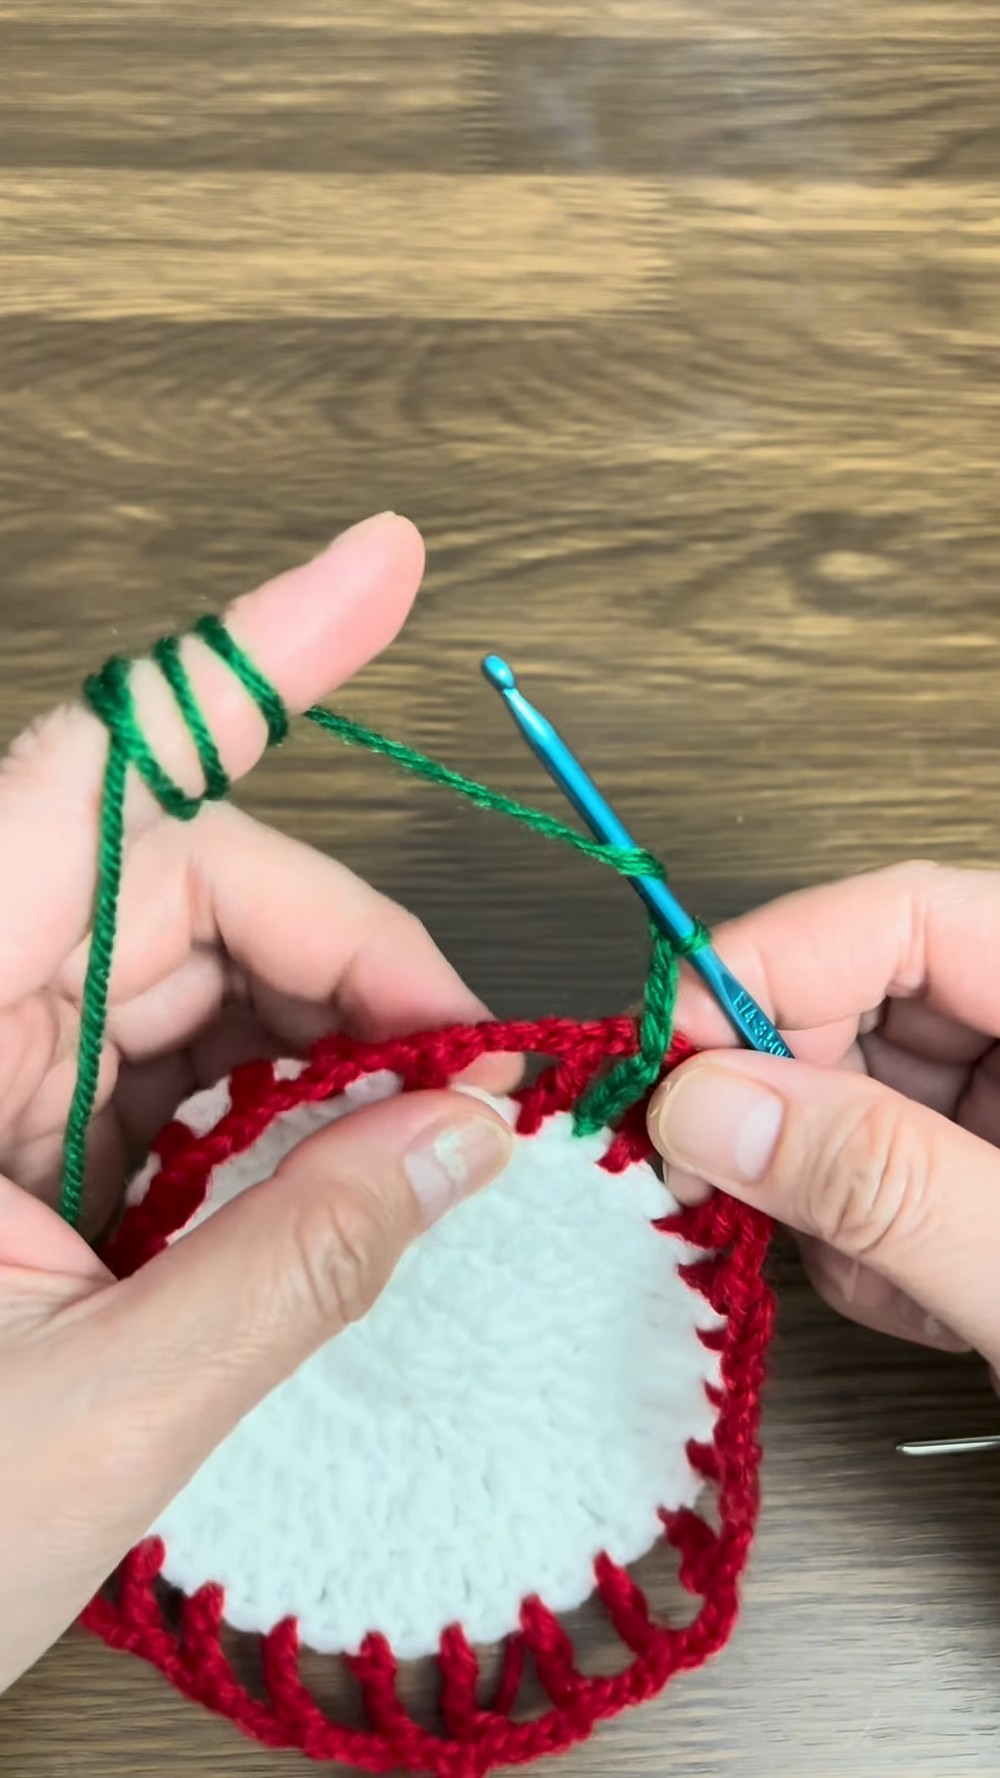
Weave in the Green Edging
The final round introduces the second color and creates the interlocking candy-cane effect around the perimeter.
Round 5: Join green yarn. Ch 4, counting as 1 tr. Ch 3, then work 1 tr interlocking through the previous layers alongside the red framework. Continue repeating 3 ch, 1 tr around the entire perimeter, interlocking the green stitches neatly with the red edging. Fasten off.
The green stitches should remain visually connected with the red framework rather than sitting as a completely separate border. Follow the existing red spaces as you work so the two colors remain evenly intertwined.
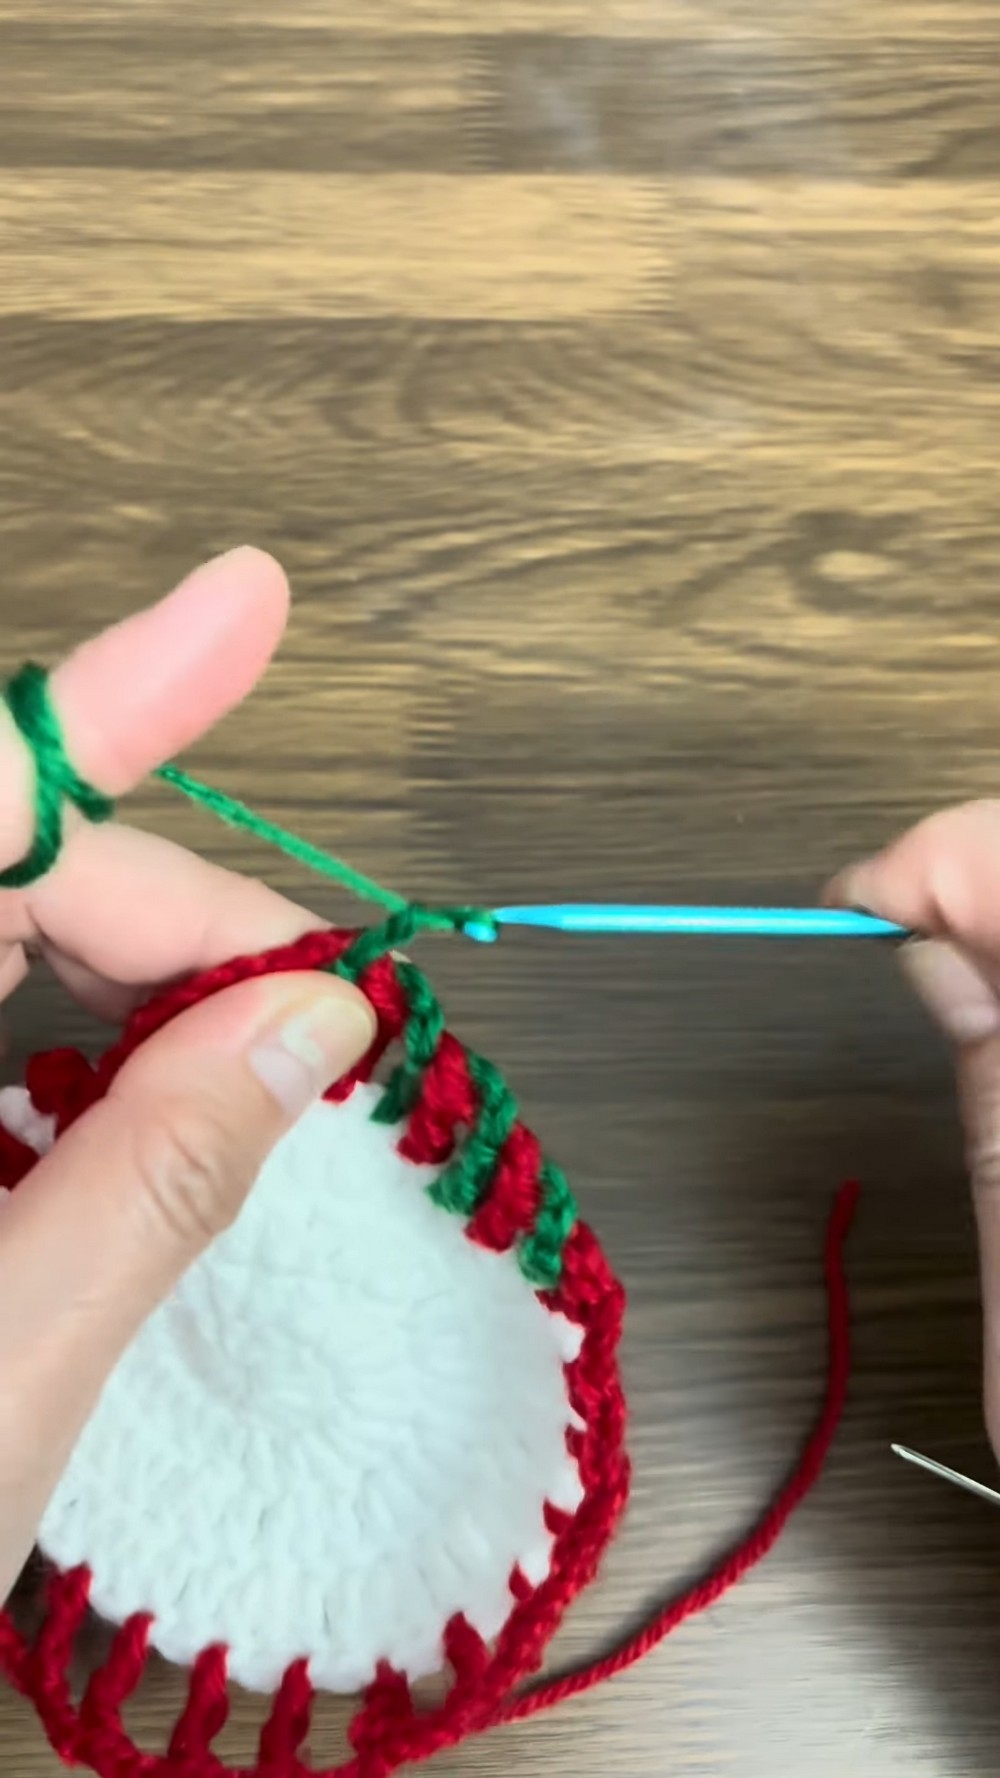
Color-Change Check
After completing a few sections of the green round, pause and look at the edge before continuing all the way around.
The red and green elements should alternate around the perimeter while the chain spaces remain visible. If the green stitches are sitting entirely in front of or behind the red framework instead of interlocking with it, check the stitch placement before proceeding.
Finish the Coaster
Fasten off any remaining yarn tails securely.
Use a yarn needle to weave the ends into the back of the coaster, keeping the finished edge clean and free from visible loose strands.
Once the ends are secured, gently flatten the coaster and check that the circular center and decorative border sit evenly.
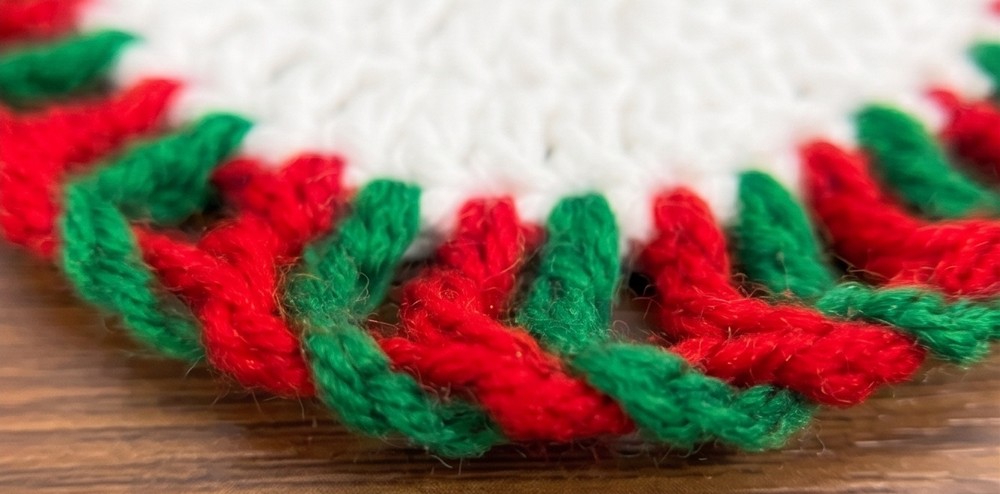
A Festive Crochet Table Accent
The finished coaster combines a simple three-round white center with two contrasting decorative rounds. The red treble framework establishes the open edge, while the green stitches add the interwoven finish that gives the border its candy-cane-inspired character.
Because the center uses a straightforward increase sequence, the decorative edging becomes the main feature of the finished piece. Keeping the red framework visible while adding the green round will help preserve the crisp two-color effect shown in the tutorial.