Stylish & Beautiful Crochet Leaf Coaster Pattern Free
Have you ever seen a coaster that’s as natural and elegant as a leaf? Here’s an idea so simple yet charming, you’ll want to make it yourself!
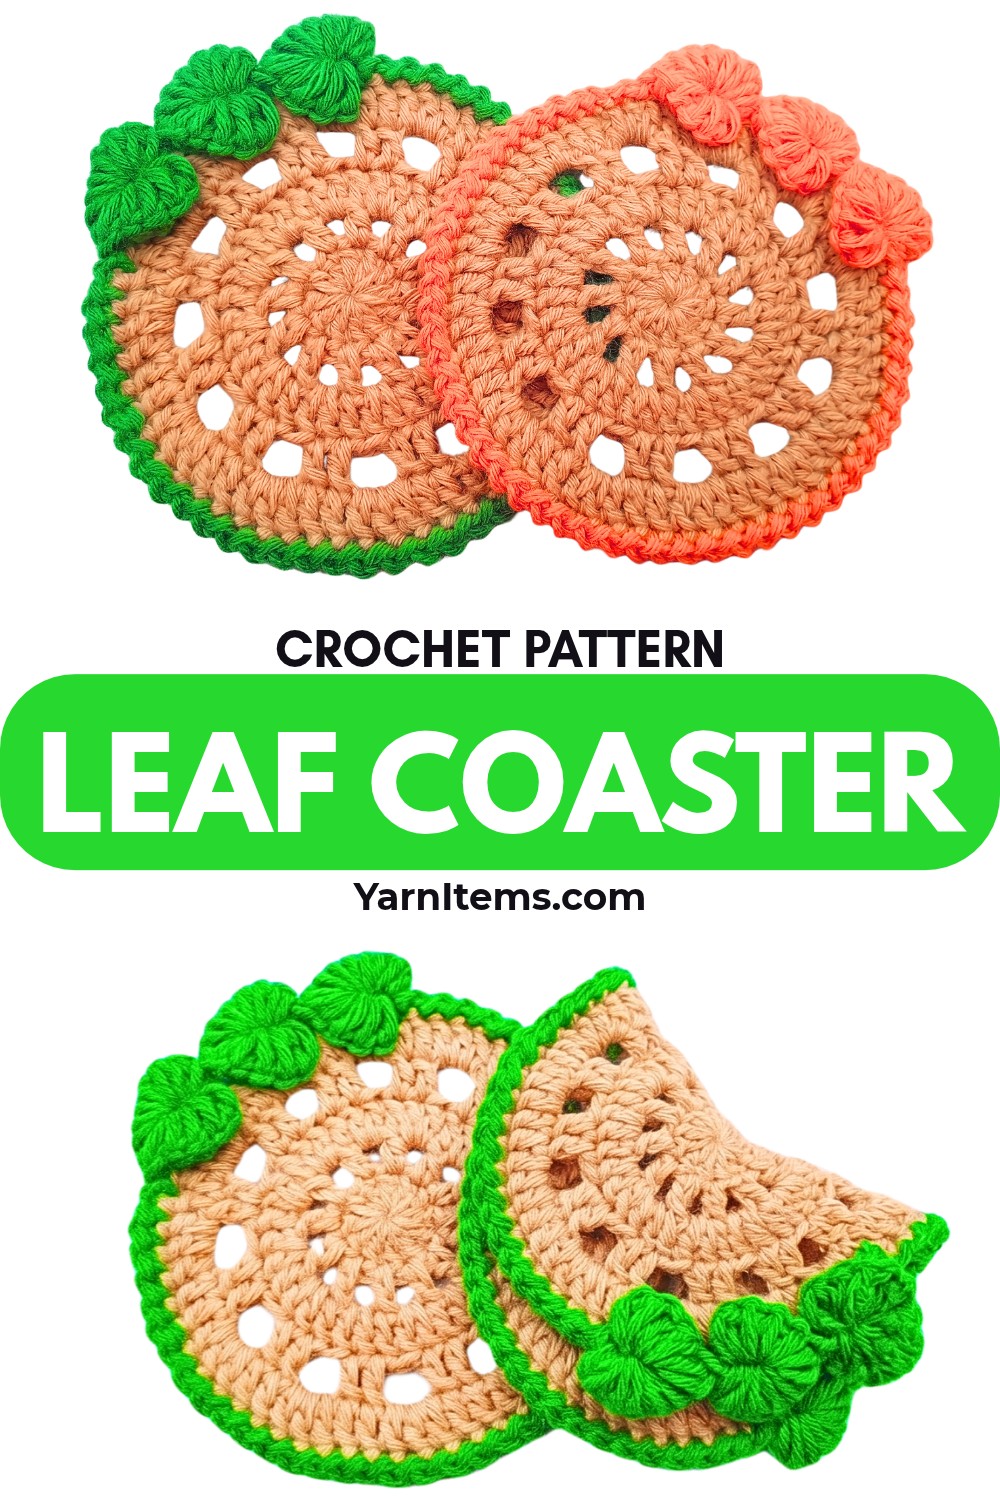
Crochet Leaf Coaster Pattern
At first glance, this looks like an ordinary round crochet coaster, but the final rows reveal the detail that makes it truly special. As the crochet pattern unfolds, elegant 3D leaves emerge around the edge, giving this handmade piece a natural look that instantly stands out.
The transformation becomes even more satisfying as the finishing touches bring the design to life. A contrasting border, raised leaf texture, and clean shaping turn this crochet coaster into a beautiful piece that’s both decorative and practical, making every completed stitch feel worth the effort.
Credit Crochet Squares
Why You’ll Love This Leaf Coaster
- This leaf coaster combines a simple round base with beautiful 3D leaf details, creating a design that’s both decorative and practical.
- Its nature-inspired style blends easily with everyday table décor while protecting surfaces from hot mugs and glasses.
- Whether you’re making one for yourself or a matching set as a handmade gift, this pattern is easy to customize with seasonal colors.
- The textured leaves give the finished coaster a unique look that stands out without requiring a large amount of yarn.
Everything You Need Before You Start
Yarn
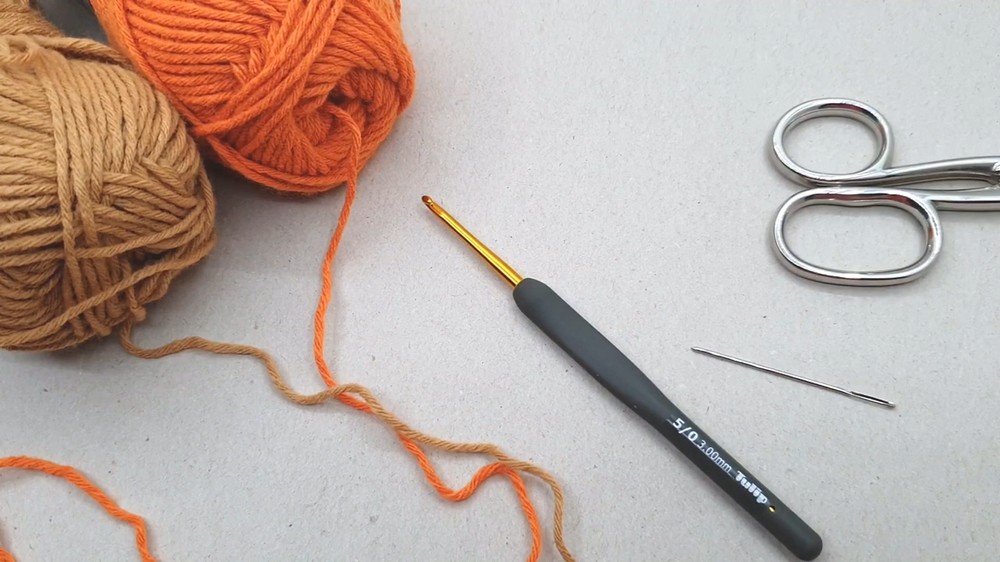
- DK Weight Acrylic Yarn in two contrasting colors:
- Color A (Base): Camel, Tan, or Brown
- Color B (Border & Leaves): Green or Autumn Orange
Crochet Hook
- 3.0 mm crochet hook (Size 5/0)
Notions
- Scissors
- Tapestry/Yarn needle (for weaving in ends)
Check Your Size Before You Begin
Rounds 1–2 should measure approximately 1.75–2 inches (4.5–5 cm) in diameter.
- Note: The exact gauge isn’t crucial, but maintaining a consistent tension is important to ensure the coaster lies flat.
Read These Helpful Notes First
- Fake Double Crochet (Standing dc alternative): Use at the start of rounds instead of a standard ch 3 to create a seamless, invisible join.
- Leaf Construction: 3D puff/bullion style leaves worked around the post of a ch-3 + dc stem anchor using long loop pull-throughs.
- Working in the Round: Base coaster is worked in joined concentric rounds. Color B is introduced on Round 6 for edging and leaf accents.
Finished Coaster Size at a Glance
Approx. 4.5–5 inches (11.5–12.5 cm) in diameter.
Creative Ways to Personalize Your Coaster
-
- Fall/Autumn Theme: Use tan for the base with bright orange or pumpkin yellow leaves.
- Spring/Plant Theme: Use cream/white for the base with emerald or sage green leaves.
- Coaster Set: Make a set of 4 or 6 coasters in matching earth tones for a gift set.
Crochet Abbreviations You’ll Use
- MR: Magic Ring
- ch: Chain stitch
- sc: Single crochet
- dc: Double crochet
- sl st: Slip stitch
- st(s): Stitch(es)
- ch-sp: Chain space
- yo: Yarn over
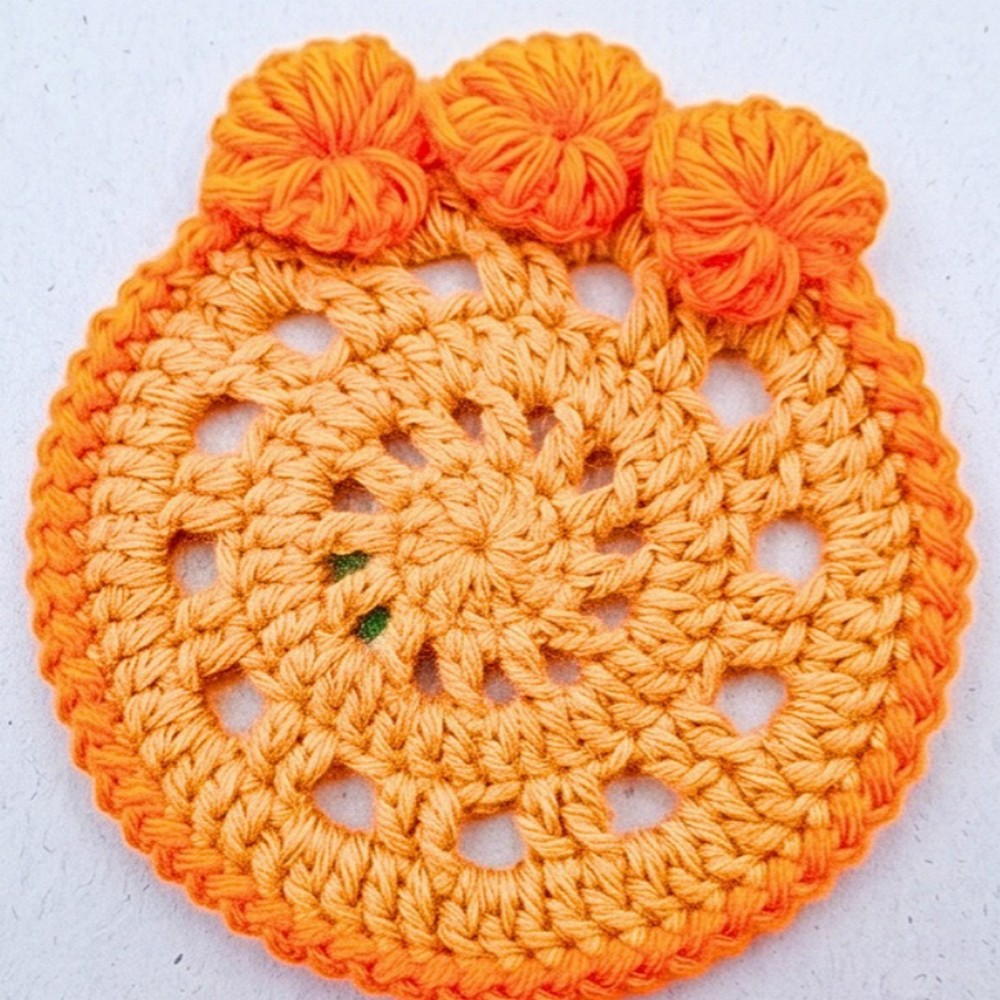
Step-by-Step Guide to Creating the Perfect Leaf Coaster
Base Coaster (Color A)
Round 1:
- Start with a Magic Ring, ch 1.
- Work (1 sc, ch 1) into the ring (counts as 1st dc).
- Work 11 dc into the magic ring.
- Pull the tail tight to close the ring center.
- Join with a sl st to the top of the first stitch.
(Total Stitch Count: 12 dc)
Round 2:
- Into the first dc, make 1 fake dc (1 sc, ch 1), then ch 2.
- (1 dc in next dc, ch 2) Repeat 11 times around.
- Join with a sl st into the first stitch.
(Total Stitch Count: 12 dc, 12 ch-2 spaces)
Round 3:
- In the first ch-2 space, make (1 sc, ch 1) (counts as dc).
- In the first dc from the previous round, make 1 dc.
- In the same ch-2 space, make 2 dc.
- Repeat (1 dc in the dc, 2 dc in the ch-2 space) 10 times around.
- Finish the round with 1 dc in the last dc and 1 dc in the remaining ch-2 space.
- Join with a sl st to the top of the starting stitch.
(Total Stitch Count: 36 dc)
Round 4:
- Into the first dc, make 1 fake dc.
- In the next stitch, make 1 dc, ch 3.
- (Skip 1 st, 2 dc in next 2 sts, ch 3) Repeat 11 times around.
- Join with a sl st into the top of the first stitch.
(Total Stitch Count: 24 dc, 12 ch-3 spaces)
Round 5:
- Into the first ch-3 space, make (1 sc, ch 1) (counts as dc).
- Make 2 dc in the next 2 dc sts, then 3 dc in the ch-3 space.
- Repeat (1 dc in each of the 2 dc sts, 3 dc in the ch-3 space) 10 times around.
- In the final section, work 2 dc over the dc sts and 2 dc in the last ch-3 space.
- Join with a sl st to the starting stitch and prepare to change color.
(Total Stitch Count: 60 dc)

Edging & 3D Leaf Accents (Color B)
Round 6 (Border & Leaves):
- Color Change: Attach Color B (Green or Orange) into the loop using a sl st.
- Start Border: ch 1, then repeat (1 sl st, ch 1) in each stitch around until 15 stitches remain at the top edge of the coaster.
Leaf 1 (First Leaf):
- sl st into the next st, ch 3, then make 1 dc into the same st.
- Right Side of Leaf: (Yo, insert hook around the dc post, yo and pull up a long loop) repeat 6 times (13 loops on hook).
- Yo and pull through 2 loops.
- (Yo and pull through 3 loops) Repeat 3 times.
- Yo and pull through all remaining loops.
- Turn work to access the other side of the stitch anchor.
- Left Side of Leaf: (Yo, insert hook, yo and pull up a long loop) repeat 7 times around the chain post.
- Yo and pull through 2 loops.
- (Yo and pull through 3 loops) Repeat 6 times.
- Yo and pull through the final 2 loops to complete Leaf 1.

Leaf 2 (Middle Leaf):
- Skip 4 sts along the edge.
- Sl st into the 5th st, ch 3, and make 1 dc in the same st.
- Repeat the leaf loop sequence (6 pulls on right, reduction, turn, 7 pulls on left, reduction) to complete Leaf 2.
Leaf 3 (Third Leaf):
- Skip 4 sts along the edge.
- Sl st into the next st, ch 3, and make 1 dc in the same st.
- Repeat the leaf loop sequence to complete Leaf 3.
Final Border Steps:
- Continue the border sequence (1 sl st, ch 1) across the remaining stitches until reaching the start of Round 6.
- Cut yarn leaving a 4-inch tail and pull through.
Finishing Touches for a Neat Look
- Thread the yarn tails onto your tapestry needle.
- Weave the Color B end neatly through the back of the border edging to secure it invisibly.
- Weave in the Color A starting tail from the magic ring and central color transitions on the reverse side of the coaster.
- Trim excess yarn tails.
- Gently shape the three leaves outward with your fingers so they lay flat and rounded.

Caring for Your Handmade Leaf Coaster
Follow these steps to keep your handmade leaf coaster in optimal condition:
- Cleaning:
- Wash gently using mild soap and cool water.
- Avoid twisting or wringing the fabric to prevent distorting the shape of the textured leaves.
- Drying:
- After washing, press out excess water with a towel—don’t wring.
- Lay the coaster flat to dry.
- While it’s still slightly damp, use your fingers to gently reshape the leaves and maintain their natural, rounded appearance.
- Storage:
- Store the coaster flat to prevent bending or creasing, which could alter its shape over time.
By following these steps, your handcrafted leaf coaster will stay beautiful and functional for years to come!

Video Tutorial