Crochet Twinkle Star Stitch Baby Blanket with Two-Color Rows
A crochet blanket covered in tiny stars feels special from the first row, and this two-color design has a repeating rhythm that becomes surprisingly easy to follow once the stars begin to appear.
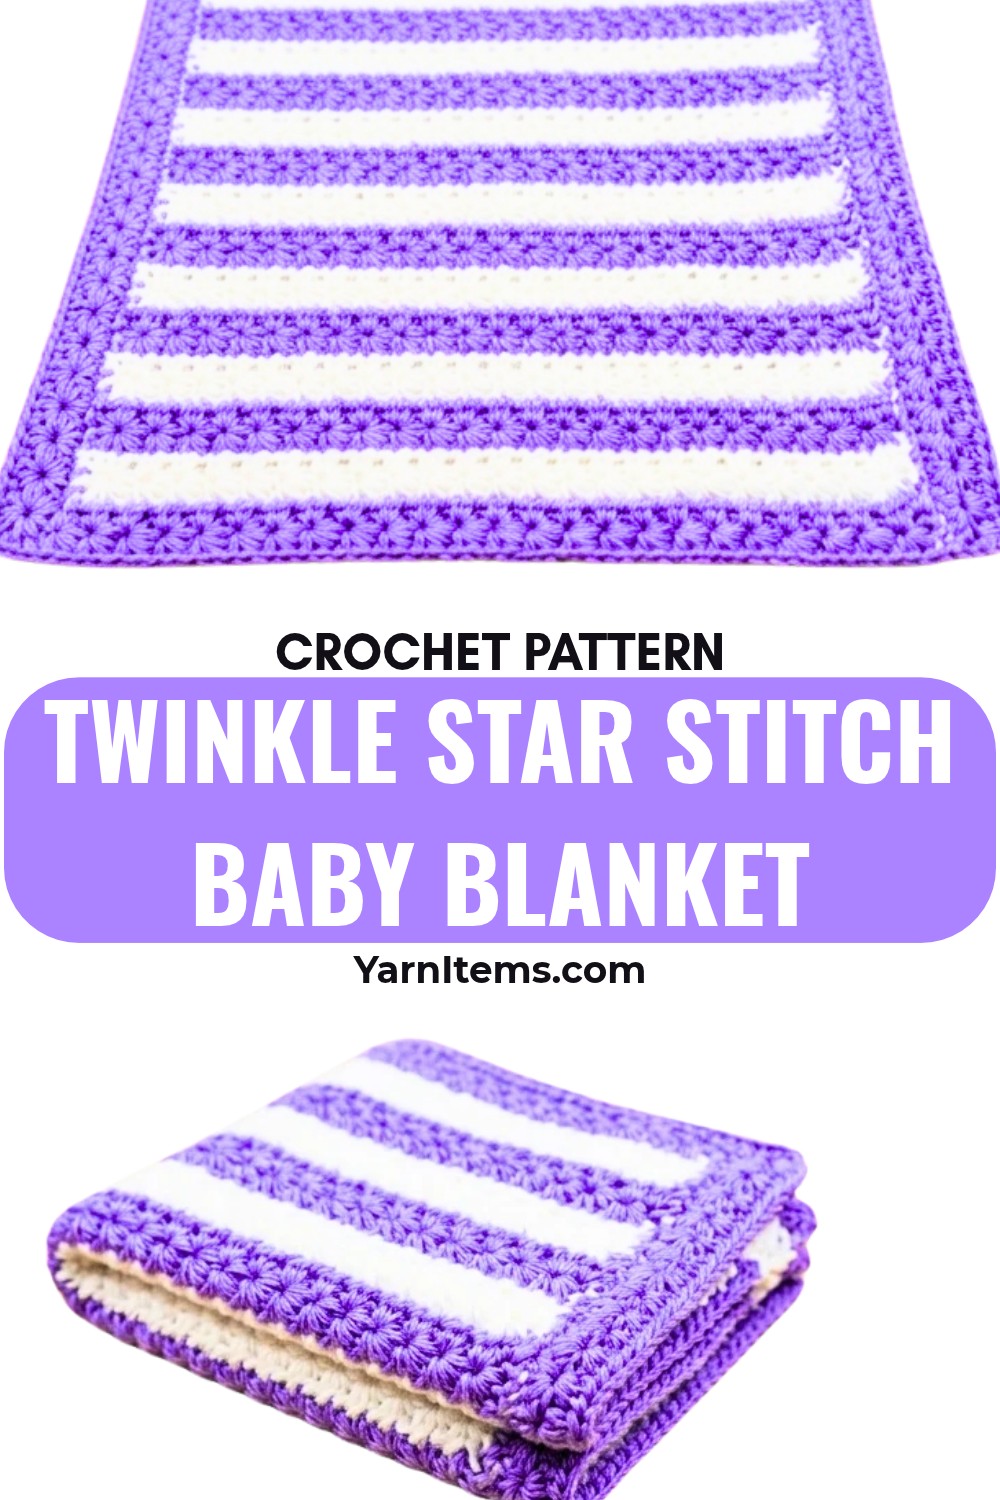
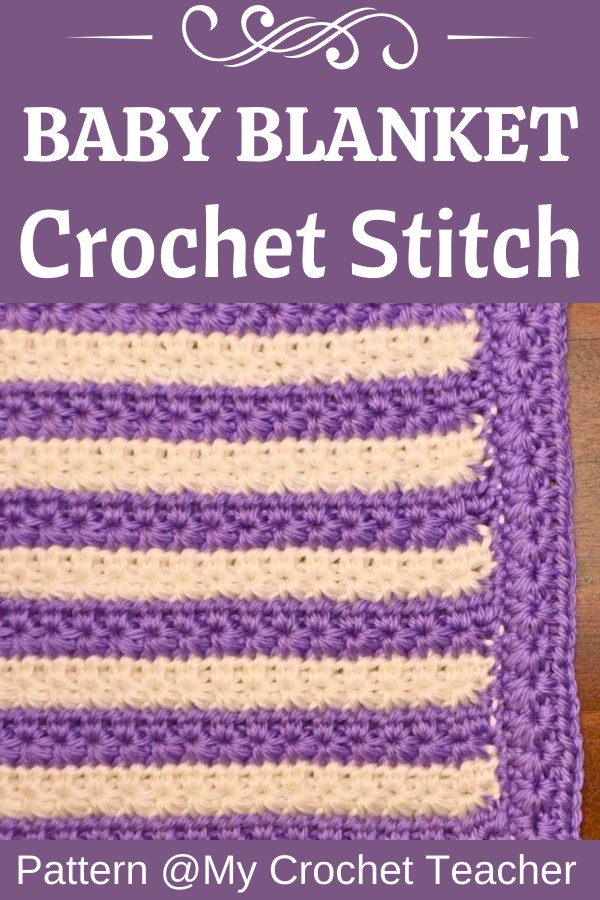
A star crochet stitch blanket catches your eye because the texture looks detailed, almost as if each little star needs to be built separately. The first row does take a little attention, especially when you are learning which loops to pick up, but the pattern starts making more sense once you can recognize the center of a finished star.
That center point-the eye-is the little landmark that keeps the rest of the crochet blanket moving. Follow it from star to star, then let the second row fill in the shape with half double crochet stitches. With two colors worked in simple two-row sections, the blanket develops a soft striped look that suits a baby’s crib, stroller, or a cozy cuddle blanket.
Learn How to Crochet the Star Stitch for creating this blanket.
Credit My Crochet Teacher
What You’ll Need
- Two colors of worsted weight yarn, such as purple and white
- Approximately 300–400 grams of yarn for a baby blanket, depending on the final size
- 4.5 mm crochet hook
- Scissors
- Yarn needle for weaving in ends
The 300–400 gram amount is the supplied estimate for this blanket rather than a guaranteed amount for every finished blanket. The amount can change if you alter the dimensions or your crochet tension.
Abbreviations
- ch: Chain
- yo: Yarn over
- hdc: Half double crochet
- sk: Skip
- st: Stitch
The Shape to Watch For
There is really only one part of this stitch that I would make a point of recognizing before you get too far: the eye of the star.
After you pull through all 6 loops and close the star with a chain, look at the little center that has formed. That is the eye. When you make the next star, your hook returns to this area before moving through the other required points.
Once you start seeing those eyes across the row, the stitch stops feeling like a long list of separate movements. You can begin to read the fabric in front of you and use the previous star to help you find where the next one begins.

Pattern Information
Stitch Multiple: Work the starting chain in a multiple of 2.
Standard Baby Blanket Size: Approximately 30 inches wide by 40 inches tall, according to the supplied pattern information.
Starting Chain: Use 120 chains for the approximately 30-inch-wide version described in the instructions. For the vertically oriented version, use 160 chains.
The finished measurements are approximate. Your final dimensions can vary with yarn, hook tension, and the way you crochet.
Color Sequence: Work 2 rows in purple, then 2 rows in white, or substitute your own two colors.
Make the Blanket Step by Step
Foundation Chain: Start with a multiple of 2 chains; for the regular-size version, chain 120, or chain 160 for the vertically oriented version.
There is no need to make this chain especially tight. An even foundation makes the first row easier to work into, which matters here because you will be picking up several loops from the chain as the first stars are formed.
Row 1 – Build the First Stars
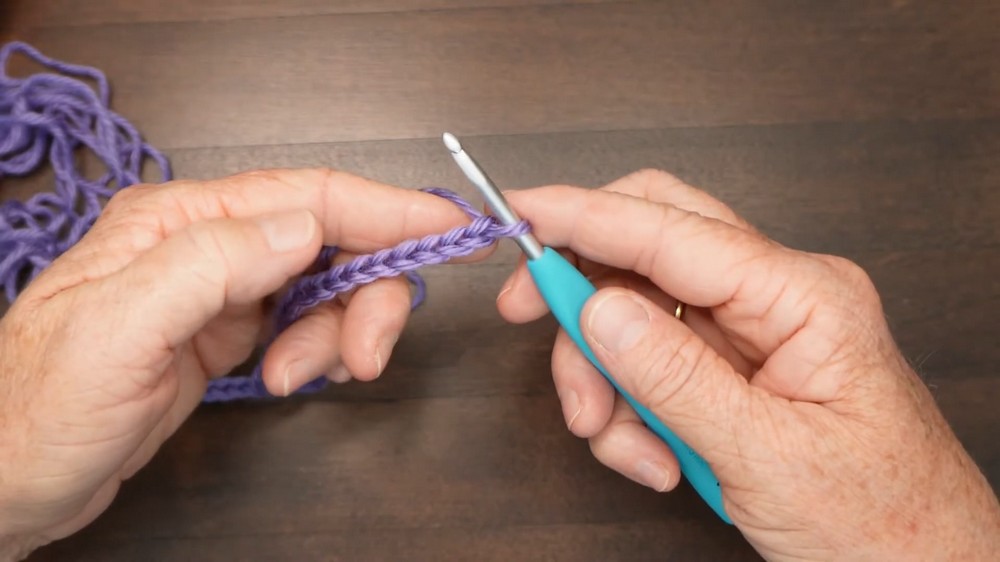
Row 1: Skip the first chain nearest your hook; insert your hook into the second chain and draw up a loop; insert your hook into each of the next four chains, drawing up one loop from each so that you have 6 loops on your hook; yarn over and pull through all 6 loops, then chain 1 to close the first star; for the next star, insert your hook into the center of the previous star (the eye), the front leg of the star, the base of the previous stitch, and the next two chains, drawing up a loop from each position so that you again have 6 loops on your hook; yarn over and pull through all 6 loops, then chain 1 to close the star; repeat across the row and work 1 hdc in the final chain.
The first star is the one worth slowing down for. Once it is closed, look at it before continuing. Find the eye, then use that star as your visual guide for the next repeat. You are no longer working from a blank foundation—you are now working from a star that is already in front of you.
If the star looks uneven, check the places where you picked up the six loops before assuming your tension is the problem.
Row 2 – Let the Stars Appear
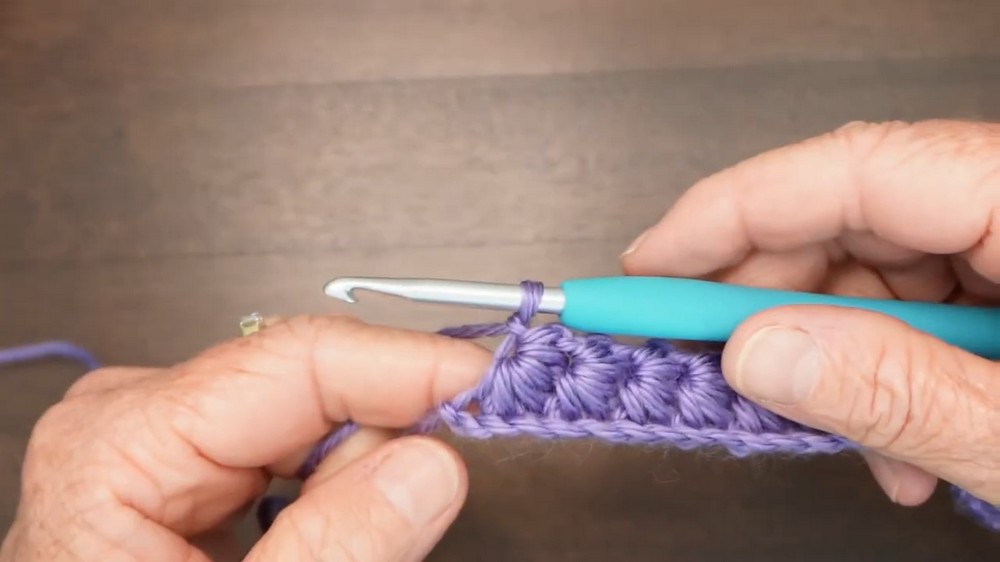
Row 2: Chain 2 and turn; insert your hook into the eye of each star from the previous row and work 2 hdc into each star center; at the end of the row, work 2 hdc into the final stitch.
This is the row that makes the pattern much easier to read. The first row created the lower portion of the stars; these hdc stitches fill the centers and form the upper portion.
As you work across the row, you should begin to see why finding the eye matters. Each star gives you the place you need for the next pair of hdc stitches.
Change Colors
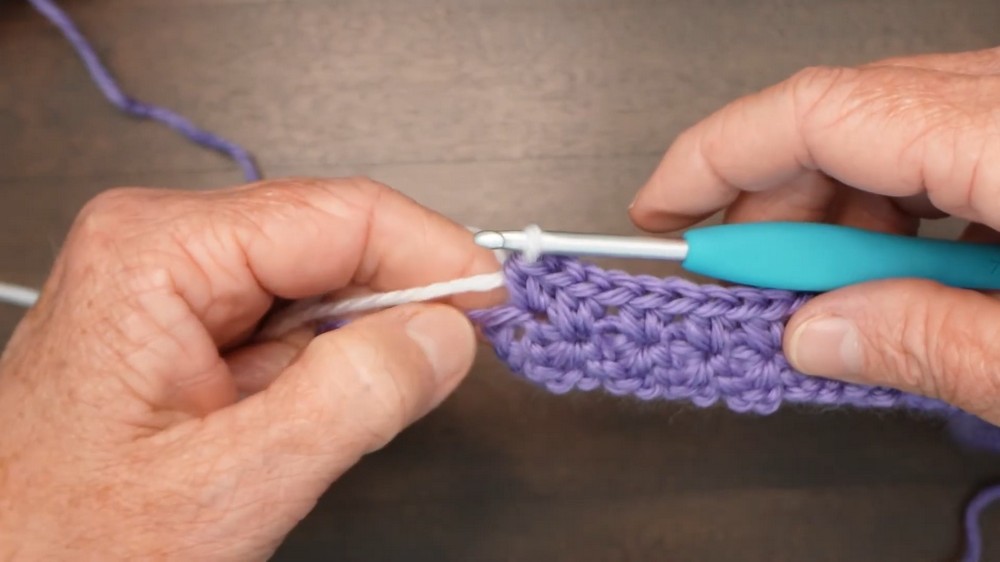
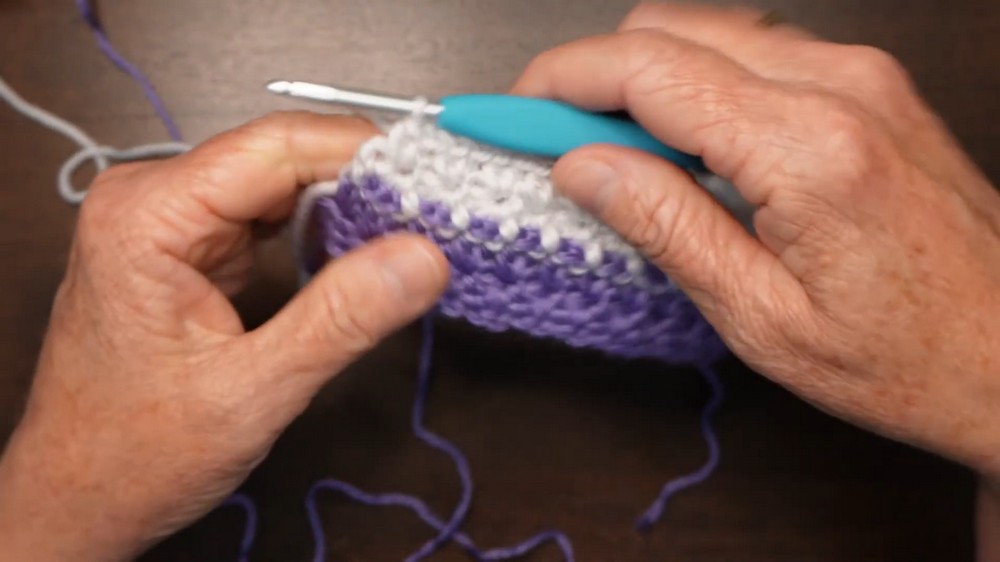
Color Change: When switching colors, change yarn during the last pull-through of the final stitch in the row; drop the current color and pick up the new color.
For the supplied color arrangement, work 2 rows in purple, then 2 rows in white.
The color change belongs at the end of the row rather than after the row is finished. That keeps the new color ready for the next section and gives the stripe transition a cleaner start.
Keep the Rhythm Going
Repeat: Alternate Row 1 and Row 2 across the blanket, with Row 1 forming the bottom half of the stars and Row 2 forming the top half; continue the supplied color sequence of 2 rows in purple followed by 2 rows in white until the blanket reaches the desired length.
After a few repeats, you should not need to treat every star as a brand-new section. Look at the row you have just made, find the eyes, and let those points guide the next row.
If you lose your place, stop at the last star you know is correct and find its eye. That gives you a clear place to resume instead of trying to guess where you left off.
Finish the Edges
Once you have reached the desired number of rows, work along the side edges before adding the matching star-stitch border.
Side Edges: Work 3 single crochets in each stripe along the side of the blanket, making sure the resulting stitch count is even.
The side of a striped blanket can be harder to read than the regular rows because you are working into the edges of the stripes. Keep the stitches even and avoid pulling them tighter than the rest of the blanket.
Star Stitch Border
Border: Add 2 rows of Twinkle Star Stitch around the edge by following the same Row 1 and Row 2 construction used for the main blanket.
The matching stitch keeps the border connected to the rest of the blanket visually. Instead of changing to a completely different texture at the edge, the stars continue around the blanket and give the finished piece a neat frame.
Final Finish
Secure the remaining yarn ends with a yarn needle and weave them into the fabric.
If any carried yarn is visible where the colors change, the supplied instructions note that the border will cover it.
Gently block the blanket if needed to even out the stitches and help it settle into its finished dimensions.
The finished blanket has a dense star texture with two-color stripes, so the stitch remains the main feature without needing a complicated finishing treatment. Keep the colors soft for a gentle baby-blanket look, or choose stronger contrast if you want the stars to stand out more.
The part to remember while you work is simple: find the eye, pick up the loops carefully, and trust the two-row rhythm. Once those stars begin repeating across the blanket, the pattern becomes much easier to read from the fabric itself.