
Learn How to Make an Adorable Crochet Bear Keychain
If you’re looking for a small, cute, useful, and manageable crochet pattern, this little crochet bear keychain is a fun one to try.
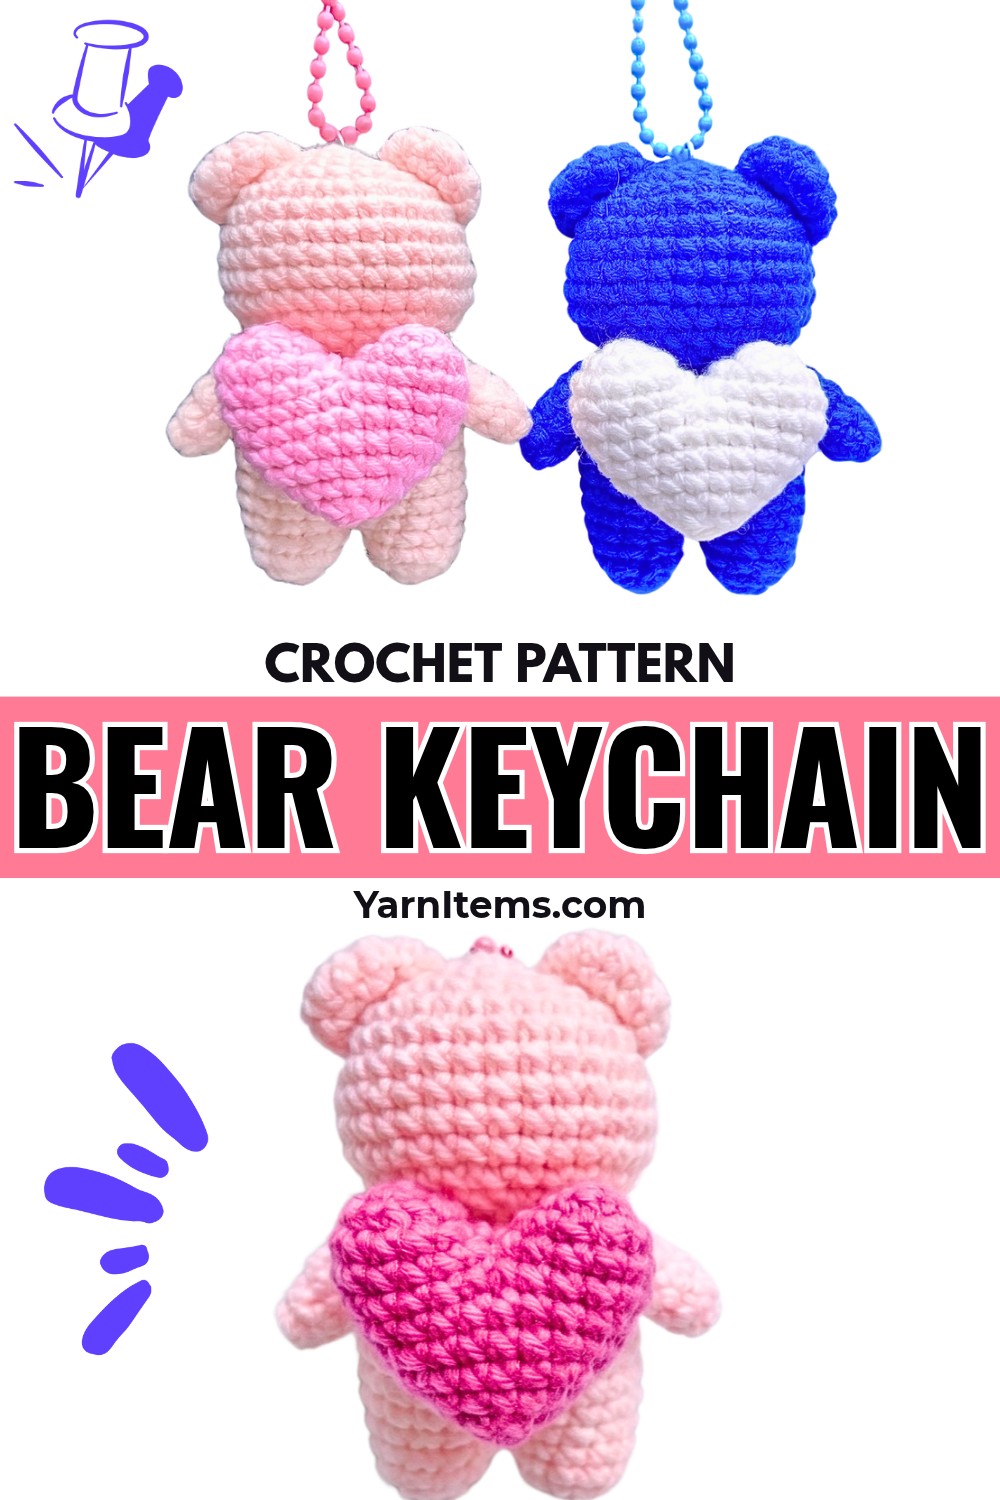
It’s small enough to finish without taking on a large amigurumi pattern, but it still gives you the chance to practice several useful crochet techniques, including increases, decreases, stuffing, joining pieces, and basic amigurumi assembly. Once finished, you can attach your bear to a set of keys, a handbag, or a backpack. You can also change the colors, make a matching pair, or replace the little crochet heart with another tiny accessory.
In this tutorial, I’ll take you through the complete process from choosing your materials to crocheting each piece and assembling the finished bear. By the end, you’ll have a tiny handmade bear that you can keep, gift, or turn into a personalized bag charm.
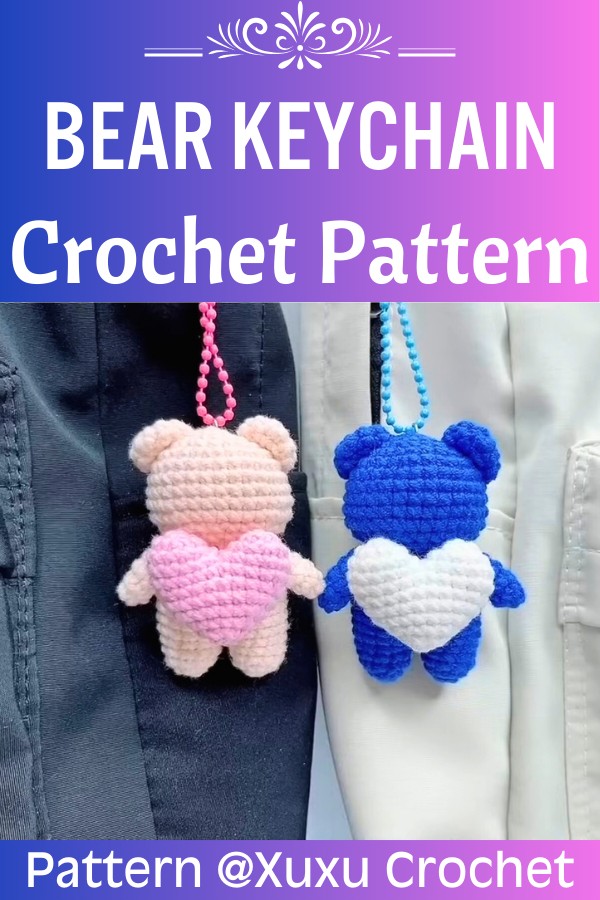
Credit Xuxu Crochet
Crochet Bear Keychain at a Glance
-
Skill Level: Beginner
-
Finished Size: Approximately 7–8 cm (3–3.2 inches) tall
-
Hook Size: 2.0 mm
-
Construction: Worked in continuous spiral rounds
-
Main Color: Beige or brown
-
Heart Color: Pink or red
-
Stuffing: Polyester fiberfill
The finished size can vary depending on your yarn thickness and crochet tension.
Materials & Tools You’ll Need
Before you begin, gather everything you’ll need so you don’t have to stop halfway through the pattern.
Yarn
For the bear, use Baby Zarn or a similar 4-ply/DK-weight cotton-acrylic blend yarn in beige or brown.
You’ll also need a small amount of pink or red yarn for the heart.
If you decide to substitute the yarn, try to choose one with a similar weight. A significant change in yarn thickness can change the finished size of your bear.
Crochet Hook
-
2.0 mm crochet hook
Stuffing
-
Polyester fiberfill
Crochet Tools
-
Stitch marker
-
Tapestry or yarn needle
-
Scissors
-
Pins
Keychain Hardware
-
Keychain ring or clasp
-
Jump ring
Optional Supplies
-
Black embroidery floss for facial details
-
Safety eyes, if preferred
-
Fabric or hot glue for the heart
-
A small amount of pink blush for the cheeks
Crochet Abbreviations
This pattern uses US crochet terminology.
- MR: Magic Ring
- st(s): Stitch(es)
- ch: Chain
- sc: Single Crochet
- inc: Increase — 2 single crochet (sc) in the same stitch
- dec: Decrease — invisible decrease recommended
- sl st: Slip Stitch
- ( ) × N: Repeat the instructions inside the parentheses N times
- [ ]: Total stitch count at the end of the round

Step-by-Step Crochet Bear Keychain Pattern
1. Crochet the Head
Yarn: Beige or brown
The head starts with a magic ring and gradually increases to create its rounded shape. After reaching the widest section, the stitches decrease again to close the head.
-
Round 1: Make a magic ring and work 6 sc into the ring. [6]
-
Round 2: Work 6 increases. [12]
-
Round 3 (1 sc, inc) × 6. [18]
-
Round 4 (1 sc, inc, 1 sc) × 6. [24]
-
Round 5 (3 sc, inc) × 6. [30]
-
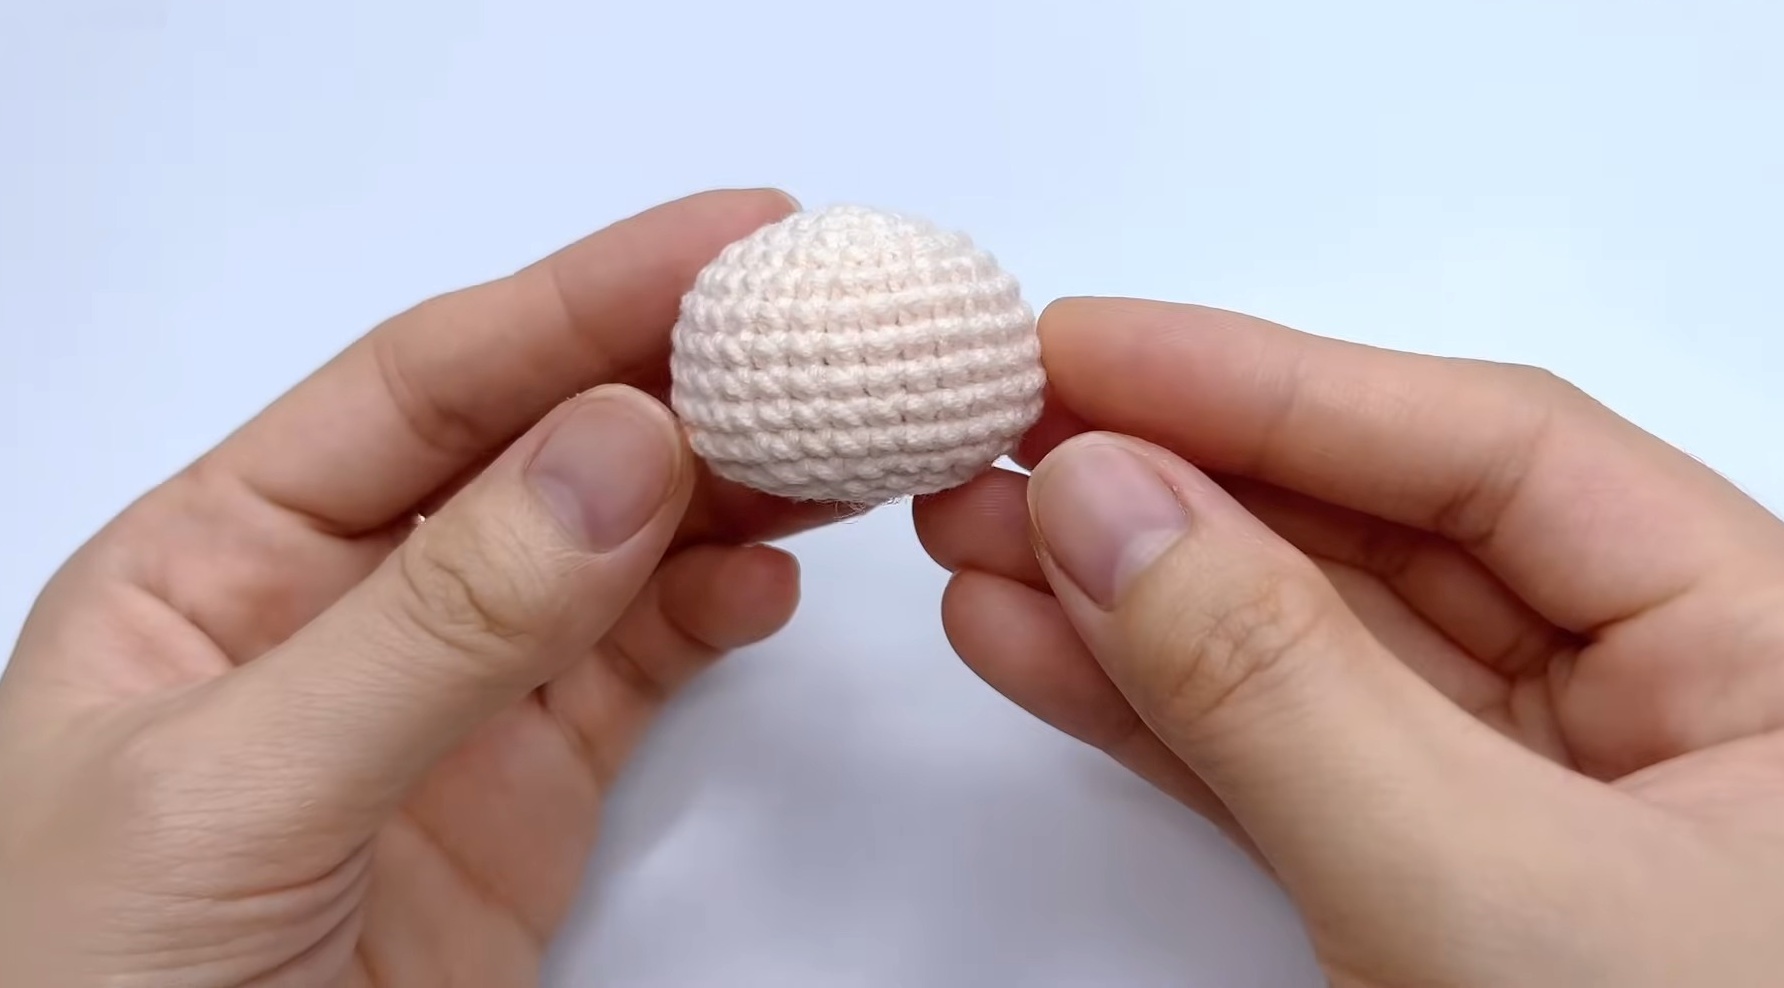
Rounds 6–8: Work 30 sc around for 3 rounds. [30]
At this point, the head should be developing a rounded shape.
-
Round 9: 8 sc, inc, 1 sc, inc, 8 sc, inc, 1 sc, inc, 8 sc. [34]
-
Round 10: 34 sc around. [34]
-
Round 11 2 sc, (1 sc, dec) × 5, 2 sc, (1 sc, dec) × 5. [24]
-
Round 12 (2 sc, dec) × 6. [18]
Finish the Head
Slip stitch into the next stitch and fasten off.
Stuff the head firmly with polyester fiberfill.
Head Stuffing Tip
Add the stuffing gradually rather than pushing in a large amount at once. This makes it easier to keep the head round without stretching the stitches.

2. Crochet the Legs and Body
The legs are made separately and then joined together to create the body.
This is one of the more important parts of the construction, so take your time when joining the two legs.
Leg 1
-
Round 1 MR, 5 sc into the ring. [5]
-
Round 2: 5 inc. [10]
-
Rounds 3–4: 10 sc around for 2 rounds. [10]
Slip stitch into the next stitch and fasten off.
Leg 2
Repeat Rounds 1–4 exactly as you did for Leg 1.
Do not fasten off after Leg 2.
You’ll use the working yarn from Leg 2 to join the legs.

Join the Legs
-
Round 5: From Leg 2, work a sc directly into the slip-stitch space of Leg 1.
On Leg 1: (4 sc, inc) × 2. [12]
On Leg 2: (4 sc, inc) × 2. [12]
Total: 24 stitches
Joining Tip
Pay close attention to the joining point. Working into the correct stitch space helps reduce the gap between the two legs and gives the bottom of the body a cleaner finish.
-
Rounds 6–8: 24 sc around for 3 rounds. [24]
-
Round 9 (3 sc, inc) × 6. [30]
-
Round 10: 30 sc around. [30]
Stuff the Legs
At this point, stuff the legs firmly.
Don’t pack the stuffing too tightly. You want the legs to hold their shape while still allowing the stitches to remain smooth.
-
Round 11 (3 sc, dec) × 6. [24]
-
Round 12 (2 sc, dec) × 6. [18]
-
Round 13: 18 sc around. [18]
Finish the Body
Fasten off, leaving a long yarn tail for sewing.
Stuff the body firmly.
3. Crochet the Arms
Make 2 -Beige or brown yarn
The arms are worked as small tubes and are left unstuffed so they remain soft and easy to position.
-
Round 1: MR, 6 sc into the ring. [6]
-
Rounds 2–5: 6 sc around for 4 rounds. [6]
Finish
Slip stitch into the next stitch and fasten off.
Leave a long yarn tail for sewing.
Do not stuff the arms.

4. Crochet the Ears
Make 2 — Beige or brown yarn
The ears are small flat pieces, so they don’t need to be stuffed.
-
Round 1 MR, 6 sc into the ring. [6]
-
Round 2: 6 inc. [12]
-
Round 3: 12 sc around. [12]
Finish
Slip stitch into the next stitch and fasten off, leaving a yarn tail for sewing.
Do not stuff the ears.

5. Crochet the Heart
Yarn: Pink or red
The little heart is made by crocheting two small domes first and then joining them together.
Heart Dome 1
-
Round 1 MR, 6 sc into the ring. [6]
-
Round 2: 6 inc. [12]
-
Round 3 12 sc around. [12]
Slip stitch and fasten off.
Heart Dome 2
Repeat Rounds 1–3 exactly as for Dome 1.
Do not fasten off.
Join the Two Domes
-
Round 4: Sc into the slip-stitch space of Dome 1. Work 12 sc around Dome 1, then 12 sc around Dome 2. [24]
-
Round 5: 24 sc around. [24]
-
Round 6: 4 sc, 2 dec, 8 sc, 2 dec, 4 sc. [20]
-
Round 7 20 sc around. [20]
-
Round 8: 3 sc, 2 dec, 6 sc, 2 dec, 3 sc. [16]
-
Round 9: 2 sc, 2 dec, 4 sc, 2 dec, 2 sc. [12]
Stuff the Heart
Add fiberfill to the heart.
Use only enough stuffing to give it shape without making it too firm.
-
Round 10 6 dec. [6]
Finish
Fasten off.
Weave the yarn tail through the front loops of the remaining 6 stitches and pull tightly to close.

Final Assembly
Now all of your crochet pieces are ready. Before sewing anything permanently, take a moment to position the pieces with pins.
This is especially helpful for the ears, arms, facial features, and heart because small changes in placement can change the bear’s expression and overall look.
Step 1: Attach the Head
Align the rear finishing seams of the head and body.
Use the long yarn tail from the body to sew the head securely to the body.
Work around the entire connection so the head is firmly attached.
Step 2: Attach the Ears
Fold each ear slightly in half.
Position the ears symmetrically on both sides of the head across approximately Rounds 3–6.
Pin them in place first.
Look at the bear from the front to make sure both ears are sitting at a similar height before sewing them down.
Step 3: Attach the Arms
Sew the arms onto both sides of the body just below the neck seam, around Rounds 12–13.
For a natural pose, tack the hands slightly inward so they rest toward the front of the bear.
This will also help create the position for the little heart.
Step 4: Attach the Heart
Place the heart on the bear’s chest between its hands.
You can sew the heart into place or use fabric glue.
For a keychain that will be handled regularly, sewing gives you a more secure attachment.
Step 5: Add the Facial Features
Now it’s time to give your bear its expression.
You can:
-
Embroider the eyes with black yarn or embroidery floss.
-
Embroider the nose and snout.
-
Use safety eyes if you prefer.
-
Add a small amount of pink blush to the cheeks.
Facial Placement Tip
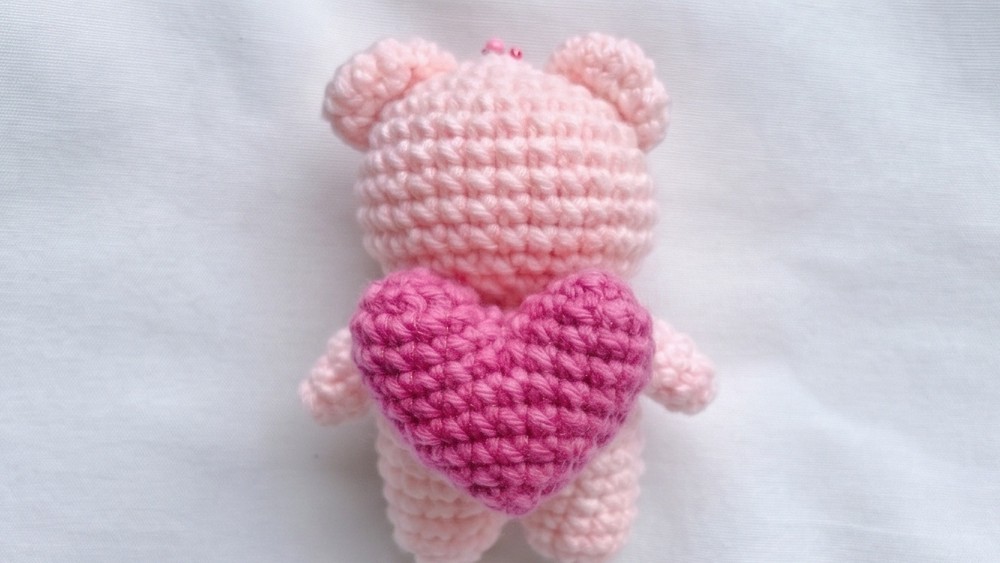
Before permanently sewing the facial features, position them temporarily and look at the bear from the front.
A small change in eye placement can make the bear look completely different, so this is worth checking before you commit to the final placement.
Step 6: Attach the Keychain Hardware
Secure the keychain ring or clasp to the center top of the bear’s head using the jump ring.
Make sure the connection is firm before using your finished bear as a keychain

One Comment