Easy Crochet Ghost Pattern with Tiny Arms and Safety Eyes
Create an adorable little crochet ghost with a dome-shaped body, bubbly arms, and playful frills, perfect for spooky season decorations or as a cute handmade gift.
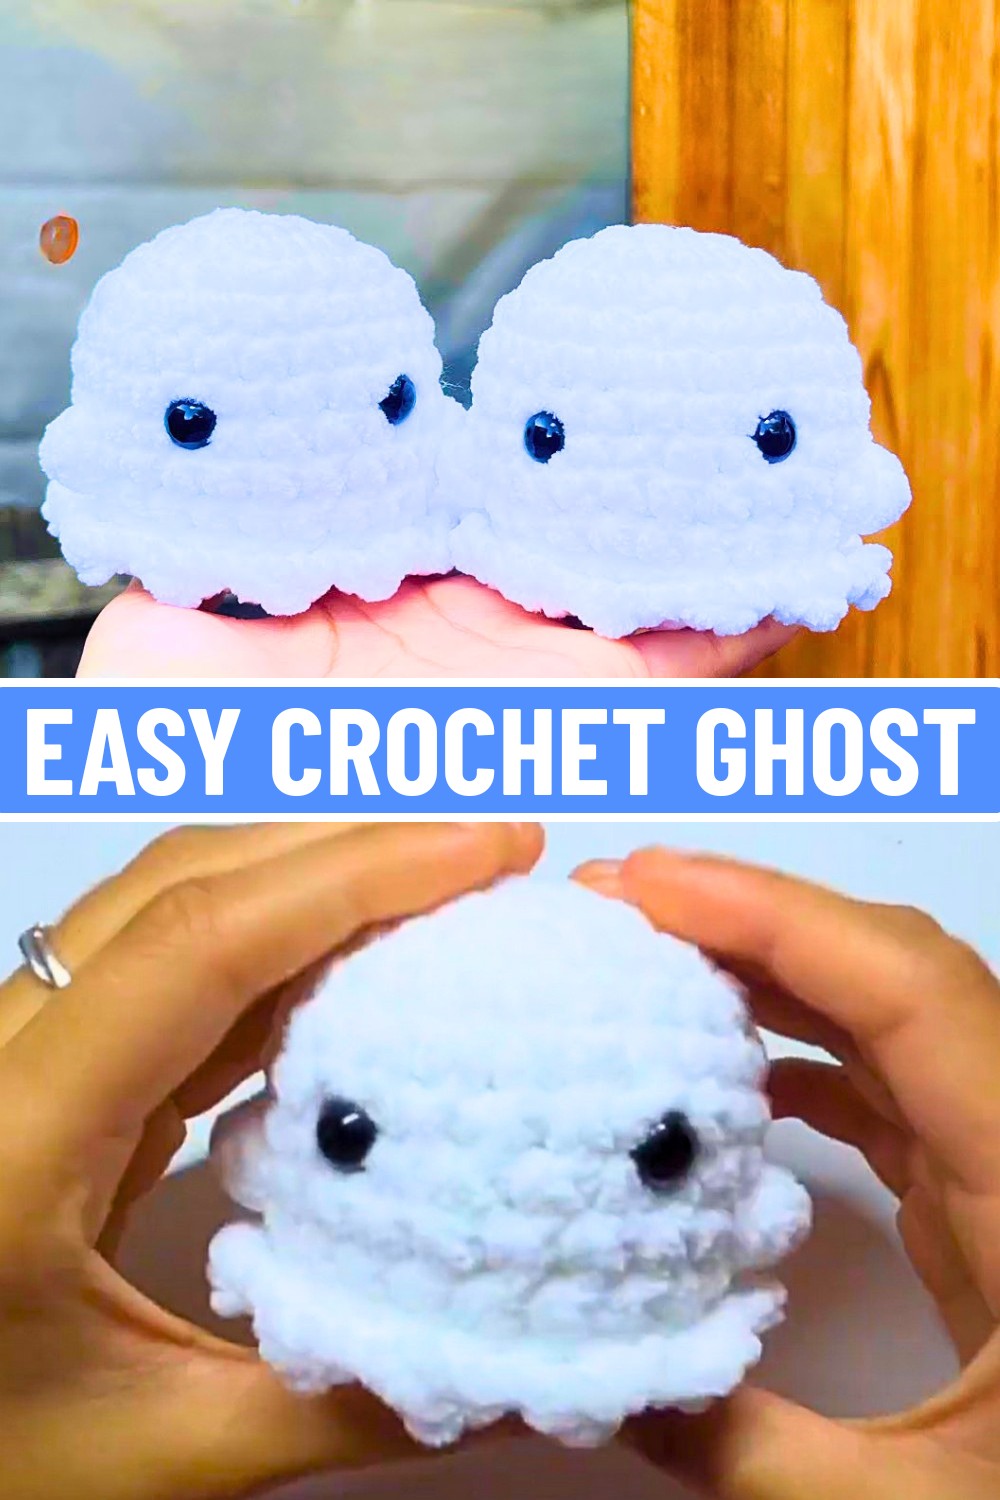
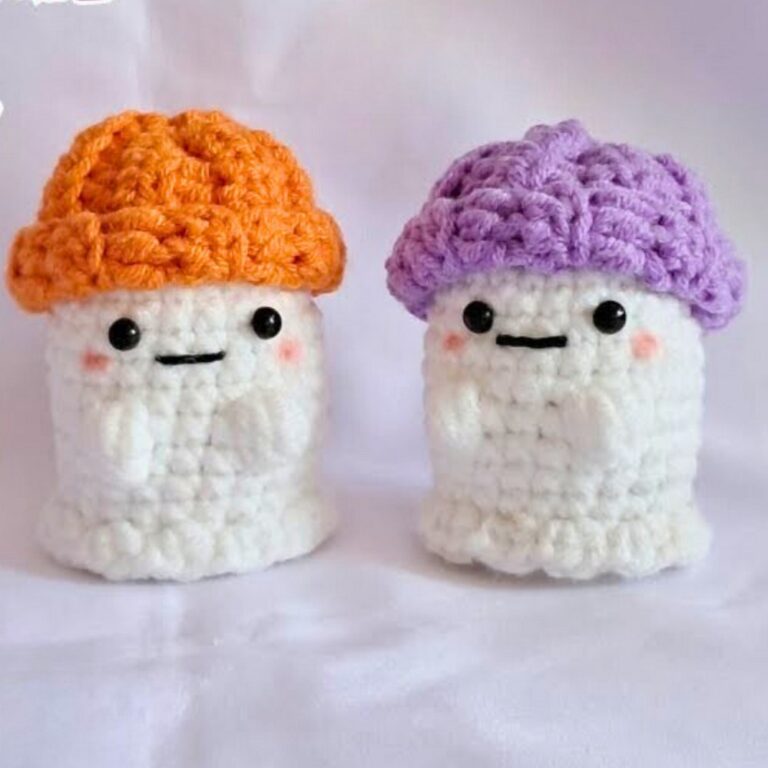
This crochet ghost is a small and adorable creation that’s perfect for Halloween or adding charm to your space all year round. Its cute little arms, rounded body, and friendly face make it something you can use as home decor, a fun desk companion, or even a simple gift for friends or family. It’s both playful and heartwarming, a wonderful addition to any crochet collection.
Easy Crochet Ghost Pattern
Making this Crochet Ghost is easier than you think. With simple stitches and steps, you’ll shape its body, add arms with easy bubble stitches, and attach fun little eyes. Beginners can follow along comfortably by using just the basics, and experienced crocheters will enjoy the satisfying flow of creating this spirited design. All you need is some yarn, a hook, stuffing, safety eyes, and a little time. Follow the tutorial, and you’ll be done before you know it.
Credit Raeesaart
Key Features and Construction Highlights
- Magic Ring & Single Crochet: Begins with a magic ring and builds the ghost’s rounded base using single crochet increases.
- Shaping the Dome: Rounds of evenly spaced single crochets form the ghost’s head and body structure.
- Bubble Stitch Arms: Special bubble stitches create tiny ghost arms that pop out from the middle of the body.
- Frilly Bottom Edge: Front-loop-only stitches add whimsical, scalloped edging around the base.
- Details & Finishing: Safety eyes are attached between rounds; the body is stuffed, shaped, and neatly closed with invisible decreases.
This crochet ghost begins with a magic ring, a classic foundational technique that ensures a seamless starting point. From there, the head and body take shape with rounds of single crochet. Strategic increases help build the ghost’s rounded dome, giving it a polished, smooth look. Using stitch markers at key points ensures accuracy and consistency throughout.
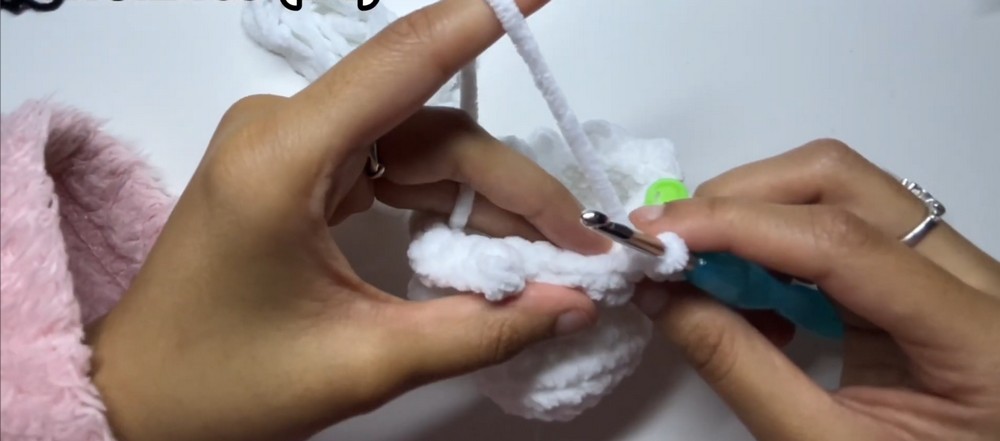
Adding the ghost’s arms introduces the fun and unique bubble stitch, worked through one stitch to create a plush, rounded effect. These tiny arms stand out as playful accents and are spaced carefully between rounds with single crochets to maintain the ghost’s symmetry.
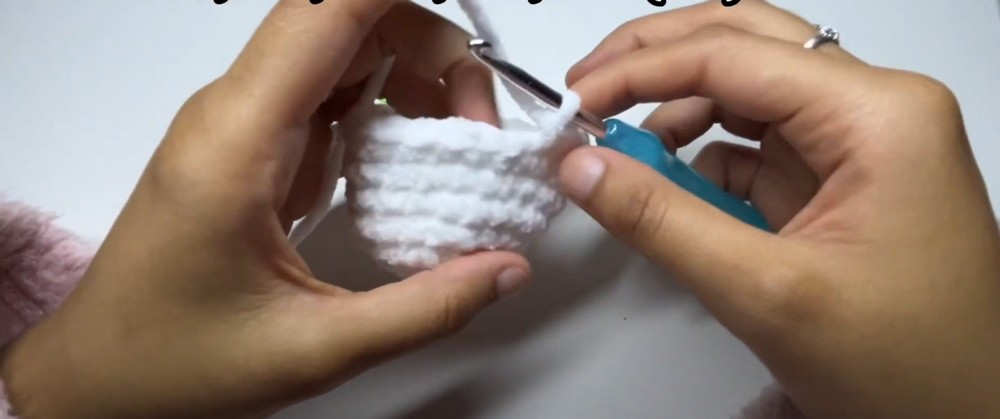
The ghost’s frilly, fluttery base is achieved with front-loop-only stitches. This technique allows you to layer single crochets, half double crochets, and slip stitches to make those signature scalloped edges. It’s an easy yet satisfying detail that really brings personality to the ghost, making it look like it’s floating!
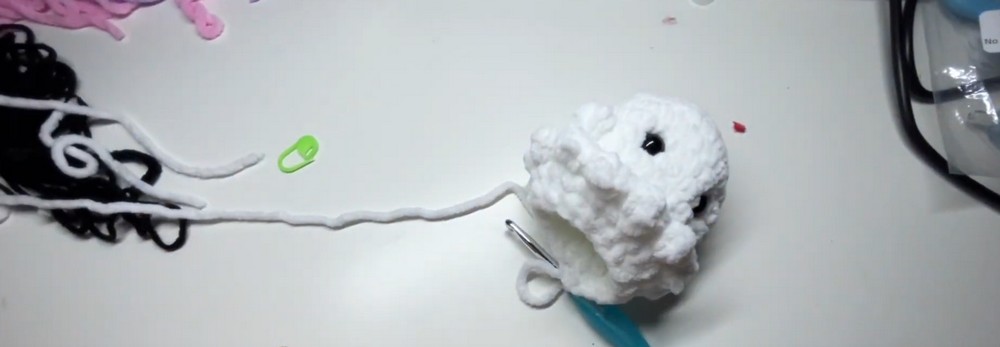
Placement of the 10mm safety eyes is crucial to give the ghost its expressive face. By positioning them between the specified rounds and spacing them consistently, you’ll achieve that charmingly spooky look. The stuffing stage is equally important: carefully shape the dome of the head without overstuffing, as this helps the ghost sit flat and steady.
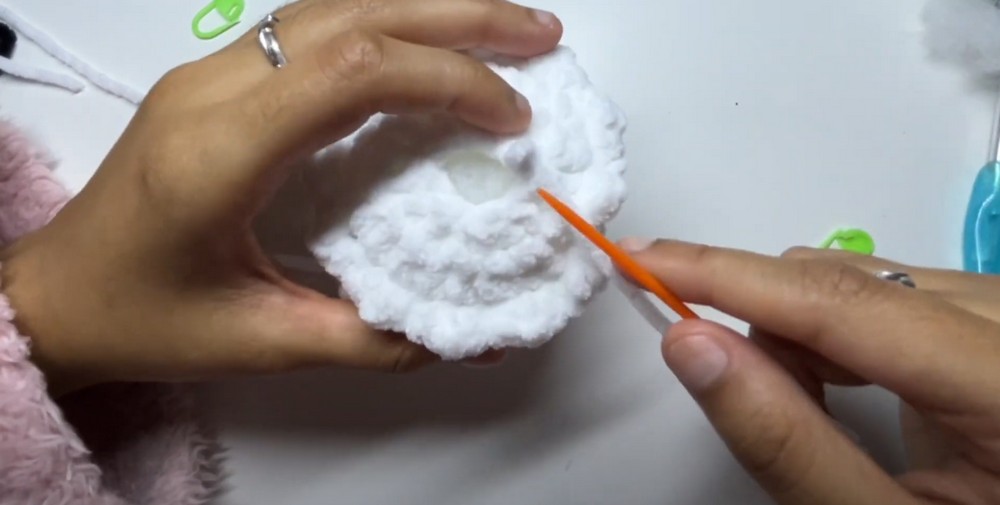
Finally, the ghost is closed up with invisible decreases, minimizing gaps and ensuring durability. A slip-stitch method secures the base, while neatly weaving in the ends finishes the design. The result is a delightful handmade decoration that’s lightweight, squishy, and ready to spookify your space!
Materials & Tools Needed
- Yarn: James C. Brett Flutterby Chunky yarn (or a similar plush/chenille yarn)
- Crochet Hook: 4.5 mm
- Safety Eyes: 10 mm (the pattern calls for a different size, but 10 mm was used in the video)
- Stuffing: Polyester fiberfill or similar
- Scissors
- Yarn Needle: For sewing and finishing
- Stitch Markers: Two markers are needed to keep track of rounds and specific stitches.
Finished Size & Customization Ideas
- The ghost’s height and width vary based on the tension of your stitches and the yarn used but will result in a small, handheld plush.
- Customization Ideas:
- Use different colored yarn for a spooky or playful style.
- Add embellishments—like blush, a bow, or embroidered expressions—to give the ghost its own personality.
Pattern Abbreviations & Terminology
- sc = Single Crochet
- inc = Increase (2 single crochets in the same stitch)
- dec = Decrease (invisible decrease used in the tutorial)
- st = Stitch
- mc = Magic Circle
- sl st = Slip Stitch
- hdc = Half Double Crochet
- FO = Fasten Off
- BLO = Back Loop Only
- Terminology: US Crochet Terms
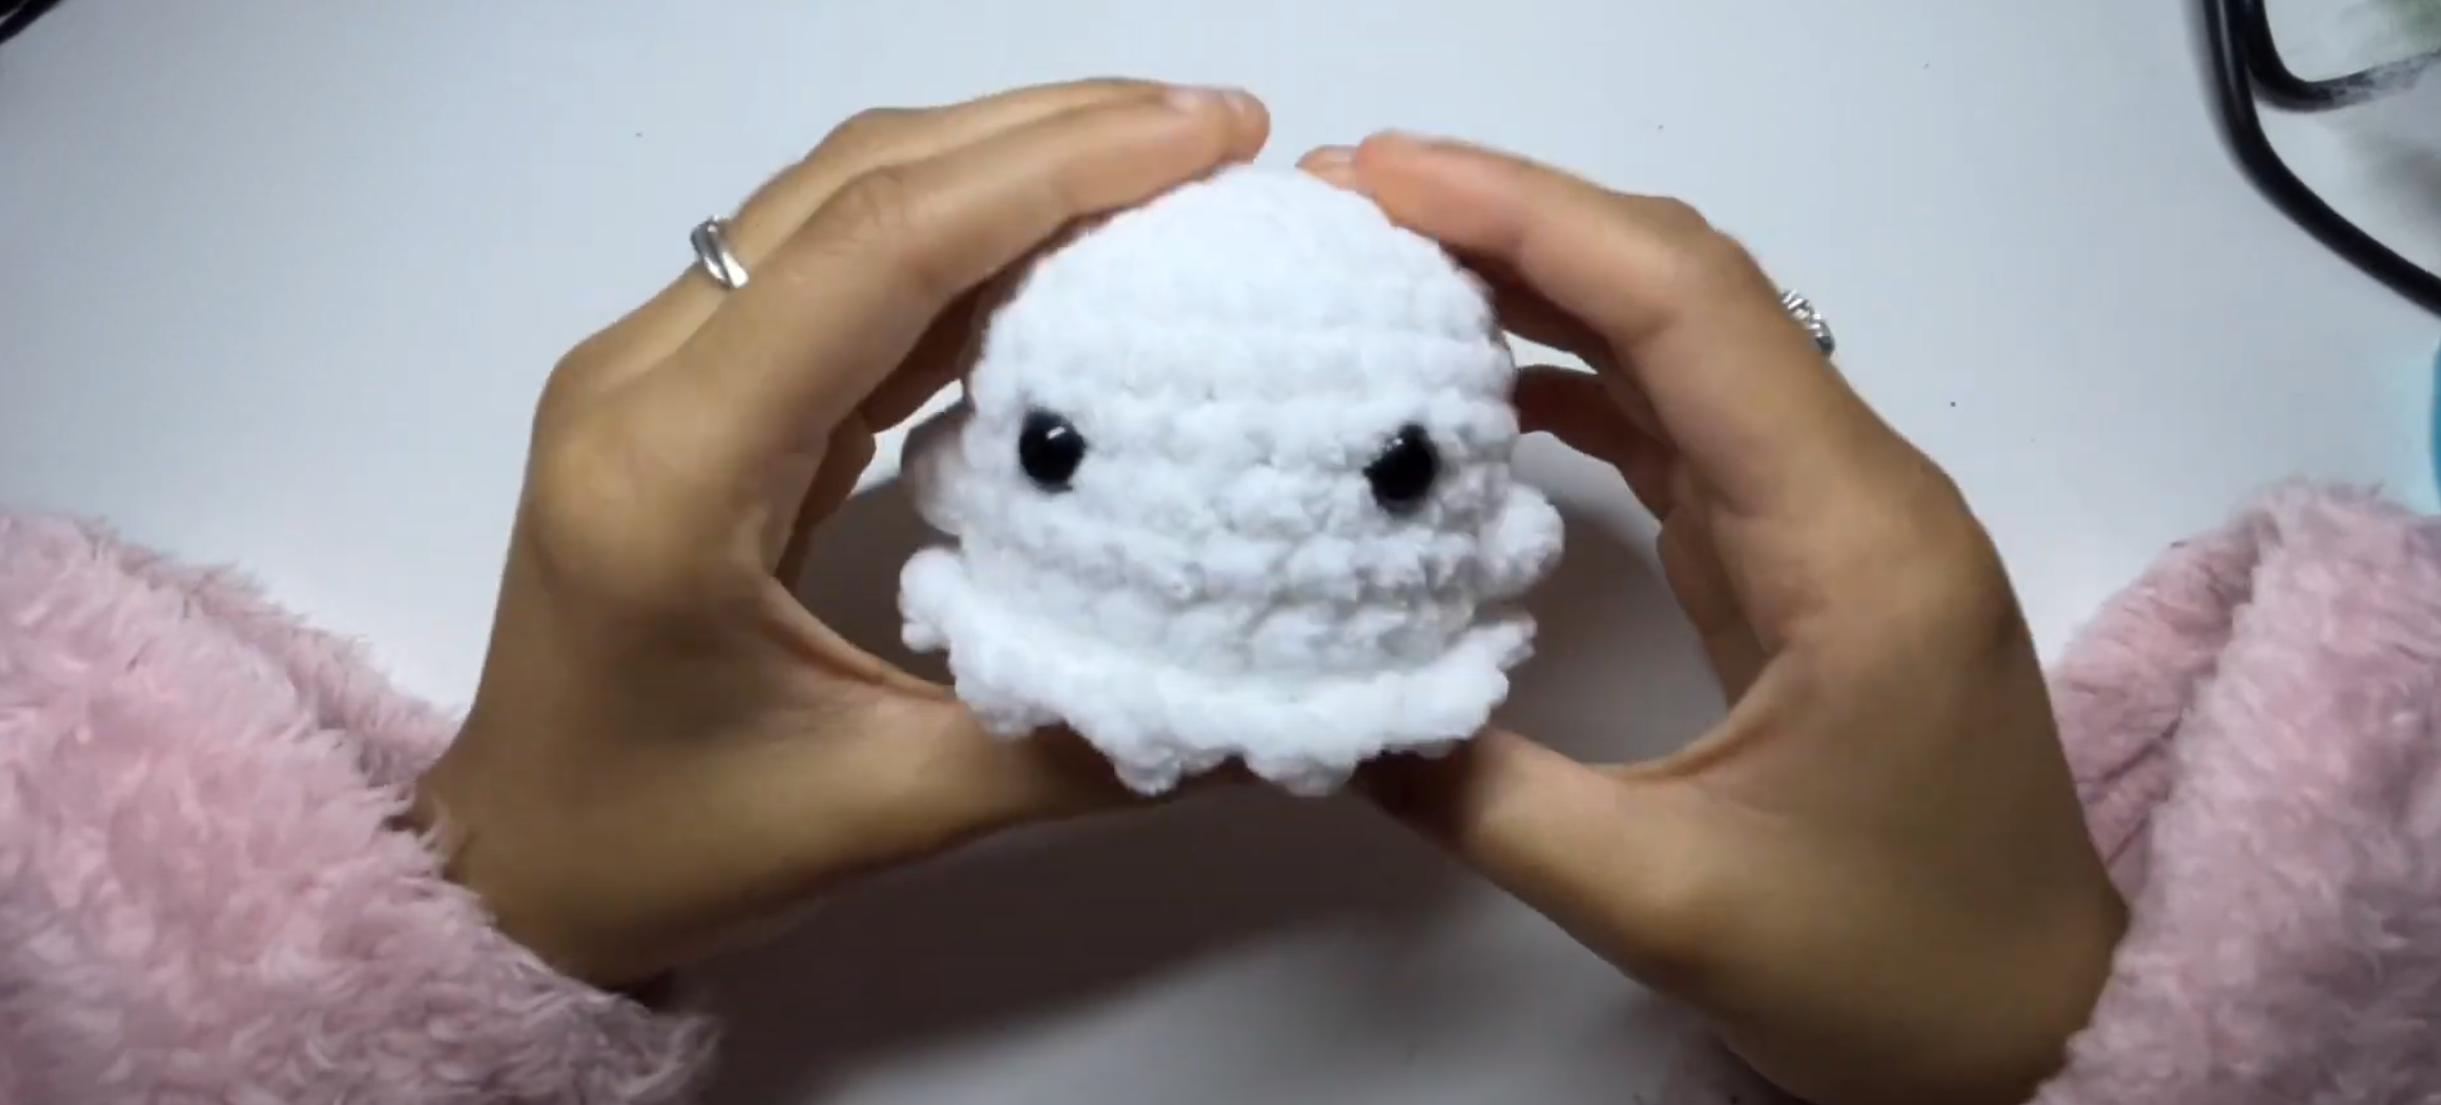
Step-by-Step Detailed Instructions
Body and Head
- Round 1: Make a magic ring. Work 6 single crochets (6 st). Pull the ring tight to close.
(Note: If unsure how to make a magic ring, refer to a YouTube tutorial for guidance.) - Round 2: Work 2 sc in each stitch (inc in each st) around (12 st). Use a stitch marker to mark the beginning of the round.
- Round 3: Work 1 sc, then inc in the next st. Repeat around (18 st).
- Round 4: Work 2 sc, then inc in the next st. Repeat around (24 st).
- Rounds 5–8: Work 1 sc into each st around (24 st per round). After Round 8, the ghost’s head will resemble a small dome.
Round 9: Add Arms (Bobble Stitches)
- Work 6 sc. Then make the first bobble stitch (arm).
- For the bobble stitch:
- Yarn over, insert the hook into the same stitch, yarn over and pull through (you’ll now have 3 loops on your hook).
- Yarn over, pull through 2 loops (leave the last loop on the hook).
- Repeat this process 5 times in the same stitch until you have 6 loops on your hook.
- Yarn over and pull through all 6 loops to finish the bobble.
- Pull the bobble tight for a clean finish.
- For the bobble stitch:
- Work 10 sc after the first bobble.
- Create the second bobble stitch in the next st.
- Finish Round 9 by working 6 sc (24 st).
At this point, the ghost has visible “arms” created by the bobble stitches.
Adding Eyes
- Insert 10 mm safety eyes between Rounds 7 and 8. Space them 5 stitches apart from each other. Secure the backs of the safety eyes firmly.
Rounds 10–11: Form the Ghost’s Body
- Work 1 sc in each st around (24 st per round).
Round 12: Form the Bottom Edge
- Place stitch markers in the first and last back loops of the round to mark the start and end.
- In front loops only of the round, work the following sequence:
- sc, hdc, sc in the same st.
- sl st into the next st.
- Repeat this sequence (sc, hdc, sc, sl st) 12 times around.
- This will create 12 small “bumps” around the ghost’s bottom edge.
- Remove the stitch markers after completing the round.
Round 13: Close the Body
- Work 1 sc in the back loops only for this round (24 st).
- Begin decreasing:
- [1 sc, dec] x 8 (16 st).
- Stuff the ghost at this point, ensuring the body is firmly filled but the base remains flat for stability.
- Use an invisible decrease:
- Insert the hook into the front loop only of the next two stitches, yarn over and pull through both loops, then finish the single crochet as usual.
Round 14 (Final Round): Close the Opening
- Work dec around for all remaining stitches (8 st).
- Fasten off, leaving a long tail.
- Use a yarn needle to weave through the front loops only of each remaining stitch.
- Pull tight to close the opening completely.
- Secure the yarn in place with a few final stitches and weave in the end.
Finishing Touches
- Shape the ghost by gently adjusting the stuffing and molding the base to sit flat.
- If desired, customize:
- Add blush or embroidered accents, such as a mouth or eyebrows.
- Use brightly colored yarn for festive or themed ghosts!
Troubleshooting and Suggestions
Common Issues:
- Magic Ring Missteps: Tugging the yarn tail too hard after starting your magic ring might make the center difficult to close. Be gentle and check the tension.
- Stitch Visibility: The bubble stitch arms can sometimes obscure adjacent stitches, leading to missed stitches. Pull the fabric lightly to ensure every stitch is visible before continuing.
- Shaping the Body: Overstuffing the ghost can distort its flat base and create uneven shaping. Add stuffing gradually and reshape as needed.
Creative Modifications:
- Colors: Swap traditional white yarn for pastel shades or black for a unique ghost color palette! Consider multi-colored or glow-in-the-dark yarn to add extra flair.
- Embellishments: Add embroidery details, such as stitched mouths or scars for a fun spooky twist. Sew on a felt bow tie or tiny accessories to personalize the ghost.
- Uses: Turn your ghost into a magnet, keychain, or holiday tree decoration by adjusting its size or attaching hardware post-assembly.