Crochet Beanie with Cat Ears With Easy Pattern
Nothing catches attention faster than a cozy beanie finished with adorable cat ears that instantly add personality to any winter outfit. This crochet piece blends playful charm with everyday comfort, making it a delightful choice for cat lovers of every age. The soft texture and simple shape create a warm accessory that looks stylish while keeping chilly weather at bay.
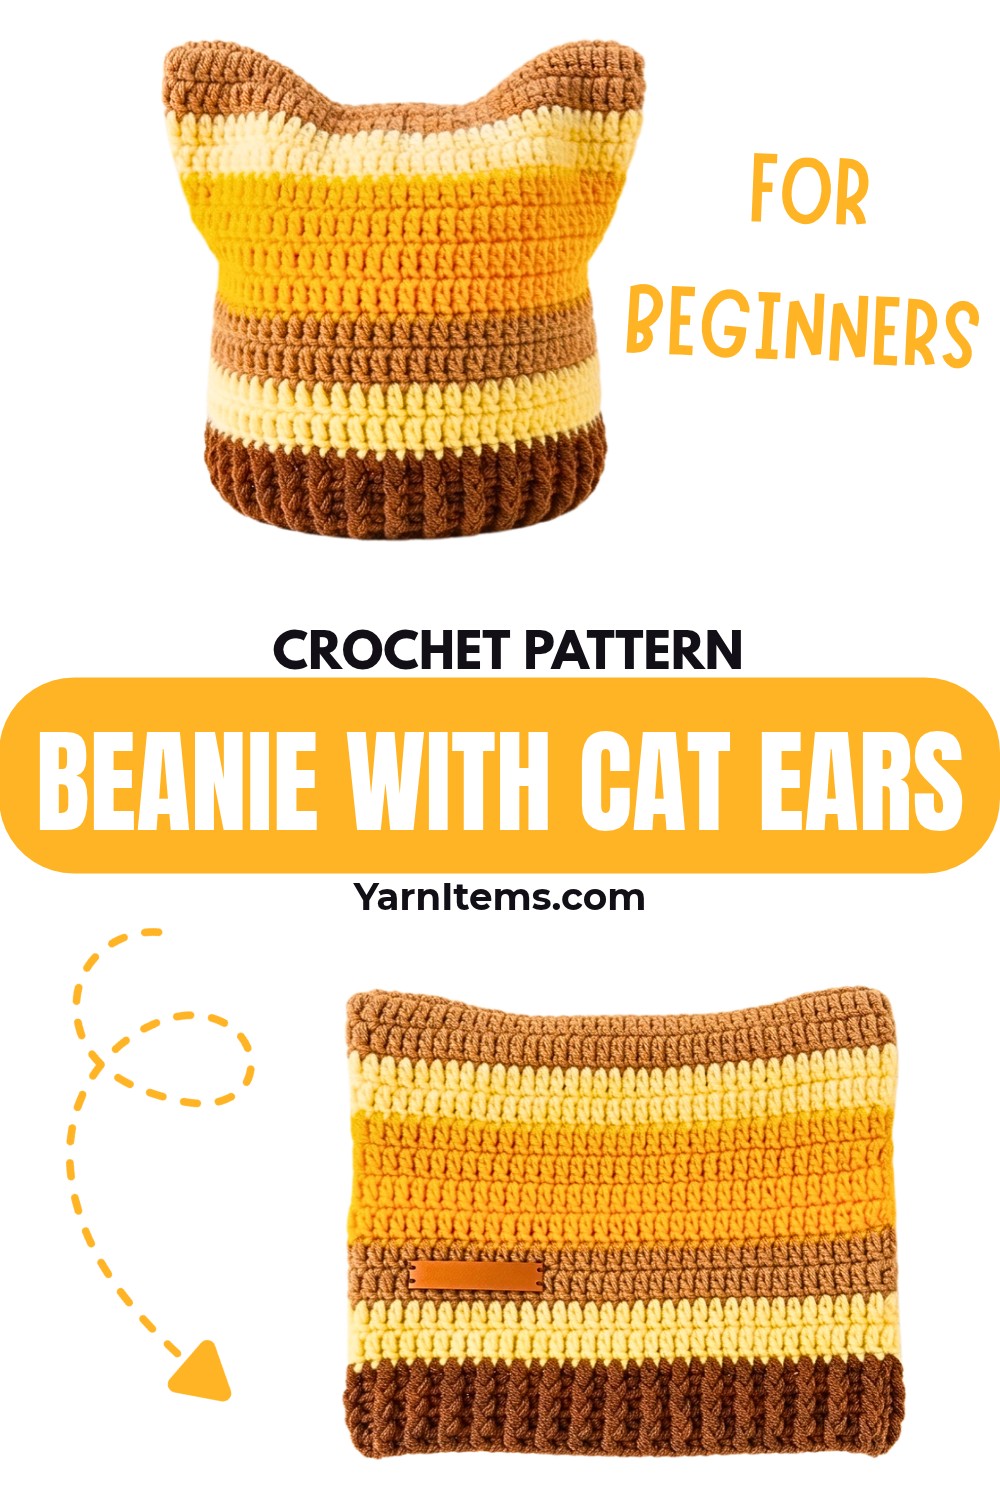
A handmade design with charming details always feels extra special, especially when it is easy to create and enjoyable to wear. This crochet beanie uses beginner-friendly techniques to form a comfortable item that is both practical and fun. Whether you are making it for yourself or as a thoughtful gift, this cute crochet piece brings warmth, character, and a handmade touch to every cold-weather wardrobe.
Credit Nala Crochet
Materials & Tools Needed
- Yarn:
- Acrylic or cotton milk yarn.
- Use one color or multiple colors for personalization.
- Crochet Hook:
- Size 3.5 mm for a 50–54 cm hat.
- Size 4 mm for 56–62 cm hat.
- Scissors.
- Tapestry needle for weaving in ends.
- Stitch markers (optional).
Finished Size & Customization Ideas
- Sizes:
- Small: 50–54 cm circumference.
- Medium: 56–58 cm circumference.
- Large: 59–62 cm circumference.
- Customizations:
- Add stripes with color changes.
- Use variegated yarn for a unique look.
- Sew or applique additional decorations.
Pattern Note
- The beanie is worked in the round, beginning with a foundation chain and transitioning into a ribbed border.
- The cat ears are added as separate elements at the end.
- The stitch pattern alternates between double crochet (f), half double crochet (T), and single crochet (x).
- Adjust the pattern for sizing by increasing foundation chains or rows.

Pattern Abbreviations & Terminology
- ch: Chain stitch
- f: Double crochet
- T: Half double crochet
- x: Single crochet
- sl st: Slip stitch (used for joining rounds)
- a: Decrease (join two stitches)
- rep: Repeat
- st(s): Stitch(es)
Tips Before You Start
- Keep Your Stitches Loose
- Avoid making stitches too tight, as it can reduce flexibility and affect the overall wearability of your project.
- Use a Stitch Marker
- Place a stitch marker to mark the beginning of each round (especially helpful when working in the round).
- Maintain Consistent Tension
- Keep an even tension to ensure your work looks uniform and professional.
Step-by-Step Detailed Crochet Instructions
Foundation Chain and Row 1
- Determine size:
- Small: Crochet 38 chains + 3 extra chains for turning.
- Medium: Crochet 40 chains + 3.
- Large: Crochet 42 chains + 3.
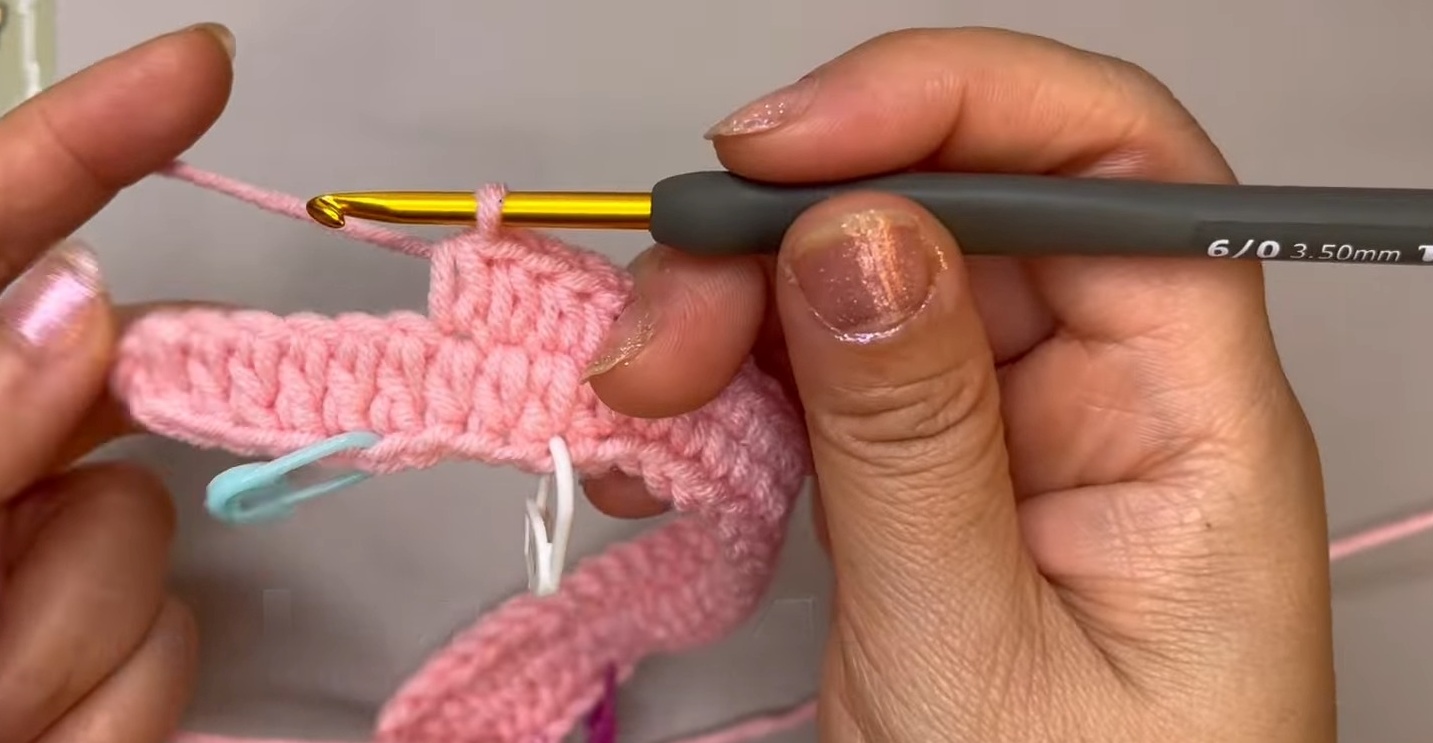
- Row 1:
- Skip the first 3 chains (counts as the first stitch).
- Start in the fourth chain with double crochet (f). Create 6 double crochets (6 f).
- Next: Crochet 4 half double crochets (T).
- Next: Crochet 18 single crochets (x).
- Next: Crochet 4 half double crochets (T).
- Finally: Crochet 6 double crochets (f) for the end of the row.
- Join with sl st to connect the round.
Row 2
- Chain 2 (counts as the turning stitch).
- Work double crochet (f) in every stitch from Row 1.
- No increases in this row. Continue working sequentially.
- Join using sl st at the end of the round.
Row 3 – Color Change
- Attach a new color yarn at the start of the row.
- Begin with chain 2.
- Crochet double crochet (f) stitches into every stitch from Row 2.
- Join the row with sl st, ensuring the color change is neat.
Rows 4–12
- Continue crocheting double crochet (f) stitches, keeping track of stitch counts.
- Optional: Alternate colors every few rows for stripes.
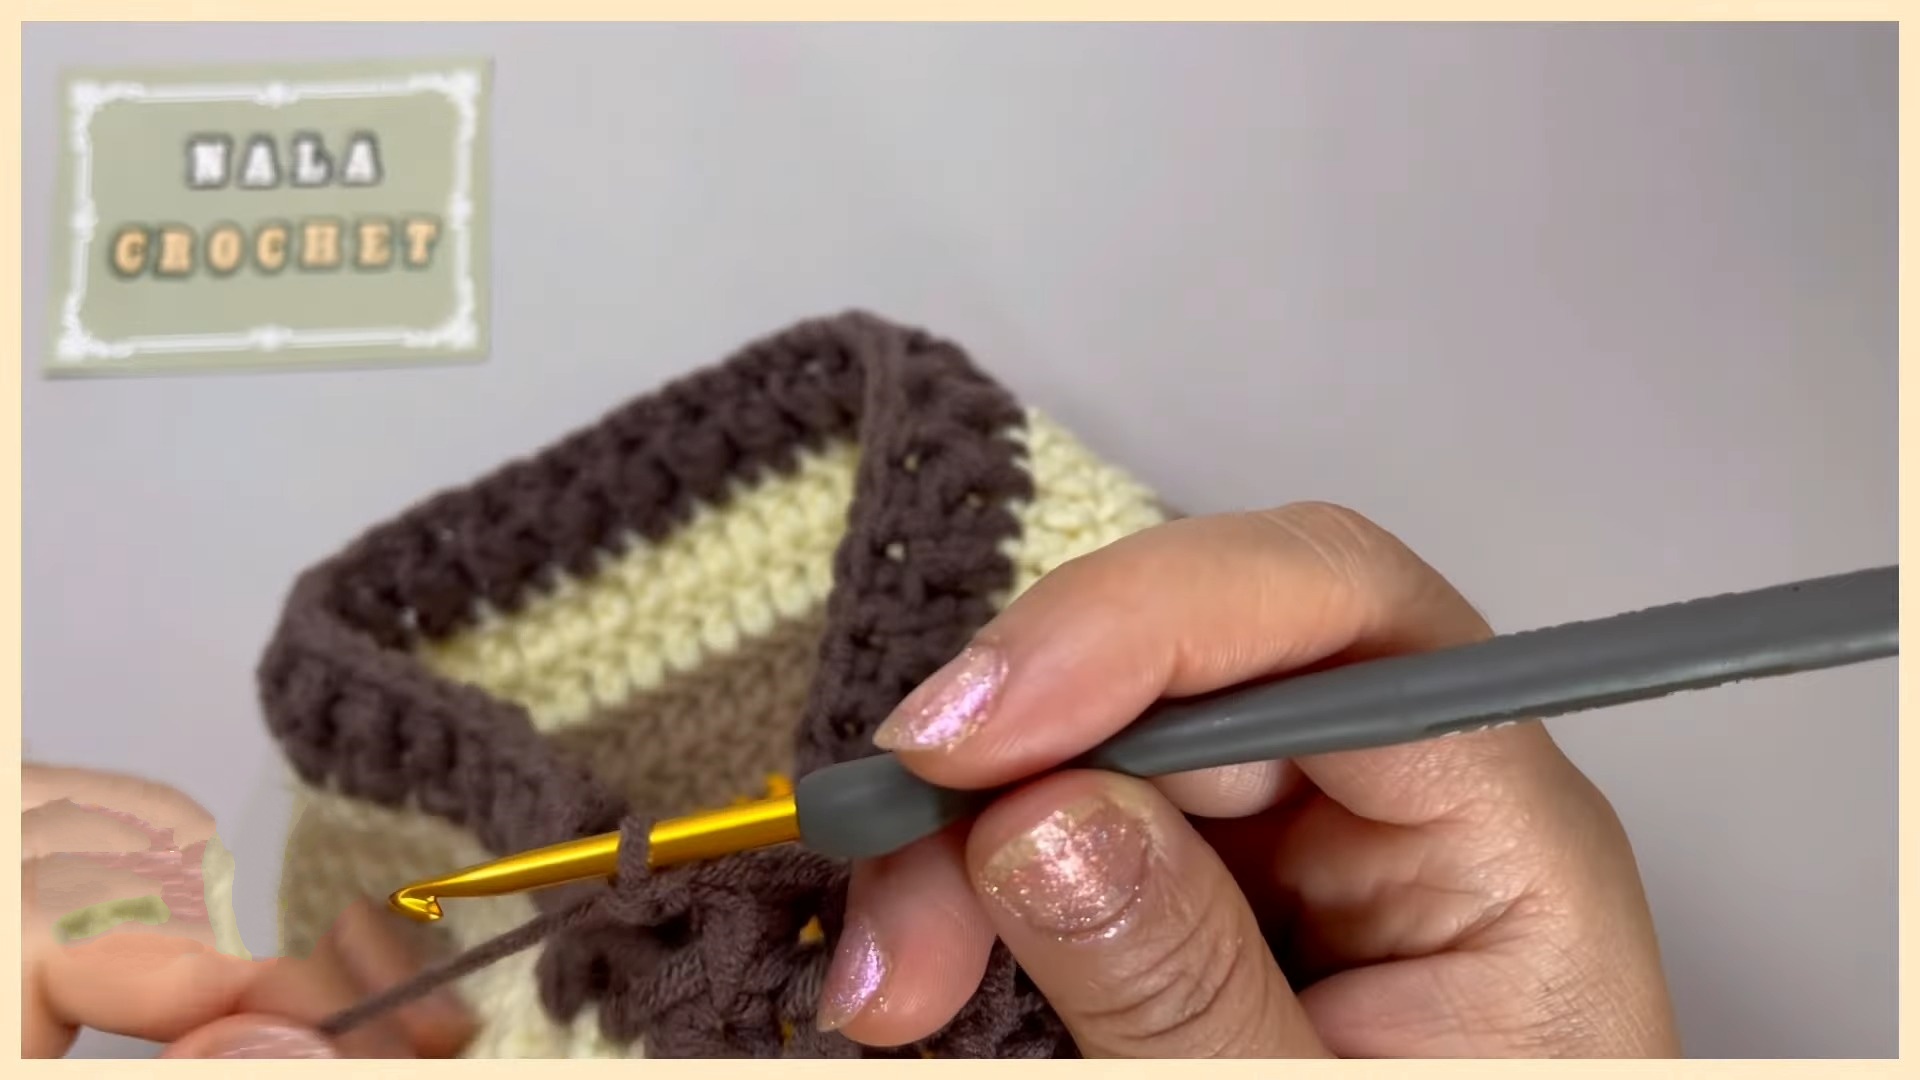
Rows 13–16 – Ribbed Border
- Switch to ribbing technique by alternating:
- Front post double crochet (FPDC) in one stitch.
- Back post double crochet (BPDC) in the next stitch.
- Repeat around the row to create the ribbed effect.
- Join with sl st at the end of each round.
Final Assembly (Cat Ears)
- Step 1 – Ears Foundation:
- Make a small square panel by chaining 10 stitches.
- Work single crochet (x) across the square panel for about 6 rows.
- Step 2 – Shaping the Ears:
- Decrease (using ‘a’) at the corners of the square in the last 2 rows. This will make the triangle shape for each ear.
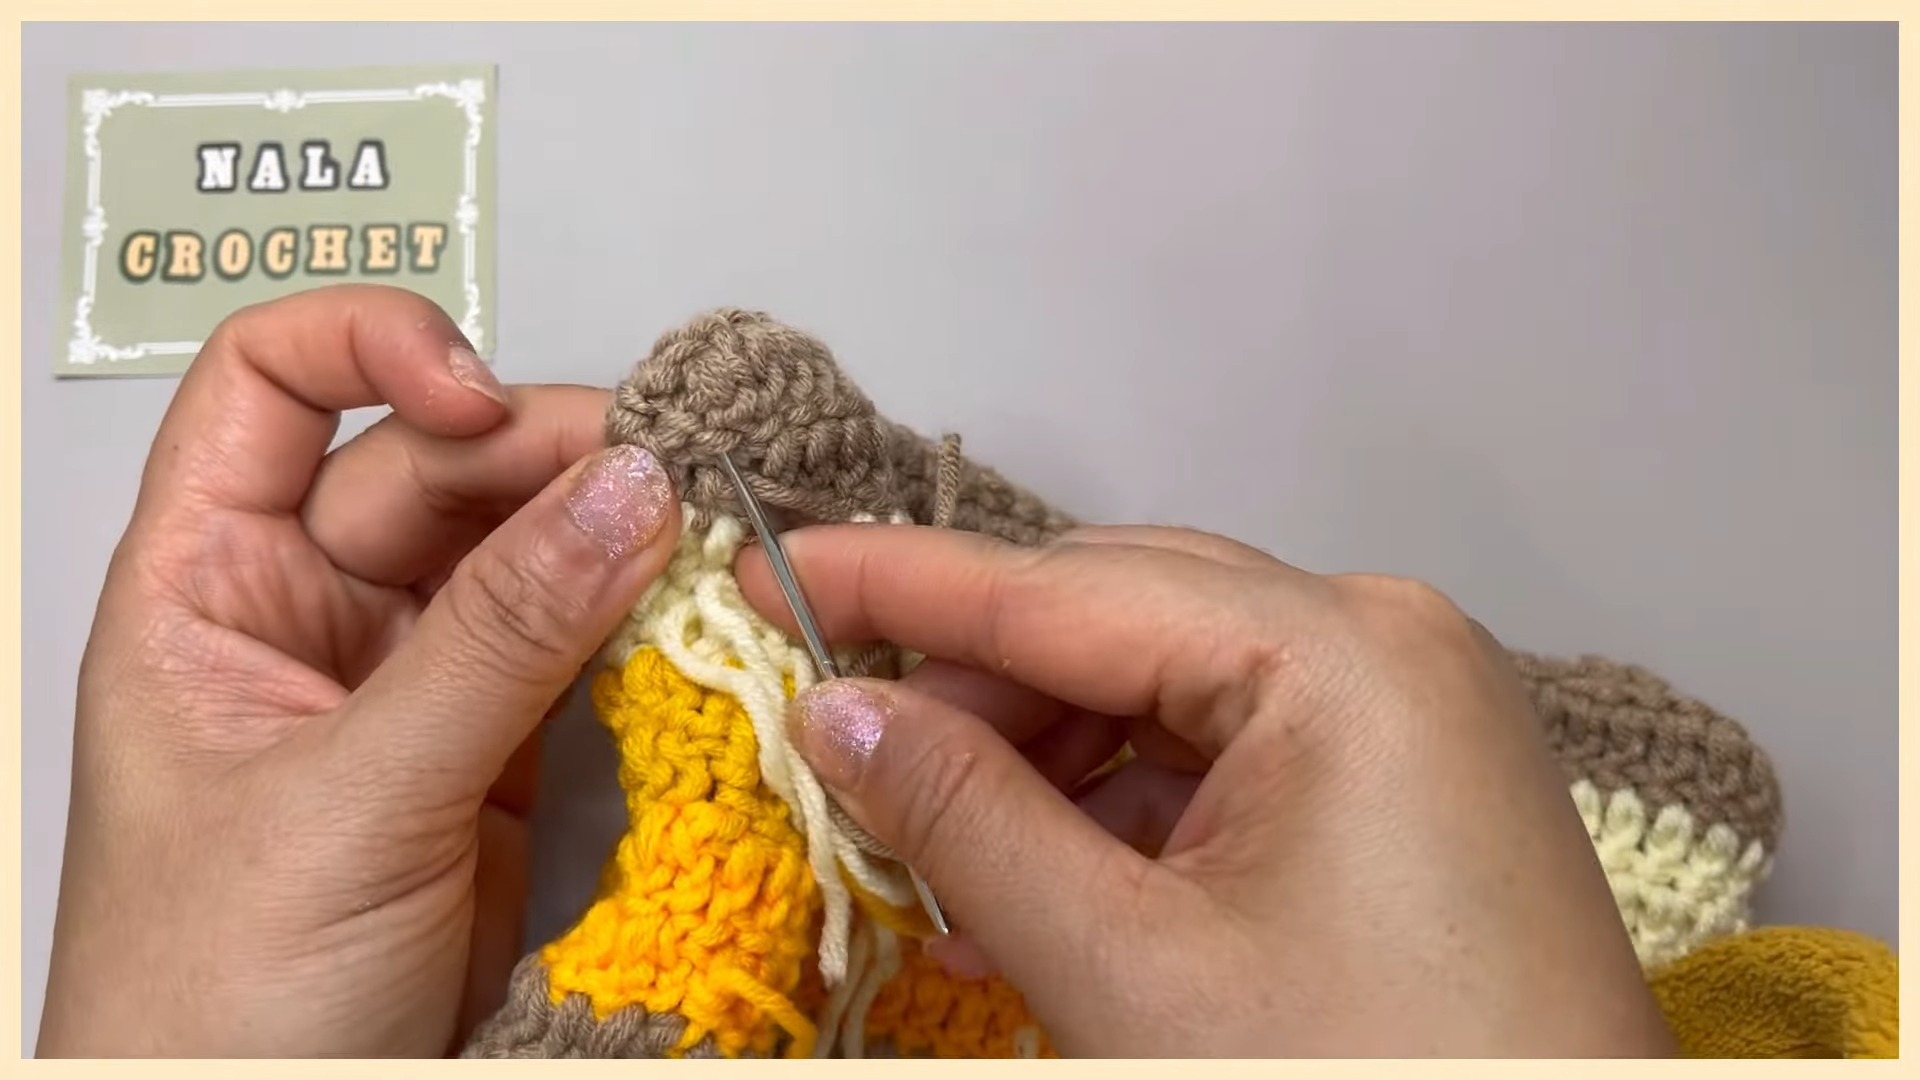
- Step 3 – Attach Ears to Hat:
- Position the ears evenly on the top of the beanie.
- Use a tapestry needle to sew the ears securely to the hat.
Conclusion
Your crochet cat ear beanie is now complete! You can further customize it by:
- Adding embroidery or appliques.
- Sewing buttons or beads.
- Making matching mittens or a scarf to create a set.
This pattern lets you create a cute and cozy accessory perfect for any cat lover or as a fun gift idea!