Textured Crochet Beanie Pattern with Pom-Pom
Here, you’ll discover how to crochet a textured beanie with vertical ribbing, neat crown shaping, and a fluffy pom-pom for a stylish, comfortable finish.
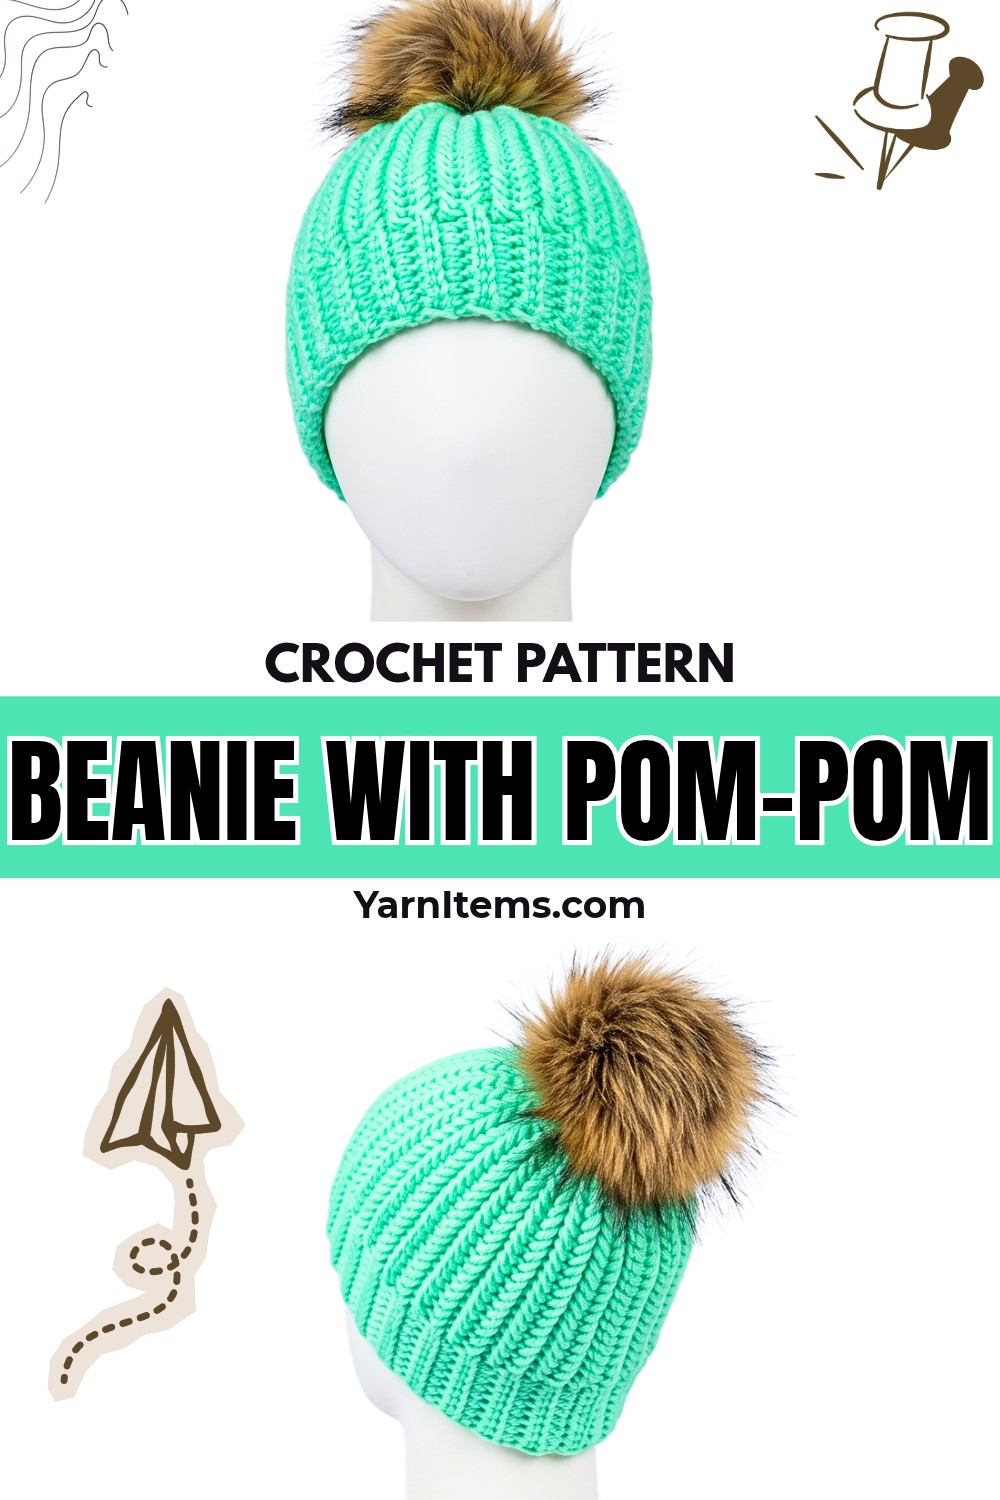
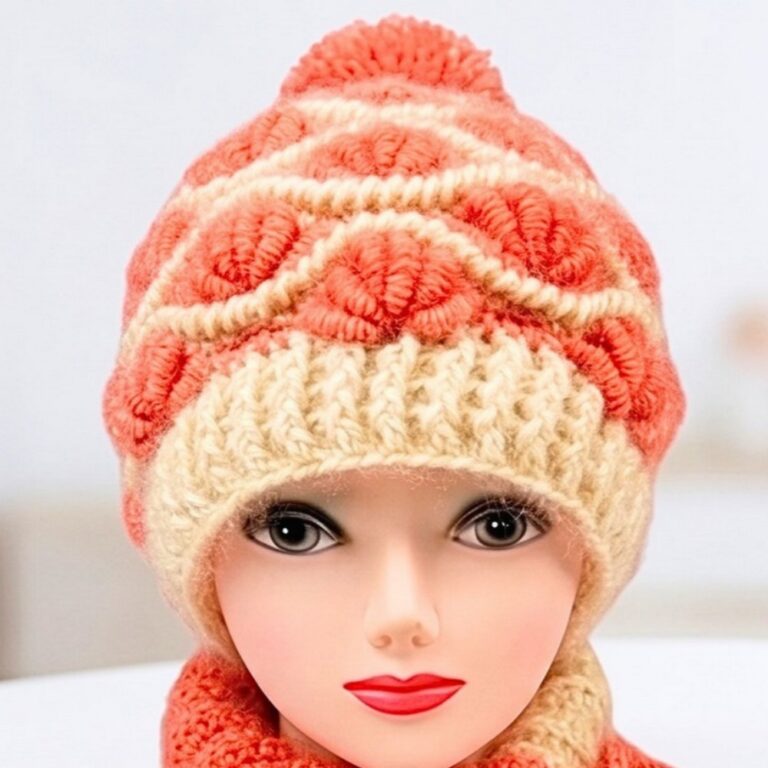
Soft-looking stitches, raised vertical ribs, and a fluffy pom-pom give this crochet beanie its distinctive charm. Its simple silhouette highlights rich crochet texture, creating a cozy, classic look that works beautifully with different yarn colors.
Creating this crochet hat involves building its height with foundation chains, shaping textured rows, and joining edges for a comfortable fit. You’ll follow the four-row pattern, close the crown neatly, and finish with pom-pom attachment options. Let’s get started.
Credit zhavin crochet
Materials & Tools
- Yarn: Worsted-weight yarn in your preferred color.
- Crochet hook: 5.0 mm (US H-8).
- Yarn or tapestry needle: For seaming, gathering the crown, and weaving in ends.
- Scissors: For trimming yarn.
Finished Size & Customization
The supplied pattern is designed for children approximately 6–10 years old. The creator begins with 39 chains and repeats the four-row sequence 15 times in total for this size.
You can adjust the pattern to suit different preferences:
- Hat height: Change the foundation chain length to adjust the distance from brim to crown.
- Brim width: The pattern uses eight stitches for the brim section. Adjust this section only if you can maintain the corresponding row structure.
- Head circumference: Repeat the four-row sequence fewer or more times, checking the fit as you work.
- Pom-pom: Attach a yarn or faux-fur pom-pom after closing the crown.
Fit tip: Foundation-chain length determines hat height, while the number of row repeats affects circumference. Check both measurements before finishing.
Crochet Abbreviations
- ch: Chain
- sl st: Slip stitch
- sc: Single crochet
- BLO sc: Single crochet through back loop only
- HBS: Herringbone Single Crochet
- Rev Sc: Reverse Single Crochet
- Rev HBS: Reverse Herringbone Single Crochet
- st(s): Stitch(es)
- rep: Repeat
- tog: Together

Step-by-Step Crochet Beanie Pattern
Step 1: Make the Foundation Chain
Begin with worsted-weight yarn and your 5.0 mm crochet hook.
- Form a slip knot and place it on your hook.
- Chain 39 stitches for the child-size version.
- Check chain length against your desired hat height, measuring from crown toward brim.
Keep your chain tension even. Very tight chains can make your first row difficult to work into, while loose chains can create an uneven edge.

Step 2: Build the Brim and Textured Body – Row 1
This foundation row establishes both the brim and raised body texture.
Brim section
- Skip the first chain from your hook.
- Work 1 sc into the second chain and each of the next six chains, making seven sc stitches.
Body section
- Leave six chains at the opposite end for crown shaping.
- Work 1 HBS into each chain across the middle section. The supplied tutorial specifies 24 HBS stitches.
To work HBS, insert your hook into the left loop of the previous single crochet, then into the next chain. Pull up a loop so three loops are on your hook. Yarn over and pull through all three loops.
Crown section
- Work 1 loose sl st into each of the first three chains within the final six-chain section.
- Leave the last three chains unworked.
- Ch 1 and turn.
Teaching tip: Keep crown slip stitches loose. Tight slip stitches can restrict the shaping and make later rows harder to work.
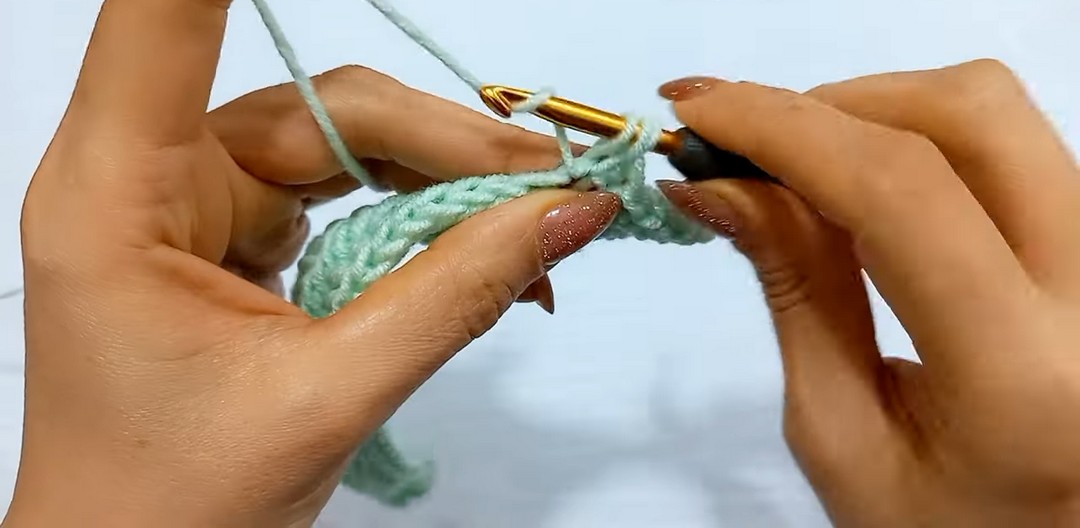
Step 3: Create Reverse Texture – Row 2
Work along the opposite side to form contrasting stitch texture and continue shaping the brim.
- Work 1 sl st into each of the first three slip stitches from Row 1.
- Work 1 Rev Sc into the next body stitch. Insert your hook from back to front under both loops, pull yarn through, yarn over, and pull through two loops.
- Work 1 Rev HBS into each remaining body stitch.
For Rev HBS, locate the last loop of the previous stitch by turning your work slightly. Insert the hook under that loop, then under both loops of the next stitch from back to front. Pull up a loop, yarn over, and pull through all three loops.
Brim section
- Work 1 BLO sc into each of the next seven brim stitches.
- Work 1 standard sc under both loops of the final brim stitch.
- Ch 1 and turn.
Why this matters: Working through the back loop creates visible ribbing, while working under both loops at the edge helps establish a firmer finish.
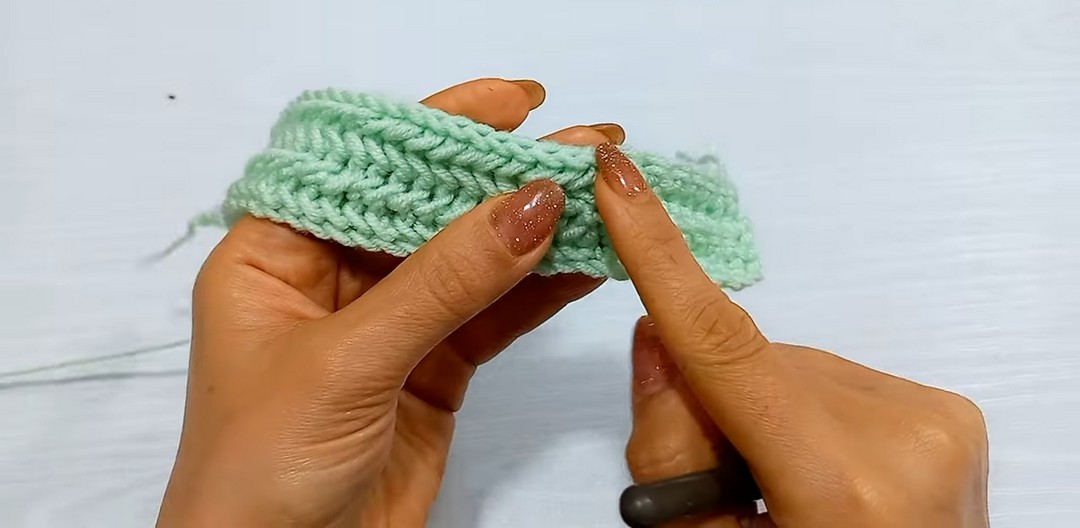
Step 4: Continue Brim and Crown Shaping – Row 3
Return to the right side and extend the textured body.
- Work 1 standard sc under both loops of the first stitch.
- Work 1 BLO sc into each of the next seven brim stitches, making eight brim stitches in total.
- Work 1 HBS into each stitch across the body section, following the supplied pattern’s 24-stitch section.
- Work 1 sl st into each of the next three stitches.
- Return to the previously unworked chains from Row 1 and work 1 sl st into each of the three chains.
- Ch 1 and turn.
Check your work: The brim should have a defined edge, while textured stitches form raised lines along the body. Keep the three crown slip stitches consistent with previous rows.
Step 5: Complete Row 4
This wrong-side row continues the reverse texture and prepares your work for another repeat.
- Work 1 loose sl st into each of the first six slip stitches from the previous row.
- Work 1 Rev Sc into the next body stitch.
- Work 1 Rev HBS into each stitch across the body section.
- Work 1 BLO sc into each remaining brim stitch until one stitch remains.
- Work 1 standard sc under both loops of the final brim stitch.
- Ch 1 and turn.
The four-row sequence is now complete.
Step 6: Repeat the Four-Row Pattern
Repeat Rows 1–4 to build the hat’s vertical ribbed texture.
- Follow the same stitch placement and crown-shaping sequence in every repeat.
- Keep brim stitches consistent so the lower edge remains neat.
- Check the hat’s circumference periodically rather than relying only on row count.
For the supplied child-size version, the creator repeats the four-row block 14 additional times, giving 15 total repeats.
Fit tip: Different yarns and crochet tension can change finished measurements. If you need a different circumference, check the fabric against the intended head measurement before seaming.
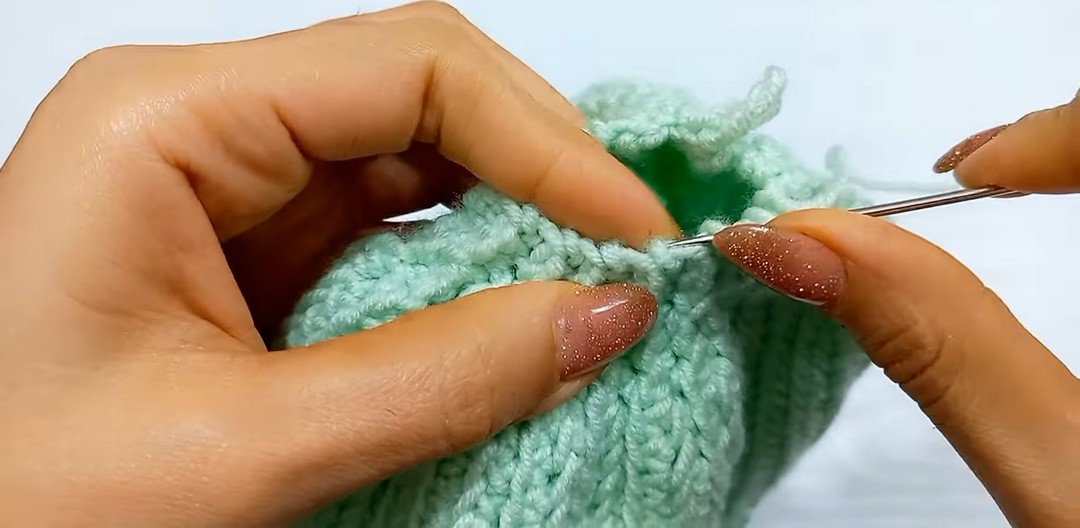
Step 7: Join the Edges
Once the desired circumference is reached, bring the starting edge and final edge together to form a tube.
- Place the right side facing you and align the corresponding stitches along both edges.
- Begin at the brim. Insert your hook through the loop from Row 1, pull through, and ch 1.
- Insert the hook through the same loop and the back loop only of the corresponding front stitch from the final row.
- Work 1 sl st and repeat across all eight brim stitches.
- For the remaining body and crown section, join corresponding stitches under both loops using slip stitches.
- Fasten off, leaving a long yarn tail for gathering the crown.
Teaching tip: Carefully match corresponding stitches as you seam. Uneven alignment can twist the ribbing or cause the brim to sit at an angle.
Step 8: Gather and Close the Crown
Use the long yarn tail to close the top opening.
- Thread the tail through your tapestry needle.
- Pass the needle in and out through the outer loops along the crown edge.
- Continue around the opening until you return to your starting point.
- Pull the yarn tail firmly to gather the fabric and close the hole.
- Make several anchoring stitches across the center to secure the gathered opening.
- Tie a secure knot, weave remaining ends into the inside of the hat, and trim excess yarn.
Result check: The crown should be fully closed, with no large hole remaining. Distribute gathers evenly before securing the yarn.
Step 9: Add the Pom-Pom
Finish with a yarn pom-pom or faux-fur pom-pom for extra texture.
- Position the pom-pom at the center of the closed crown.
- Use a yarn needle and suitable yarn tail or attachment loops to sew it securely in place.
- Pass the attachment yarn through sturdy points around the crown rather than relying on one loose stitch.
- Secure the ends inside the hat and check that the pom-pom does not wobble or pull free.
Helpful tip: Choose a pom-pom size that complements the hat rather than overwhelming its textured body. A fluffy finish adds visual interest while keeping the ribbed stitches visible.
Step 10: Final Fit and Finishing Check
Turn the hat right side out to reveal the vertical texture and finished seam.
Before wearing it, check:
- The brim lies evenly without twisting.
- The vertical ribs run neatly from the brim toward the crown.
- The seam is secure and leaves no gaps.
- The crown is gathered completely closed.
- The pom-pom is firmly attached.
- The hat circumference feels comfortable for its intended wearer.
Personalize Your Beanie
Once the basic hat is complete, you can adjust its appearance with different yarn colors and pom-pom styles. Solid colors emphasize the stitch texture, while variegated yarn gives the ribs a more playful look.
For a different fit, adjust the foundation-chain length and four-row repeat count separately, checking measurements before closing the hat. This helps preserve the distinctive brim and crown shaping while adapting the finished beanie to your needs.
Your textured crochet beanie is now ready to wear, with raised vertical ribs, a clean brim, gathered crown, and fluffy pom-pom completing its classic look.