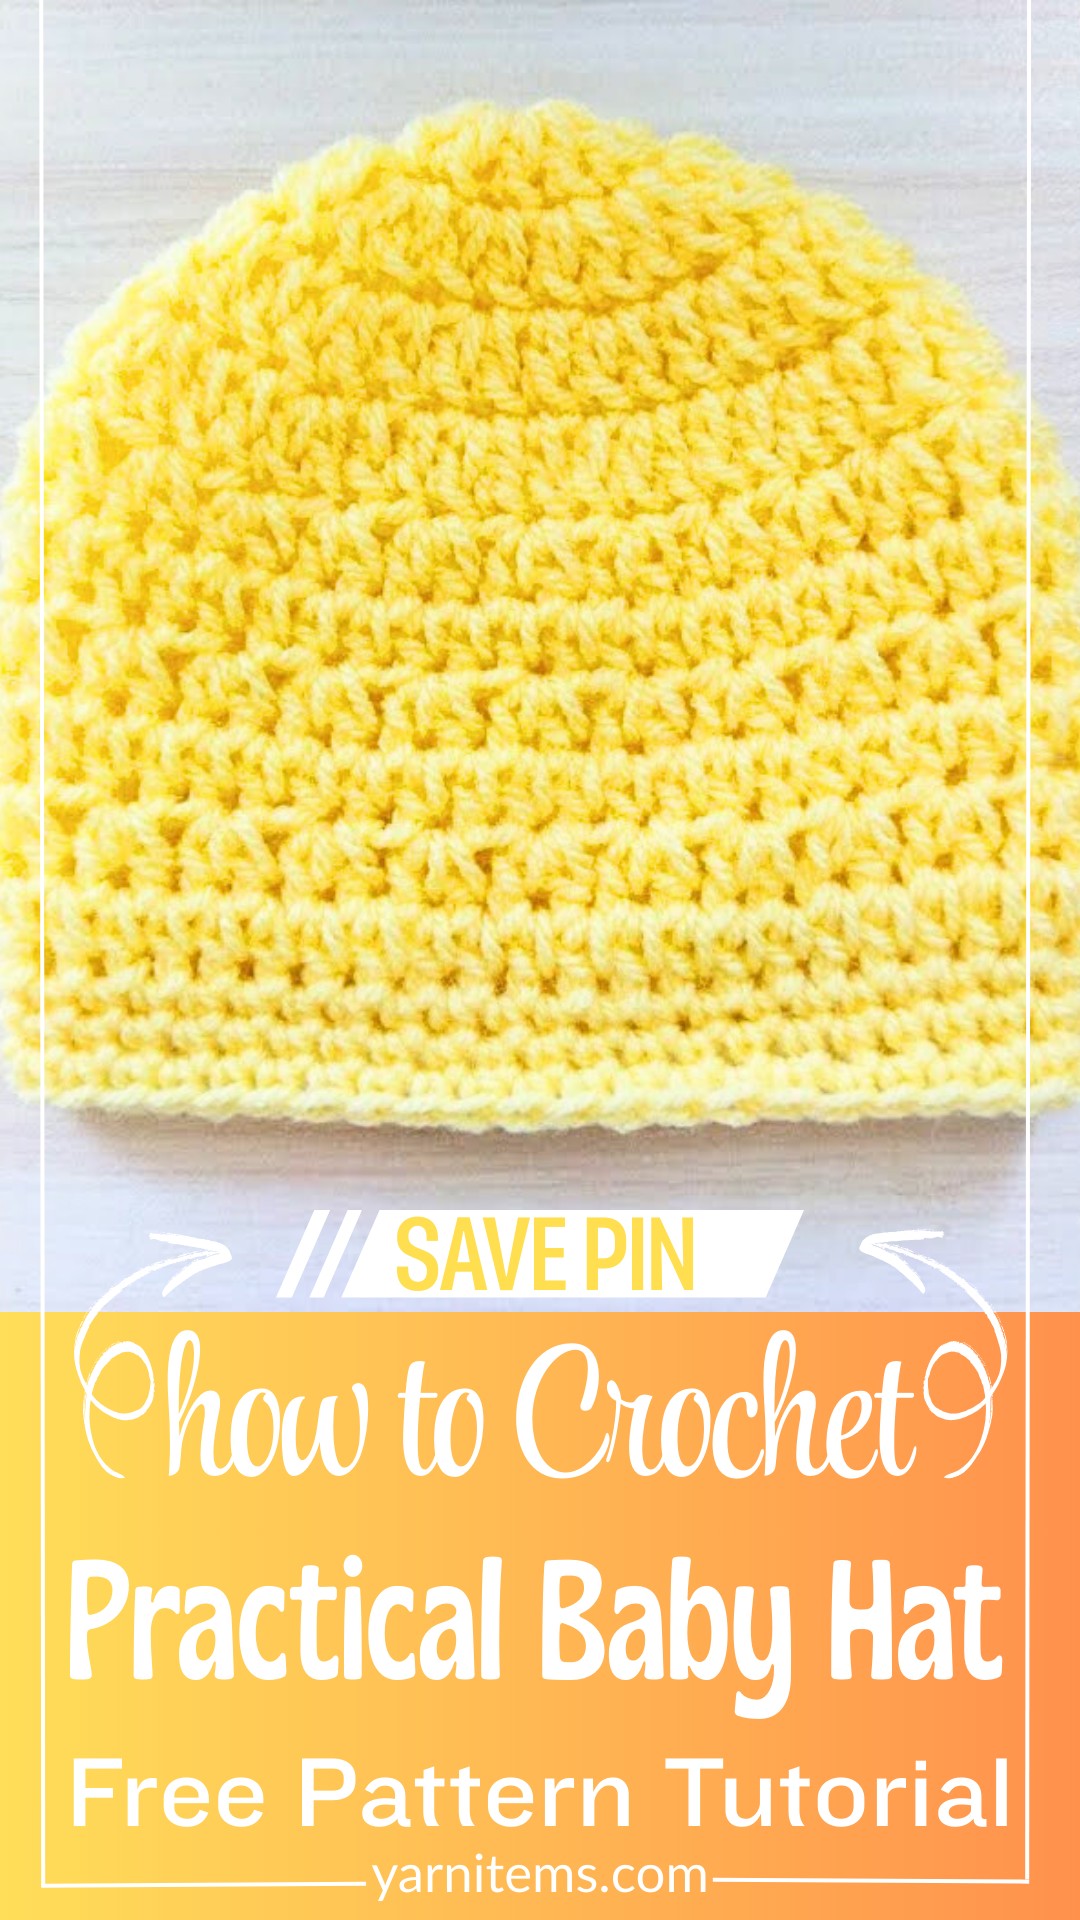
Easy Crochet Baby Hat Tutorial for 0-3 Months
A tiny handmade crochet baby hat can become the sweetest piece in a newborn’s wardrobe from the very first stitch. Soft texture, a comfortable fit, and a lightweight feel make this design both beautiful and practical for everyday wear.
The alternating stitch pattern adds gentle dimension without making the piece difficult to crochet. With only a few basic supplies, you can create something that feels thoughtful, cozy, and full of handmade charm.
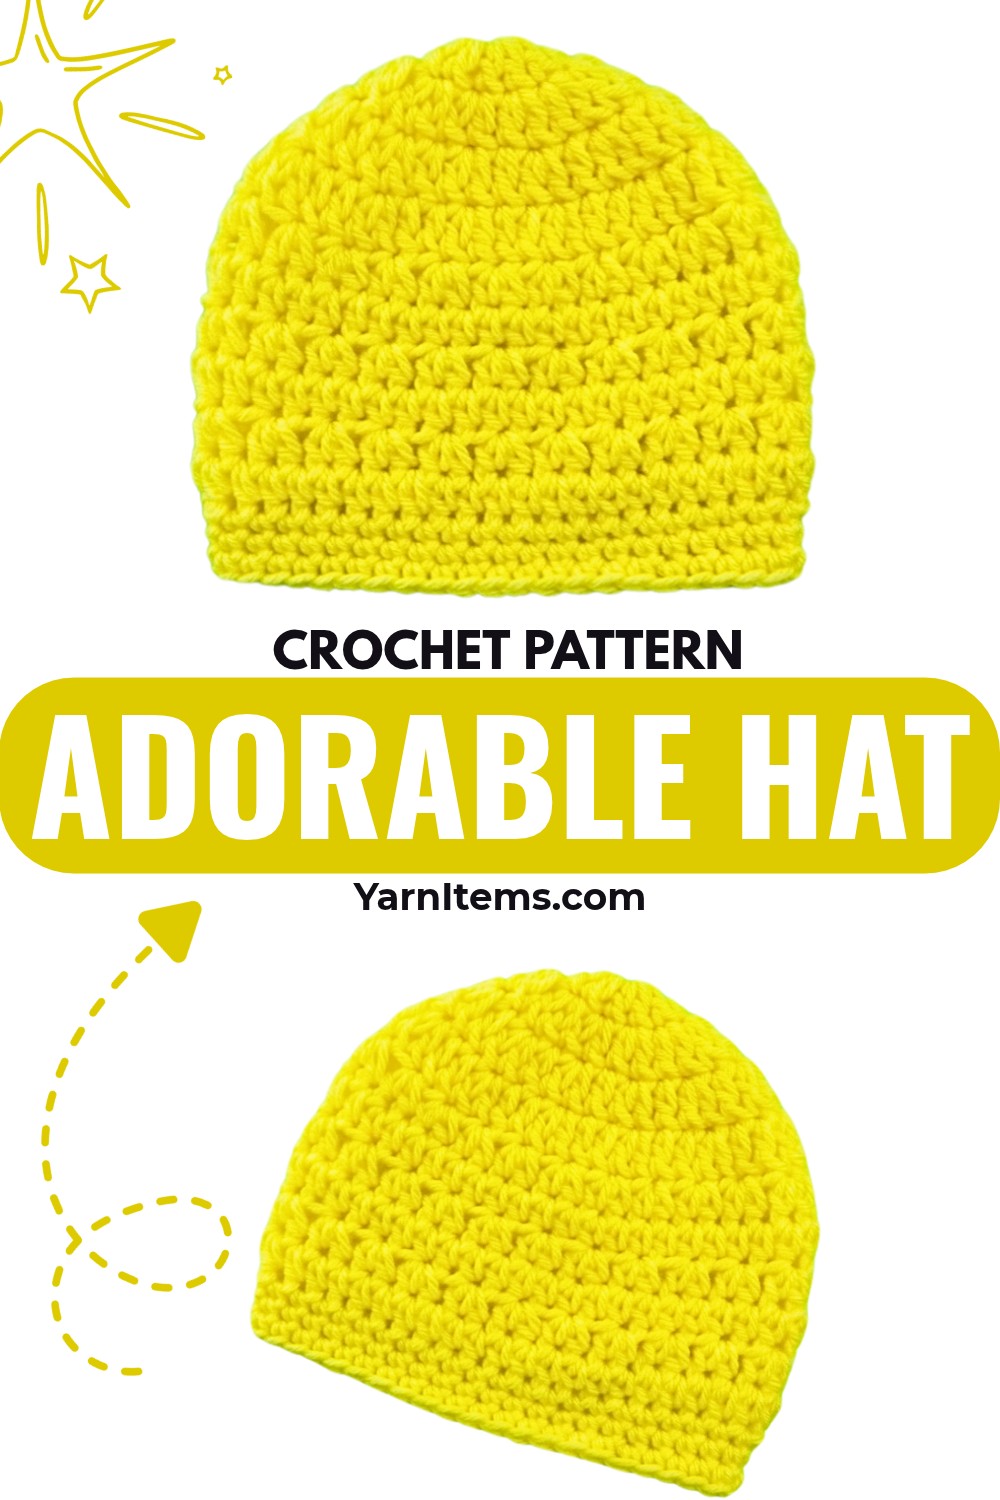
Every round brings this baby crochet hat closer to a polished finish that looks far more detailed than it is to make. Designed for babies aged 0–3 months, this piece combines simple shaping with an eye-catching texture that stands out beautifully. The pattern includes easy increases, repeating stitch sections, and neat edging for a clean result. Whether you choose a classic shade or a playful color, the finished crochet item is sure to become a treasured handmade keepsake.
Credit Crochet With Anna
Materials & Tools Needed
To make this baby hat (size 0–3 months), you will need:
- Yarn: Medium-weight yarn (used: Yellow yarn).
- Crochet Hook: 5 mm.
- Tools: Scissors and a yarn needle for sewing.
Pattern Notes
- This pattern is for a 0–3-month-size baby hat.
- The hat is worked in rounds, starting with a magic ring.
- Chain 2 at the start of each round does not count as a stitch.
- Always join with a slip stitch to the first stitch of the round.
Pattern Abbreviations & Terminology
All instructions are in US terminology:
- ch: Chain
- dc: Double Crochet
- hdc: Half Double Crochet
- sc: Single Crochet
- sl st: Slip Stitch
- st(s): Stitch(es)
Finished Size & Customization Ideas
- Finished Size: Fits infants aged 0–3 months.
- Customization Options:
- Use different colors for colorful stripes or patterns.
- Attach pom-poms, appliqués, or a decorative ribbon to the brim.
Level Up Your Pattern With These Upgrades
- Stitch Changes: Add textured stitches (like puff stitches) for extra character.
- Yarn Choice: Use soft, variegated yarn for a blended color effect.
- Edging Detail: Use a scalloped edge for a more decorative finish.
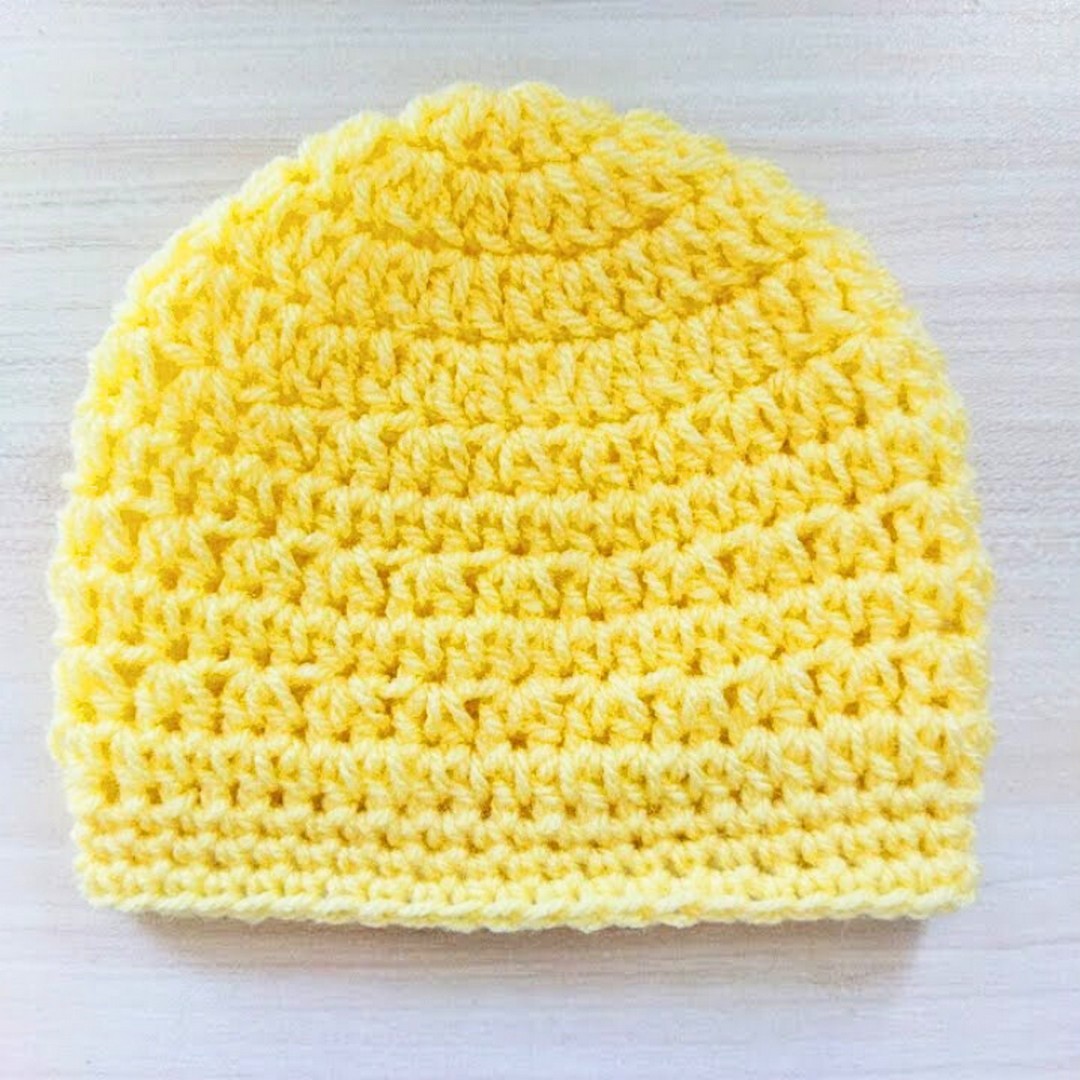
Step-by-Step Crochet Instructions
Round 1: Create the Magic Ring
- Start with a slip knot.
- Chain 3 (this forms a ring). Join with a slip stitch to the first chain to create a small ring.
- Chain 2 (does not count as a stitch).
- Make 11 double crochet (dc) into the ring.
- Join to the first double crochet with a slip stitch.
Total: 11 stitches.
Round 2: Increase Round
- Chain 2.
- Work 2 double crochet (dc) in each stitch.
- Join to the first double crochet with a slip stitch.
Total: 22 stitches.
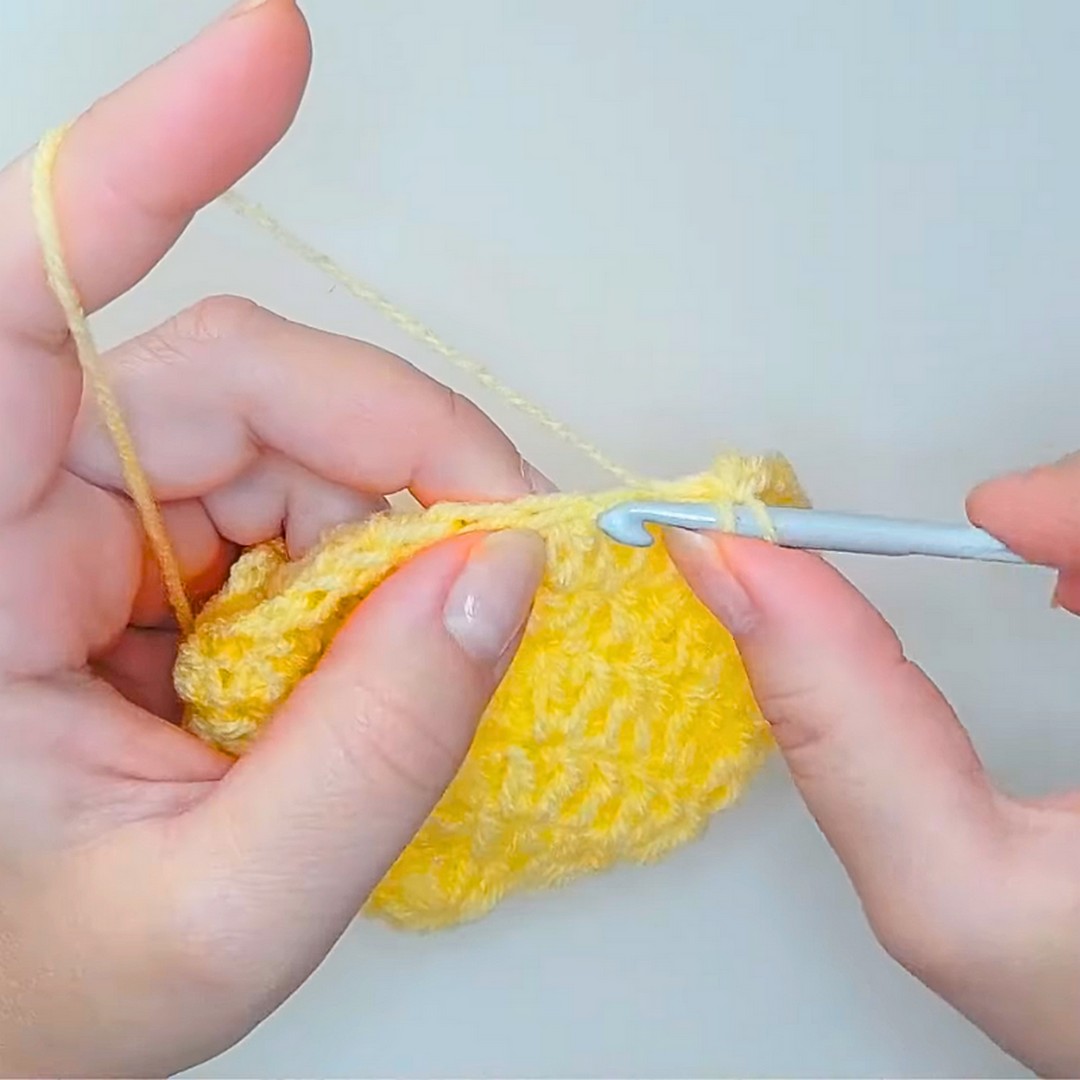
Round 3: Increase Round
- Chain 2.
- Work:
- 1 double crochet in the first stitch.
- 2 double crochets in the next stitch.
- Repeat this sequence (1 dc, 2 dc) all the way around.
- Join to the first double crochet with a slip stitch.
Total: 33 stitches.
Round 4: Increase Round
- Chain 2.
- Work:
- 1 double crochet in each of the next 2 stitches.
- 2 double crochets in the next stitch.
- Repeat this sequence (1 dc in next 2 stitches, 2 dc in next stitch) all the way around.
- Join to the first double crochet with a slip stitch.
Total: 44 stitches. - Stop increasing from here forward.
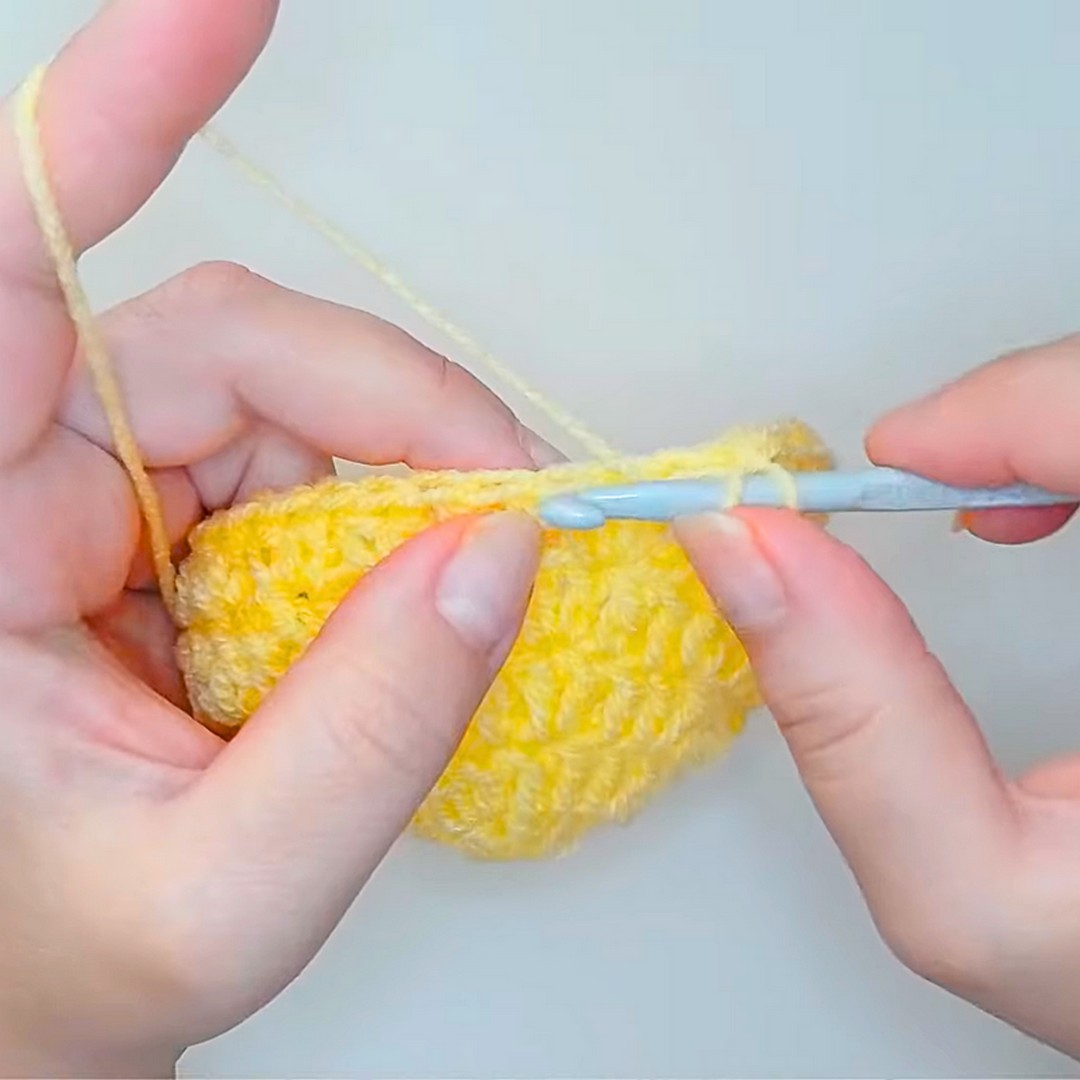
Round 5: Create a Pattern
- Chain 2.
- Work:
- 2 half double crochets (hdc) in the first stitch.
- Skip 1 stitch.
- Repeat (2 hdc in next stitch, skip 1 stitch) all the way around.
- Skip the last stitch and join to the first stitch with a slip stitch.
Round 6: Solid Round
- Chain 2.
- Work 1 half double crochet (hdc) in each stitch around.
- Join to the first stitch with a slip stitch.
Round 7: Repeat Round 5
- Chain 2.
- Work:
- 2 half double crochets (hdc) in the first stitch.
- Skip 1 stitch.
- Repeat (2 hdc in next stitch, skip 1 stitch) all the way around.
- Skip the last stitch and join to the first stitch with a slip stitch.
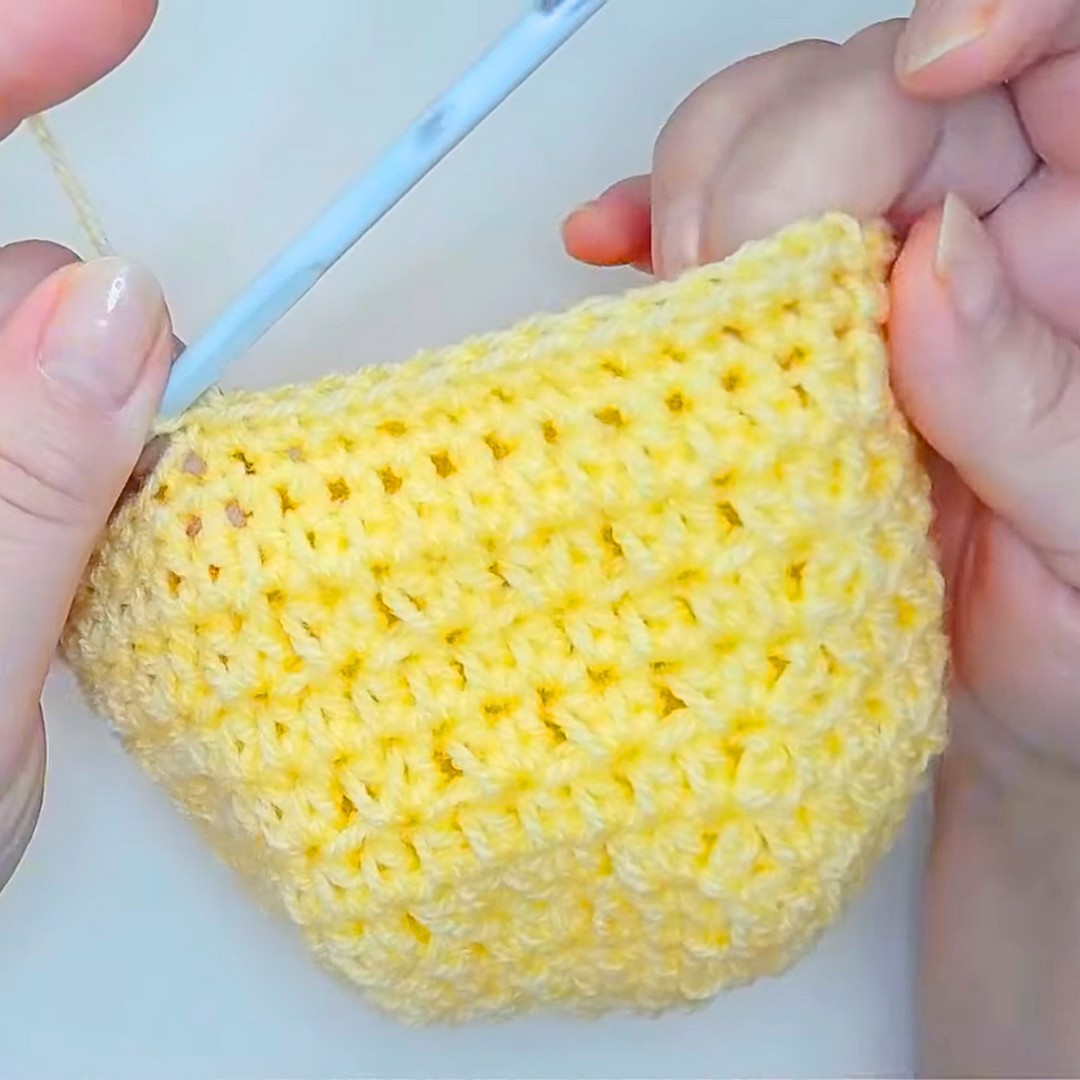
Round 8: Repeat Round 6
- Chain 2.
- Work 1 half double crochet (hdc) in each stitch around.
- Join to the first stitch with a slip stitch.
Rounds 9–10:
Alternate as follows:
- Round 9: Repeat Round 7.
- Round 10: Repeat Round 8.
Round 11: Single Crochet Edging
- Chain 1.
- Work 1 single crochet (sc) in each stitch around.
- Join to the first stitch with a slip stitch.
Rounds 12–13: Repeat Round 11
- For each round, chain 1 and work 1 single crochet in each stitch around.
- Join to the first stitch with a slip stitch.
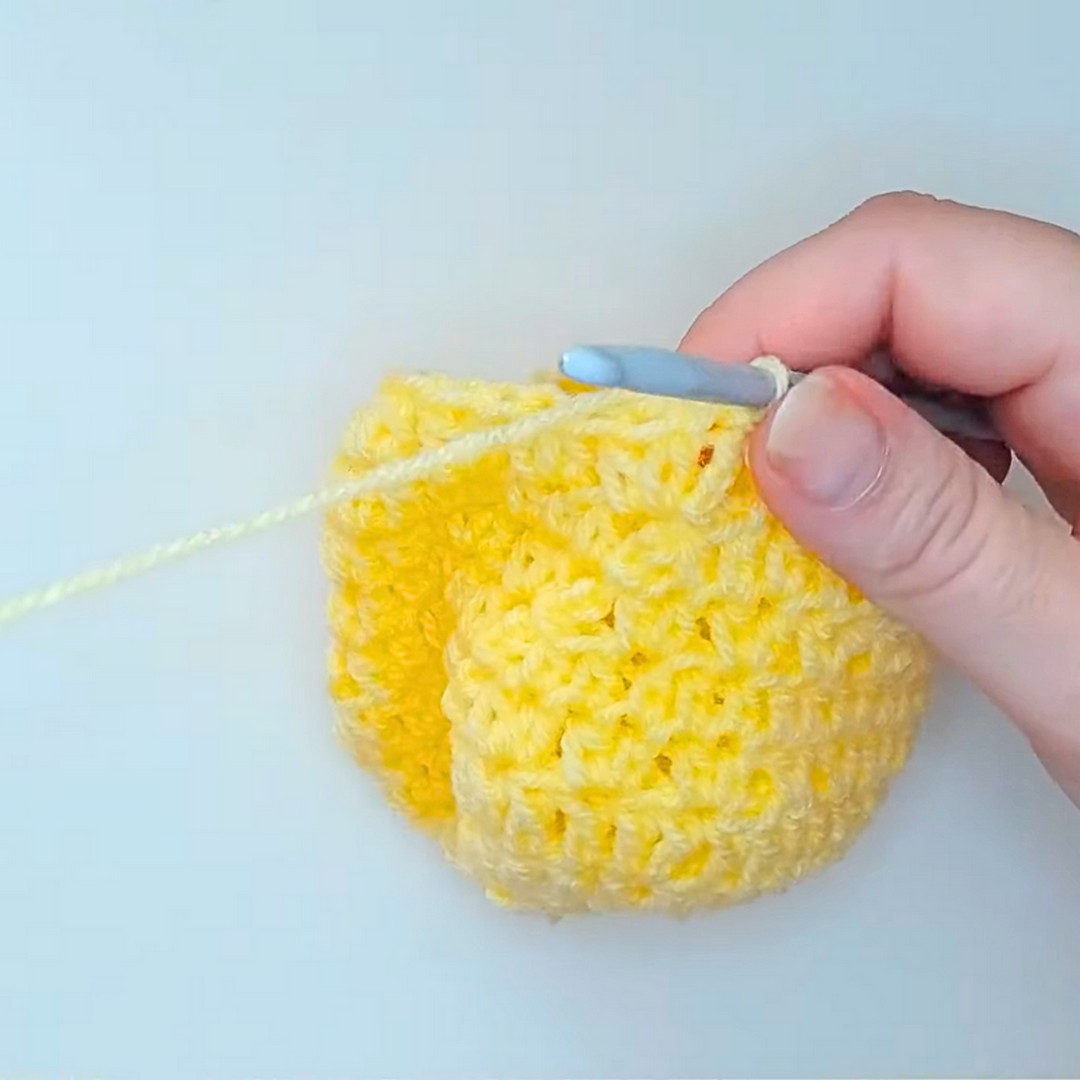
Finishing
- After completing Round 13, chain 1, cut the yarn, and pull the tail through the loop.
- Weave in ends using a yarn needle.
Care Tips to Make It Last Longer
Here are some care tips to make your hat last longer:
- Wash Gently
- Use cold water and mild detergent to clean your hat. Avoid harsh scrubbing or soaking for prolonged periods.
- Lay Flat to Dry
- Air dry the hat by laying it flat on a clean surface. This prevents distortion and helps maintain its shape.
- Avoid High Heat & Harsh Chemicals
- Keep the hat away from direct heat sources (like dryers) and chemicals that could damage its color, texture, or material.
Make It Uniquely Yours
Bring your pattern to life with these creative tips:
- Experiment with Yarn Textures
- Choose cotton or bamboo blends for lightweight, breathable options ideal for spring and summer.
- Opt for wool or chunky acrylic for cozy, winter-ready creations.
- Personalize Your Work
- Add embroidered initials or symbols to make it truly one-of-a-kind.
- Incorporate crochet embellishments like flowers, leaves, or shapes for an extra decorative touch.
- Play with Contrast
- Use contrasting colors for edging that pops against the main design.
- Try decorative stitching or overlay techniques in complementary or bold colors for added flair.