How to Crochet a Star Granny Square Step by Step
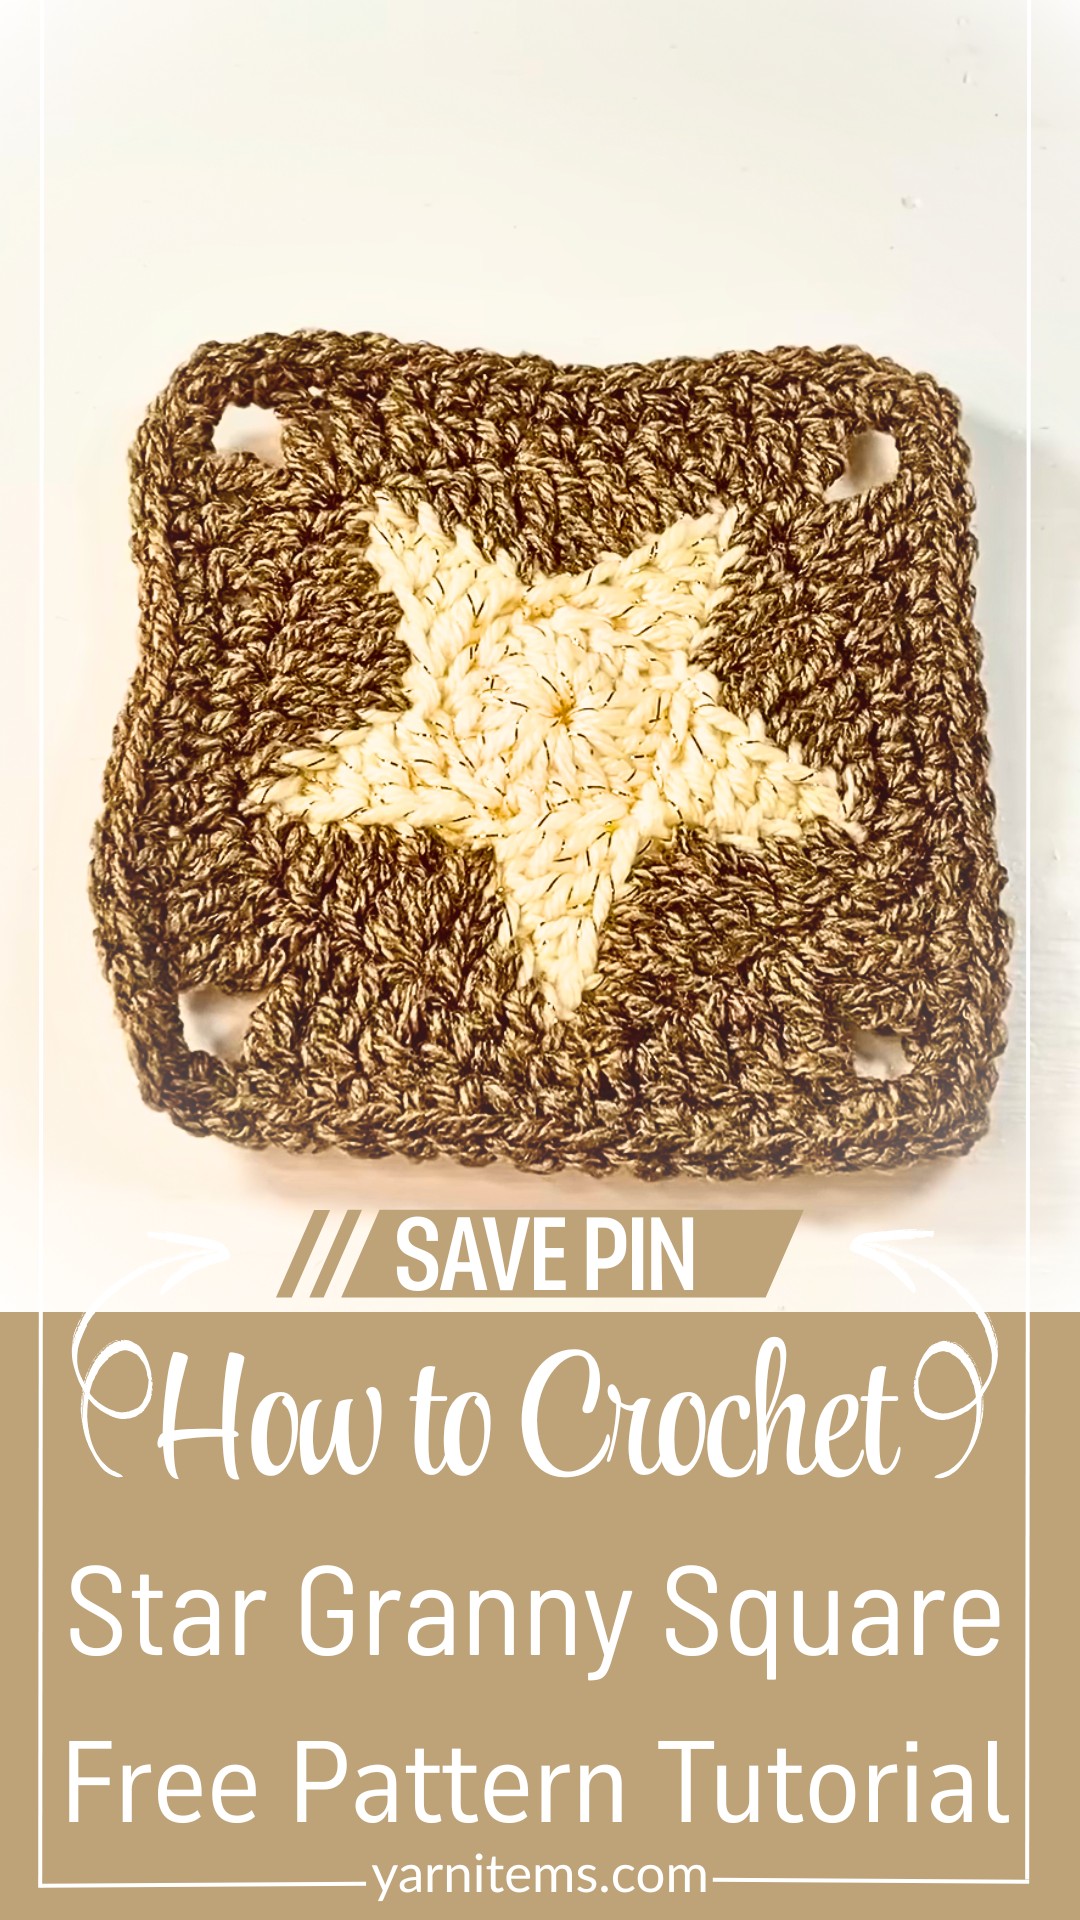
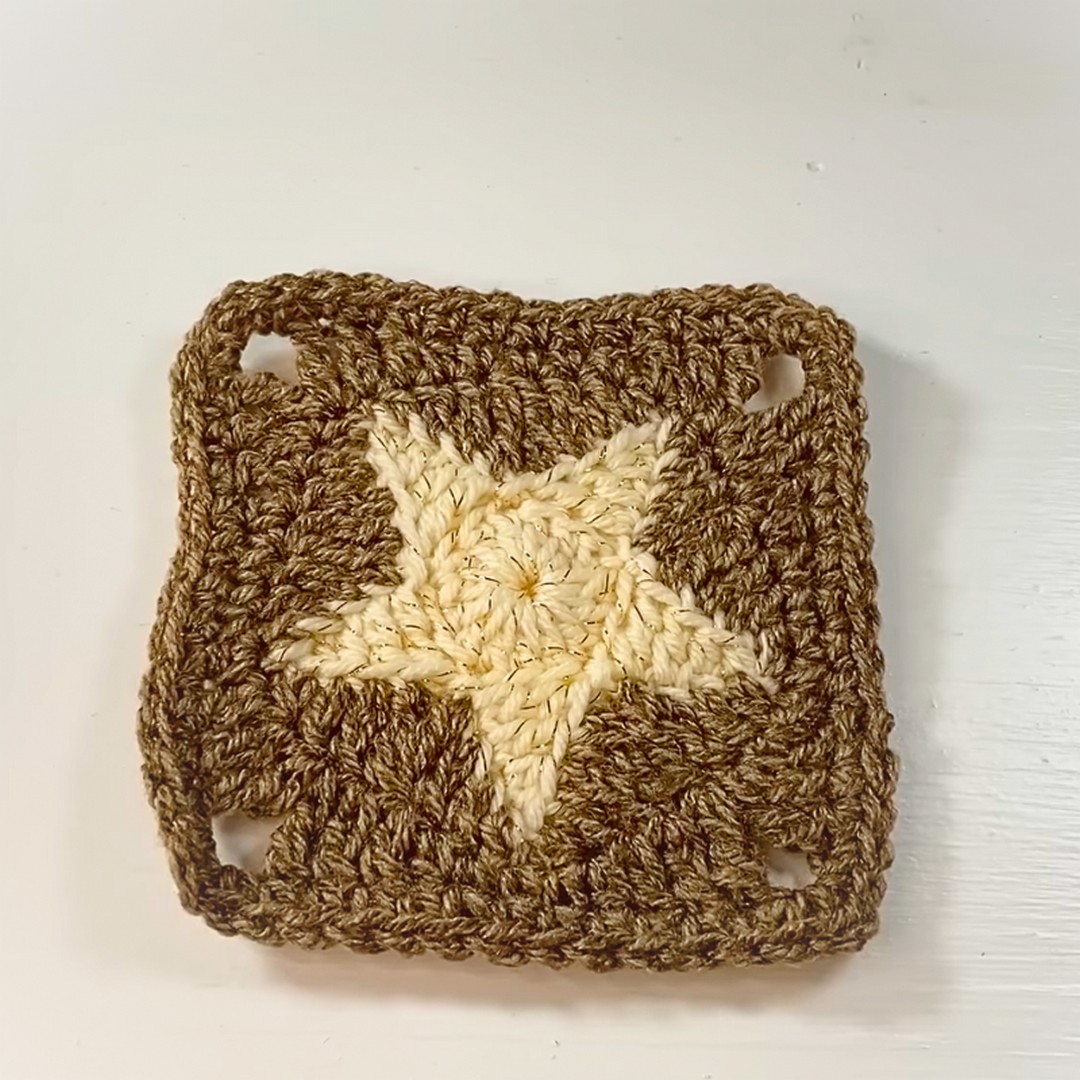
A five-point star brings a playful twist to the classic granny square, and watching those points turn into four neat corners makes this a satisfying pattern to crochet in contrasting colors.
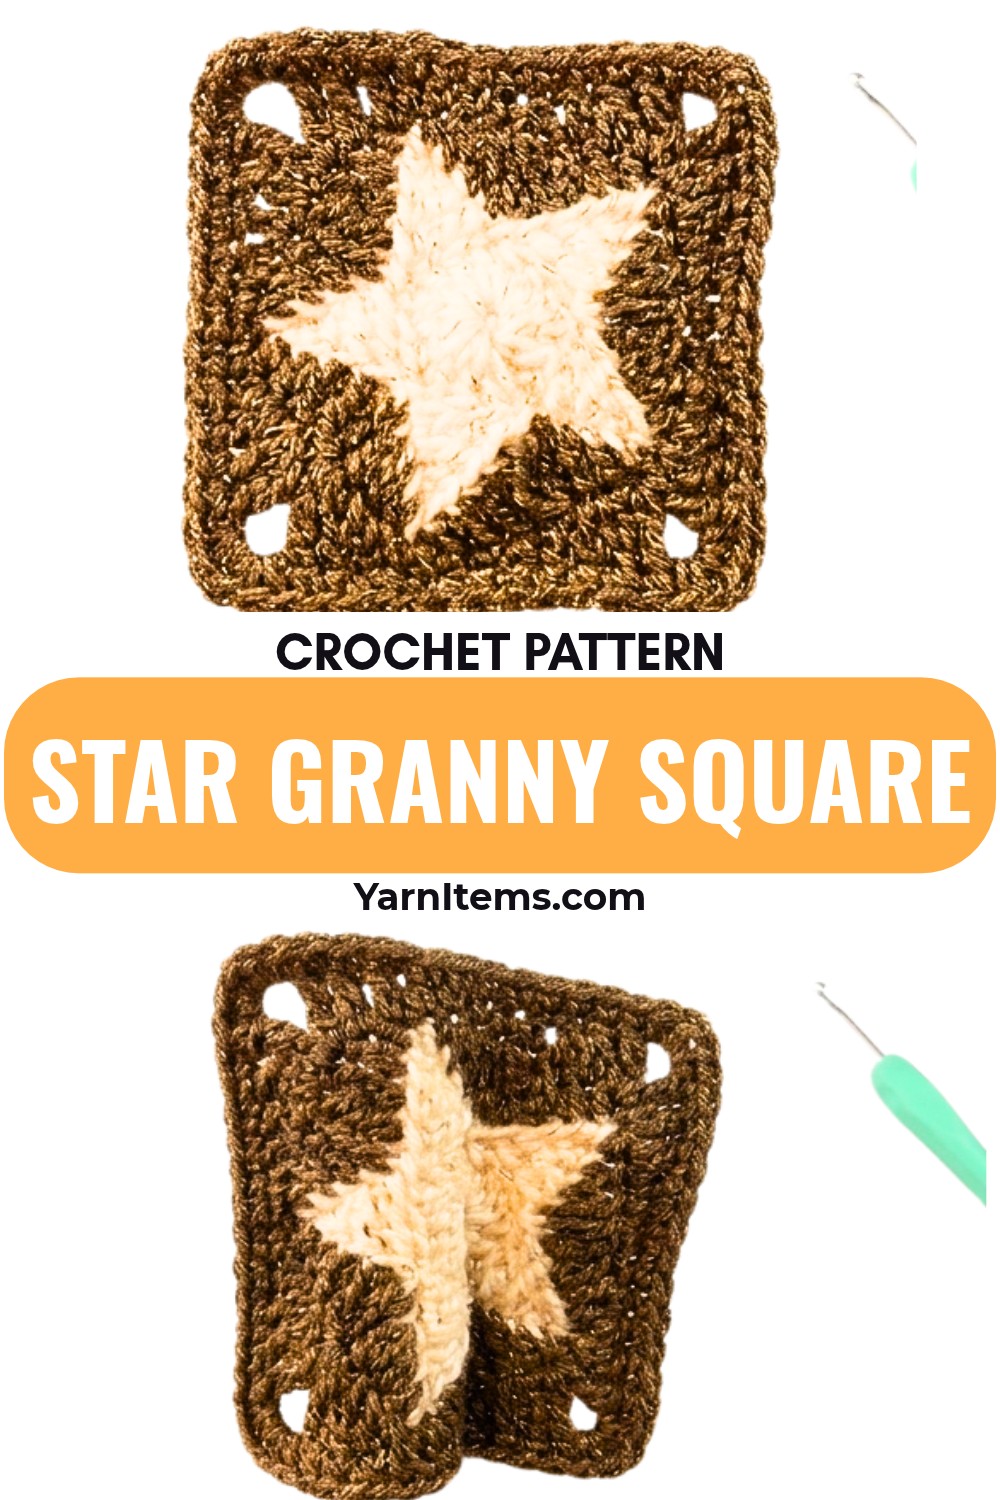
There’s a lovely moment in this crochet pattern when the simple center suddenly becomes a five-point star. The first rounds focus on shaping those points, while the contrasting color gives each arm a clear outline and makes the crochet design easier to see as you work.
Once the star is outlined, the shape changes again into a crochet square with four defined corners. Use metallic yarn for a little sparkle, choose seasonal colors for décor, or make several squares in coordinating shades for blankets, pillows, bags, scarves, and garments.
Credit Knotting Hook Crochet
Star Granny Square Details
- Skill Level: Beginner-friendly with some intermediate techniques
- Finished Size: Approximately 5 × 5 inches, depending on yarn, hook, and tension
- Terminology: US crochet terminology
- Construction: Worked in rounds
- Colors: 2
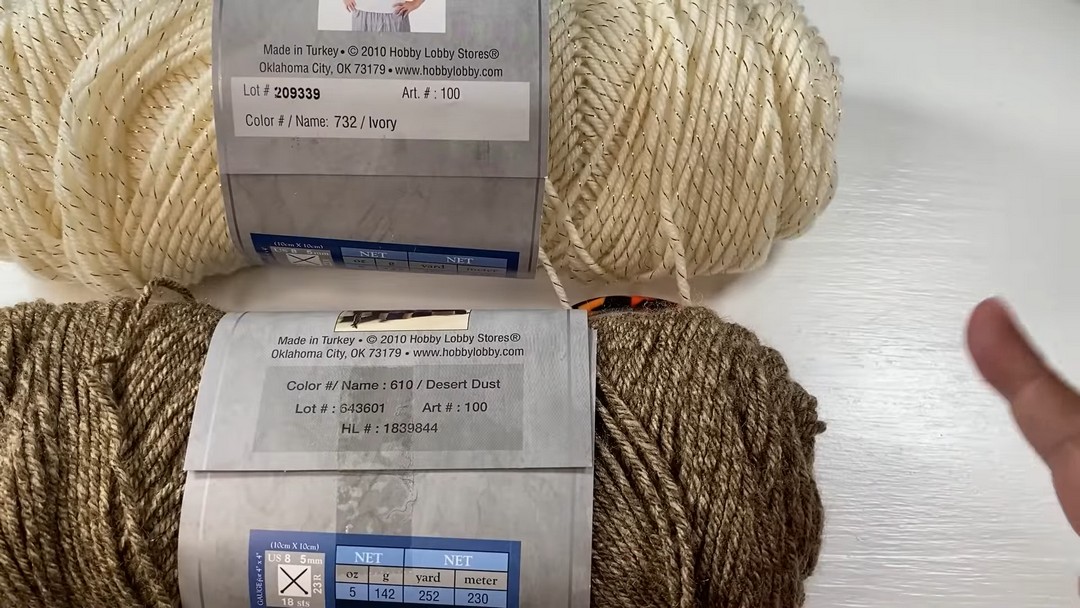
Materials & Tools
- Color A: Ivory yarn with gold or metallic thread
- Color B: Desert Dust or another contrasting shade
- 5 mm crochet hook
- Yarn needle
- Scissors
A smooth yarn makes the individual stitches easier to see while forming the star. If you choose a textured or metallic yarn, keeping your tension even will help the five points remain easy to recognize.
Abbreviations
- ch – chain
- st(s) – stitch(es)
- sl st – slip stitch
- sc – single crochet
- hdc – half double crochet
- dc – double crochet
- tr – treble crochet
- ext dc – extended double crochet
- [ ] – repeat the instructions inside brackets
Special Stitch
Extended Double Crochet (ext dc): Yarn over, insert the hook into the indicated stitch, pull up a loop, yarn over and pull through 1 loop, yarn over and pull through 2 loops, then yarn over and pull through the final 2 loops.
Before You Begin
The first round creates the small center that supports everything that follows. In Round 2, that center becomes the foundation for five pointed arms, so try to keep the chain tension consistent from one point to the next.
The most important places to watch are the joins between the star arms in Round 3 and the new corners in Round 4. Those transitions change the shape of the motif, so knowing what you should see after each stage will make the pattern much easier to follow.
Step by Step Pattern
Step 1: Create the Center
Begin with Color A and make the small circular foundation.
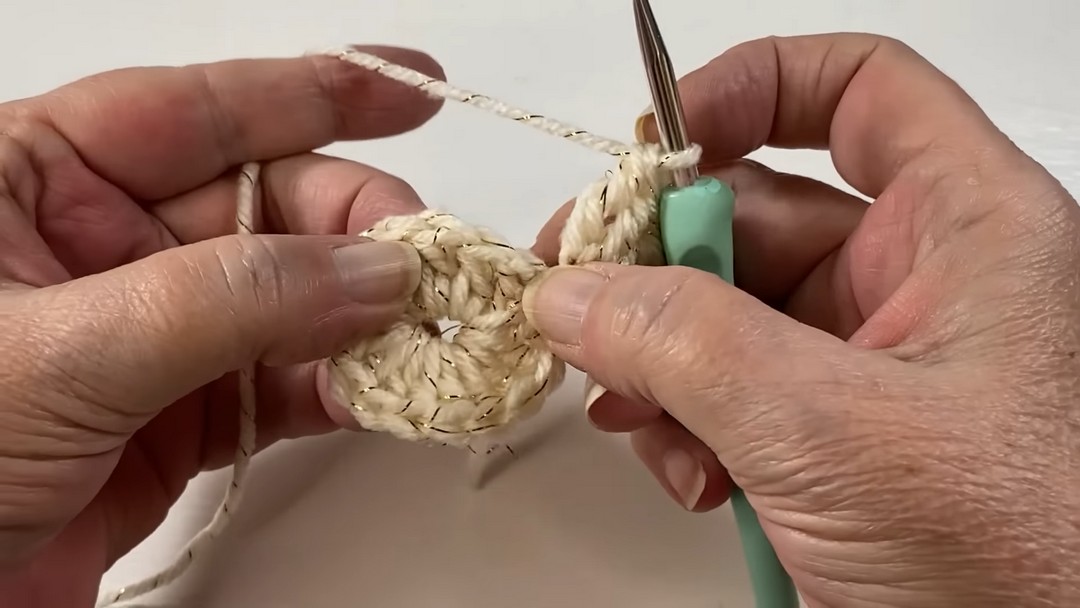
Round 1: With Color A, make a slip knot and ch 5; join with a sl st to the first ch to form a circle; ch 3, which counts as the first dc, work 14 dc into the center of the circle, then sl st to the top of the beginning ch-3 to join. 15 sts.
You should now have a compact circle with 15 total stitches, including the beginning ch-3. Keep the center reasonably flat because the next round will use this circle to anchor the five star points.
Step 2: Create the Five Star Points
This is where the recognizable star begins. Each point uses the same four stitches, moving from shorter to taller stitches so the final tr forms the tip.
Round 2: Ch 5, sc in the 2nd ch from hook, hdc in the next ch, dc in the next ch, and tr in the final ch; skip 2 sts of the base circle and sl st in the 3rd st to anchor the point; repeat from ch 5 four more times to create the remaining 4 star points, then join with a sl st at the base of the first star point. 5 star arms formed. Fasten off Color A.
Check Your Star
At the end of Round 2, you should clearly see five separate star points around the center.
If one point looks noticeably different from the others, check the four stitches worked into the chain and make sure you skipped exactly two stitches before joining it to the center. Fixing an uneven point now is easier than correcting it after the contrasting outline is added.
Step 3: Outline the Star
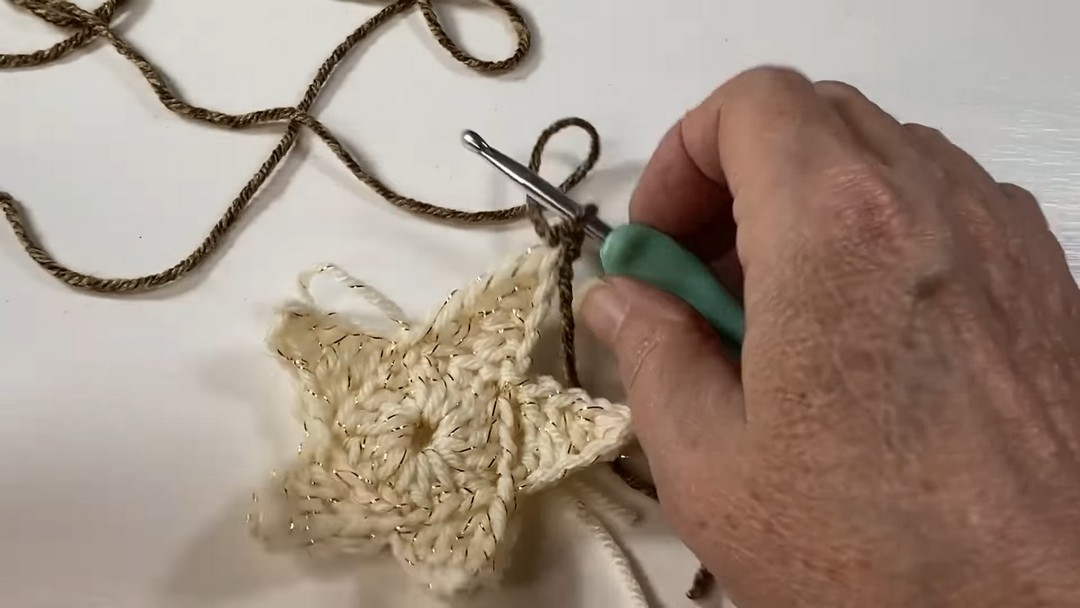
Attach Color B to the tip of any star point using a standing sc.
This round is worked in the back loop only, which helps create the defined outline around the star. Pay attention to the place where two arms meet because that is where the 2 tr together is worked.
Round 3: Working in the back loop only, sc in the first st, hdc in the next st, dc in the next st, and ext dc in the next st; work 2 tr together across the last st of the current arm and the first st of the next arm, skipping the stitch where the two arms meet; continue along the next arm with ext dc, dc, hdc, and sc in the tip of the star point; repeat this process around all 5 star arms, then join with a sl st at the base of the first standing sc. Outlined star complete.
Working the 2 tr Together
The arm join is the trickiest part of this round.
Work a partial tr into the last stitch of the current arm, leaving 2 loops on the hook. Yarn over twice and insert the hook into the first stitch of the next arm after the skipped meeting stitch. Pull up a loop and work another partial tr, then yarn over and pull through all the remaining loops on the hook.
The easiest way to stay oriented is to locate the meeting stitch between two star arms first. Skip that stitch, then work the second partial tr into the following stitch.
Step 4: Turn the Star Into a Square
The star is now outlined, but the next round changes its five-point shape into a four-cornered square.
For this round, work through both loops of the stitches.
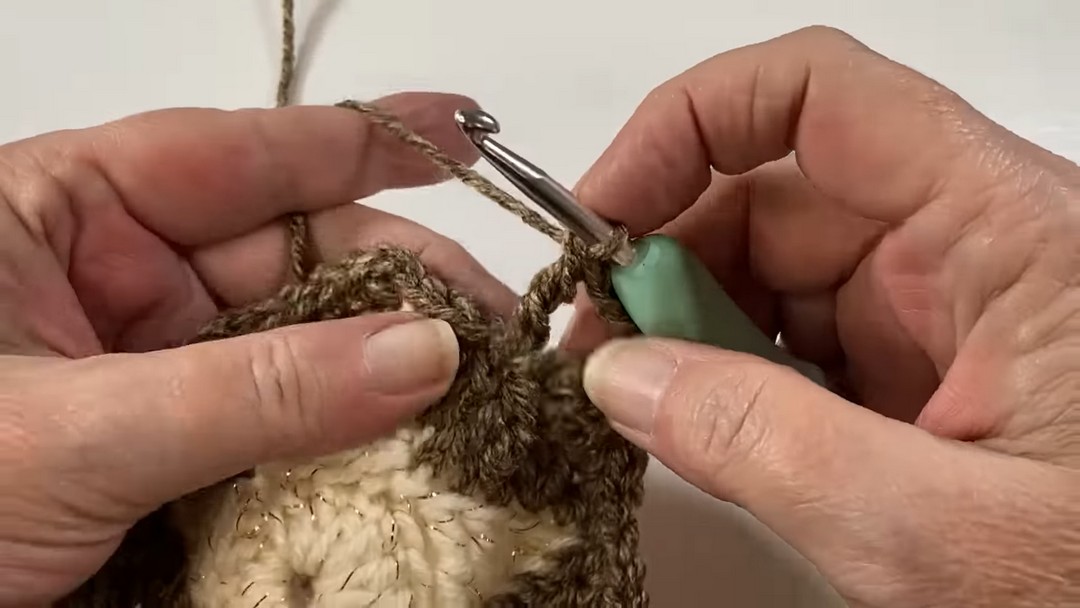
Round 4: Starting at a star tip point, ch 1 and hdc into the tip; along the side of the arm, work sc into the next 3 sts, hdc into the next st, dc into the next st, ext dc into the next st, and tr into the next st; ch 2 to form the first corner, then work another tr into the same st; continue along the next arm with ext dc, dc, hdc, sc x3, hdc, dc, ext dc, tr, ch 2, and tr in the same st; repeat this process around all sides until 4 corners are formed, then sl st to join at the beginning of the round.
How to Recognize the Corners
The ch-2 spaces create the four corners of the square.
The shape may look slightly unusual while you are partway through Round 4 because you are converting a five-point star into a four-sided motif. Instead of judging the overall shape too early, focus on placing each ch-2 corner correctly.
At each corner, the tr before the ch-2 and the tr after it are worked into the same stitch.
Step 5: Add the Final Border
The final round gives the square a simple outside edge and defines the corners.
Final Round
Final Round: Ch 1 and work a sc into each stitch around; at each corner, work sc, ch 2, sc into the corner space; continue around the square, then sl st to the first sc and fasten off.
The sc, ch 2, sc combination keeps the corners open enough for the square to sit neatly. If a corner pulls inward, check that both sc stitches are being worked into the corner space with the ch-2 between them.
Finishing
Use a yarn needle to weave in all loose ends securely. If the square is slightly uneven, gently block it to help the sides and four corners settle into a cleaner shape.
If you plan to make several squares, measure the first finished square before continuing. Using the same yarn, hook, and tension throughout will help keep the squares consistent when they are joined.
Color Ideas
The star becomes especially noticeable when Color A and Color B have clear contrast. An ivory yarn with a metallic accent can give the center a subtle sparkle, while a darker second color can make the outline stand out.
For seasonal décor, try festive color combinations. For everyday blankets, pillows, bags, scarves, or garments, two coordinating shades can give the star definition without making the design feel too busy.
You can also add additional border rounds if you want a larger square.
Ways to Use the Finished Square
A single star granny square can be used as a coaster, wall hanging, or small decorative accent. Several coordinated squares can be joined to make blankets, baby blankets, pillows, scarves, bags, shawls, or garments.
Changing the yarn can also change the character of the finished piece. Metallic yarn highlights the decorative center, while smooth solid colors make the geometric star easier to see.
Final Thoughts
The charm of this granny square comes from watching one shape become another. A small circular center develops into five pointed arms, a contrasting color defines the star, and the next round guides those points into four square corners.
Give a little extra attention to the arm joins in Round 3 and the ch-2 corners in Round 4. Once those two transitions are clear, the rest of the pattern follows a much more natural rhythm.