Crochet Baby Headband with Cluster Shells & Flower Detail
Try this simple cluster crochet headband for baby, with stretchy texture, decorative scallops, and one repeating row that makes longer sizes easy to create.
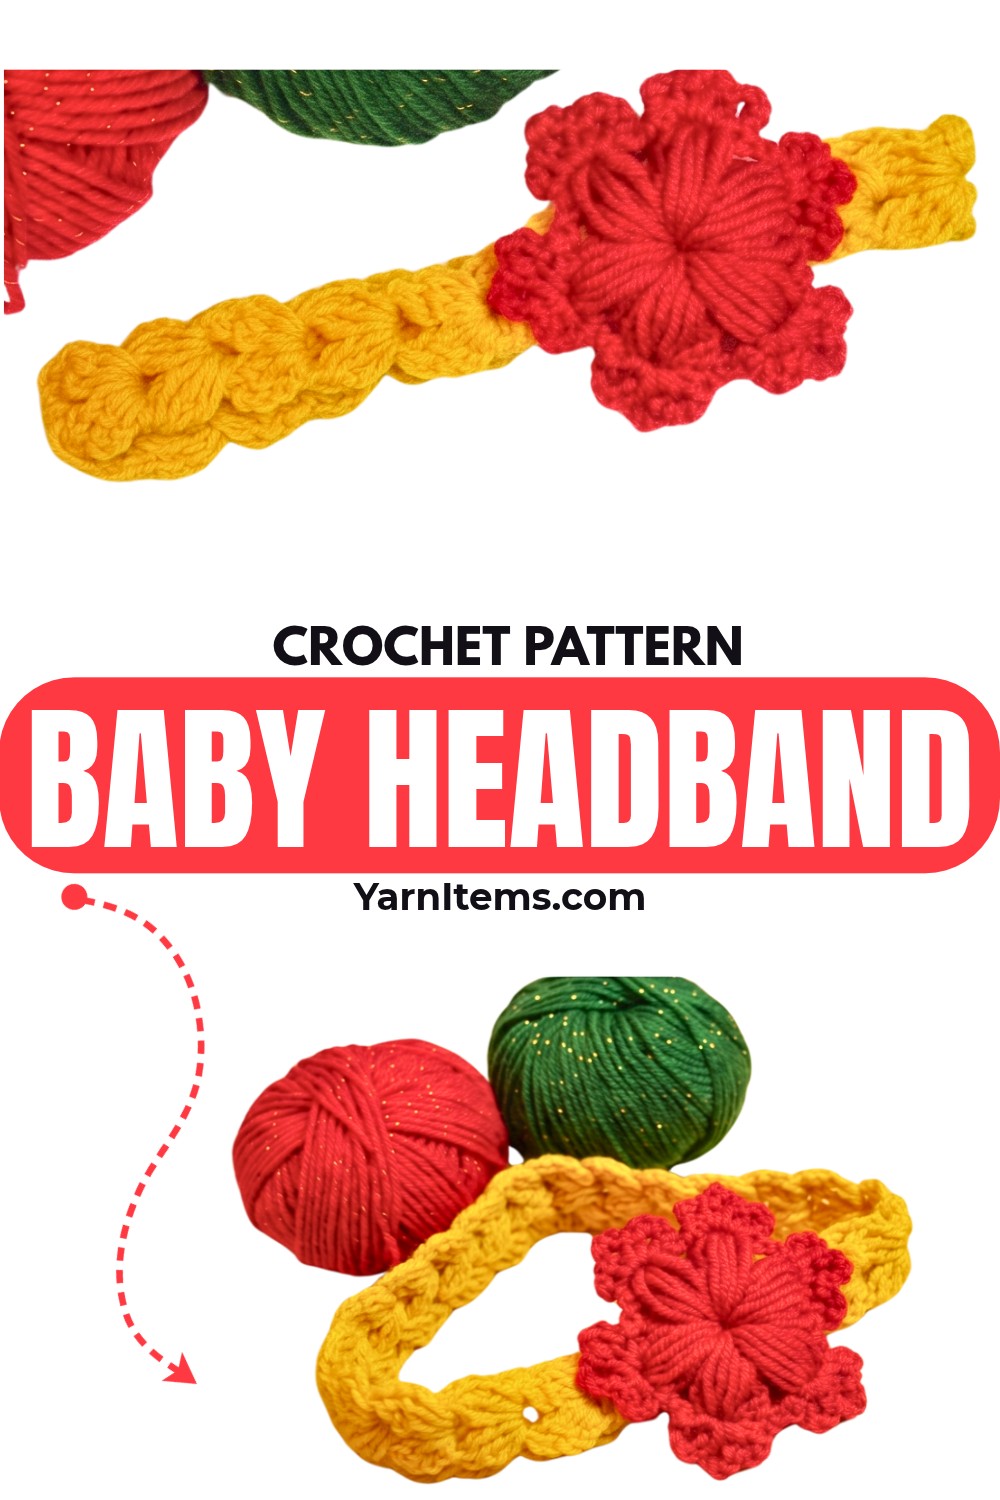
This baby crochet headband combines simple cluster shells with naturally scalloped edges, giving the finished piece soft texture without needing an extra border. Mustard yellow or any favorite main color can create an easy everyday crochet accessory, while contrasting yarn can add an optional flower for extra charm.
The working method stays wonderfully simple because each new row repeats the same cluster-shell sequence. For a 3-6 month size, continue until the crochet headband measures around 14 inches unstretched; longer lengths can be made for toddlers, older children, adults, or even useful accessories such as bag straps, camera straps, and belts.
Credit Crochetbyzonii
Materials and Tools Needed
- Medium-weight yarn (Category 4) in your main color, such as yellow.
- Contrasting yarn for optional flower appliqué, such as red.
- Crochet Hook: 3.5 mm (Size E/4).
- Yarn needle for assembly and weaving in ends.
- Scissors.
Finished Size and Customization
This specific tutorial targets a 3-6-month baby size. Continue repeating pattern rows until headband measures approximately 14 inches long before seaming.
Simple one-row repeat makes length adjustment easy. Continue crocheting for toddlers, older children, or adults, checking length against the intended wearer as you go. Cluster texture also creates sturdy fabric suitable for bag straps, camera straps, or belts.
For baby sizing, measuring before joining is especially useful because yarn elasticity can slightly change finished fit once the headband is stretched around the head.
Pattern Abbreviations and Terminology
- ch = chain
- sl st = slip stitch
- sc = single crochet
- dc = double crochet
- Half-completed dc (Partial dc) = Yarn over, insert hook into space, pull up loop, yarn over, pull through two loops, leaving remaining loop on hook.
- 3-dc cluster = Group of 3 half-completed double crochets worked into same space and joined together at the top. At start of row, chain 3 acts as first half-completed dc.

How to make Base Ring
Creating Starting Loop: Chain 5 (ch 5). Slip stitch (sl st) into the very first chain to join sides and form a small circle.
Keep this center opening clearly visible because the first two clusters will be worked directly into this chain-5 circle. Joining neatly here gives later rows a clean starting point.
Row 1 – First Cluster Shell
Chain 3; this counts as the first half-completed dc. Work 2 half-completed double crochets into center of chain-5 circle. You will now have 3 loops on hook. Yarn over and pull through all 3 loops on hook to close first cluster. Chain 2. Work 3 half-completed double crochets into the same chain-5 circle. You will now have 4 loops on hook. Yarn over and pull through all 4 loops to close the second cluster. Turn work.
At this stage, two clusters separated by ch-2 space create the first shell. Keep the ch-2 space open and easy to identify because Row 2 begins inside this space.

Row 2 – Working Into Chain Space
Slip stitch (sl st) directly into ch-2 space from previous row to anchor yarn in center. The tutorial also notes that single crochet can be used for this anchor, but slip stitch moves yarn into position without adding extra height.
Chain 3, counting as first half-completed dc. Work 2 half-completed double crochets into same ch-2 space; 3 loops will be on hook. Yarn over and pull through all 3 loops. Chain 2. Work 3 half-completed double crochets into same ch-2 space; 4 loops will be on hook. Yarn over and pull through all 4 loops. Turn work.
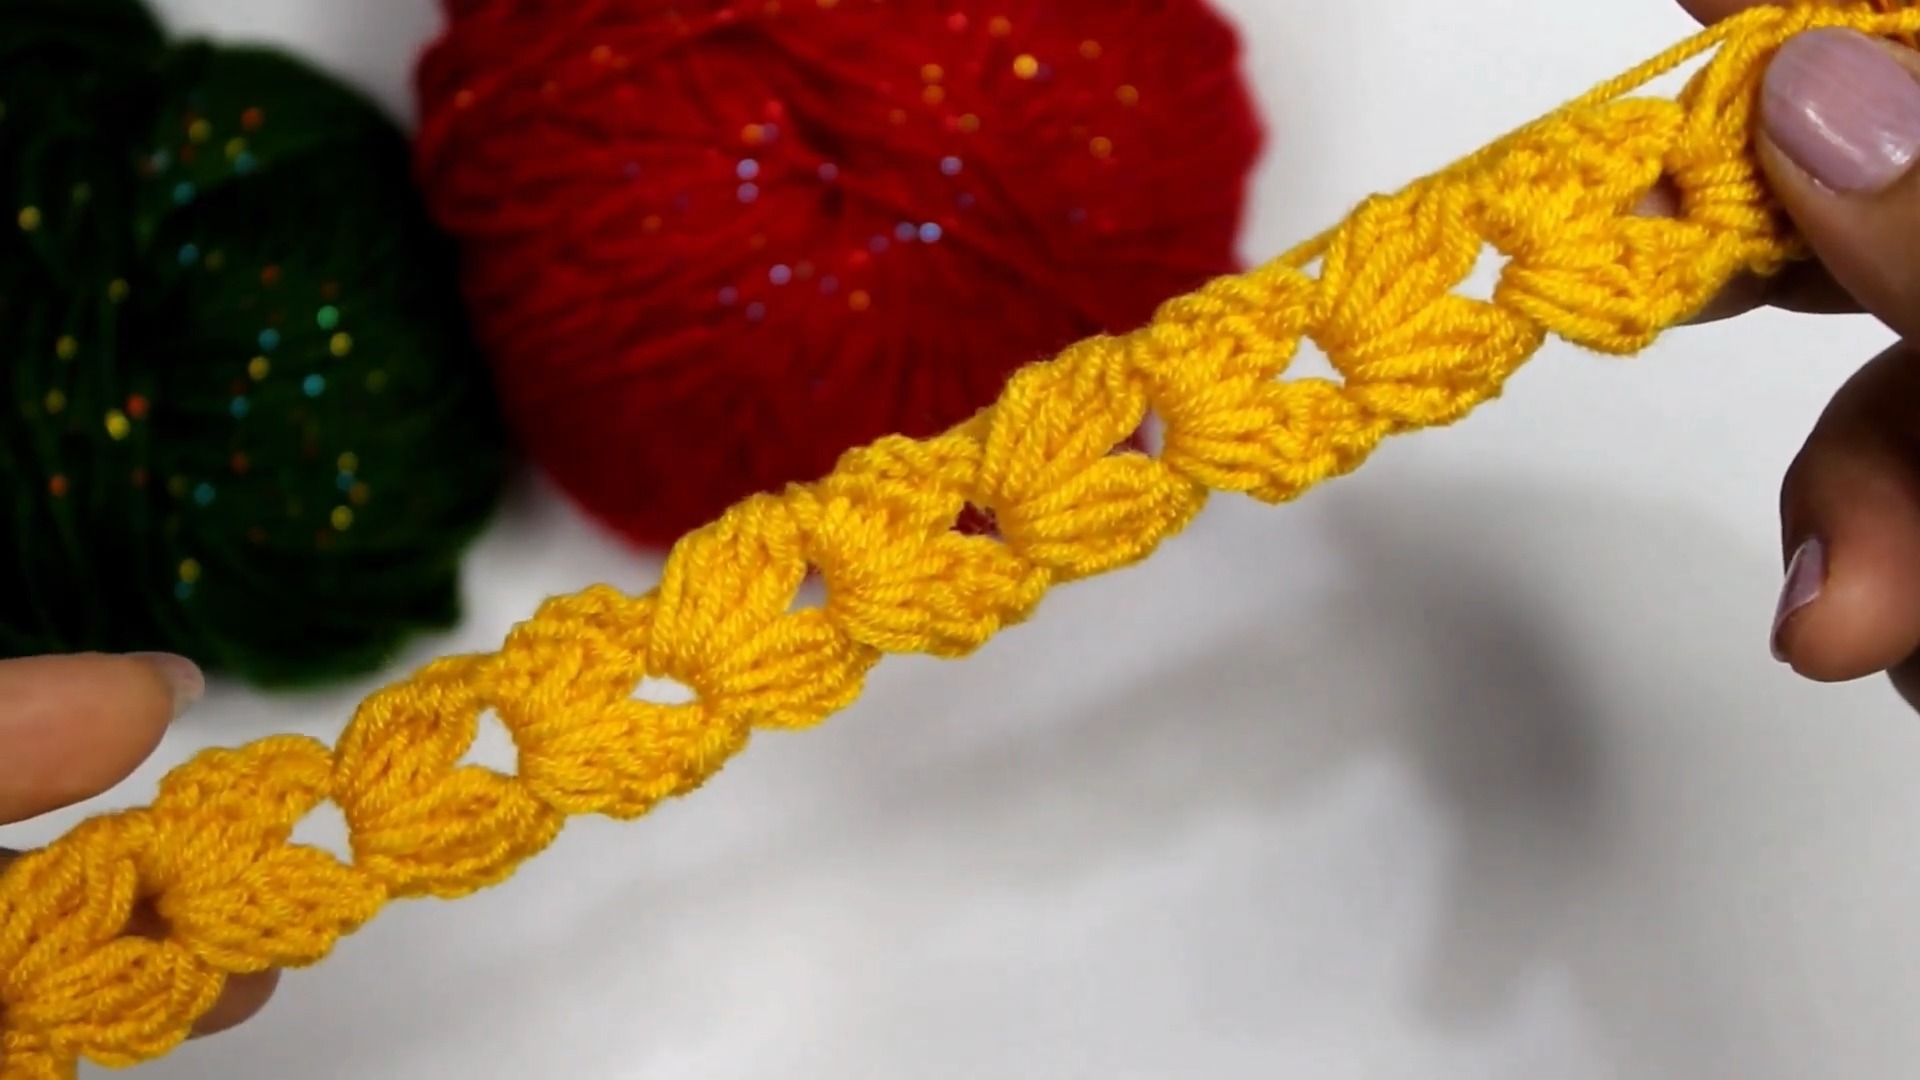
Check your shape before moving on: both clusters should sit together around one central ch-2 space, giving the row its shell-like appearance. Turning after each row keeps working direction consistent and lets scalloped edges develop naturally.
Row 3 and Beyond – Building Length
Repeat exact instructions from Row 2 continuously. Stop when the headband reaches the desired length for a 3–6 month size, around 14 inches unstretched depending on yarn elasticity.
Stitch Count: Every row contains exactly one cluster shell made from two 3-dc clusters separated by one ch-2 space.
Because every row uses the same sequence, counting becomes simple: look for one first cluster, one ch-2 space, then second cluster. If the shape starts looking uneven, check that both clusters were worked into the same ch-2 space before continuing.
For larger sizes, keep repeating rows until desired length is reached. Measuring periodically helps prevent adding unnecessary rows and lets you account for stretch in yarn.

Assembly – Joining Headband
Once the final row is complete, do not cut yarn.
Fold headband so two short ends meet perfectly together. Insert hook through both starting chain circle and ch-2 space of final row simultaneously. Make 2–3 slip stitches across the edge to securely and tightly join both sides.
This joining point can remain visible if you prefer simple finishing, or it can be covered later with flower appliqué. Keep joining stitches firm but avoid pulling so tightly that fabric puckers.
Fasten off and weave in loose ends securely with a yarn needle.
Finishing – Optional Flower Appliqué
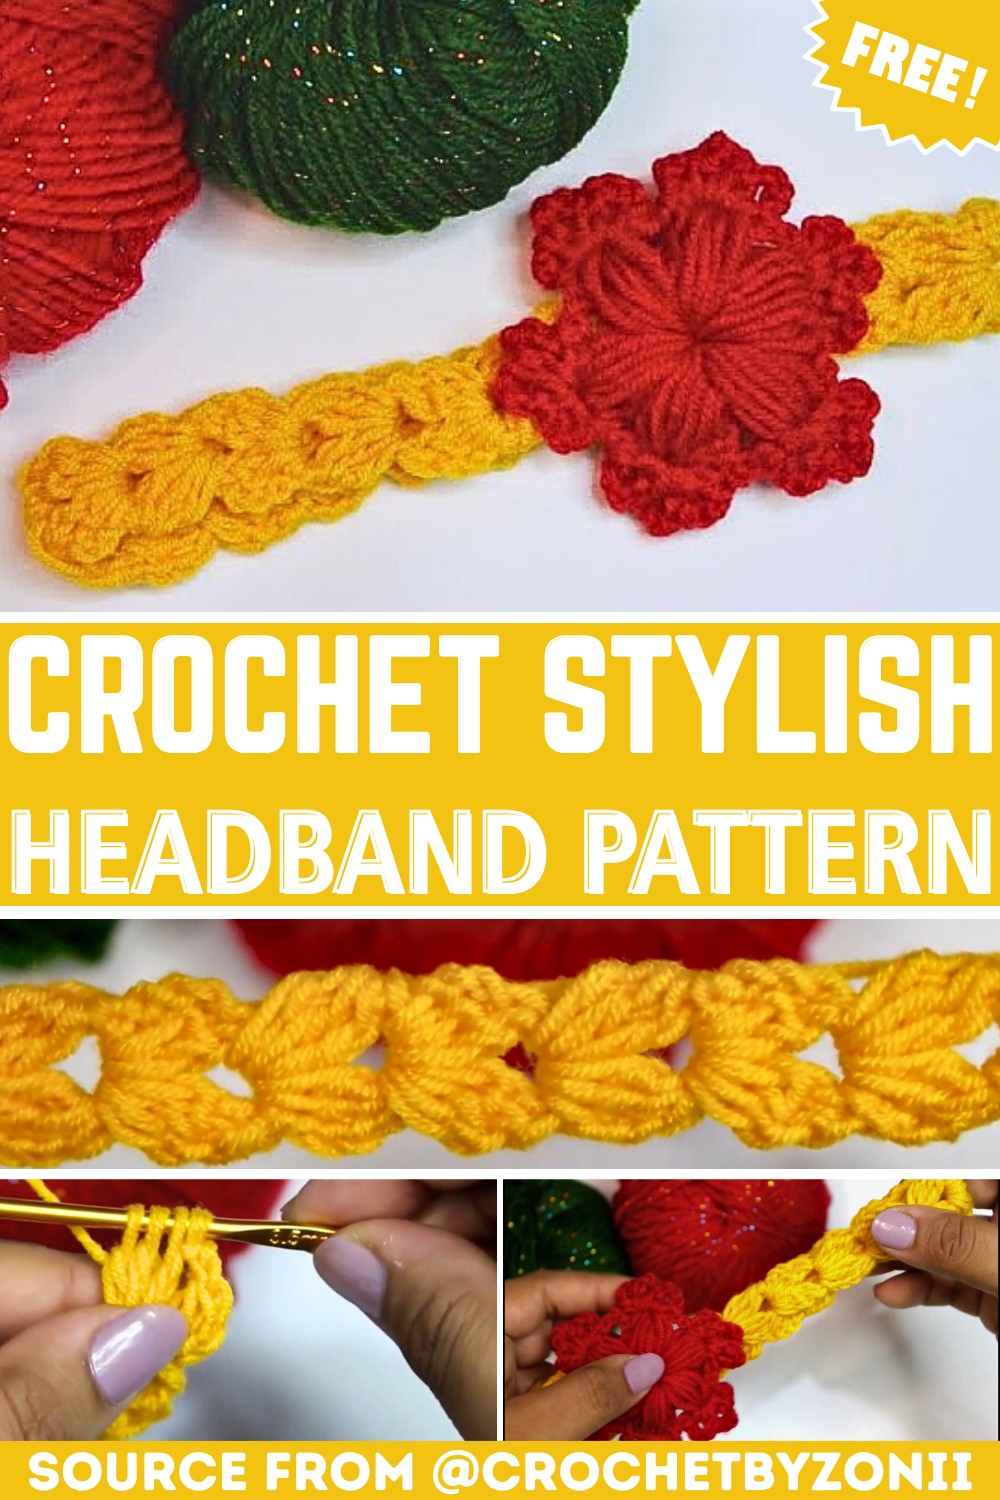
Sew pre-made crochet flower appliqué directly over joined seam. Contrasting yarn, such as red against mustard yellow, creates clear decorative contrast.
The flower adds visual focus while also hiding joining stitches, giving the finished headband a cleaner appearance. If you prefer minimal styling, leave the flower off and let scalloped cluster edges provide decoration.
Before You Finish: Check Stretch and Seam
Place finished headband around intended head measurement without overstretching fabric. Cluster texture should provide gentle stretch while still keeping headband secure.
If headband feels too loose, fewer repeated rows may be needed next time. If it feels too tight, add several rows before joining. Since this pattern uses one repeating row, adjusting length does not require changing stitch sequence or learning new shaping.
With its repeating shell structure, the headband develops substantial yet flexible texture quickly. Naturally scalloped sides remove the need for complicated edging, while optional flower detail gives you an easy way to personalize the finished look or neatly cover joining stitches.