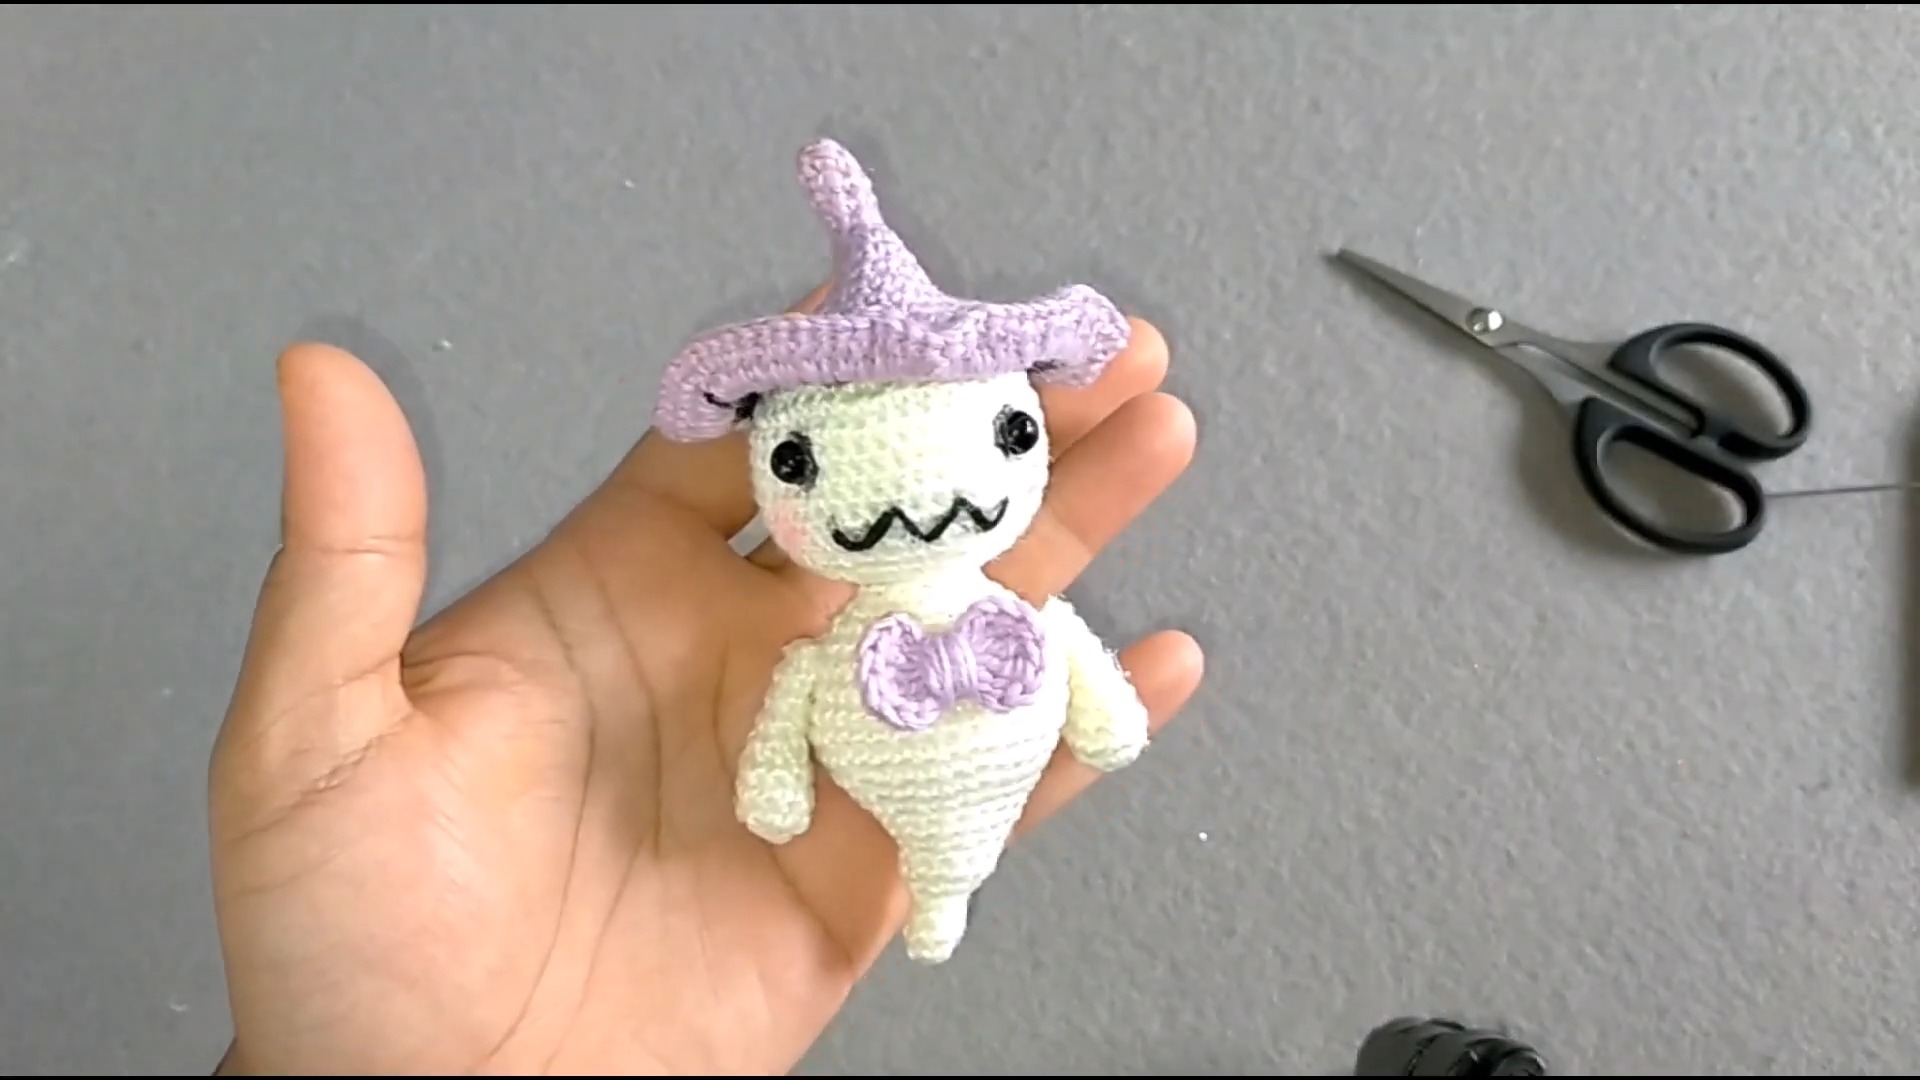
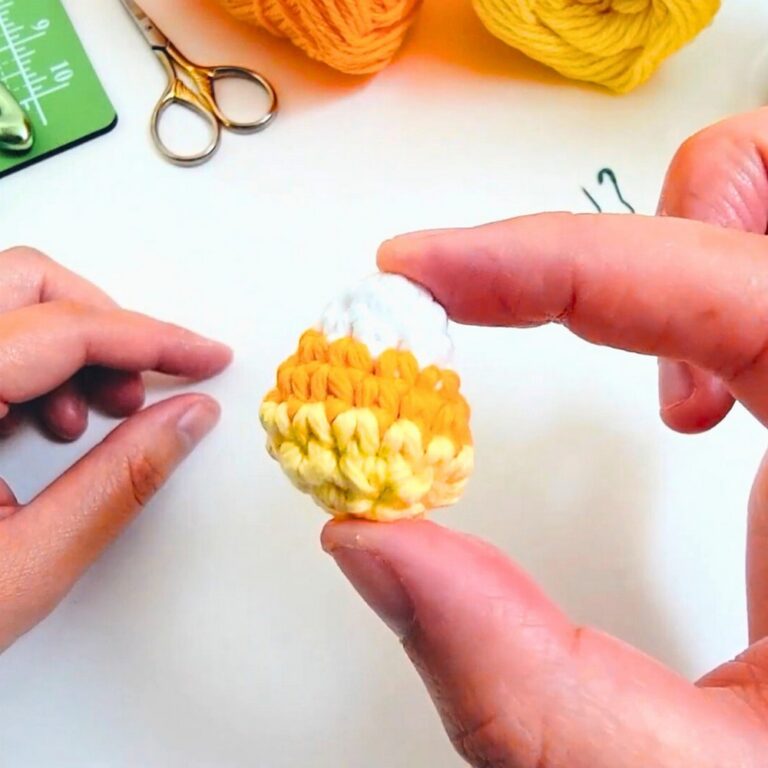
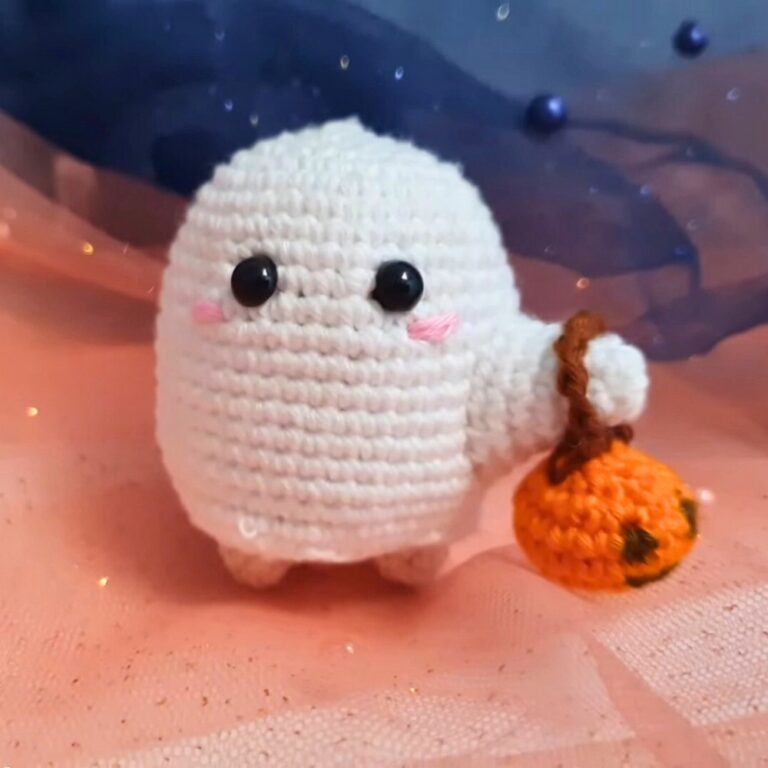
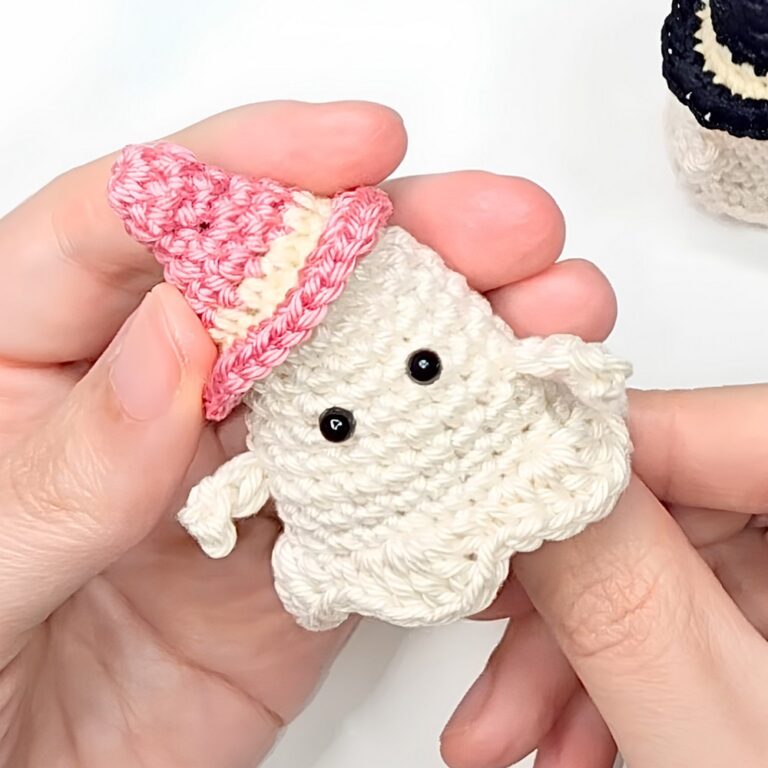
A tiny crochet ghost comes together with simple rounds that gradually shape its soft body and floating look. This Halloween amigurumi pattern keeps every step easy to follow.
Making it a fun piece for anyone who wants to create a charming seasonal decoration. By the time the final details are added, the little crochet ghost is ready to brighten any spooky display.
Crochet Halloween Ghost Pattern
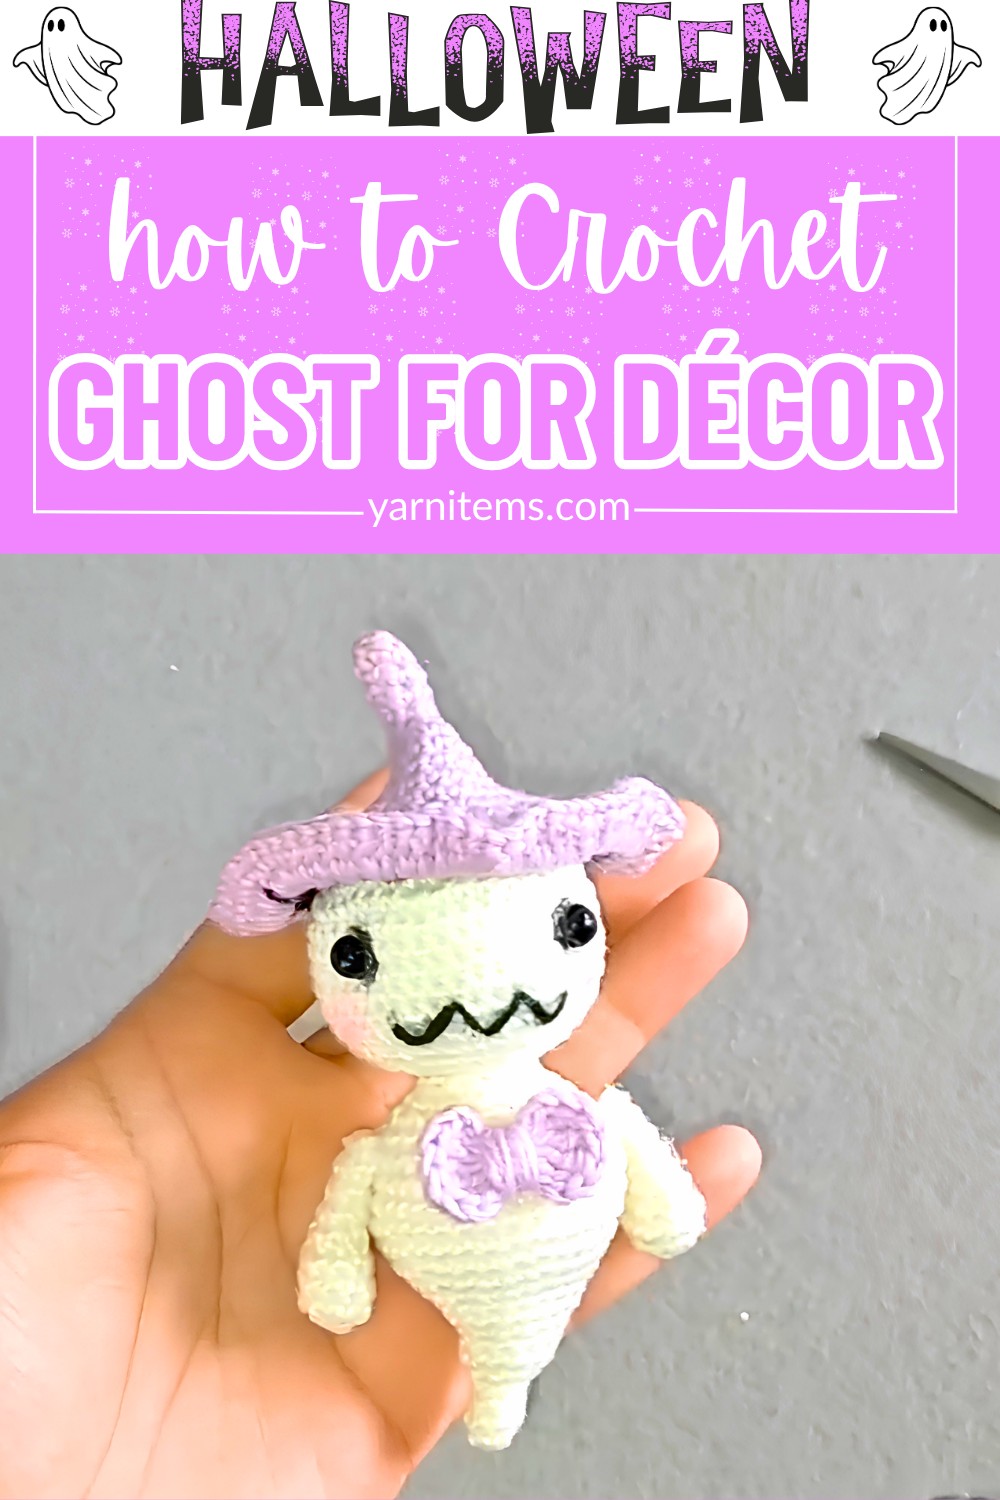
The tutorial walks you through the complete crochet pattern using beginner-friendly techniques and straightforward shaping. With just a small amount of yarn, you’ll create a lightweight ghost that’s perfect for decorating shelves, hanging on Halloween displays, or giving as a handmade gift. Keep reading to see how each crochet step transforms.
Credit creative couple channel
Materials & Tools Needed
- Yarn: Light/DK weight yarn in White, Purple, and Black.
- Crochet Hook: Size 2.0 mm (for both the ghost and the hat components).
- Safety Eyes: Small black amigurumi safety eyes (or small beads).
- Stuffing: Fiberfill/polyester toy stuffing.
- Other Tools:
- Tapestry needle (for assembly).
- Hot glue gun.
- Embroidery scissors.
- Pins.
- Optional: Pink crayon/blush for rosy cheeks.
- Keychain Hardware: Optional ring and chain attachment.
Finished Size & Customization Ideas
- Finished Size: Approximately 3–4 inches tall (ideal for a pocket buddy, seasonal ornament, or bag charm).
Customization Ideas
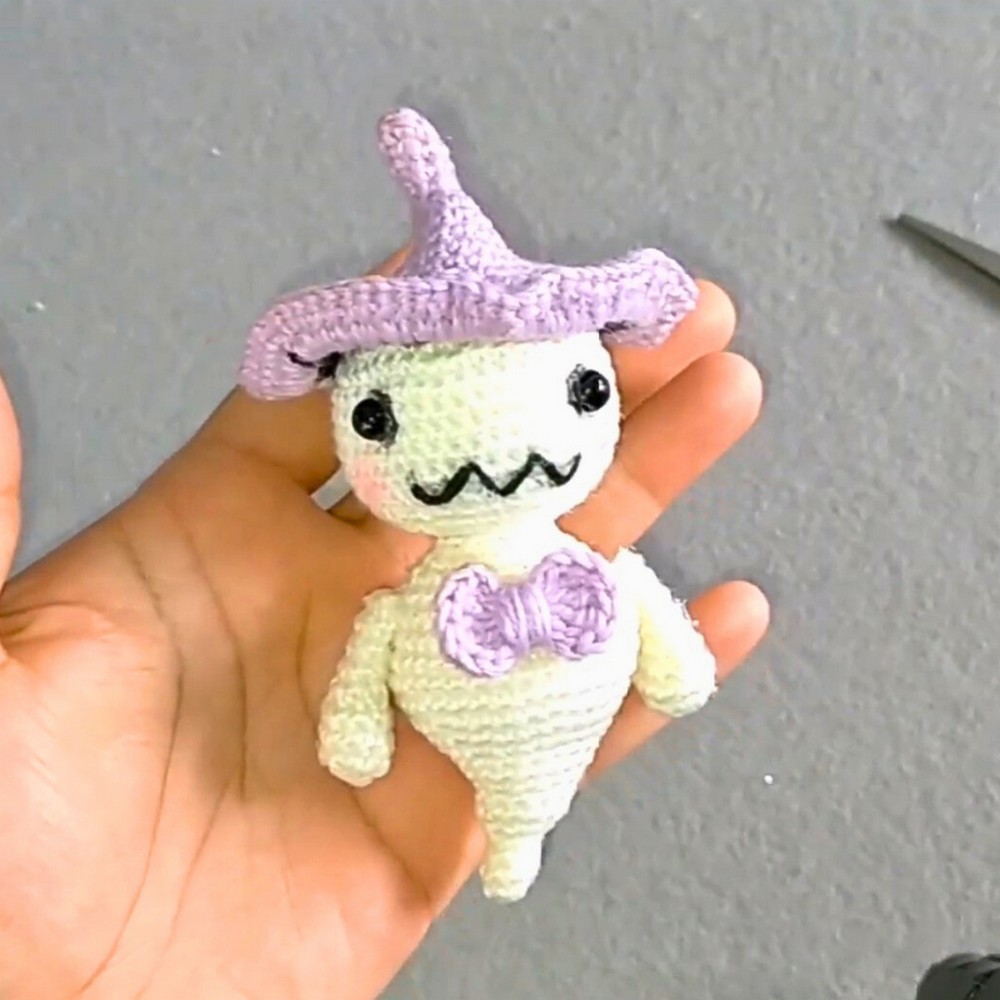
- Replace the purple witch hat with black or orange for a spooky classic.
- Change the embroidered expression—try a smiling ghost or other fun facial designs.
- Add a yarn loop at the top of the hat for keychain attachment.
Pattern Abbreviations & Terminology
- ch: chain
- sc: single crochet
- dc: double crochet
- inc: increase (2 single crochets in the same stitch)
- dc inc: double crochet increase (2 double crochets in the same stitch)
- dec: decrease (single crochet two stitches together)
- Sl. st. / slst: slip stitch
- st: stitch
- [ ]: Total number of stitches at the end of the round.
- 6 / 42: Repeat the instruction sequence the indicated number of times.
Notes:
- Stitches are joined at the end of each round with a Sl. st., followed by a ch 1 to start the next round.
- Instructions such as 6 / 42 mean to repeat the indicated sequence 6 times (or as specified).
Step-by-Step Detailed Crochet Instructions
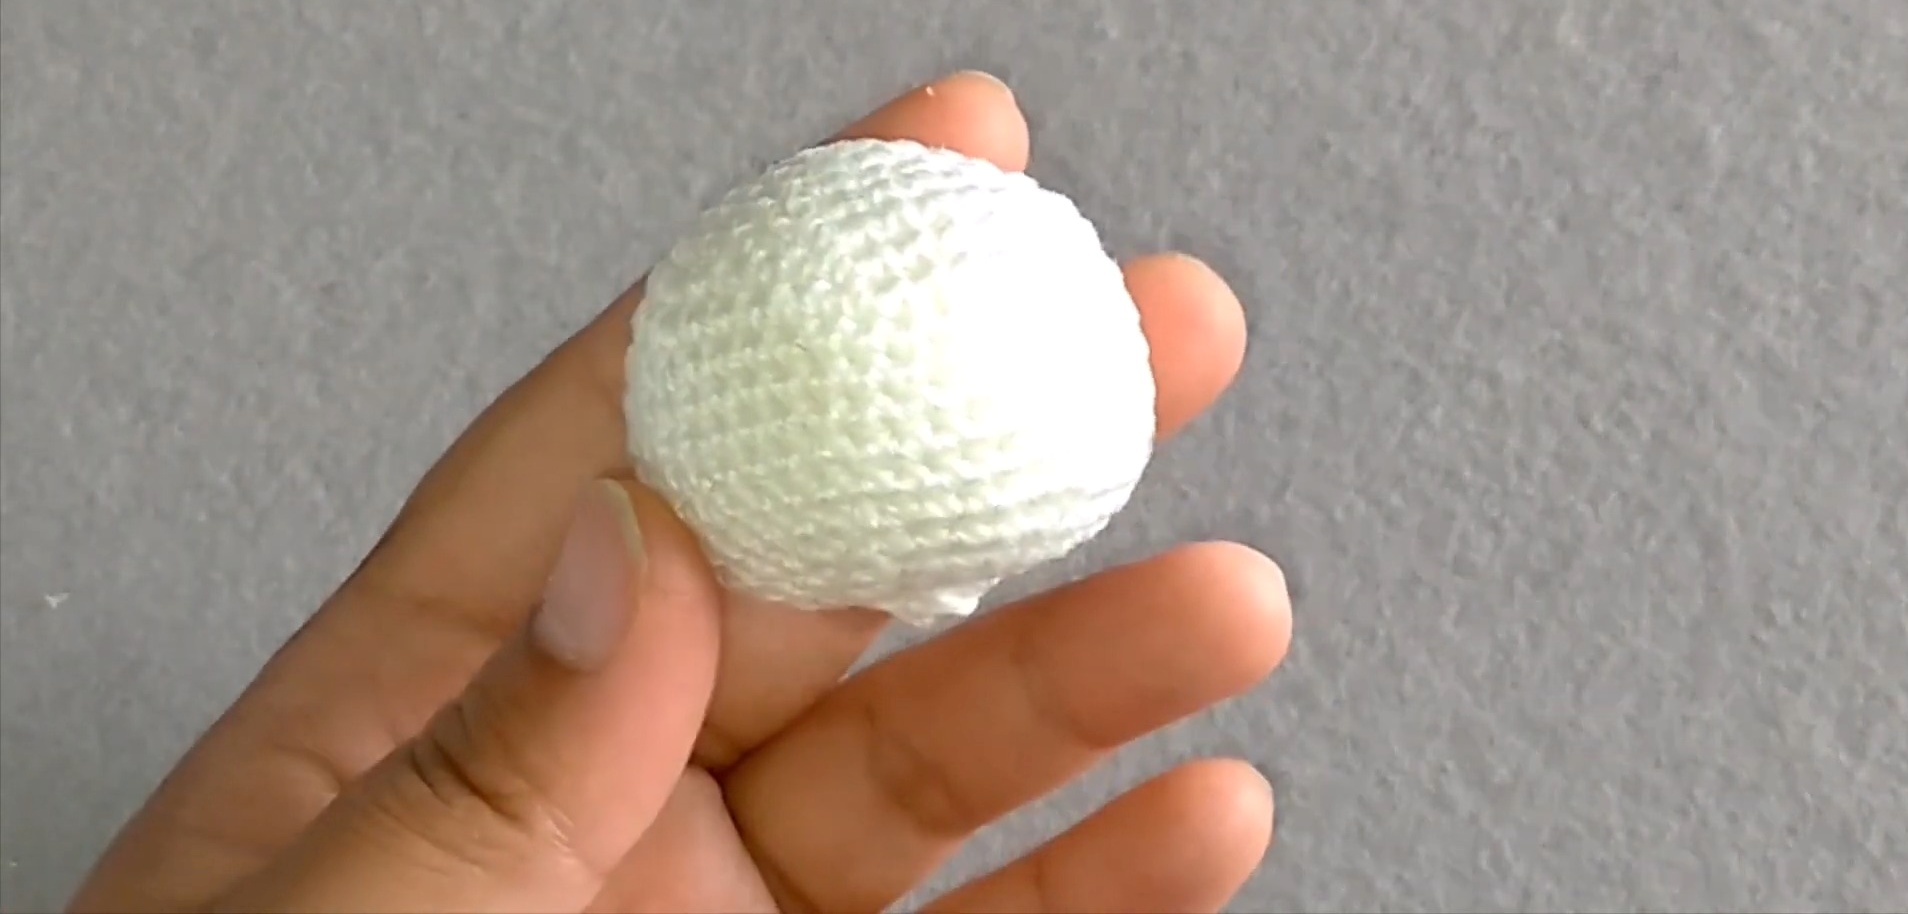
1. The Head
Using White yarn and a 2.0 mm hook:
R1: Magic ring + 6 sc. Sl. st., ch 1.[6]
R2: (inc) * 6. Sl. st., ch 1.[12]
R3: (1 sc + sc inc) * 6. Sl. st., ch 1.[18]
R4: (2 sc + sc inc) * 6. Sl. st., ch 1.[24]
R5: (3 sc + sc inc) * 6. Sl. st., ch 1.[30]
R6: (4 sc + sc inc) * 6. Sl. st., ch 1.[36]
R7: (5 sc + sc inc) * 6. Sl. st., ch 1.[42]
R8 – R12: 42 sc around. Sl. st., ch 1.[42]
R13: (5 sc + sc dec) * 6. Sl. st., ch 1.[36]
R14: (4 sc + sc dec) * 6. Sl. st., ch 1.[30]
R15: (3 sc + sc dec) * 6. Sl. st., ch 1.[24]
R16: (2 sc + sc dec) * 6. Sl. st., ch 1.[18]
Stuff the head firmly with fiberfill.
R17: (1 sc + sc dec) * 6. Sl. st., ch 1. [12]
R18: (sc dec) * 6. Sl. st. [6]
Fasten off. Weave the tail through remaining stitches to close the opening.
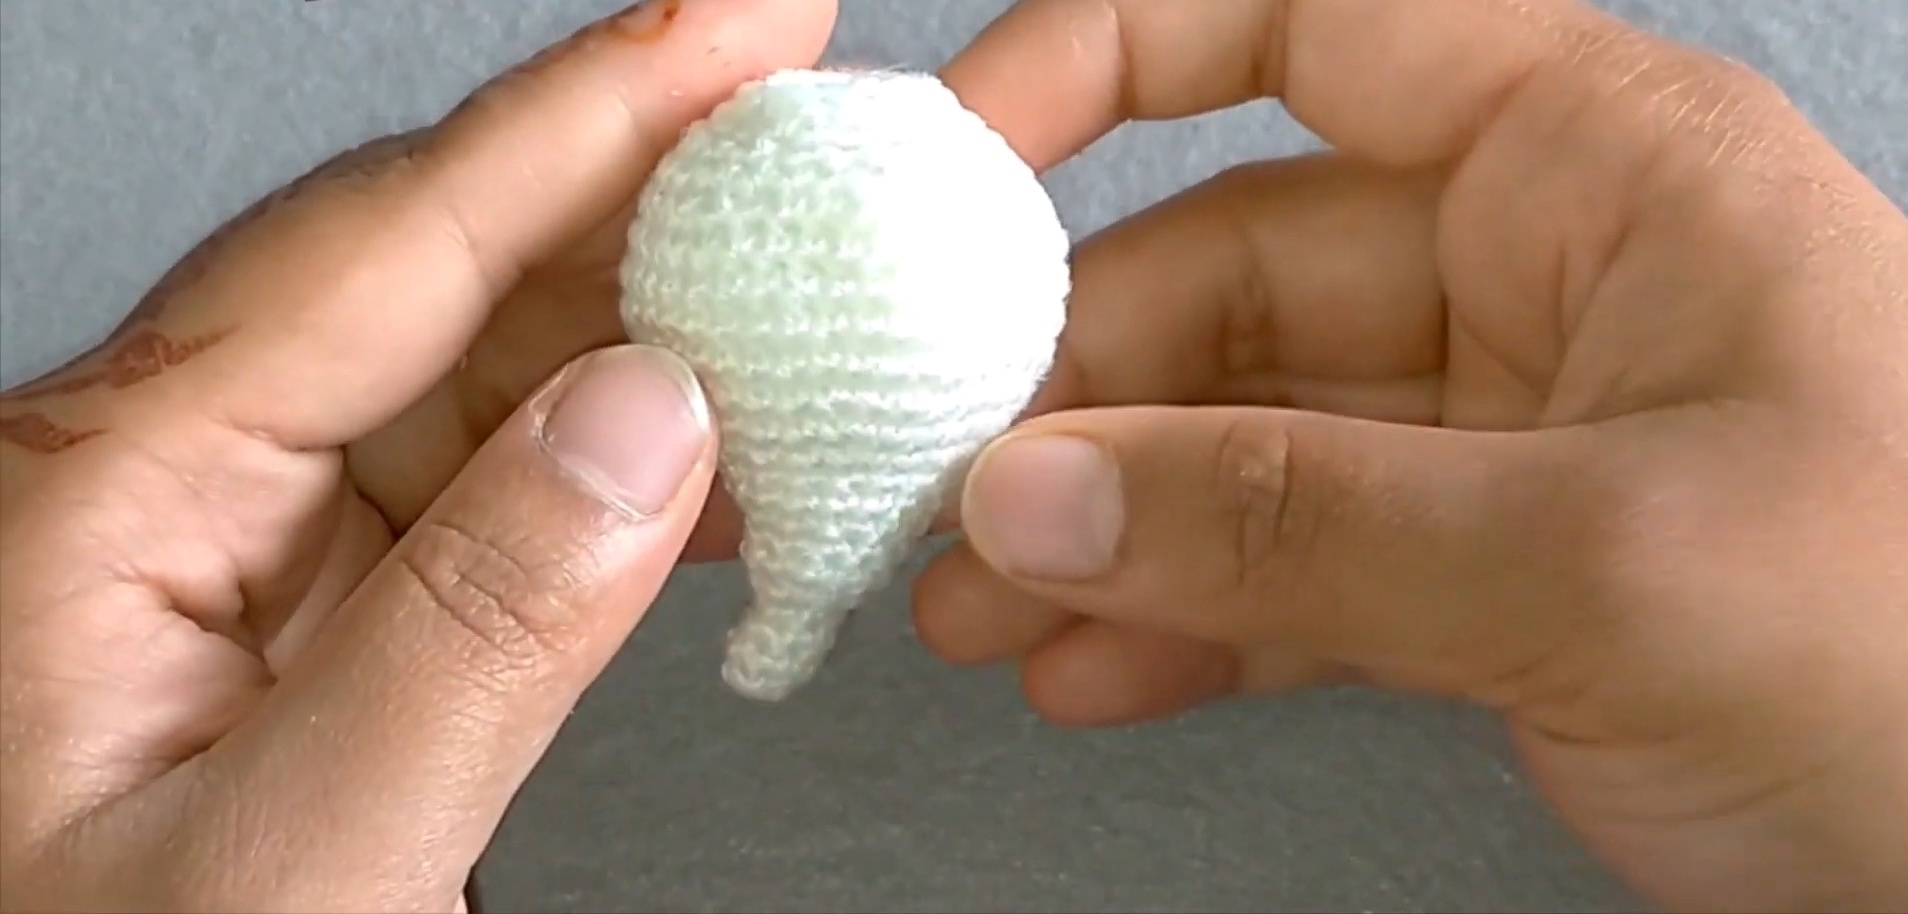
2. The Body (Wavy Ghost Tail)
Using White yarn:
R1: Magic ring + 6 sc. Sl. st., ch 1.[6]
R2 – R4: 6 sc around. Sl. st., ch 1.[6]
R5: (inc) * 6. Sl. st., ch 1. [12]
R6 – R7: 12 sc around. Sl. st., ch 1.[12]
R8: (1 sc + sc inc) * 6. Sl. st., ch 1.[18]
R9 – R10: 18 sc around. Sl. st., ch 1.[18]
R11: (2 sc + sc inc) * 6. Sl. st., ch 1.[24]
R12: (3 sc + sc inc) * 6. Sl. st., ch 1.[30]
R13: (4 sc + sc inc) * 6. Sl. st., ch 1.[36]
R14 – R16: 36 sc around. Sl. st., ch 1.[36]
R17: (4 sc + sc dec) * 6. Sl. st., ch 1.[30]
R18: (3 sc + sc dec) * 6. Sl. st., ch 1.[24]
R19: (2 sc + sc dec) * 6. Sl. st., ch 1.[18]
R20: 18 sc around. Sl. st., ch 1.[18]
Stuff the body with fiberfill.
R21: (1 sc + sc dec) * 6. Sl. st.[12]
Fasten off.
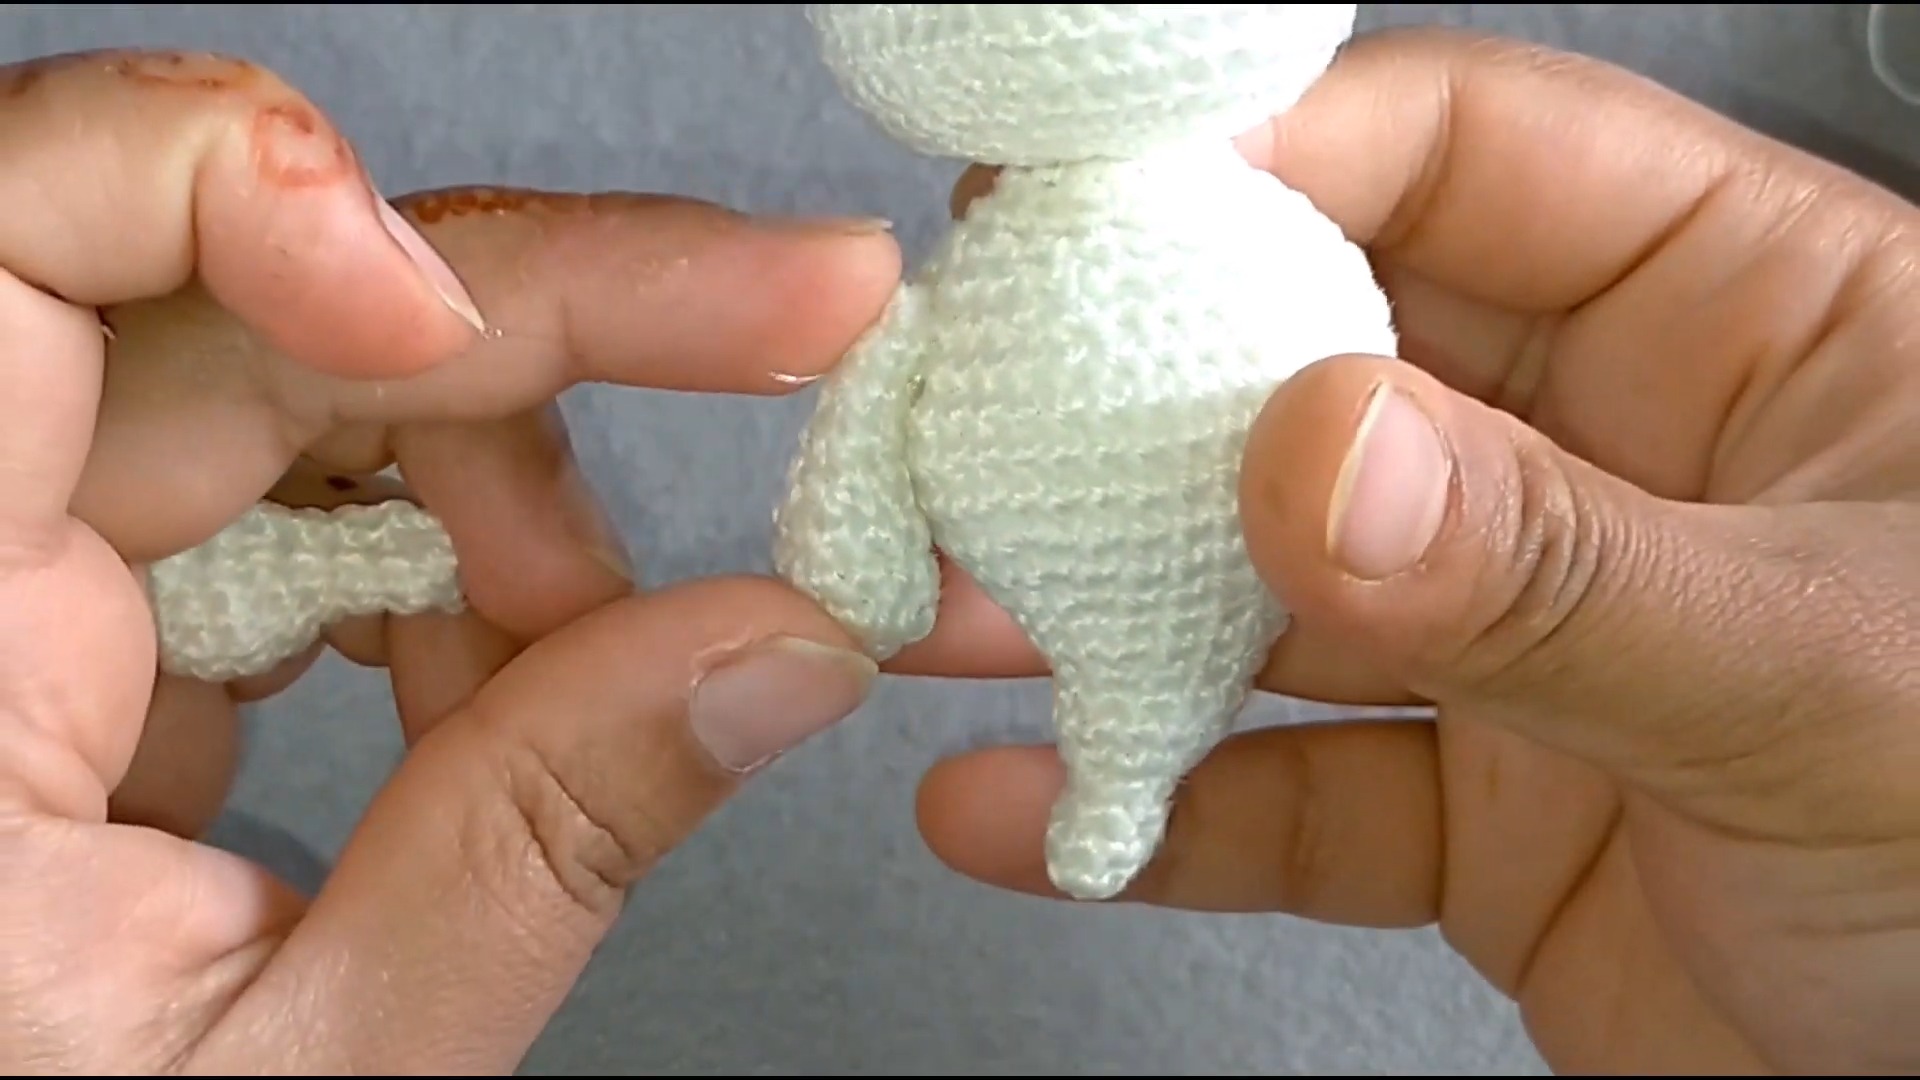
3. The Hands (Make 2)
Using White yarn:
R1: Magic ring + 6 sc. Sl. st., ch 1.[6]
R2: (inc) * 6. Sl. st., ch 1.[12]
R3 – R4: 12 sc around. Sl. st., ch 1.[12]
R5: (dec) * 6. Sl. st., ch 1.[6]
R6 – R8: 6 sc around. Sl. st., ch 1.[6]
Fasten off. No stuffing required.
4. The Witch Hat
Start with Purple yarn:
R1: Magic ring + 6 sc. Sl. st., ch 1.[6]
R2 – R5: 6 sc around. Sl. st., ch 1.[6]
R6: (sc inc) * 6. Sl. st., ch 1.[12]
R7: (1 sc + sc inc) * 6. Sl. st., ch 1.[18]
R8 – R9: 18 sc around. Sl. st., ch 1.[18]
R10: (2 sc + sc inc) * 6. Sl. st., ch 1.[24]
R11: 24 sc around. Sl. st., ch 1.[24]
R12: (3 sc + sc inc) * 6. Sl. st., ch 1.[30]
Switch to Black yarn:
R13 – R14: 42 sc around. Sl. st., ch 1.[42]
Return to Purple yarn:
R15: (dc inc) * 42. Sl. st., ch 1.[84]
Fasten off.
5. Assembly & Detailing
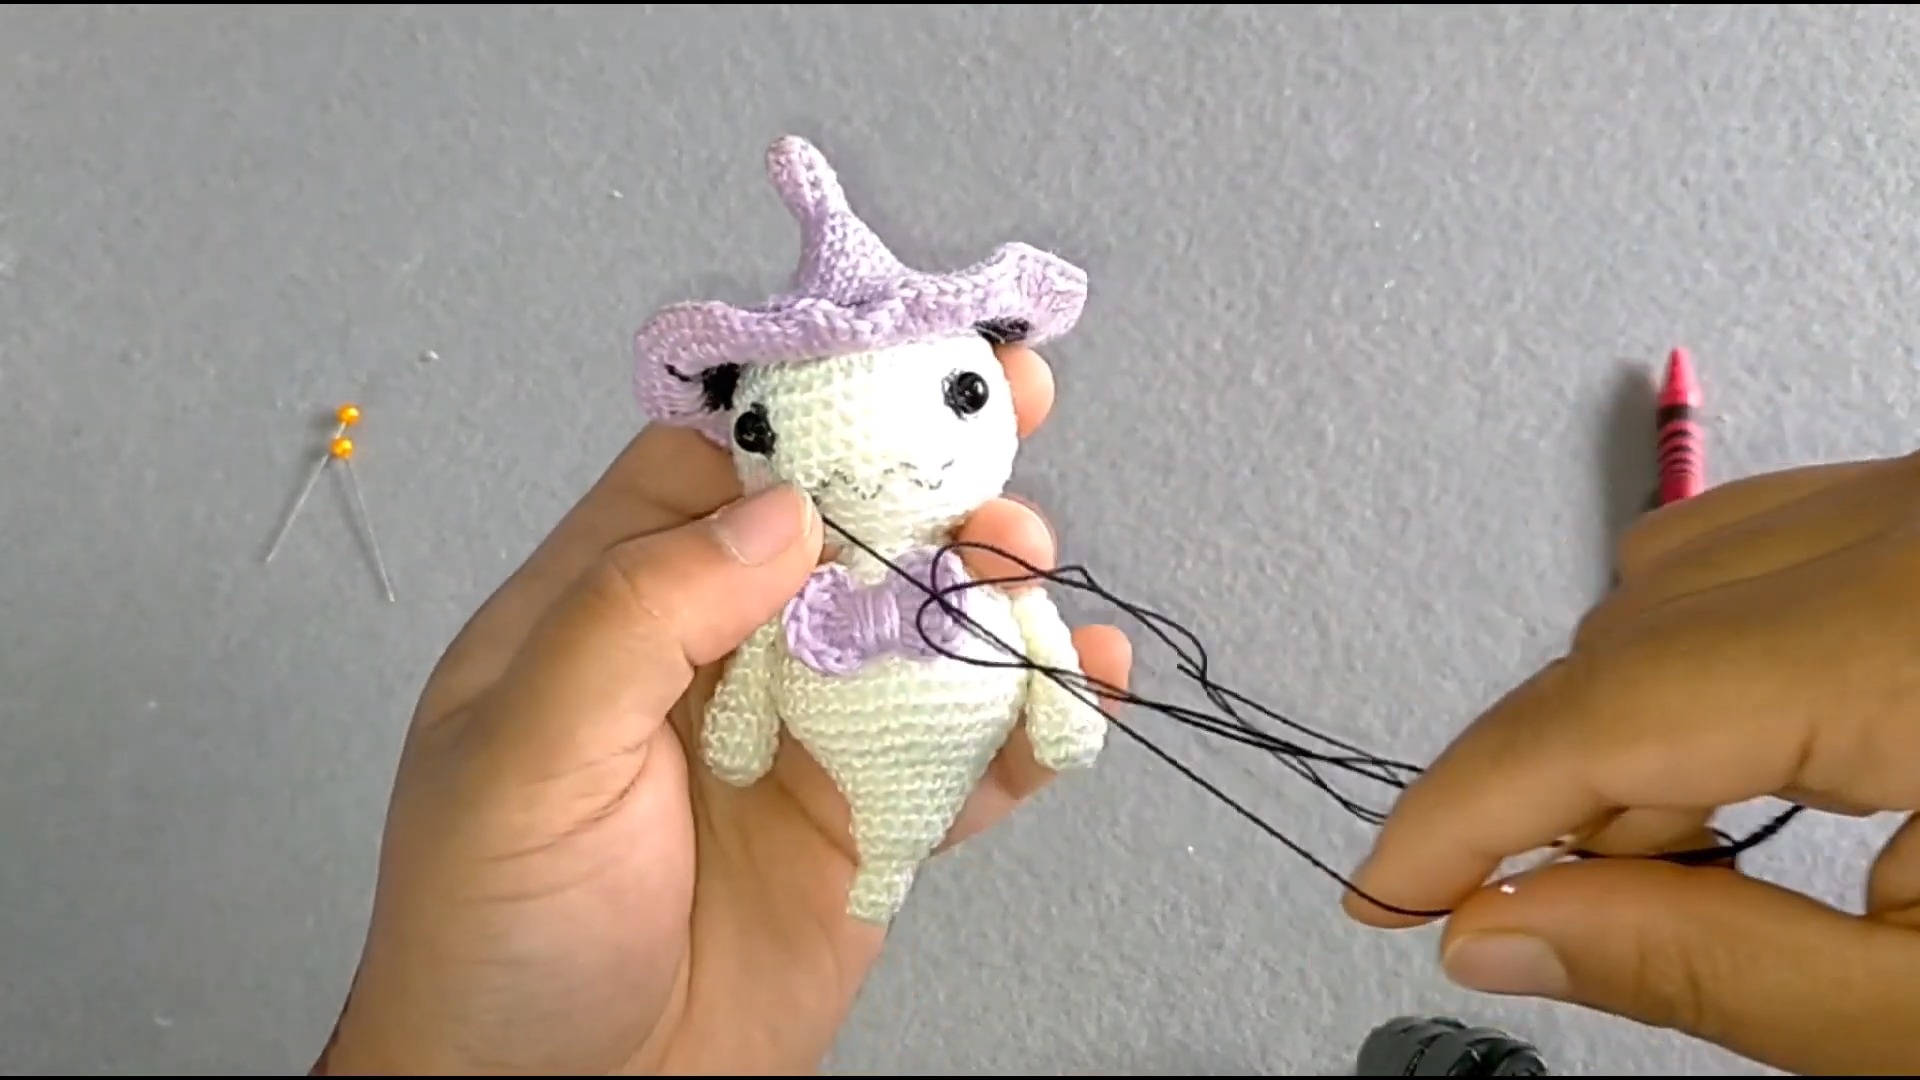
- Eyes: Hot glue the safety eyes just below the curve of the head at rows 10–11.
- Head to Body: Glue the stuffed head onto the body, ensuring alignment.
- Arms: Position and glue the arms on the body sides right below the neckline.
- Hat Placement: Attach the hat atop the head, using hot glue for security.
- Embroidery: Add a jagged stitched smile using black yarn and a tapestry needle.
- Rosy Cheeks: Add blush with a pink crayon or cosmetic powder.